
Here, at last, is the much-delayed fourth part of my ECW Snakes & Ladders campaign. When we left it Parliament had just initiated a battle towards the top of the board.
The Royalists rolled three foot (one raw, one trained and one trained pike), two dragoons (one raw and one trained) and one artillery.
The Royalists fielded two foot (one raw shot and one trained), one trained horse, one trained dragoon and one artillery.
They met on a relatively open field. The Royalists are at the bottom of the picture.

Both sides rushed to control the woods on Parliament's left with dragoons. Meanwhile Parliament advanced their horse.

The Royalist dragoons (bottom left) attempted to move towards the village where they could control that flank. The Royalist dragoons were ejected from the woods after a brief fight.

Parliament's cavalry intercepted them, but the dragoons held them off.

The foot of both sides advanced to contact in the centre. The Royalists had the advantage of numbers.

Parliament's horse was now tied up fighting the Royalist dragoons between the village and the enclosures, leaving unable to easily pull back and support the foot.

The foot melee broke up and one of Parliament's regiments found itself in serious trouble.

It broke, allowing the Royalist pike to charge forward into the flank of the opposing shot.

That also broke, exposing the artillery.

The rout was complete and the Parliamentarian army broke.

I didn't photograph the campaign board for the next move, since it was the Royalists' turn and whatever they rolled they would initiate a battle.
This have five units per side and gave an interesting mix of troops.
The Royalists rolled two trained horse, two trained dragoons and some artillery.
Parliament had some veteran shot, three horse (two veteran and one trained) and some trained dragoons.
So lots of dragoons and horse on both sides, and not a pike to be seen.
A small village and a hill sat between the two armies.


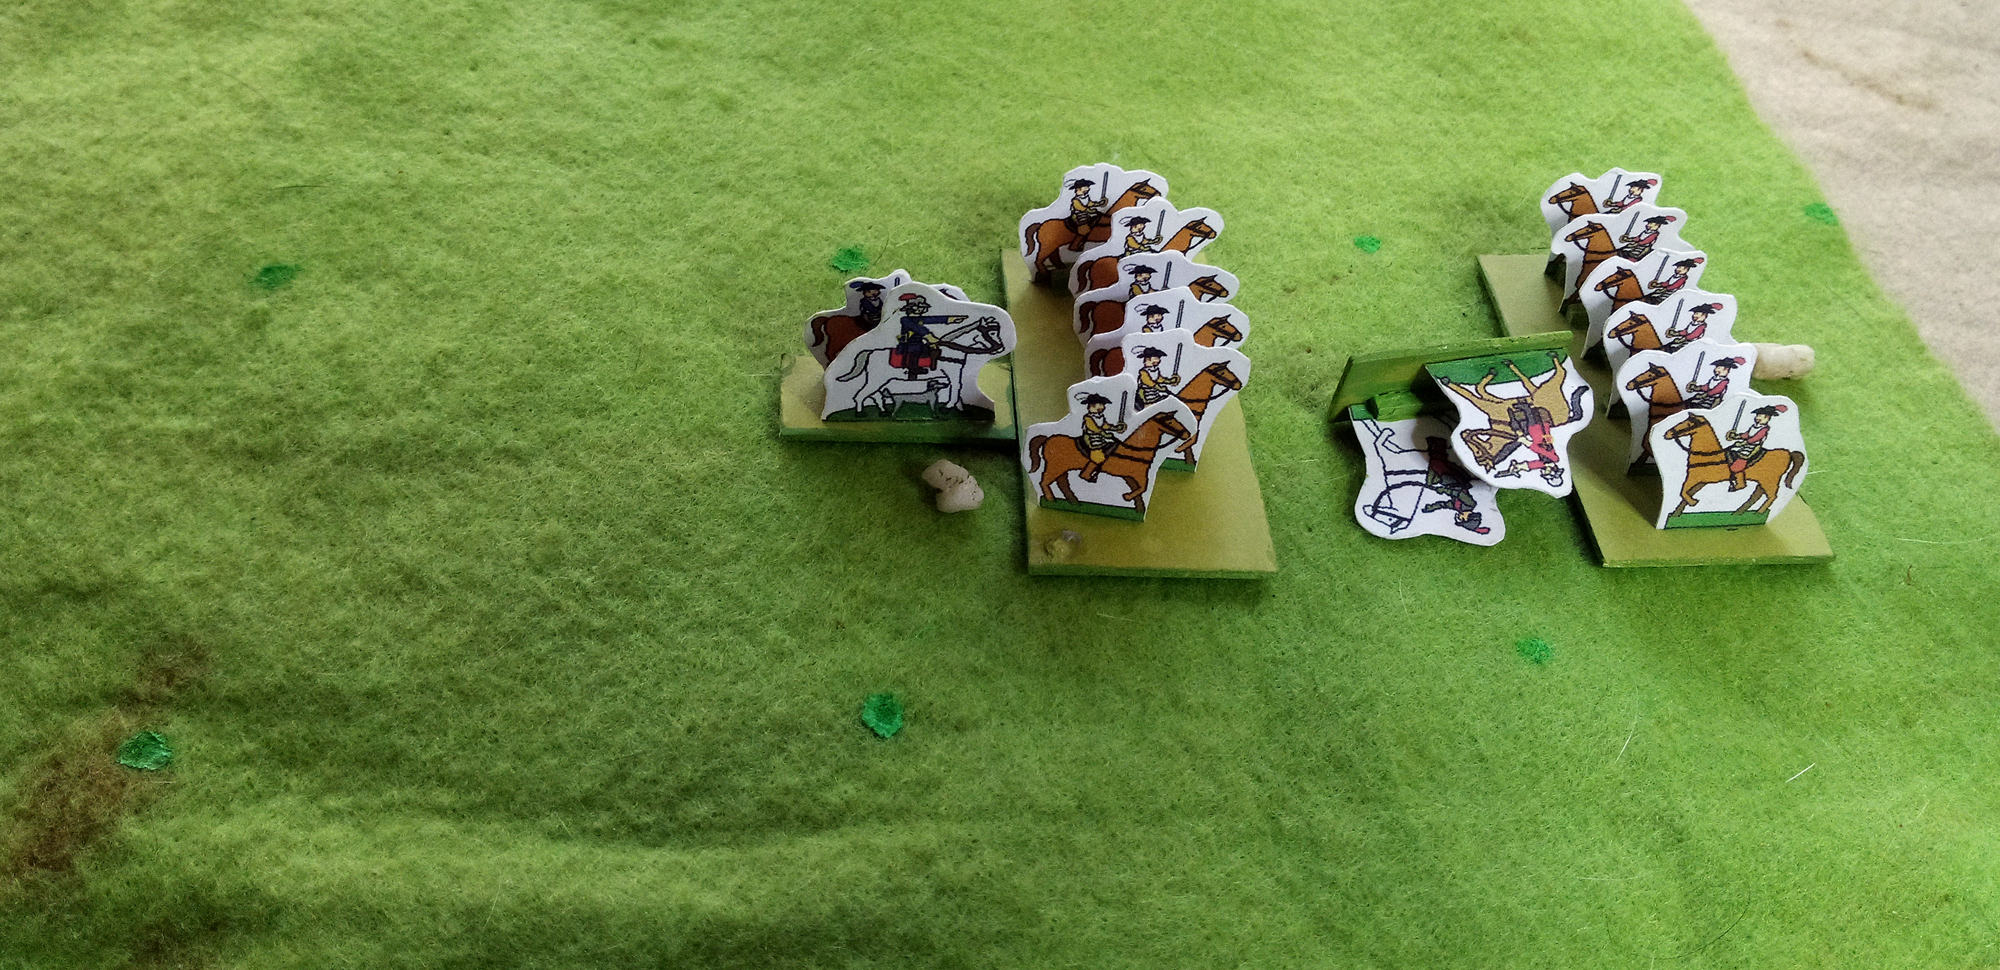
The Royalist horse on the end of the line put up a brave fight ...


Parliament rushed to take the hill.

Their dragoons also occupied the village. The Royalists fixed them in place with one group of their dragoons and used the other to work around the flank and take the shot on the hill under fire.

With a superiority of horse, Parliament attacked.

At first they were thrown back, but a second wave outflanked the Royalist line.

The Royalist horse on the end of the line put up a brave fight ...

... but were swiftly destroyed, leaving the Royalist force very vulnerable.

But their surviving horse struck back and in a brilliant counter-attack drove back their Parliamentarian opposite numbers, destroying one of the units ...

... and even capturing the opposing commander.
However Parliament advanced off the hill with their other horse and the shot, destroying other Royalist units.

Soon it was all over for the Royalists.

They'd put up a brave fight, coming close to breaking a superior enemy force, but it wasn't to be.
So it was back to the snakes and ladders board. Parliament rolled a safe '4' and advanced along the top row, with only a single 'snake' between them and the last battle space. The Royalist rolled a '6' and moved rapidly along their row.

But Parliament then rolled a '3', zipping over the final hazard and landing, exactly, on the Final Battle space.

So the next part of this campaign write-up will be the final battle. Who will win?

No comments:
Post a Comment