Friday 28 April 2017

Saga Sacred Ground

We played Saga last night, running a doubles variant of the Sacred Ground scenario. We had two teams of two players each, running five point warbands. Gary took Jomsvkings and was teamed with me playing the Welsh, whilst Caesar took the Anglo-Danes and was teamed with Daniel playing Anglo-Saxons.


There were five pieces of terrain on the board, and each side scored points for troops occupying a terrain piece each turn.


The Anglo-Something faction.


At the start of the game we all rushed towards the nearest terrain feature, and sat in it.


Indeed this was a problem with the scenario; troops were better used occupying terrain for points than they were trying to oust the enemy from their terrain. Two things prevented the scenario becoming four warbands watching each other for eight turns. Firstly the presence of missile troops in three factions meant that casualties could be scored without leaving the terrain and, secondly, bot the Jomsvikings and Welsh had abilities on their boards which could be used to move enemy units out of the terrain they were in. For example, the Anglo-Saxon levy archers were taunted out of safety by Welsh javelinmen and archers, who then failed to inflict any significant casualties on them.


For much of the game the fiercest fighting was over the hill in the centre, with the Welsh and Jomsvikings sheltering on the reverse slope from Saxon archers.


Daniel proved more aggressive towards the end, as he and Caesar had picked up a decent lead in points. Saxon levy charged the terrain pieces in which the Welsh were scoring points.


They ended up fighting the isolated Welsh warlord who, in dramatic fashion, drove them off with heavy casualties, having not taken a scratch himself.


The game ended in a narrow win for Caesar and Daniel. Afterwards we discussed how the scenario could be modified to encourage more aggression on the part of the players, and have a couple of ideas to play around with, although one of them was to score the game properly; we'd made an error as to when scores were calculated, which did affect how things would have turned out. We'll be trying this again in a few weeks to see how the idead work.

Tuesday 25 April 2017

DBA - Sub-Roman British vs Welsh

For my second holiday DBA game, I used the same Sub-Roman British army, but this time it was opposed by the Welsh (the earlier Warband-based list). The Welsh defended, which didn't bode well for the British, as they then selected a number of difficult hills and a wood. But a series on flukey terrain placement rolls saw two of the hills jammed in one corner, and a second hill, plus the wood, discarded. This left the Welsh defending a mostly open plain.


The British anchored their spear line on a hill, and left the cavalry cover the other flank.


The Welsh general is their only cavalry, so he stayed in reserve, whilst the warriors formed up in a dense mass, ready to rush the British infantry.


Their rush was hampered by the British cavalry. However their javelin-armed skirmishers did establish a position on the hill.


The infantry lines closed ...


,, whilst a group of Welsh warriors were surrounded by British horse and cut down.


The Welsh charge hit ...


... and the British first line collapsed.


But that's why you have a second line. The Welsh charge continued, but the warriors were suffering from lack of flank support and the momentum had gone out of their attack.


The Welsh general joined the fray, hoping to hold up the British cavalry long enough for the warriors to destroy some more British spearmen.


But it wasn't to be. The Welsh attack broke against the British shieldwall and they lost, 4-2.


The Welsh are a more dangerous opponent for the British than the Picts, with their Warband able to seriously damage the British infantry line. However they are more reliant on terrain to cover their flanks from the British cavalry, which is where they came unstuck in this battle.

6x6 - Game 5.2

Monday 24 April 2017

DBA - Sub-Roman British vs Picts

This weekend, Mrs Kobold and I went camping, in the lovely Nangar National Park between Cowra and Orange in central NSW. Since the weather looked like it would be fine, and we'd planned to spend a lot of time relaxing on the site rather than going for long walks or other expeditions, I decided to take a few of my 6mm DBA armies, and have a go at some games of DBA 3.0. This game is on my 6x6 list, and is one that I've not tried playing by myself; up until now I've had other people to explain the game as we went along. This would be my first attempt at puzzling the game out as I went along.

I actually managed to fit in two games, on successive days.

The first game saw The Kingdom of Strathclyde (the later Sub-Roman British list) facing Picts. The Picts defended but terrain placement saw the bad going their army relied on on one side of the board, which Strathclyde then chose as their side. This did leave the British deploying through hostile terrain (a rocky hill and a hamlet), but left the Picts fighting out in the open, where the British cavalry and spears would be at their best.


Here's the British advancing through the terrain.


The Picts. Their light cavalry was deployed on their left to cover against outflanking moves, whilst their long-spear armed infantry formed a block in the centre, with their skirmishing archers covering the right.


The Pictish archers advanced quickly, looking to take the hill and harass the British left flank. The British had deployed some archers on the hill, but they were very much outnumbered.


The two infantry blocks advanced towards each other.


On the other flank, the British cavalry rushed over the hill in front of them, leaving the Pictish horse looking very outclassed.


And so they were; the British cavalry cut them down fairly swiftly. The Pictish general moved into the combat to try and salvage the situation.


Meanwhile on the rocky hill, the British archers were overwhelmed by their Pictish opposite numbers.


On the British right the cavalry combat continued.


British spears moved up in support, putting the Pictish general in a very tricky position indeed.


The Pictish general was surrounded, and cut down. This would have meant the end of the battle except ...


... the Pictish spearmen charged their British opponents, catching one group in a deep column. As it recoiled, skirmishing Pictish archers attacked from the flank, and three elements of British infantry were lost.


This left the losses even, at 4 elements each, so despite the loss of their general the Picts continued to fight.

However with no opponents facing them, the British cavalry charged into the flank of the Pictish spearmen.


The loss of those spearmen meant that the Picts were now defeated. 5-4 to the British.


I learned that you don't stay in deep columns close to the enemy, and 'close' in DBA 3.0 means 'a long way away', because of the large move distances. I had one or two minor rules issues, to which I applied a mixture of common-sense and my knowledge of HOTT. Checking the diagrams and rules more thoroughly later on, I actually resolved them correctly.

The Picts really need bad going in order to force the British to fight on a narrow frontage. In that way they can double-rank their infantry (classed as Pikes), and get the edge against the British infantry (classed as Spears). A scattering of bad going also helps neutralise the British cavalry superiority. The Picts real strength lies in their superiority in Psiloi and Light Horse, both of which are tricky to bring into play effectively. The British army is a simple, no frills, DBA force: three Cavalry, eight Spears and a Psiloi. They just rolled their infantry forward, and used the cavalry to gain absolute superiority on one flank.

Here's a few pictures I set up after the game, when I decided that the light was a little better for photography.


Tuesday 18 April 2017

Battle of the Dunes

In the Twilight of the Sun-King Yahoo Group's files section are some scenarios. One which caught my eye (because it is small) is for the Battle of the Dunes in 1658. Whilst nominally fought between a French and Spanish army, the French had allies from the Commonwealth whilst the Spanish were a mixed bag and included Germans, Walloons, some English and Irish Royalists and a whole flank of French rebels..

I set up the game using my paper ECW armies, with a base-width being equal to 3cm. Because of my limited troop collection I scaled down both armies by about a third. I should have really scaled the battlefield accordingly; paintings and prints of the battle show it extending into the fields adjoining the beach, whereas my meagre armies fitted onto just the sand.

The scenario defines the whole area the Spanish army is deployed on as dunes, counting as defensible for infantry and bad going for cavalry. I couldn't reconcile this with the rules, in which cavalry must move in column in bad going, thus completely nullifying them on that half of the board. However the few accounts I skimmed suggested that the Spanish army deployed its infantry on a particularly big dune, and that those was the significant terrain feature. I opted to depict the dune only, making it big enough to hold two infantry. This was classified as bad going and defensible. The rest of the Spanish half of the beach required all cavalry to pass an action test in order to do anything.

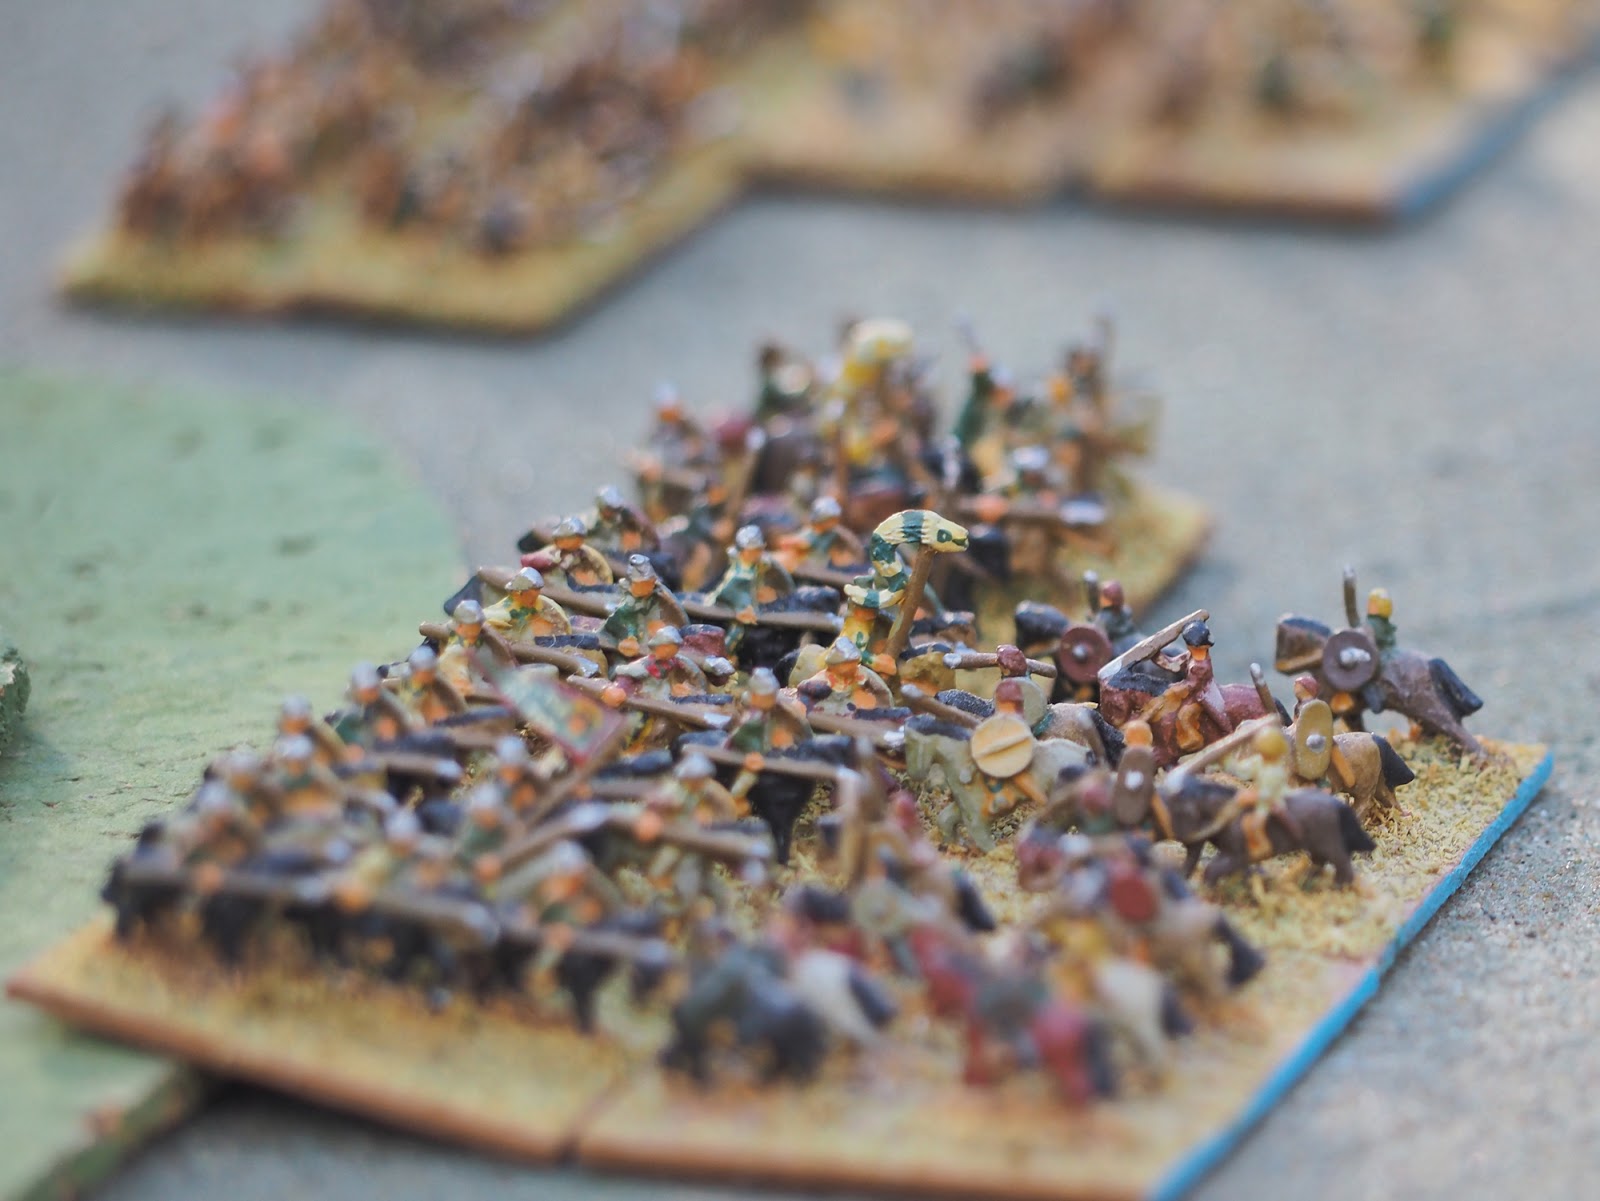
Here's the deployment, from behind the French lines. Out to sea are ships, providing artillery support for the French army. Historically these forced the Spanish cavalry on that flank to deploy behind their own lines (I think), but I decided they would tough it out in this game. The coloured counters represented the positions of the wing commanders, since I didn't have enough leader figures printed off and based.


And another view. Before I started the game, however, I redeployed the cavalry on the French right such that the two units were one behind the other.


With the armies being smaller than the published scenario, I changed the victory conditions slightly. The French had to force the Spanish to take an army morale test within six turns, or the Spanish would win a morale victory. If either army failed an army morale test, then it would lose, but the French had to do this quickly in order to avoid the head-shaking of history.

The French opened the battle in conventional style, advancing their whole army, with the cavalry charging straight into action.


The infantry marched forward, and musketry was exchanged. But the French weren't looking for a firefight; they levelled their pikes and pushed up the dune, even if it took some exhorting from their commanders to achieve this.


The Spanish cavalry on their right fell back from the initial attack. The French held off following up, and let the Navy soften them up a little first.


Things went badly for the Spanish in the centre. Cromwell's veterans pushed straight up the dune and routed the infantry facing them after a brisk fight.


The French left flank cavalry charged again, whilst the Navy engaged their supports, routing them. Against the odds, though, the Spanish front line held firm.


The French and British infantry now advanced onto the dune in force, as another Spanish infantry unit was routed. Only the French rebels on their left were now holding their ground.


However the gaps in the Spanish line were becoming critical, as the French turned on the flanks of the Spanish. The Spanish cavalry beyond the dunes came under fire from the summit, but failed to retire, and were shot down.


The last remaining infantry unit in the Spanish army broke, and a cascade of morale tests broke the whole army.


The cavalry on the Spanish right held out to the end.


The French didn't lose a single unit. The Spanish army collapsed in five turns.

This is probably not a very balanced scenario, unless things go very badly during the initial French attack. The French had the edge in numbers, quality and leaders, which is not offset by the one terrain advantage the Spanish have. Having artillery, both on the field, and offshore, also gives the French an edge. The scenario does demonstrate how an army rapidly disintegrates once the flanks of its units become insecure, however; as the French and British infantry pushed forward onto the dune, they compromised the flanks of the Spanish cavalry on the strand and the French rebels on the left, and hastened their demise.

The paper armies looked nice under these rules, and I'm inspired to print some more to expand my forces. They may not be entirely historical (or even remotely historical) but they did the job.

Related Posts Plugin for WordPress, Blogger...