Showing posts with label battle cry. Show all posts

Tuesday, 22 November 2022

McDowell 1862 With Battle Cry

On our club night this week we're going to be trying a refight of the 1862 Battle of McDowell. We've been giving some pre-game reading, but I thought I'd brush up on the battle the fun way by playing it out with Battle Cry since (i) the game is on my table and (ii) there's a scenario in the rules.

The McDowell scenario has a relatively low unit count and is almost entirely infantry; nine Confederate vs seven Union. The Union have one general and an artillery, and the Confederates three generals. The Union have more command cards though. The terrain is scattered woods and hills, with Sitlington's Hill as a central feature. Here's the setup:


The Union started with a bold advance on their right flank, using the hills there as cover.


They quickly dealt with the two Confederate units on that flank, and turned on Sitlington's Hill. The Confederates were bringing up reinforcements to cover the hill.


The Union pressed a series of attacks against the left of the position on the hill, and got quite badly cut up. But they were inflicting decent losses on the Confederates too.


Union troops began to move up in the centre to provide limited support.


And that was enough. Although a lot of the Union units were heavily depleted, they were still fighting, whilst with the shooting of General Johnston on the hill the Confederates had suffered the necessary losses to give the Union a 5-2 win.


I set it up and played it again. This time the main Union attack came in the centre, with their left coming up in support. One unit pushed up onto Sitlington's hill and into the Confederate rear. But Taliaferro's Confederates moved in from the Confederate rear, and their counter-attack clinched a narrow 5-4 win for the boys in grey.


The final position. With five medals needed to victory the losing side will be looking very thin on the ground by the end.


Anyway, I'm all set for Thursday now.


Saturday, 19 November 2022

More Battle Cry

I notice that I haven't posted in a week, which is pretty bad for me.

The truth is that I haven't really done very much gaming-related stuff in the past week. A lot of time has either been spent catching up with friends, celebrating family birthdays and (the majority) preparing for and performing in burlesque shows covering two consecutive nights. And work, naturally, squeezed in wherever there was time.

I did manage to fit in a few more games of Battle Cry though. This time I played the Ox Hill scenario, and found it to be nicely balanced. Here's a couple of pictures of the setup.


Actually one peripherally game-related thing we've been doing recently is going to a local weekly trivia night. Given that our team consists of myself and Mrs Kobold we've done surprisingly well, finishing in the top three (out of ten to twelve teams) each time we've been. The small prizes we've picked up pay for the food and drink the next time we go.

Anyway, now the burlesque stuff has calmed down until the new year I'll have more time to devote to games I hope.

Saturday, 12 November 2022

Battle Cry - Antietam

Having fought the American Civil War twice using 'A House Divided' to give me the bigger picture, I went back to a more focused approach and played some more Battle Cry during the week. 

I set up the Antietam scenario, partially because it's a battle I'd just got to in my reread of Shelby Foote, but mostly because it's a favourite battle of mine. Many, many years ago I spent a ton of time reading up on it in order to put together a Fire & Fury scenario for it (this was before Great Eastern Battles was published), and I still find it one of the more fascinating larger battles.

The game sets it up as you'd expect, as three fights, one in each sector. The numbers of units are actually fairly similar, but this kind of gives the right effect; the Union have enough troops to push the Confederates facing them to the edge but maybe not quite enough oomph to finish them. The Union have fewer command cards than the Confederates. The Confederates start with terrain advantages too. It's a tough one for the Union.


Here's the start. As you can see I added a few bits of terrain.

The Union attack on the cornfield went as well as you'd expect.


Burnside got his troops together to cross the stone bridge. This is an odd part of the scenario, since Burnside acts as the same time as the rest of the Union army, but in fact this flank is so isolated from the rest of the fight that it's almost a game on its own, so could (in theory) be assumed to be happening later.


A.P. Hill's troops came up and stopped the advance over the creek fairly quickly. In the centre the Union went for the sunken road. 


They even occupied the road.


Burnside was shot trying to escape back across the bridge.


And the Confederates turned the sunken road into a killing-ground, in a reversal of history.


That ended the battle; the Confederates won 7-3.


I set it up and played it again. The Union put in a pretty good attack on the cornfield this time, although Stuart's cavalry hit them hard.


Burnside got his troops over the bridge again. The Union were doing OK so far.


The Union troops in the cornfield were decimated by shooting from the Confederates around the church and supporting artillery from near the sunken road.


And, omce again, Hill's troops came up quickly to threaten the Union position by the bridge.


Burnside escaped being shot this time, though.


And Hooker got lucky too. His troops? Less so.


And that was it. The scenario is unforgiving when it comes to casualties and the destruction on the flanks was enough for another Confederate win: 6-2 this time.


I've played the Belmont scenario through a few times since I took these pictures as well, but didn't photograph it. It gives a surprisingly fun and frustrating game, featuring as it does infantry that retreat two spaces instead of one. The Confederates have numbers, but also have terrible command cards, so struggle to bring them to bear. Honours are about even so far.

Saturday, 1 October 2022

Battle Cry - Newmarket

It's a wet long weekend, so we weren't keen to go out today. Instead Catherine and I played a couple of games of Battle Cry; one scenario, played twice and with us swapping sides, with the victory going to the best aggregate score. Most scenarios in theses boardgames are unbalanced in some way, so this method of play ensures a fair assessment of victory. Sometimes all you have to do is lose less badly than your opponent did.

Anyway, we played the Newmarket scenario, which is fun because it features two roughly equal forces, with one attacking the other. The Union have a decent defensive position, so should win, but the Confederates have six command cards to their four, so have the advantage of being able to put together a killer hand.

Here's the setup. Most of the Confederates are massed in the centre, whilst the Union are split between their right flank and the centre. On the Confederate right/Union left two equal forces of cavalry and horse artillery face each other across the bed of a stream.


I played the Confederates in the first game, and started off with a strong advance in the centre.


We both brought our cavalry in from the flank, and they fought on the edge of the centre sector.


The Union broke up the initial Confederate advance, leaving General Breckinridge looking a little exposed. 


Breckinridge fell back to the relative safety of the VMI Cadets, whilst the Confederates advanced en masse. I managed to save up a decent run or cards to launch a strong attack on the centre, and this was the moment I started it.


The end. I played the Battle Cry card and used the combat bonus to collapse the Union centre. I won 7 - 5 (Victory is six flags, but I destroyed two units on the last turn).


We swapped over, and it was something of a shock to end up with only four command cards. Especially when the only sector cards I drew were Scout cards, which meant I could only use one unit per turn for a lot of the early part of the game.

I reorganised the Union line into something a little stronger, but Catherine was already causing casualties with long-range fire as she edged forward.


I pulled my cavalry into the main part of the battle, and used horse artillery to cover my flank there. Catherine brought up her cavalry in opposition.


My position was strengthened with some hastily constructed field-works. This is always a good card to get when you're the defender.


A series of melees saw my cavalry swept away, as well as the horse artillery. Some of my infantry stabilised that flank. 


Confederate cavalry attacked a weakened Union unit to pick up their sixth victory flag.


After my bad start I was able to use some cards near the end to pick off some weakened Confederate units, and ended up with five flags. In fact had Catherine not taken out that last Union unit I had a couple of long-range shots possible which could have given me my sixth flag and a win. As it was Catherine won 6-5, so the aggregate scores were 12-10 to me.

I rather like this scenario, but there's still plenty more in the book I haven't played yet.


Monday, 26 September 2022

Battle Cry

Playing those ACW Portable Wargames a couple of weeks ago gave me a bit of a yearning to get out Battle Cry again. So over the weekend, when I wasn't photographing the cycling or working my way through the whole of 'Dad's Army', I set up a few games.

I used the solitaire rules I've outlined elsewhere, which allows me to play both sides sensibly and gives a reasonable facsimile of the actual game.

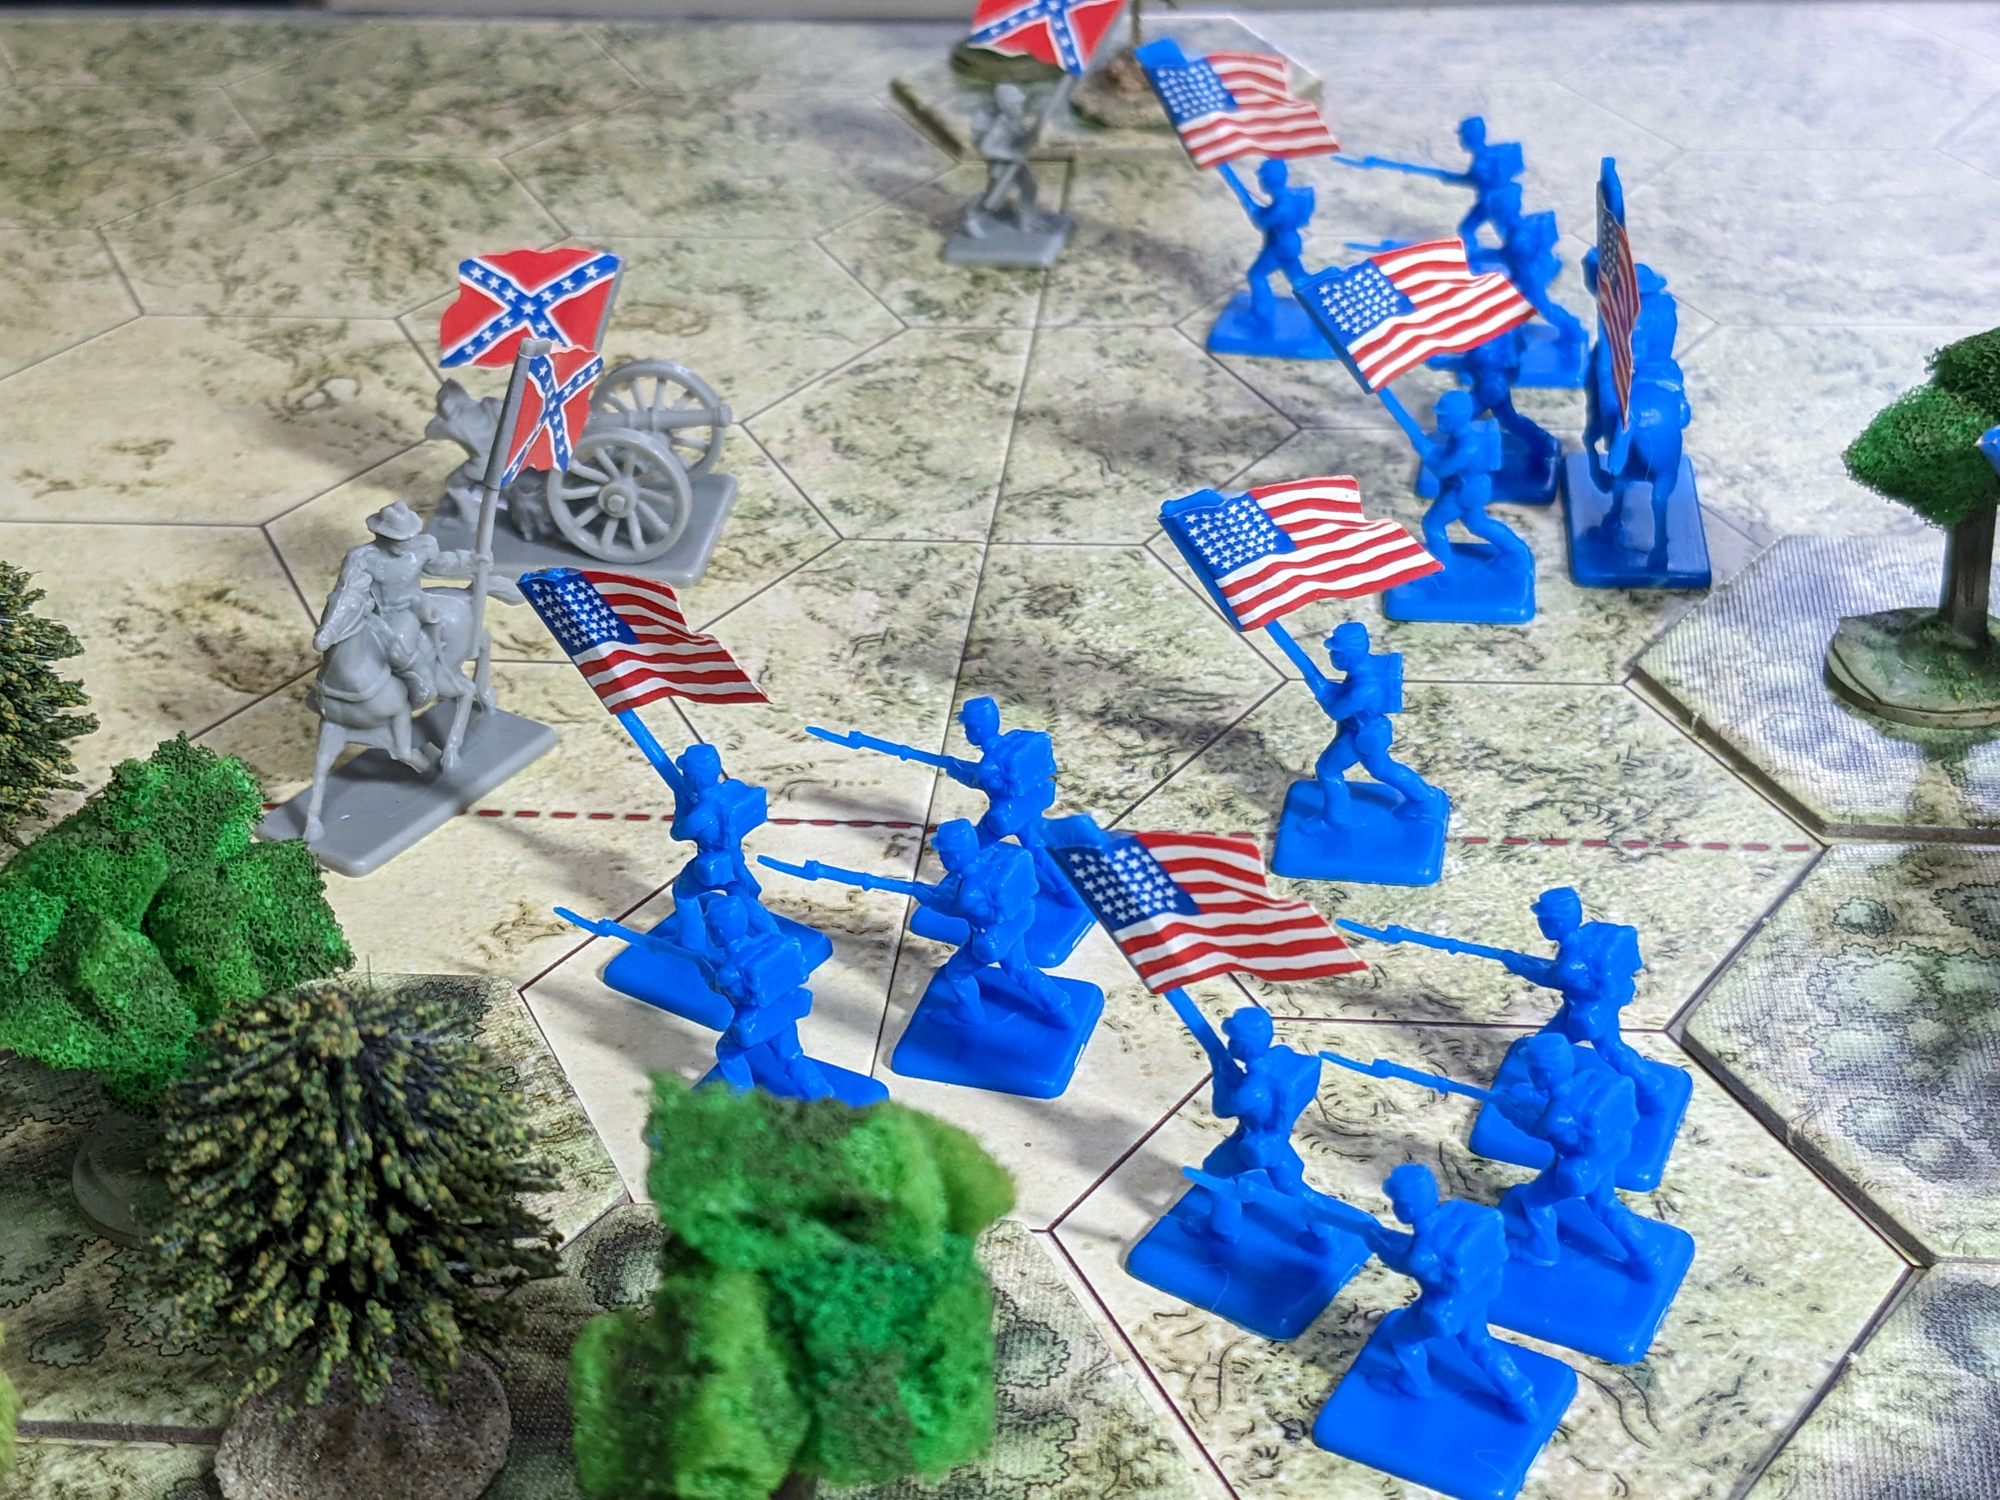
In recent years I've used my 6mm miniatures for Battle Cry, and they look rather splendid, but I fancied the toy soldier look of the original pieces this weekend, so used them instead. In addition I added some terrain; I used cork hexes to raise up the hills, and buildings and trees to represent homesteads and woods.

I started at the beginning, with the First Bull Run scenario.


It seems to have a lot of cavalry. Stuart attacked the Union left.


The Union cavalry was driven off.


The Union advanced whilst the Confederates were slow to take Henry's House Hill.


The surviving Confederate cavalry was stymied by some Union artillery ...


... who took out General Stuart as well.


The Union continued to advance as the Confederates occupied the hill.


The Confederates gave up the high ground at the first assault.


Jackson stood like a stone wall ....


... Briefly.


The Union troops over-ran the Confederate position to pick up a fairly easy victory.

I then set up the Shiloh scenario, which I've not played before. It has a lot of woods.


The Union have a lot of guns covering the few clear areas.


An early Bombard card allowed the boys in blue a chance to seriously maul the advancing Confederates.


The Confederates pushed on through the woods.


Some made it to the guns, but the units were looking very feeble when they got there.


The Confederates also have guns, but they start tucked away in a corner as a reserve. Slowly they brought them up into position and started to batter the Union line.


On their left the Union felt bold enough to take the fight to the Confederates.


General Cheatham was killed.


With the scent of victory in their nostrils the Union troops pushed forward. The Confederates had nothing to seriously oppose them with and collapsed.


As I recall the Confederates didn't destroy a single Union unit.

I don't have suitable terrain to play all of the scenarios like this, but they certainly looked nice with a few trees and buildings on the board. And it was fun to get this old classic game out again.

Related Posts Plugin for WordPress, Blogger...