I'm running an Epic 40K game at the club in a couple of weeks, so I thought I'd better reacquaint myself with at least some of the armies, as it's been a while since I've had them out. I also wanted to try out some ideas we've been discussing for adding DBM-style march-moves into such games. We've found that often a command on one flank breaks the troops opposing it, but is then too slow to cover the distance to provide any real support for other commands.
I went for a 72AP game, and purely because they were the first troops I laid my hands on, ended up with an Imperial (mostly Space Marine) force against Tyranids. As anyone who knows me knows by now, I do 72AP games
as 72AP games; I don't just use three 24AP armies.
Here's the Imperial force. It's a mix of two Space Marine chapters, plus some Sisters of Battle:
There's eight Knights, twelve Blades (the Marines), two Riders, six Warband (the Sisters), two Behemoths (Titans), a Paladin (the Sister's Living Saint) and a Hero (the Imperial Commander). The Hero and one of teh Blades were commanders for the Marines, whilst one of the Warbands was also a general. The Imperial Commander was designated the CinC. Most of the Sisters were placed in one command, to deal with any flank heavy in bad going, whilst the Marines were placed in another command under a sub-general. They also had the two Titans attached to them. The rest of the troops - the Imperial Commander and all of the tanks - were in a final command.
Here are the Tyranids. There's a lot of them:
That's twenty-four elements of Hordes at the front; they were lumped into one command. There were eight Knights (the 'tank' creatures), which were put in a command with the one Behemoth (the Trygon). A final command was made up of six Warband and two Beasts. Like the Imperial Sisters command this would cover the flank with the most bad going. Each command was led by one of the three Magician generals; two Hive Tyrants and the CinC, a mighty Dominatrix. She took the 'tank' command, aiming to lead it in an unsubtle assault on the Imperial centre, whilst the Horde command covered one flank with sheer numbers.
I mentioned march moves above. I would allow any group or element to spend PIPs to make extra moves, but only if those moves did not start, end or go within 600p of any enemy element. A fairly simple rule.
The Imperials defended, and placed this terrain. In the foreground were a couple of built-up areas, whilst a field was all the was in the centre. Beyond them were two insignificant patches of rubble, and a couple of ridges. I used my randomised terrain system, adapted from an early release of DBA 3.0.
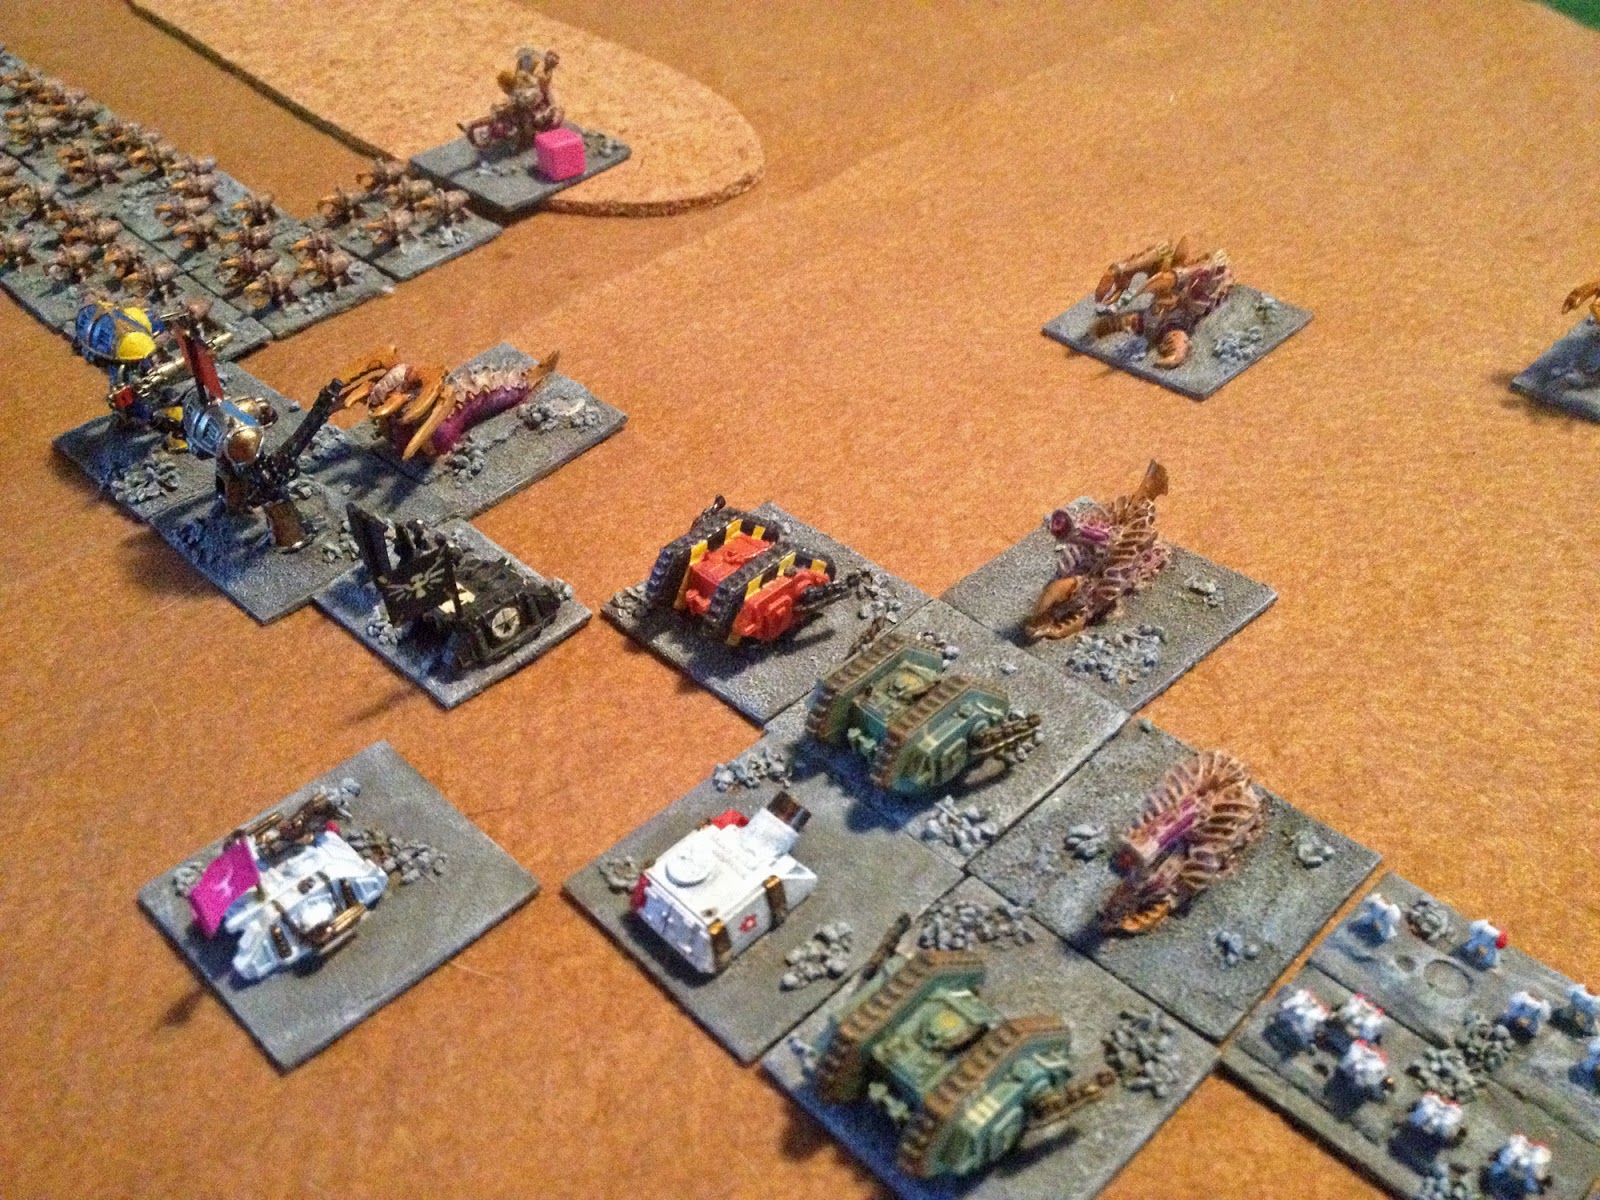
And here are the armies set up. In the foreground the Horde command faced the Space Marines, whilst around the built-up areas the Sisters faced Tyranid Warband and Beasts. In the centre the giant Tyranid assault creatures were opposed by Imperial Land-Raider tanks.
The Imperial Centre. The Warlord Titan is their stronghold. Some Sisters cover one flank, whilst a smaller Titan covers the other.
Massed Marines stoically await the attack of endless numbers of bugs.
And here they are. Bugs, bugs and more bugs. Hordes in all their glory.
The Tyranid centre. Beyond the massive Dominatrix can be seen a block of Warband creatures.
Over on the Imperial right, a small force of Sisters of Battle hold the ruins.
The lines advanced ...
And kept advancing. Some early march moves allowed the Imperial army to grab the small field in the centre, but for a turn or so they allowed the Tyranid Hordes to keep up with the advancing 'tank' line and protect its flank. So, whilst it's a minor addition to the game it did have an early effect.
The Imperials attacked first, assaulting the advancing Tyranids in the centre.
They mostly drove the Tyranid line back, and managed to destroy one of their elements. First blood to the Imperials.
The Tyranids on the Imperial right attacked the ruined city.
And the Sisters suffered the first Imperial casualty.
Any fight with this many Knights on both sides ends up looking messy, as elements recoil and pursue. In the foreground the Sisters were stuck in a long slog with their Tyranid Warband opposite numbers.
The Sisters had held their two Riders and the Paladin in reserve initially, but moved them up now to prevent their flank being turned by the superior numbers of Tyranids.
The Titans entered the fray, facing the Trygon in a fight that would remain a draw for much of the game.
The next two pictures show the key moment of the battle. On the Imperial right the Hive Tyrant sub-general had turned the flank of one of the opposing Warbands. The first fight was a draw, and on their turn the Imperials slipped an element of Sisters on bikes in behind the opposing general. This was the ensuing combat roll.
And it meant the the Hive Tyrant, unable to recoil, was lost. The Tyranid left flank was now without a commander.
In the centre the Sisters destroyed two elements of Warband, also in the Tyranid left-flank command. The command was 8AP down, and would have to roll a 5 or 6 for PIPs on its next turn to not go demoralised.
Join The Space Marines. See The Universe. That part of it occupied by bugs, anyway. The Imperial sub-commander led his Marines against the oncoming Hordes, preventing them from threatening the flanks of his Titans, allowing them to support the tanks.
The Imperial Commander moved to plug a gap in the line. Both side were losing tanks (or tank-equivalents in the case of the Tyranids) at a steady rate.
Remember that critical PIP rill? It needed to be five or more. It wasn't. The Tyranid left was now demoralised, and split up without any general, most of it fled the field in confusion. This now left most of the Sisters of Battle free to exploit an open flank.
Desperate times call for desperate measures. Whilst lacking the PIPs to ensorcell the Imperial Commander, the Tyranid Dominatrix moved into a position to oppose him.Although one factor down in any close combat, she was hoping that overlaps could be created and exploited in order to even the odds or give her an edge.
The Sisters used march moves (and a roll of 6 for PIPs) to rapidly move into the Tyranid rear.
On the other side of the battlefield the Space Marines were getting stuck into the bugs, but by this stage it was obvious that the battle would be won on in the centre or on the other flank.
The centre again. One of the Titans had fled after fighting the surviving Hive Tyrant, and was now attempting to rejoin the battle.
The Tyranids needed to do something clever. they had a few options open to them as well. But these were the PIP rolls for their three commands. At the key moment of decision in the battle, the Tyranids basically did nothing for a turn.
Being the CinC, the Dominatrix could still move for one PIP; the extra PIP for being a Magician was offset my the bonus PIP for being a CinC. With little to lose at this stage she assaulted the Imperial commander; the Imperial centre. although holding, was close to breaking, and the death of the Commander would be enough to take it over the edge. The Tyranid losses were high enough that losing their CinC wouldn't lose the Imperials the battle, but it would certainly leave their stronghold vulnerable if the centre command collapsed.
The fight was a draw.
Rather like the ongoing one between the Titan and the Trygon.
The Sisters continued their flanking move. They were now in a position to seriously threaten the Tyranids.
But before they could do anything the battle was lost; the Imperial Commander killed the Dominatrix. With their CinC gone, and having sustained more losses than the Imperial force, the Tyranid army collapsed and fled.
Here are the Tyranid losses; 33AP, including two generals.
The Imperial losses were very light for such a hard-fought battle; 10AP, mostly tanks from the centre. One more element lost from that command would have broken it.
This was the final position. the bugs and Marines were still fighting, and had things not collapsed so quickly elsewhere that battle would have begun to have had significance. The Sisters of Battle were thh true stars of the game, though, holding the Imperial left in the field throughout the game, allowing their tanks to do their work, whilst routing a Tyranid command as well.
A great game, and the march moves didn't seem to unbalance things too much. Whilst the victorious Sisters didn't get back into the fight, they would have done had it lasted one more bound. And the multiple moves had some interesting minor effects in the early stages of the game as well. At this stage I don't see any need to change them, but I will test them with at least one more game.