Monday 29 September 2014

Martians For MOAB

It's the HOTT competition at MOAB next Monday, and with a week to go I thought I'd better settle on the matched pair I want to use. I've been looking at using a couple of my Martian armies, but haven't been able to decide which. I think I've finally put an interesting combination together. So I tried it out tonight. Here's a few teaser pictures. The lighting wasn't very good. Sorry.


Saturday 27 September 2014

The Gothic Empire

A couple of years ago I scratchbuilt some spaceships in order to playtest a possible starship combat game based on the 'Songs of Blades and Heroes' engine. The game was fun, but there were still flaws in it when the developer seemed to stop work on it, so nothing more came of it. This was a shame, as it had about the right level of detail (not much) complexity (not much) and scale of game (small) that I wanted in a starship game, and had yet to find in any commercial rules up to that point.

Anyway, at he time I built three forces, whose adventures you can find documented elsewhere on this blog. However I built a fourth force that never saw action. I found it today whilst rummaging through boxes for something else, and thought they deserved a quick iPhone photoshoot. Say hello to the ships of - The Gothic Empire!

Here's the fleet deployed - one Battleship, two Cruisers, three Frigates and four Destroyers.


The Battleship Sombre Poetry of Dreams


The Cruisers Master of the Tortured Existence and Mistress of the Exquisite Solitude


The Frigates Stygian Purpose, Dark Enshrouded Desires and Fearful Symmetry


The Destroyers Shroud, Suffering, Seduction and Silence


A top down view of the vessels - the largest is a couple of inches long, the smallest about an inch. As with my other starships they are built from stacked layers of card, toothpicks, lentils and grains of rice.


I have to say that, having found these models I'm keen to give them a game of some sort, even if it means fixing the last published playtest version of the rules myself.

Friday 26 September 2014

Great Northern War Maurice

Caesar and I played Maurice this evening, using my GNW Russians and Swedes.

The armies were:

Russians (Caesar) - Seven Trained Infantry, two Guard Infantry, four Trained Cavalry, three Artillery, Maison Du Roi (upgrading the two Elite Infantry to Guards), Pikes

Swedes (Me) - Seven Trained Infantry, four Trained Cavalry, three Artillery, a la Bayonet, Cavaliers, Clerics, Pikes

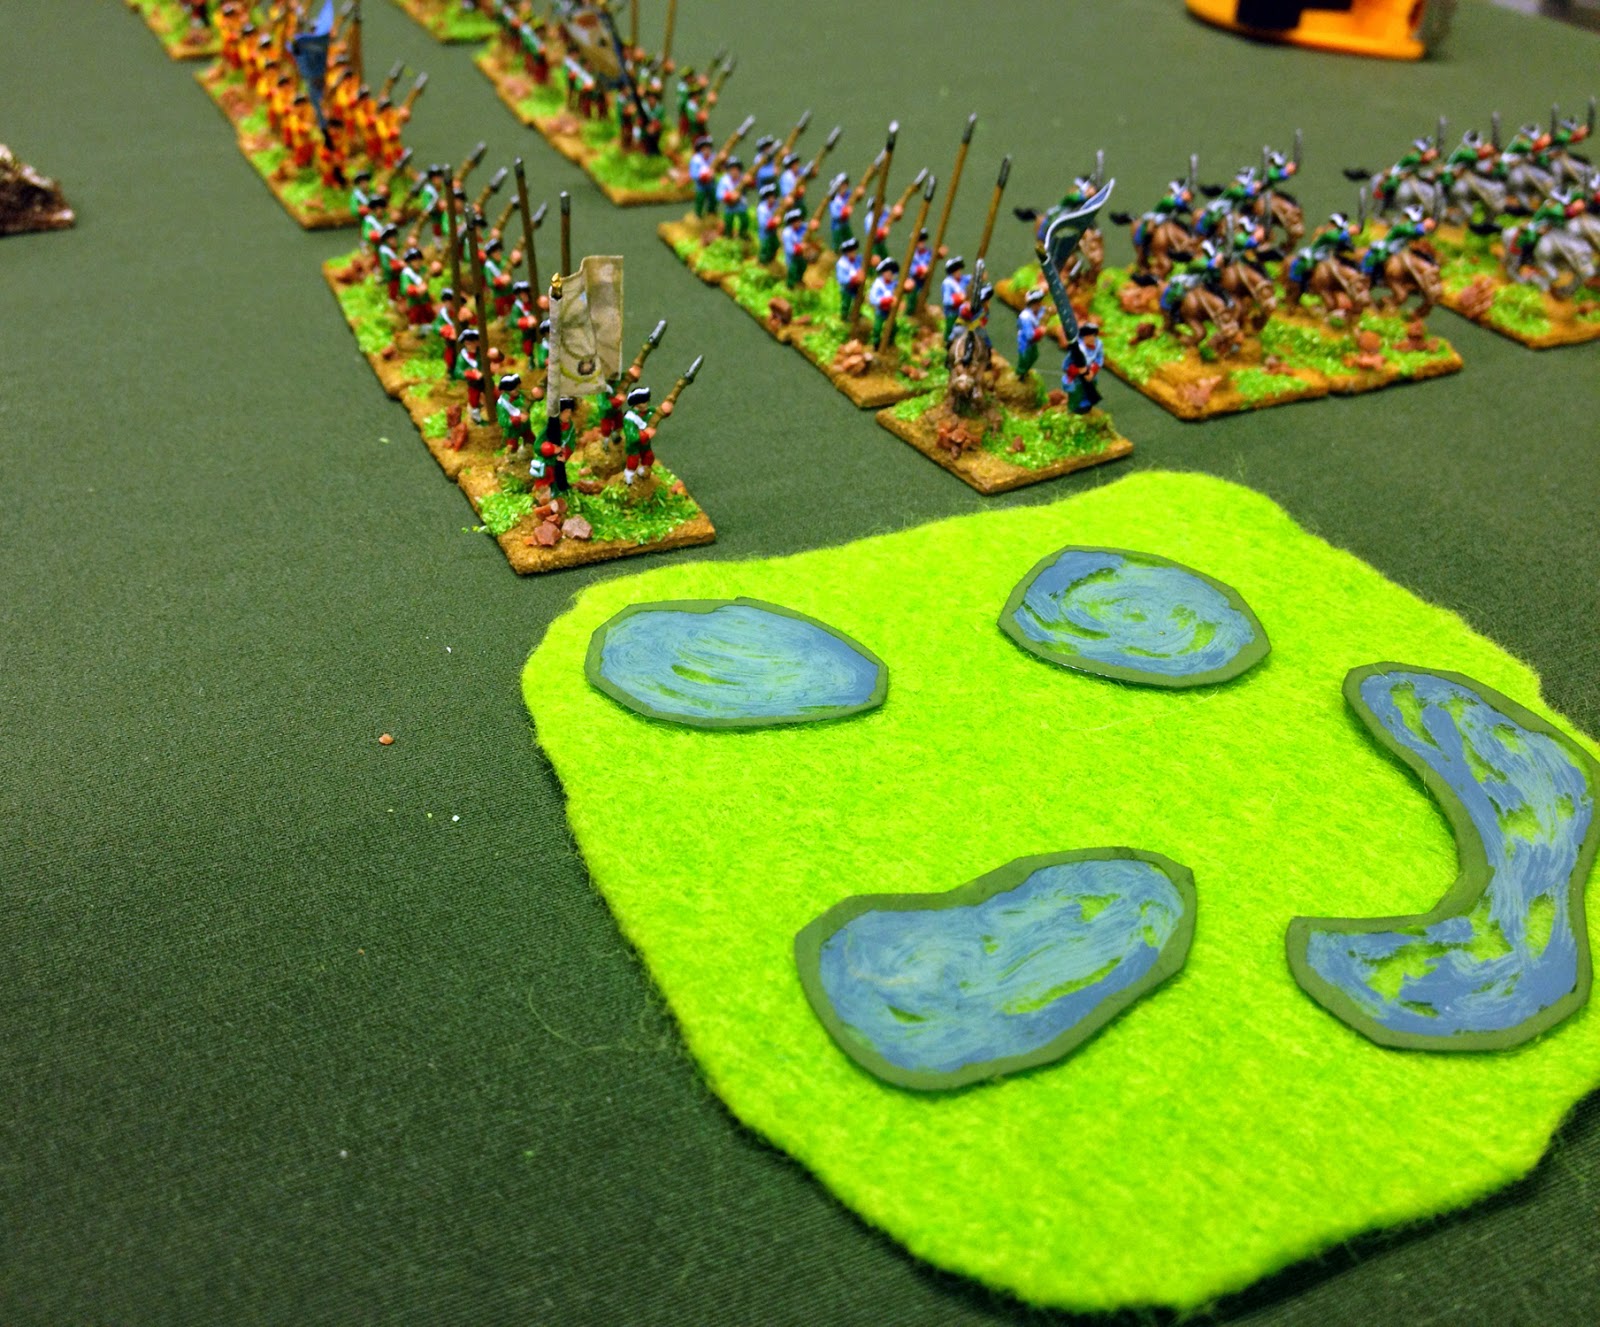
We got an Urban battlefield, Caesar won the scouting roll and opted to defend. We both rolled very low for terrain, and ended up with only five pieces - two small villages, a wood, a wall and a ploughed field.


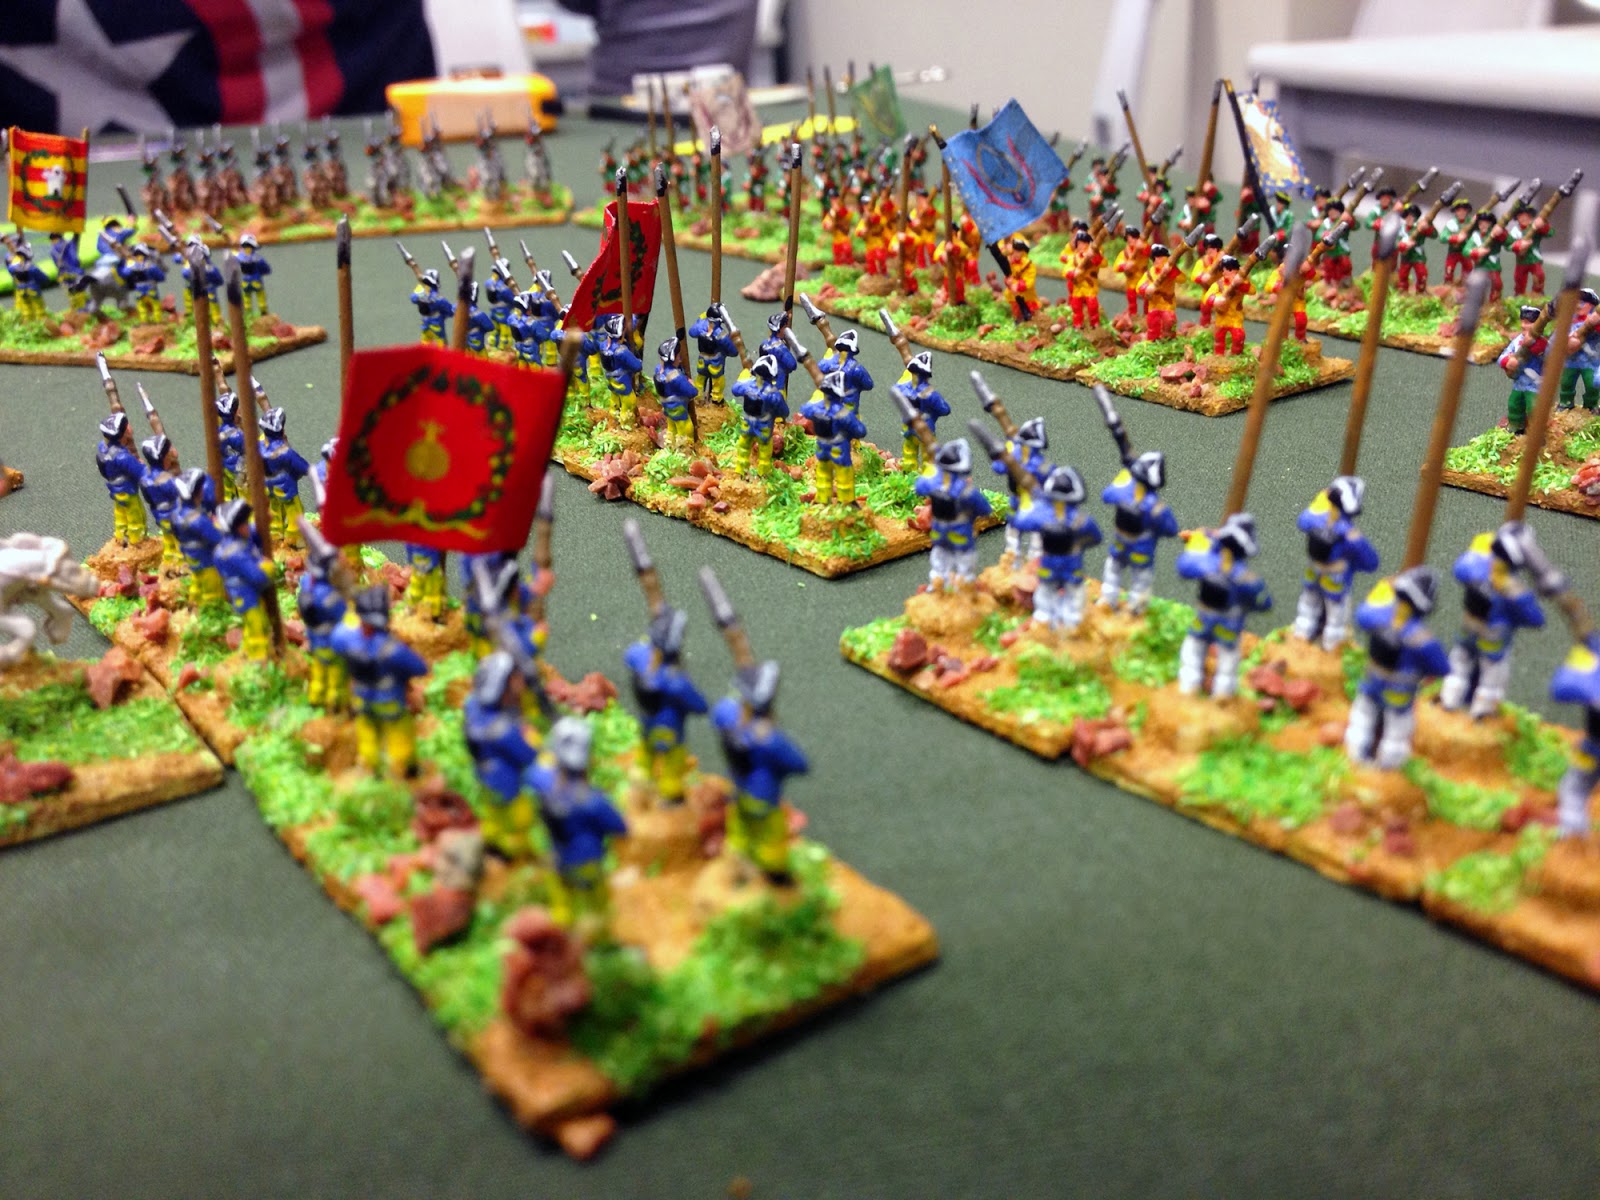
The armies deployed - Swedes on the left, Russians defending the smaller village on the right.


The Russian left-wing. Caesar placed his artillery behind the wall. The infantry columns included his two guard units.


The Russian right.


The Swedish left. This includes two units of Cossack mercenaries.


The Swedish right. I placed the bulk of my infantry facing his columns, hoping to engage them before he deployed.


Charles in charge.


Peter the Great personally set up the range-markers for his artillery.


Caesar's columns advanced, only to find the ground was far boggier than they had been led to believe it was.


He marched his infantry wide, the speed of columns catching me out as he basically turned my flank. I charged his cavalry screen.


Unfortunately, despite the edge Cavaliers gave me, Caesar held my cavalry off. I wheeled my infantry line to face Caesar's deploying Russians, and the cavalry fight became sandwiched between them.


My cavalry was soon destroyed by Russian musketry and a final charge by their cavalry. But the Russians started to take hits from my own infantry as the two lines positioned themselves for what would obviously be the main fight.


The guard had ended up in the second Russian line, but the loss of one of their regular units brought one to the fore.


The Swedes positioned themselves for an attack.


Russian guards.


The first Swedish assault was inconclusive, mostly through Caesar matching a bonus card I played with one of his own, as well as my rerolls being as bad as the original rolls they replaced.


The cheesiest move ever! Noticing how close Caesar's units were to the edge of the table, I used a Confusion! card to retire one of his guard units out of the fight.


The Swedes prepared to attack again. Both sides had lost a couple of infantry units by this stage.


Another Swedish attack. Ga pa!


It didn't go well - the Russians stood firm. This despite the Swedes supporting their attacks with Clerics.


The second Russian guard unit was finished off by musketry, backed up with extremely lucky die rolls.


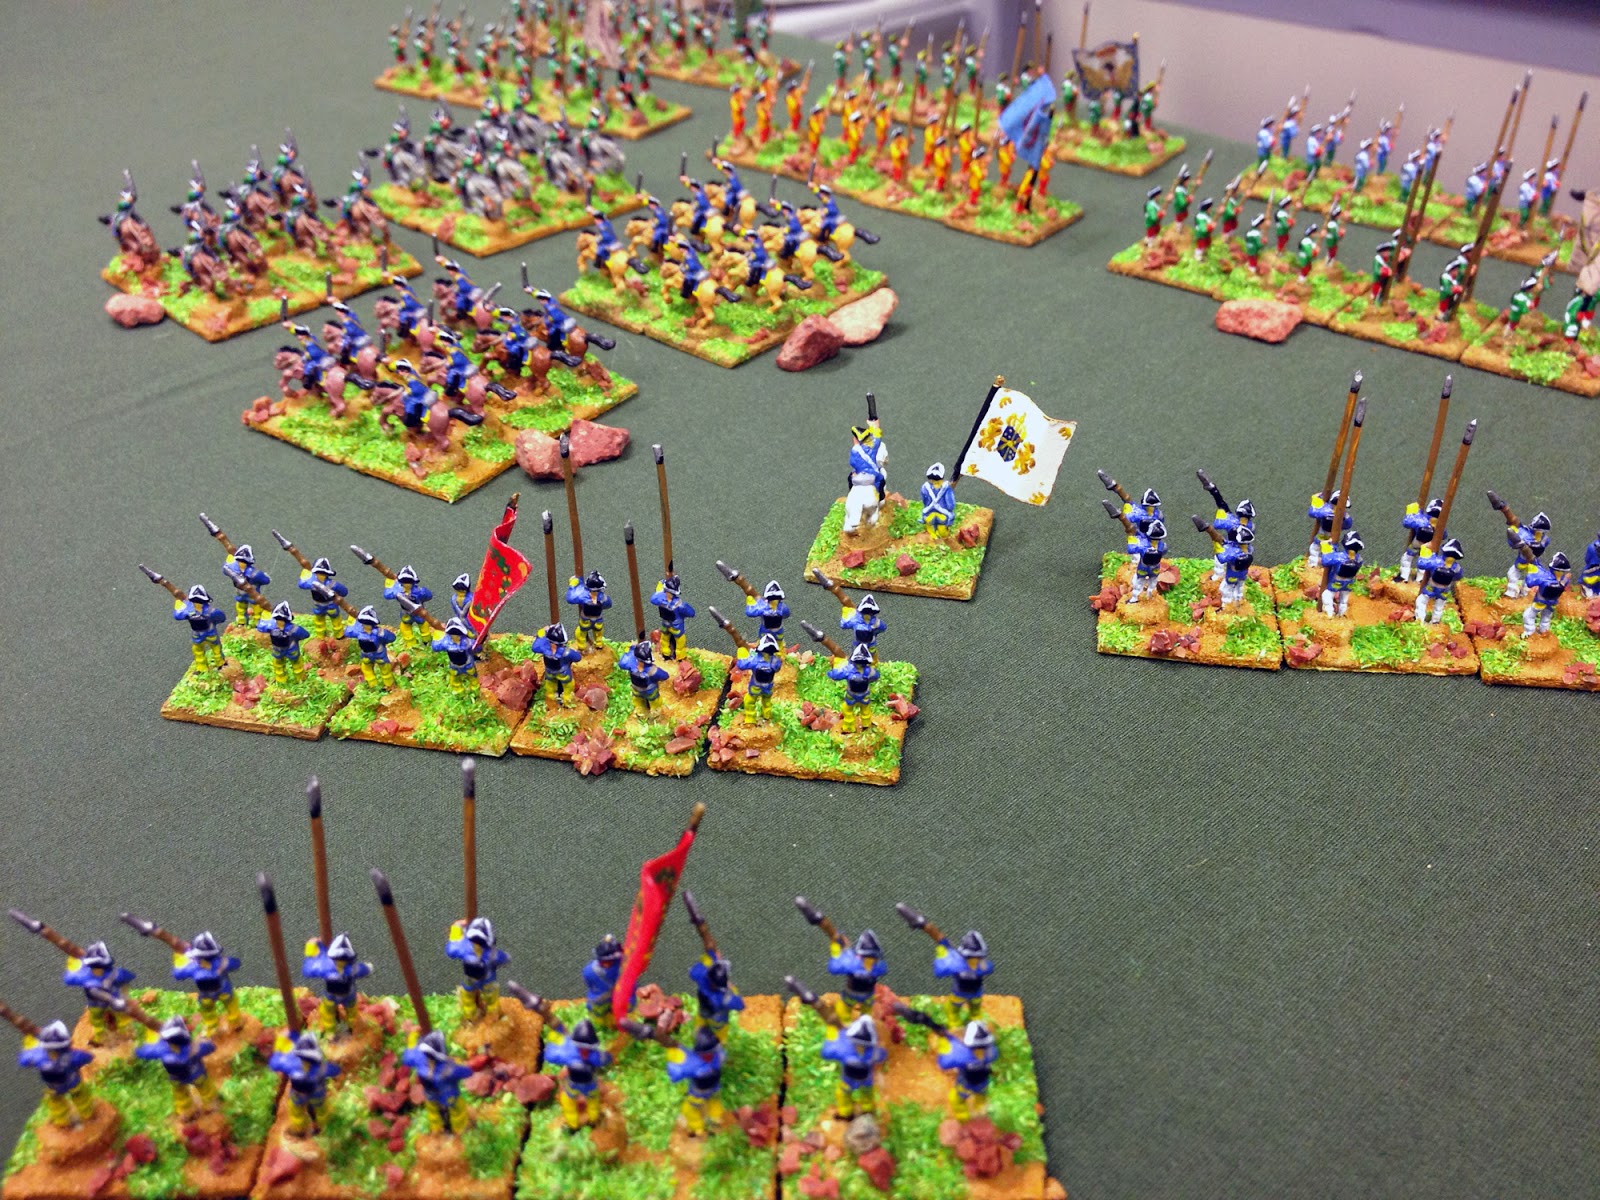
The position was now interesting. The Russians had two infantry units and a couple of shaky cavalry units over on the flank. I had managed to bring the infantry from my left flank over to support my troops, and had four of them ready to launch a final attack. On the downside my morale was down to the last point, but my units were fresh and ready to go, and the Russian morale was getting dangerously low as well.

Then Caesar played this ...


Charles XII shot down like a dog, and the end of the Swedish will to fight. A Russian victory.

Aside from the infantry I switched to my right, our troops on the other flank didn't move. Neither side's artillery fired a shot.


Even the Cossacks managed to sit just looking at a lootable town all game. Well done lads!


Pikes is something of a game changer for the infantry, making the firefights far less deadly. Although the Swedes have an edge in close combat, it's still not enough to be able to barrel straight in against a foe that hasn't been softened up first, if they're of an equivalent quality. We did discuss whether the Russians should have a lot more Conscript infantry. This would up their numbers, but make them a lot more vulnerable to Swedish attack. Maybe it's something to experiment with in a future battle. Another approach is to give the Swedes a few Elite units. The plus side to that being that I wouldn't have to paint any more figures in order to try it out.

Anyway, it was a great little battle, even if it was mostly fought in a small area of the table hard up against one edge. We seemed to pretty much have the rules off-pat now as well.

On the other table was a WW1 game featuring Australian troops in Palestine and using BKC. I took a few pictures of it towards the end, but I was obviously suffering from too much excitement because they all came out blurred and shaky. It sounded like a lively game, though, with much discussion.

Thursday 18 September 2014

HOTT On Mars

I played a couple of Barsoomian HOTT games at the club tonight, so I could get a feel for the armies I might be using at MOAB. My opponent was the ever willing Geoff (not pictured, for once).

In the first game Geoff defended with the Green Martians against an attack by the low-tech Red Martians of Manator (no aerials, basically). The Manatorians bottled up the Green Martian attack between two areas of bad going, pushing their infantry to the fore and keeping their thoat-riders as a reserve to block or exploit breakthroughs.


The first Green Martian charge was repelled with casualties, but they regrouped and came in again, punching through the Manatorian line. Tars Tarkas, their hero general, engaged the Manatorian Jeddak in single combat, and killed him to win the battle.


In the second game the forces of John Carter's Helium faced the Red Martian city of Gathol. Both sides had an aerial navy, and the Gathlians a force of thoat cavalry as well. Helium had John Carter.

The aerial navies approached ....


... fought ...


... and fought some more ...


... until the last Heliumitic vessels were swept from the skies.


Meanwhile the rest of Gathol's army was in trouble; John Carter trouble. He had pretty much destroyed their cavalry single-handed, and was now supporting the Heliumitic infantry in wiping out the Gatholian foes.


The first elements of Gathol's navy moved up to support the surviving infantry, and were destroyed by John Carter to give Helium the victory.


Both games were closer than they appeared, especially the second, which hinged on my being unable to get Gathol's navy into the main fight after giving myself a victory point advantage taking out the enemy air vessels.

I think that two of these armies will see use at MOAB. But I'm still not sure which, yet. The mostly aerial Black Pirates are also a possibility.

Wednesday 17 September 2014

Return Of The Brown Water Submarines

Despite the frustrations, I enjoyed my ACW submarine games yesterday. However I do like to tinker with games, and I felt that one or two aspects could either be streamlined, or turned into their own subsections. At lunchtime today I jotted down some notes on these changes, and gave them a try when I got home from work this evening.

I have incorporated all states and events that make the submarine easier to spot into an end of turn spotting roll. This could cause the target to flee, but the sub gets a chance to find a new one. In addition I have got rid of the idea of events causing a delay of so many fixed turns, as for most of them the accumulated fatigue over that time will pretty much end the mission. Instead I have added the concept of the sub being immobilised, but being allowed to roll to move off again. This makes things risky, but shouldn't delay it for so long. I have also worked out some proper rules for getting the submarine home, as the original game glosses over this a bit. I thought that since so many missions end with the crew aborting, it would be worth seeing if they make it back after that.

My first run of the tweaked game saw the CSS Hunley attacking a target out in a bay. With hindsight the distance to the target was so great that the sub was onto a loser from the start, but ...

From the off the mission went badly, with the Hunley's crank jamming. The crew managed to repair it, but after a short distance it jammed again. Whilst repairing it for a second time they realised that they had drifted off course, and had to steer the vessel back on line with the target. As they got nearer, they decided to dive, which caused the pumps to break down. By the time they were repaired, the Hunley's crew had lost sight of the target again, and were now too exhausted to continue, so turned for home. Deciding that being on the surface would be quicker, the sub rose again, and once again the pump broke down. The Hunley wended its way back to port through increasingly choppy water, and the exhausted crew just about reached safety. There would be a lot of inspection of the vessel to determine why things kept breaking down before it would be sent out again.

A second mission saw the Hunley on a river, with not only a shorter distance to the target, but a decent current to help it get there. Unfortunately the current took the Hunley off course, costing it time, then the target spotted its lit candle, upped anchor and sailed off. With no other target available the Hunley turned for home - now going against the current. And with a crank that jammed. Again. As the crew worked to repair it, a freak wave sent the submarine to the bottom of the river. Game over.

I felt my tinkering held up well, despite adding two more failures to my list. I did realise that I'd played the earlier games incorrectly, though, having the freak storm automatically sink the submarine, when it should have been based on a die roll. I can't believe I missed that.

Tuesday 16 September 2014

Brown Water Submarines

I was browsing Wargames Downloads again last night and came across a game called 'Brown Water Submarines'. It looked too good to pass up, and for $2 seemed to be a bargain.

I downloaded it, gave it a read through this morning, and set it up to play this evening.

What do you get? Well, it's billed as a boardgame, but the only board is really just a 'dashboard' for your submarine. In this game you take command of one of the pioneering submarines of the American Civil War, on a daring mission to destroy an enemy warship. Each turn you make a couple of simple decisions about the state of your submarines - stay on the surface, light a candle, or close the hatch, for example - then roll on a series of event table to see what happens. Your submarine has to cover a certain (random) distance to the target in order to attack it and obviously has to avoid being sunk by various dangers, or having the crew become so exhausted that the mission is abandoned. Generally anything that makes it easier to get to the target also makes it more likely that you will fail to make it. This is a game for the very lucky and, to be honest, your decisions won't make much of a difference. It's one of those solo games where the narrative you generate is the 'victory'. Actually sinking - even reaching - an enemy ship could be considered a bonus.

Although all you need to play is the dashboard, some markers and a couple of dice, I decided to set up some models for visual reference, and blog photos. They are from my 1/1200th ACW collection.

Good luck getting this close!
The large vessel is the USS Hampton, whilst the submarine is a US spar-torpedo boat.

I decided to try the CSS Hunley first, armed with a spar-torpedo. Its target was out in a bay (which adds to the distance the sub has to travel), on a pleasant August evening.

I started my approach on the surface, with a candle lit as I was far enough away from the target for this not to be a danger.


A freak wave hit the Hunley, and it sank. Game over.

I reset the dashboard, and decided to use the same setup for another go. This time I had the Hunley being towed by a tug, which makes the initial approach quicker, albeit more visible and therefore more dangerous.


The speed of approach was offset by the crew of the tug losing sight of the target. This meant that we'd have to spend a few turns trying to find it again, with the crew getting more exhausted. However this became irrelevant, as a passing boat hit the sub, damaging it, and another freak wave then sank it, leaving the tug towing an empty cable.


A third run saw the Hunley towed into action again. It was hit and damaged by a passing patrol boat, but otherwise kept going. The tug released the towline, and the Hunley dived. And was never seen again.

A fourth try? Well, if you insist. This time I abandoned the tug, and decided to risk the dangers of being underwater from the start, diving from the off. As it happened I dived too rapidly, hit the bottom, wedged there and damaged the sub's crankshaft. Eventually we worked free, but were then - and I kid you not - attacked by sharks. This caused enough damage to the sub that the crew called it a night and headed for home.

I'm not sure about the shark attack, but the effect could equally be 'Sub hits obstacle'. That's it. We hit an obstacle, and were too damaged to continue. No sharks at all.

I decided to have one last go with the Hunley. Again I dived early, remembering to keep the candle lit after realising that it's only really a liability if you're close to the target. As we dived water leaked in from the buoyancy tanks, and we spent a ridiculous amount of time on the bottom of the bay pumping it out. Moving off, the Hunley jammed on the bottom, and was delayed some more. Finally the crew gave up after not being attacked by sharks again.

I decided that this mission was futile, and gave up on the Hunley as well. For my next adventure I selected a David. This is also armed with a spar-torpedo, and is very fast, but it can't dive.

An attack on an enemy ship in a harbour was more to my liking; I had a fast vessel and little ground to cover. What could go wrong? Well, initially, nothing. Then I was hit by a freak wave. And sunk.

I called it a night at that point.

I actually enjoyed these frustrating missions, given that the results were not unlike what happened in real life.. As for the game, I felt it was worth the $2 sale price, but certainly not the $7.50 original price, for which I can get a downloadable boardgame with as much in the way of rules, plus counters and a map. The rules themselves are OK, but one or two bits aren't entirely clear - it's possible to accrue 0 fatigue, for example, but the table implies that you can't. It also has two modifiers which seem to be the same thing, but which I suspect aren't; I think there's a condition missing from one of them. I would certainly apply a couple of house-rules the next time I play this.

If you like ACW naval, and have always wanted to simulate the submarine missions of that war, then for the money this game is a great place to start. And if you haven't read up on submarine warfare of ACW then you should - 'Union and Confederate Submarine Warfare in the Civil War' by Mark K. Ragan is a great, and comprehensive read, covering just about every shred of information there is to be found on the subject.
Related Posts Plugin for WordPress, Blogger...