Thursday 30 January 2014

Boxtel - 15th September 1794

We're planning on a double-sized Maurice game next week, but it's been a while since we played, so we set up a smaller game tonight so that we could remind ourselves of the rules. And, more importantly, how to play, as there's a knack to Maurice card-play that we'd still not got to grips with.

Ralph concocted a scenario for Boxtel, Wellington's first encounter with the French, when he was a mere brigade senior officer. It's a little outside of the period covered by Maurice, but allowed us to try massed columns and make use of Ralph and Dave's nice 15mm Napoleonic figures. It's also the first time we have played an actual battle using these rules.

Both sides had a Notable - the British had Wellington, the French a Revolutionary fanatic whose name escapes me. The British had two brigades of infantry, one of cavalry and some artillery. the French had much the same, but had more infantry of a generally lower quality but the Artillery Train national advantage. In addition the French had Columns and Bayonets, whilst the British had Rally To The Colours and Lethal Volleys. The French cavalry was superior to that of the British.

Here's the table setup. The French are in march columns in the foreground. The British are marching through, and to each side of, the village.


The French cavalry. Watch them; they're important ...


Wellington forms up his brigade ...


... whist French columns advance on it.


But the main attack doesn't come from the columns - the French cavalry charges towards the British artillery ...


... and sweeps it away/


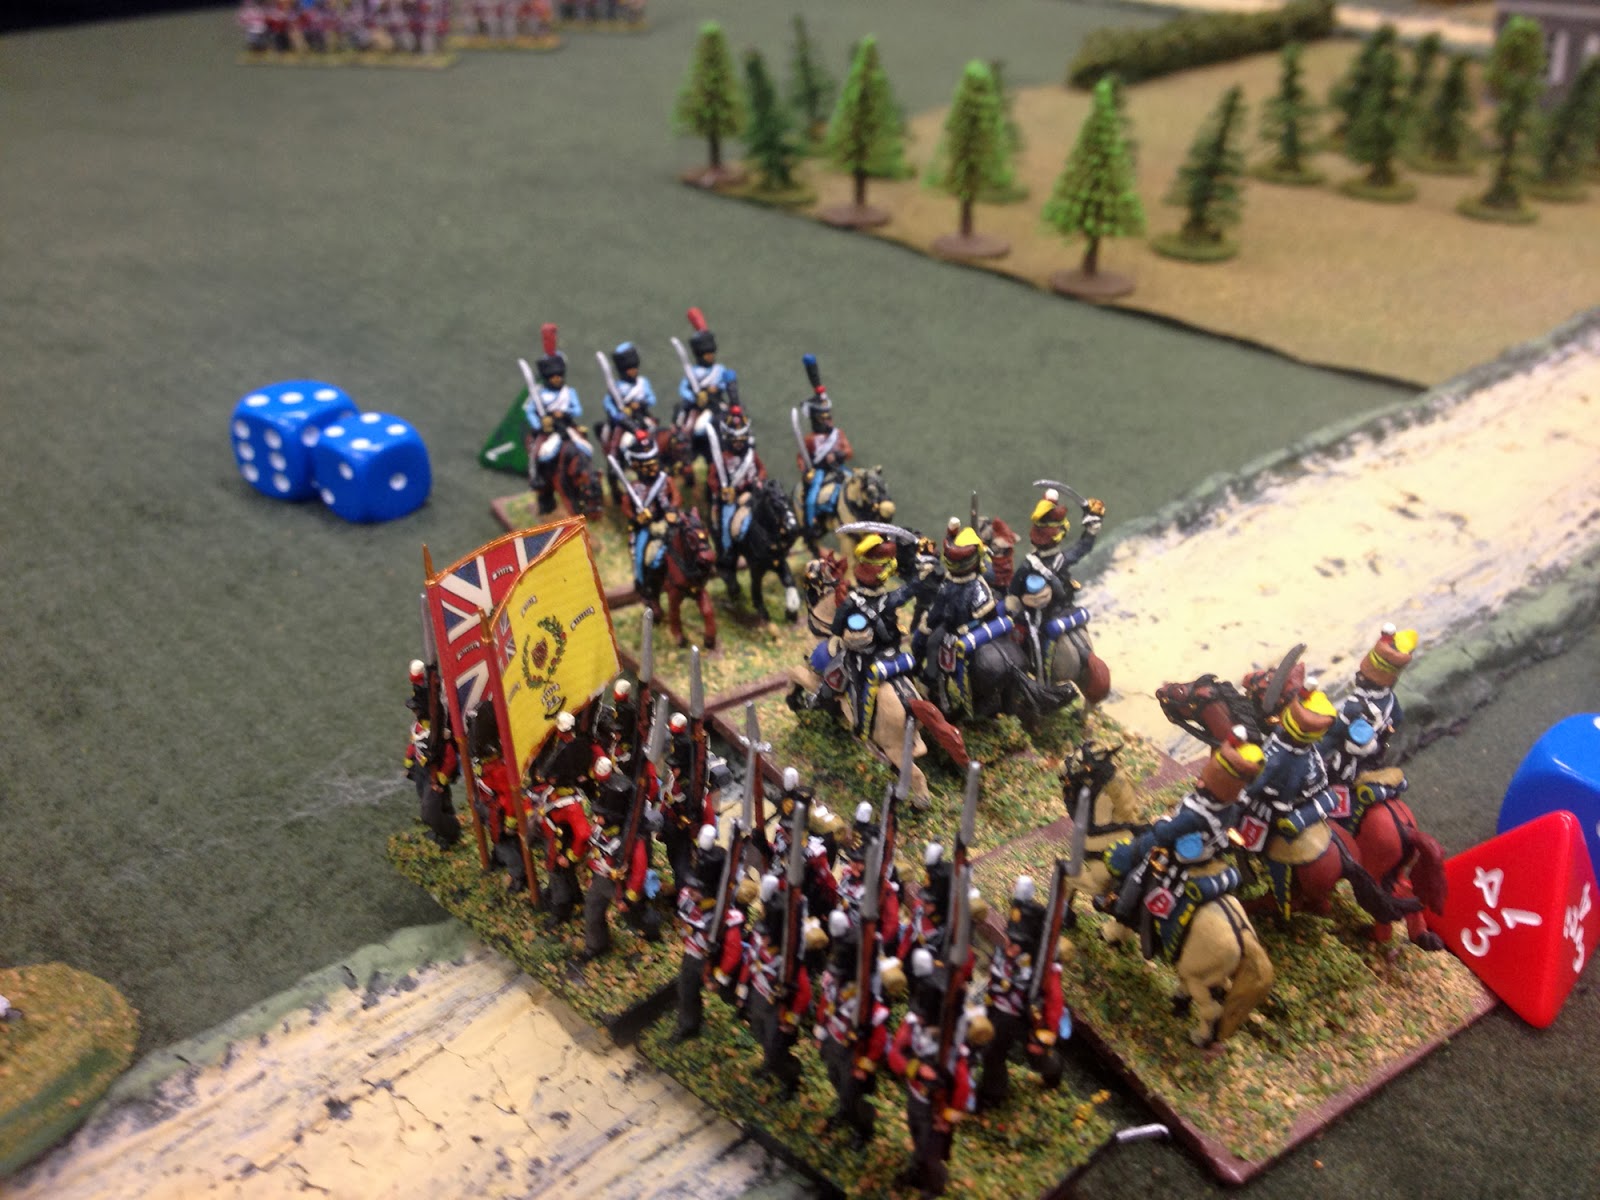
It then moves behind the British line. The British cavalry moved up to defend their infantry.


But the French cavalry swept into the rear of the 33rd Foot, routing it and killing Wellington. This left the British morale in tatters.


The French cavalry was spent by this stage, though, and a British cavalry charge swept them from the field. However the damage was done - the British morale was shattered and their line broken.


Time for the columns to advance!


The British cavalry tried to stem the tide, and destroyed one French regiment, forcing their notable to flee to the rear.


But after an exchange of musketry the other columns went in, and another British regiment routed. With only one point of morale left, against the seven the French had remaining, the British conceded.


The battle was basically won by a slashing attack by two French cavalry units, which took out key elements of the British line and left them just reacting to the French for most of the game. This was certainly the most exciting and fluid game of Maurice I've been involved with - great fun, and I look forward to next week's extravaganza. 

Monday 27 January 2014

The Battle Of San Lorenzo

The Battle of San Lorenzo was fought in Mexico on May 8th 1863. A Mexican column, marching to the relief of the besieged city of Puebla, was attacked by the French whilst encamped in the village of San Lorenzo.

I played this game this afternoon, basing it around the scenario given in Tim Tilson's 'Colonial Campaigns: Maximillian In Mexico' and, once again, using my 'Battle Cry' variant.

The rules were as described in previous posts, with one addition. If attacking at a range of one square, an infantry unit can, and a cavalry unit must, declare a charge. If their opponent retreats or is destroyed, then the unit may move to occupy the vacated square. However if there is still an opposing infantry or artillery unit in the square, it rolls one combat dice back against the attacking unit.

(For ACW games I would make cavalry charges optional, and allow cavalry the one dice retaliation as well, to reflect their greater use of guns.)

The forces were as follows:

French (Four activation dice)

Five Infantry units
One Cavalry unit
One Militia Cavalry unit
One Artillery unit

Republicans (Three activation dice)

Two Infantry units
Four Militia Infantry units
One Militia Cavalry unit
One Artillery unit
Two Wagons

Victory was five flags.

Here's the set-up. The terrain was minimal - a square of four buildings, a churchyard, which provided cover but which didn't block line of sight, and a church (another building).


The Republicans set up in and around the buildings. The French deployed on their own baseline.

There were two special rules. Firstly the Republican wagons were special units. They could occupy the same square as a friendly unit, but had to be activated in order to move (they moved one square and could not fight). Wagons could be activated as if they were artillery They could not be shot at or engaged in close combat, but control of them passed to whoever last occupied the square they were in. The Republicans scored one flag for each wagon they could exit off their baseline. The French scored one flag for each wagon they controlled.

In addition, the Republicans are assumed to be surprised at the start of this battle. They only get one activation dice each turn, until they roll a six on one of their dice. This allows them to use two dice on their next turn; if one of those scores a six then they get their full three dice on subsequent turns. Note that this may seem harsh, but a roll of five on that one dice translates to an extra dice and a reroll, increasing the chance of scoring that vital six, so the odds aren't too bad.

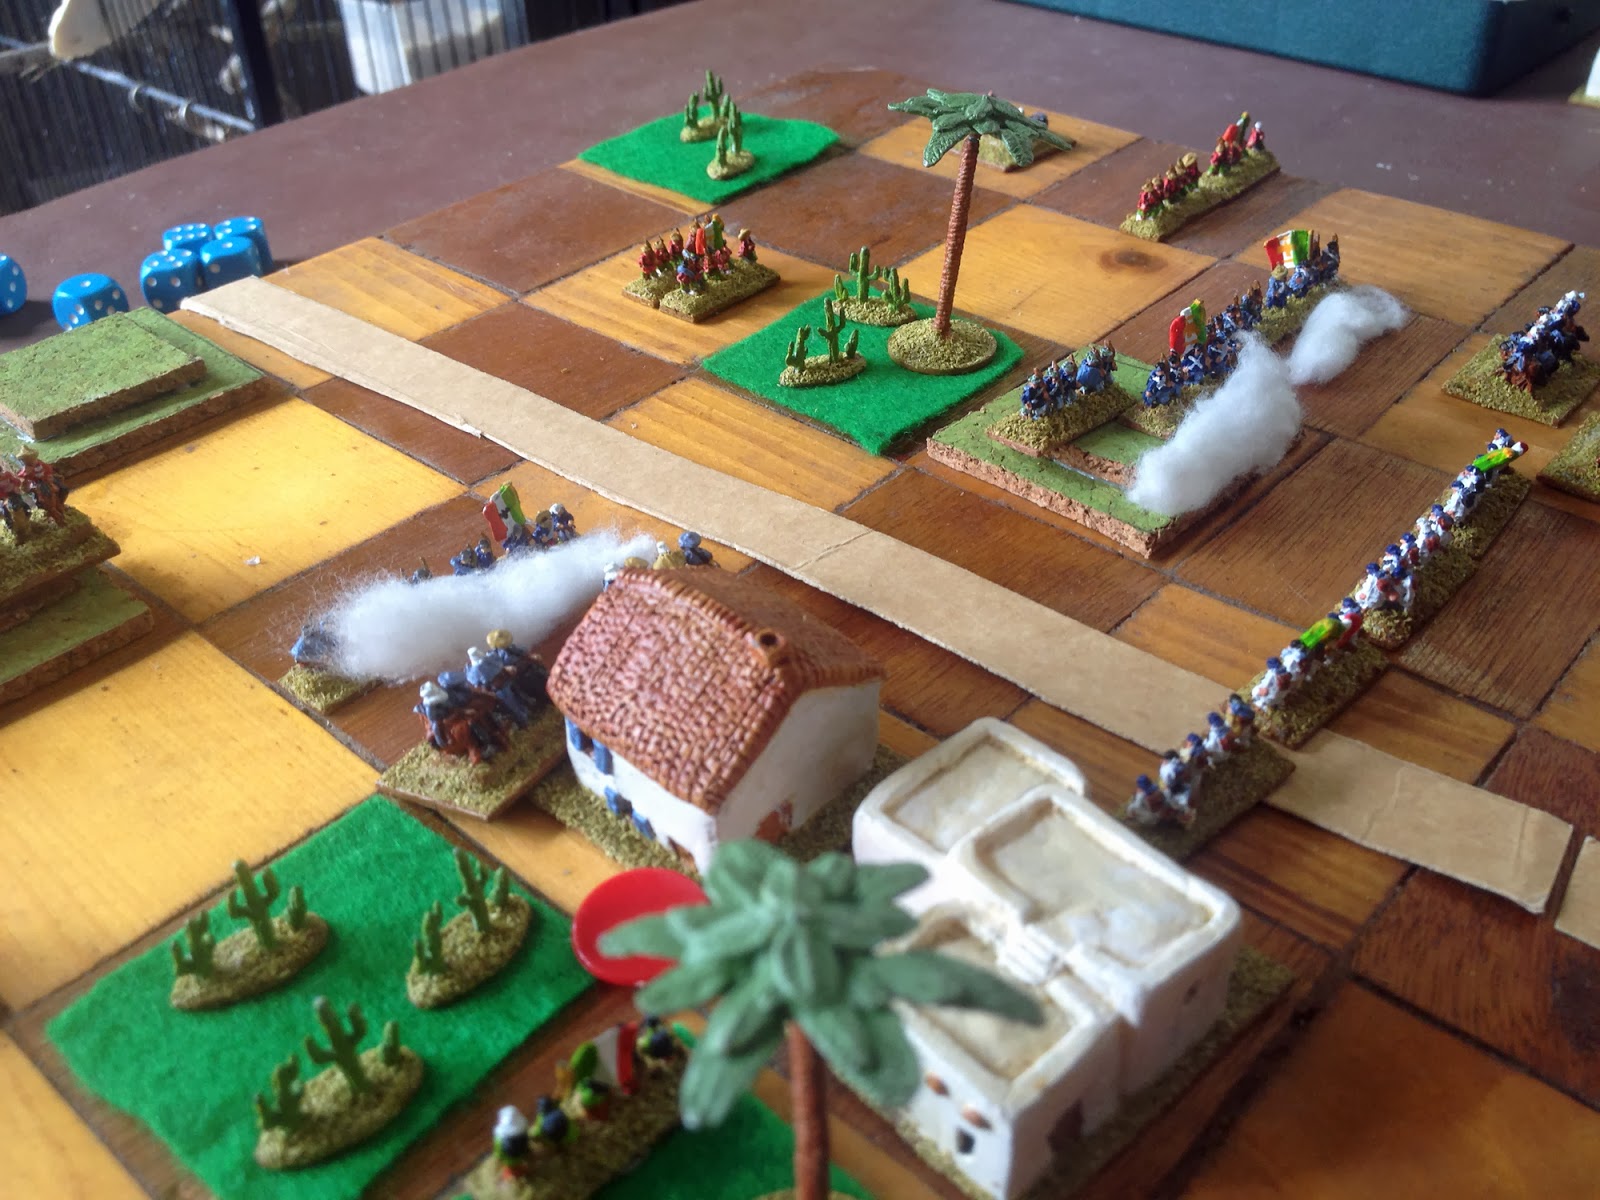
I didn't photograph every move of the game, preferring to play instead. The French pushed forward quickly, whilst the Republicans slowly reacted, starting to move the vital wagons out of reach. Here are the French pushing forward in the centre. They also rapidly moved their cavalry around the flanks to try and cut off the wagons.


The French woke up the Republicans with a volley of musketry.


As the French infantry pressed home their attack, their cavalry tried to outflank the Mexican position.


The Republicans organised a solid fighting line as their wagons retreated to safety. They got both wagons off the board, but had lost a couple of units by this stage, putting the score at 2-all.


The French pushed into the village.


They also took the church, but the Republican artillery destroyed a French unit. Elsewhere they had routed the allied Mexican cavalry as well, so had four flags. However the French had destroyed four Republican units, so the game was still drawn.


The French had the next turn. Their cavalry charged a Republican infantry unit, destroyed it and gave the French a narrow victory.


The final position, the Republicans hadn't inflicted as many casualties (although a few French units were looking sick), but getting the wagons off the board had helped a lot, even though it had cost them chances to fire their artillery.


The Republican commander rallies his surviving troops.


This was a fun game, and a lot close than I thought it would be. The Republicans are in a good position, but their activation rolls are never enough for them to defend everywhere The French  can generally keep up the pressure, and with a run of fives can really make a vigorous attack.

The charge rules seemed to work OK, allowing units to take buildings if they could win combats, and putting them in peril if they didn't. It also made cavalry more vulnerable, unless they were attacking a weak foe.

Saturday 25 January 2014

A Mexican Encounter

I played another Mexican Adventure game this morning, using, as with previous games, a cobbled together 'Battle Cry' variant. The rules were much the same as the last game I played:

Infantry - Move 1 and battle - Factors 3-2-1 - Hits 4
Cavalry - Move 2 and battle - Factors 3 - Hits 3
Artillery - Move 1 or battle - Factors 4-3-2-1 - Hits 3
General - Move 2 or with attached unit - Allows unit to ignore one retreat. A General can always move and does not need to be activated.

Movement is always orthogonal, but I realised from previous games that the square grid offers fewer retreat options than the hex grid of 'Battle Cry' or Memoir '44'. So I allow retreating units to move diagonally.

I used normal D6 again for combat:

1-2 scores a hit on Infantry
3 scores a hit on Cavalry
4 scores a hit on Artillery
5 scores one Retreat on anything
6 scores a hit on anything

Activation was much the same. I gave both sides four dice with which to activate units.

1-2 Allowed the activation of an Infantry unit
3 Allowed the activation of a Cavalry unit
4 Allowed the activation of an Artillery unit
5 Allowed a reroll, plus you added in an extra dice. Subsequent rolls of '5' on these dice did the same, so you could end up with far more than four units activated.
6 Allowed you to activate anything.

For this game I decided to play a straight encounter battle. Each side had the following forces:

Four units of Infantry
Two units of Militia Infantry
Two units of cavalry
One unit of Militia Cavalry
Two units of Artillery
One General

(Militia units take one less hit than their type normally would)

Here's the terrain:


There were hills, buildings and scrub. All blocked line of sight.

If you attack a unit on a hill or scrub you roll one less dice in combat. Infantry and Artillery attacking units in a building rolled one less dice, Cavalry rolled two less dice. Cavalry in buildings could never roll more than one dice in combat. Cavalry and Artillery entering scrub or buildings end their move for the turn, and cannot battle. Infantry also en their move, and battle at 2-1 on the turn the enter only.

The victory level for this battle was five flags. If a side was the last to move through both building squares then they got a medal.

I deployed the troops in a semi-random manner which I won't bore you with here. This was the deployment I ended up with.


The Imperial cavalry was massed on their right flank in an impressive array.


The Republican deployment was more scattered, but they had a strong infantry line to the fore.


The Republicans rolled excellent activations early in the game, including lots of fives, some of which rolled more fives! This allowed them to make a very aggressive advance. Their cavalry pushed forward and occupied the buildings, giving them a victory flag.


The Imperial cavalry moved up to oppose the Republican advance.


Austrian infantry engaged the cavalry in the building whilst, on the other side of the road, opposing infantry got to grips with each other.


The Republicans pulled together a strong defensive line in the buildings and scrub.


However one of their militia infantry was routed by musketry.


The Imperial cavalry launched a fierce attack on one end of the line, and inflicted a number of hits.


The cavalry in the buildings were taking considerable casualties, so withdrew, with the infantry consolidating the Republican position.


The Imperials kept attacking.


And another Republican militia unit routed. These were not units to which you could trust your centre.


On the one flank opposing artillery were engaged in a duel. In addition the Republicans had fallen back in the scrub under increasing pressure from the Imperial cavalry.


The cavalry charged again ...


... and the infantry routed.


Fierce fighting in the buildings ....


... saw another infantry unit routed, and the Republican general isolated.


The Imperial cavalry turned its attention to the artillery on the hill.


With the bulk of its infantry lost, The Republicans resorted to a cavalry charge in order to try and salvage their position.


They routed an Imperial militia unit.


However on the other flank their militia cavalry, after forcing an Imperial unit to retreat with casualties, came under heavy fire and ran.


And that was it - with five units lost the Republicans had lost the battle. They scored two flags; one for destroying an enemy unit and another for still holding the buildings at the end of the game.


It was a closer game than it looked, though - a number of Imperial units were only one hit away from being lost, so a strong Republican attack could have tipped the game back in their favour.


The Republicans started well, gaining a strong positional advantage, but they lost out to good combat rolls from the Imperials, who seemed to be able to drive all before them.

The rules worked very smoothly, giving a fast, desperate game. I'd still like to find a better role for generals, though, and I'm pondering a method of allowing pursuit after combat in some circumstances.

Friday 24 January 2014

Champaubert - 10th February 1814

We played another game of 'Black Powder' last night, using Ralph and Bryan's lovely 28mm figures. The game was a scaled-down version of the action at Champaubert in 1814, where Napoleon did something clever, outflanked a Russian corp and captured the lot of them. In our game the French had to give the outnumbered Russians a jolly good hiding, whilst the Russians hand to fend them off and retire from the table. The French had four brigades, plus cavalry, to the Russian's two.

Here's a long view of the table, with the one of the French columns to the left and some Russians between the table-edge and the village.


Here are the Russians. They had three units defending the village as well.


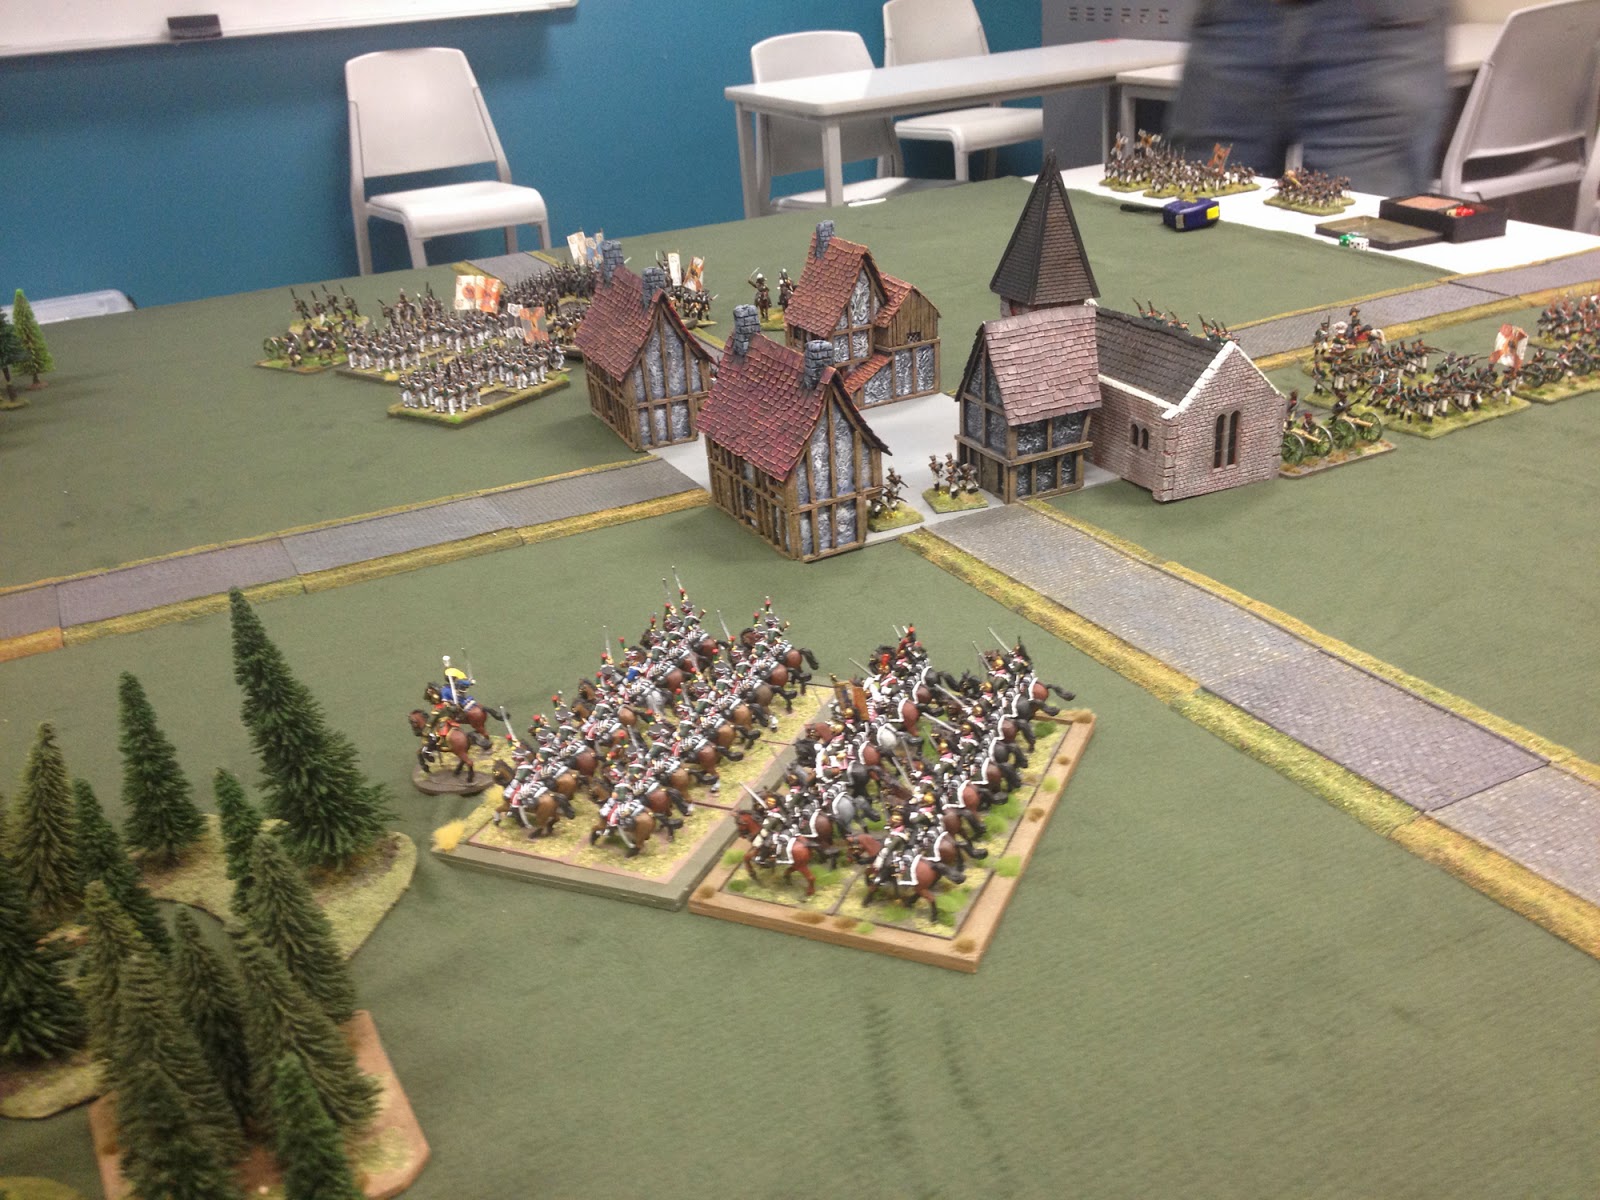
The French cavalry looked impressive, but, unknown to the Russian player, they were actually a bit rubbish. Their aim was to force the Russians into square without themselves getting destroyed. This was a job for a careful, cautious cavalry commander. So Ralph fooled the Russian commander, Bryan, and put me in charge of them.


Another French column advancing on the village from the east.


I decided that cavalry with both French columns was a good bet, so swung half of my force round to the other side of the battlefield. What a majestic sight.


The Russian formed square from the off, so Caesar rapidly advanced his infantry to exploit this. The Russian guns resisted them. The cavalry hung back.


Ralph's French columns chased after the withdrawing Russians.


Russian squares.


And French columns.


Caesar formed a grand-battery to pound the village defenders.


The defenders of the village were beginning to look a little isolated, as the rest of the Russian army withdrew from around them.


The French cavalry continued to watch the battle from the rear.


Better late than never - the cavalry detachment dispatched at the beginning of the game to the other flank finally arrived, after much dithering.


They arrived just in time to see the bulk of the Russian force withdraw off the table.


One chance for glory - against orders they charged an isolated Russian battery. The closing fire caused them to rout.


With most of the Russians gone, the French turned on the village. The two surviving defending units surrendered.


Most of the Russian infantry escaped, but they left behind the village defenders and a lot of their artillery (which was used to cover the withdrawal). A couple of turns of ropey orders had meant that the French assault wasn't as aggressive as it could have been, whilst desperation seemed to give the Russians wings on their feet as they ran for the table-edge. On the whole the scenario worked; we felt that we could have doe with a little bit more table-space for the Russians to traverse in order to give the French some chance of catching them. And, of course, I could have always used more room for sweeping cavalry gestures. You can never have too much room for sweeping cavalry gestures.
Related Posts Plugin for WordPress, Blogger...