
 |
| Death Rides A Pale Horse |
'Might and Reason' is a little-known Bergman film set during the Great Northern War, in which Charles XII (played by Max von Sydow) leads his army in an enthusiastic, but ultimately doomed, charge against a Russian army commanded by Peter the Great (played by Svenge, an Oslo dentist and star of many Norwegian møvies: "The Høt Hands of an Oslo Dentist", "Fillings of Passion", "The Huge Mølars of Horst Nordfink"). It is famous for the iconic scene where Death himself leads the Swedish cavalry into the attack, although Death's appearance was due to the producers being unable to procure enough suitable costumes to outfit the army commanders of either side. Purists have noted that the Russian army commanders wore Austrian uniforms from fifty years after the film is set, and that some of the dwarves from 'The Hobbit' were in there as well.
Gary hosted a game of 'Might and Reason' for us this week, whilst I provided the Great Northern War Russian and Swede armies with which to play it. Might and Reason is basically the prequel to Maurice; you can see how parts of the latter are derived from the former. One thing it does is use a lot more commanders per army, hence our drafting command stands from other Maurice armies and even a few Warmaster figures (purely because they are 10mm).
Dawn breaks over a misty battlefield. Or camera-shake. Your choice.

The Russians. Lots of them, but indifferently commanded and with cavalry of dubious quality.

The Swedes. Small in number, but well-lead and very aggressive.

I played the Swedes and went for the simplest plan I could; charge straight into the Russians and hope to break their army before they could bring their numbers to bear.
I've had worse plans.

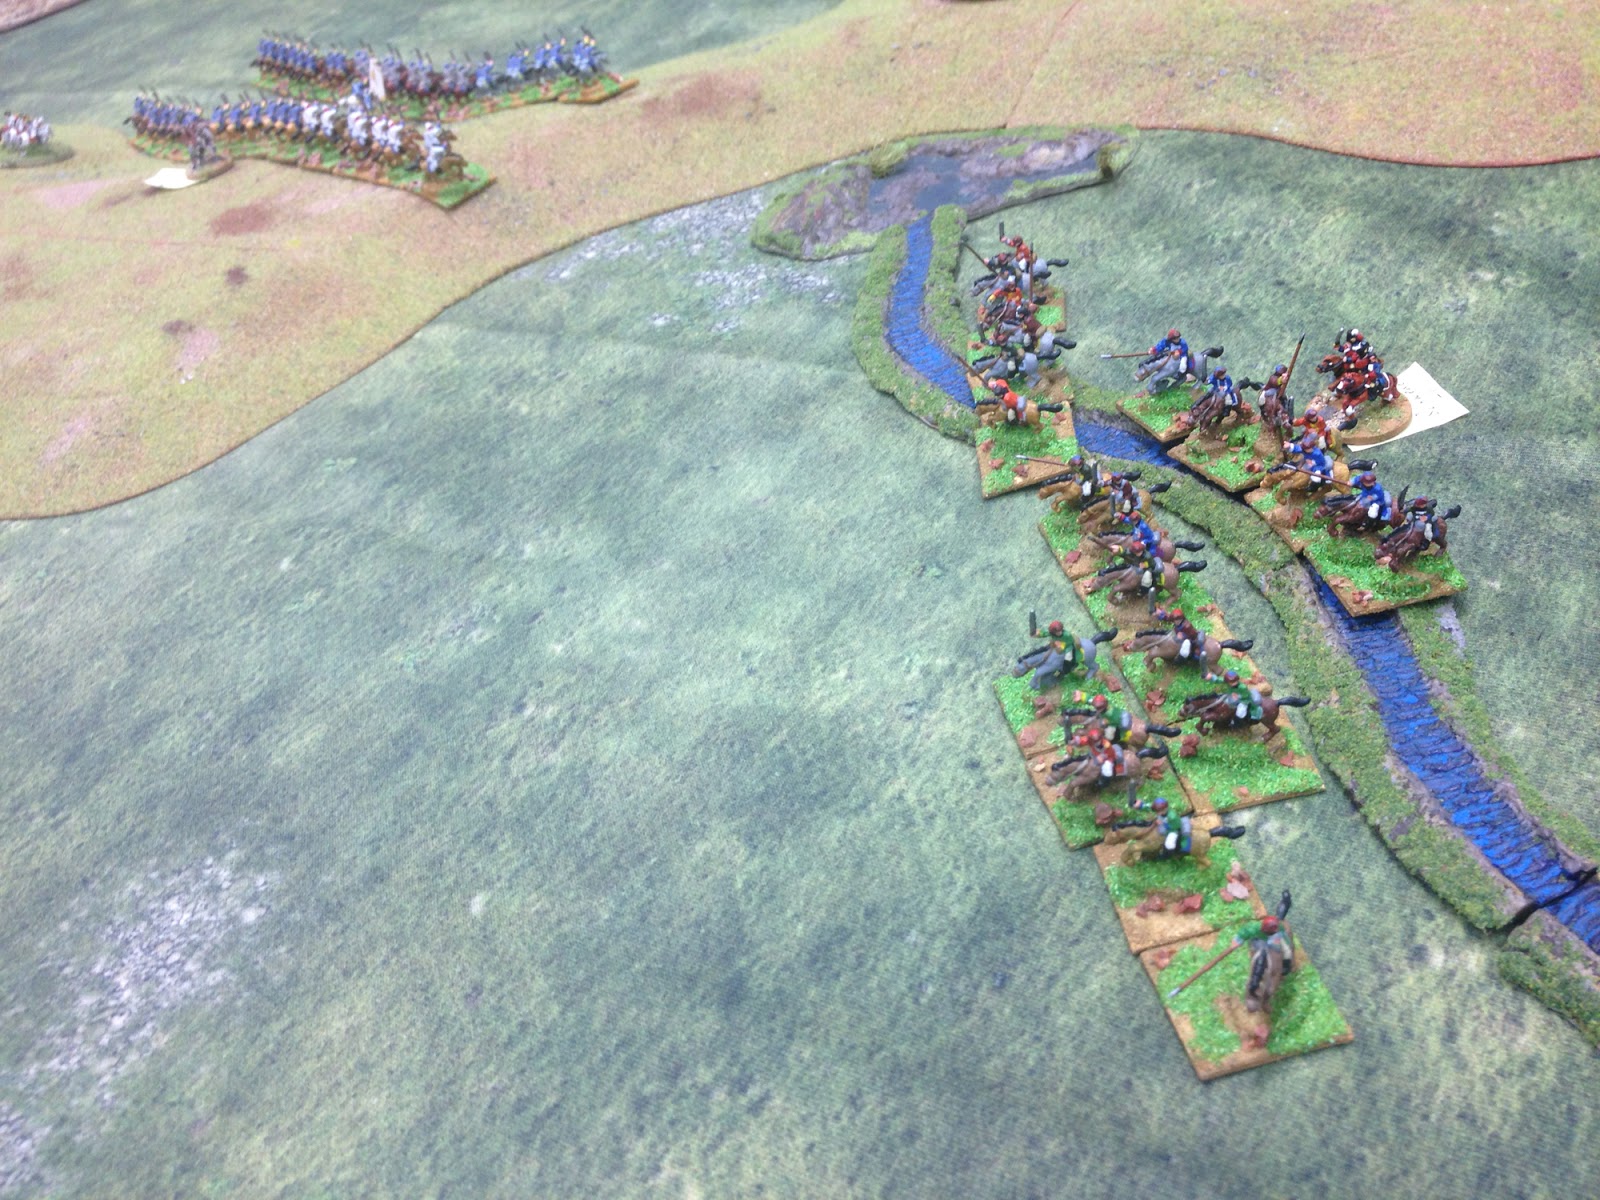
Here's Death leading one of the Swedish cavalry columns.

Movement rates in Might and Reason are actually quite good, and Dave, commanding the Russian left, soon had Cossacks in my rear. Unfortunately the command system, which relies on activation rolls modified by a pool of dice generated at the start of a variable-length turn, means that their bursts of extreme speed were punctuated by periods of milling around in confusion.
I turned my reserve cavalry line to face them. One unit of Cossacks charged home, and was swiftly routed.

The Russian cavalry also had a go, but was repulsed. I had high hopes for my cavalry after that.


In we went, but this time we failed to drive off two Russian cavalry units that weren't even properly formed up.

Meanwhile my reserve cavalry line had turned to attack the Cossacks, who promptly evaded, and hid in a corner for most of the rest of the game.

I threw my cavalry in again and again, but couldn't break any of the Russian units. It began to get worn down, and the Russians were forming a strong line in response.

True to form, Charles had left his artillery behind. Who needs artillery on the attack? Beyond the village, on the Swedish left, the infantry were advancing towards the Russian line. But I had deployed them in line from the go, and they were advancing very slowly. This gave Gary, in command of that portion of the Russian army, time to form up in response and also compromise the Swedish flank.

Plod, plod, plod. This was not the lightning assault I'd planned.

On the other flank the reserve cavalry formed up to join the fray.

Lots of charges and some desperate fighting saw the Swedes worn down even further.

The Swedish infantry finally advanced into musketry range. They aren't very good at musketry, being all about a volley and a charge.

They charged! They failed to really make much of an impact, their momentum being largely cancelled by casualties from the fire they had received standing around in front of the Russian lines, plus the fact that their flanks were up in the air.

In Might and Reason, having a unit fall back through you is bad. The Swedes had a few units fall back through their supporting lines, creating confusion and making command and control more than a little tricky. This is a set of rules where you have to manage supporting lines with some skill. Or not use them.

On the other flank my cavalry were still fighting, and I eventually had the satisfaction of seeing two Russian infantry units rout, after Russian cavalry charged through them, lost and fled through them going the other way. The Russians killed as many of their own units as I did.

We'd rolled for time of day, and the battle had started late. It therefore finished after about four turns when darkness fell. Whilst technically a draw, the Swedes were being enveloped by the Russians at that stage, and wouldn't have lasted long. With Cossacks now returning to the fray in their rear, even a retreat was going to be a problem.

This was an entertaining game, in which we all made terrible tactical errors, but that's half of the fun of learning a new set of rules. I shouldn't have formed up in supporting lines, and I should have had my infantry in faster moving columns, relying on my excellent command and control to bring them out into firing/fighting lines at the last possible minute. The cavalry put on a good show, and I probably wouldn't have done much differently with them. The Cossacks were an issue; not dangerous themselves, but had they got behind me whilst I was embroiled with the Russian regular troops, things could have gone very badly indeed. It takes good timing and a control of the initiative, to bring them to battle.
Thanks to Gary for organising the game, and to Dave for being a worthy foe. I think that this is a set we are going to try again sometime.

That game mat and high ground combination (I have said before that I like that modular hill) makes for a good looking battlefield. Does the randomised activation effect on movement give a similar feel to the Blackpowder stop / go effect on troop movement?
ReplyDeleteSimilar. You need to make a 2D6 roll to succeed, although you don't get mutiple actions like BP. But you can assign dice from your limited command pool to commands is the CinC is in range, then pick the two best. So if you have command dice and the CinC is around you can pretty much ensure a command will move.
DeleteI actually like the stop-go effect, although the Fire and Fury method, where a fresh unit would pretty well always move, but might not go as far as you'd like and damaged units might sit tight or retreat, is a favourite too.
Great looking battle but never a good start when your cavalry commander is so underfed. Really intrigued to see Might & Reason played again to compare with other rules sets which cover the period.
ReplyDeleteEnjoyed the game report and the Movie review!
ReplyDelete