Saturday, 30 December 2017

Army Showcase - Flash Gordon and the Warriors of Mongo

I first conceived the idea of doing a Flash Gordon army for 'Hordes of the Things' back in 2000, but it took me two years to get around to putting it together. It was a fun army to use, with a strong aerial contingent, and I even used it with some minor success in a tournament.

A couple of years ago I decided to revamp it; tidy up the paintwork, redo the bases and even add a few new elements. As ever that particular project stalled, but in the past week or so I finished it off, mostly because I was willing to count the reworking as a 'new' HOTT army for the purposes of my 6x6 Challenge.

So here is the current incarnation of my Flash Gordon army. There's slightly more than 24AP; I think the original reworking was for a competition that used 36AP armies, although I must have lost some of the elements, because I can't see how I would have got 36AP out of what I have finished.

The army arrayed in full. It's based on various versions of Flash Gordon, including the comic strips, the 1930s serial and, of course, the wonderful 1980 film version.


In my original version of the army, Flash was an aerial hero general, and I still have the figure to do that. I didn't think to rework it as part of this project so will do it at a later date. For this iteration of the army, I have simply set Flash up as a hero general, accompanied by Prince Barin. Flash is a Peter Pig figure (indeed I think he's John Carter), whereas Barin is a tabletop Miniatures sci-fi figure.


Dale Arden and Doctor Hans Zarkov are a sneaker element. Both figures are from Peter Pig. Maybe one day I'll replace Dale with something more glamorous, but I rather like this version.


Prince Vultan can be either a flier or, if you have the points, an aerial hero. I can't remember who made these beautiful Hawkmen figures, but I think they inspired the production of the army all those years ago. I added a beard to this figure for that essential Brian Blessed look.


The rest of the Hawkmen are fliers.


Prince Thun's Lionmen area mix of spare ancients figures with a suitable paint-job and milliput and wire tails (which you can't see in the photos. They are classed as warband.


Whilst Prince Barin gets to lord it up on the general's element, the rest of the Arboreans (more Peter Pig figures) are classed as lurkers. I may still add some trees to their bases because, well ... Arboreans.


A completely new addition to the army are the Frigians under Queen Fria. In the comic strip they ride around their arctic realm on snow-birds, flightless avians that look eminently suitable to die of frostbite in such a climate. But this is Mongo; who cares? Queen Fria seems rather under-dressed for such a climate, but the comic shows her and Flash in very little clothing, but with some kind of transparent thermal suit over the top. So she's wearing a transparent suit over that lilac bikini, OK?

The Frigians are riders and are mostly chook riders from Evil Gong Miniatures, whilst Queen Fria is, I think, a 15mm dungeon adventurer from an unknown manufacturer.


You've seen this before; this rocketship is a resin model of Princess Aura's shuttle from the 1980 Flash Gordon film. I chose not to paint it the same as in the film (where it's red and black) as I preferred the more metallic look of the older iterations of Flash Gordon. The rocketship is an airboat.


So the final list:

1 x Hero General (Flash and Barin)
1 x Sneaker (Dale Arden and Doctor Zarkov)
1 x Airboat (Rocketship)
4 x Fliers (Prince Vultan and his Hawkmen)
2 x Warband (Prince Thun's Lionmen)
2 x Lurkers (Arboreans)
2 x Riders (Queen Fria and her Frigians)

Friday, 29 December 2017

Hill Defence

I tried out another portable Epic 40K game this morning, just to get the ebb and flow of the mechanisms clear in my mind. I found that the initiative system I described in the previous post worked quite well once you got used to it, and that coordinated efforts were possible with a bit of planning, even if you had to gamble sometimes.

I diced for a random terrain setup, and ended up with this rather nice defensive position. So I decided to try unequal forces in an attack/defence scenario.

The Imperial Guard defended, with four poor infantry bases, two tanks and some medium artillery. They had defensive positions across the front of the two hills and the pass in-between.


The Marines attacked. They had the same number of units, but the force was made up of three tanks and four elite infantry.


I gave the Marines twelve turns in which to take the hills. They got off to a bad start when the very first initiative roll was a double '1', which instantly ended the turn.


On the second turn they advanced their tanks into range of the hills, and took them under fire. The tanks would be able to sit outside of the range of the infantry's weapons and bombard, forcing the Guard to either risk a game of playing the odds (would they be wiped out before the time limit expired?) or to counter-attack.


The Marine infantry followed the tanks, working onto the flanks.


On turn three both sides scored a kill; a Marine tank destroyed the infantry in front of it, but a retaliatory strike by the Guard artillery destroyed the tank. With hindsight they should have shot at one of the tanks that hadn't acted yet that turn, but I wasn't thinking.


The Guard sent their tanks to attack the Marines advancing on their left, hoping the artillery would cover the other flank.


The tanks took up position in the woods and bombarded the Marines, who returned fire. Neither side inflicted any hits. With a slight edge, the Guard pushed forward one of their infantry units, hoping to withdraw it on the next turn before the Marines could respond. Its firing was also ineffective.


The Marines responded with one of their infantry units swinging across from the other flank into a close-assault, but this failed to inflict any hits either.


The Guard responded to the open Marine flank by launching an assault of their own, which was also ineffective.


The Guard counter-attack had now left them exposed. Could the Marines exploit it?


On the Marines' left, their fourth infantry unit attacked the flank of the Guard position, but again the close combat was inconclusive. The fire from the supporting artillery wasn't, though, and destroyed the Marine infantry.


The Marines pushed a tank forward to assault the position, but it also failed to score a hit.


The exposed Guard infantry had been forgotten in the excitement of the action on the other flank, and they were shot down before they could withdraw.


The Guard launched a local counter-attack on the Marine tanks, and destroyed one. This pushed the Marines over their exhaustion point. The attack had failed, and a withdrawal was now the only option.


This was the position at the point the Marines stopped their attack.


Their infantry pulled back to the baseline, but the Guard tanks advanced, firing as they came, destroying another unit.


The last Marine tank was trapped in the pass. Guard infantry attacked it from both sides, but in an amazing set of rolls the tank not only survived, but destroyed both attacking units. This caused the Guard to reach their exhaustion point as well.


Their tanks stopped their pursuit, but continued firing, and another Marine infantry base was lost.


The surviving marine infantry and tank withdrew unmolested. Their losses were thee bases of infantry and two tanks. The Guard lost four bases of infantry.


Rather than have infantry unable to affect tanks with their firing, I allowed them to hit, but they increased the roll by one when rolling for effect, making it more likely the tanks would retreat. However all combats ended up with units being destroyed; not a single unit retreated.

This adjustment gave me some thought as to how to factor unit strength points into the Sudden Death system.

The basic 'save' roll when a unit is hit is as follows:

3 or less - Unit is destroyed
4 or more - Unit retreats, or is destroyed if it can't.

Effectively an Elite unit gets +1 to the roll and a Poor unit gets -1.
My adjustment for infantry shooting at tanks gives a further +1 on what is effectively the unit's save roll.

What I would try is this. Units generally have a strength of 4, 3 or 2. A unit with a strength of 4 gets a +1 to their roll (so is harder to destroy and more likely to retreat). A unit with a strength of 2 gets a -1 (so is more easily destroyed). This makes infantry more resilient, and things like artillery weaker in combat. Further adjustments could be made to reflect heavy tank guns having better armour penetration, and so forth. There's maybe scope for all kinds of modifiers and chrome.

So, an average infantry unit (SP4) hit by shooting would be destroyed on a 1-2, but would retreat on a 3 or more. An elite infantry unit is only destroyed on a 1. An average tank (SP3) would be destroyed on a 1-3 if hit by another tank, but only a 1-2 if hit by infantry fire.

Retreats are easily blocked on a  square grid, leaving units very vulnerable. I'd be inclined to allow diagonal retreats if no other option is available.

All this is food for thought ready for the next game.

Wednesday, 27 December 2017

A Portable Epic

Having now read Bob Cordery's 'The Portable Wargame' and 'Developing The Portable Wargame', I decided to give the rules a try. Not that I haven't played such games before. However I've been quick to rewrite and add things from the word go, and I thought that it would be interesting to try the game 'out of the box'.

I decided to try the WWII (or 'Mid 20th Century') rules, using a couple of Epic 40K armies. I skipped commanders, because I don't have any suitable individual figures, but otherwise just ran the units as in the rules. This meant that infantry shooting can't destroy tanks, for example, which doesn't entirely fit the Epic 40K ethos, but there you go.

I pitted a force of Space Marines against some renegade Imperial Guard. All troops were average, which meant that the guard infantry and the Marines were, in fact, functionally identical, but since the Marine bases have five figures each and the Guard have ten, I thought this balanced out nicely.

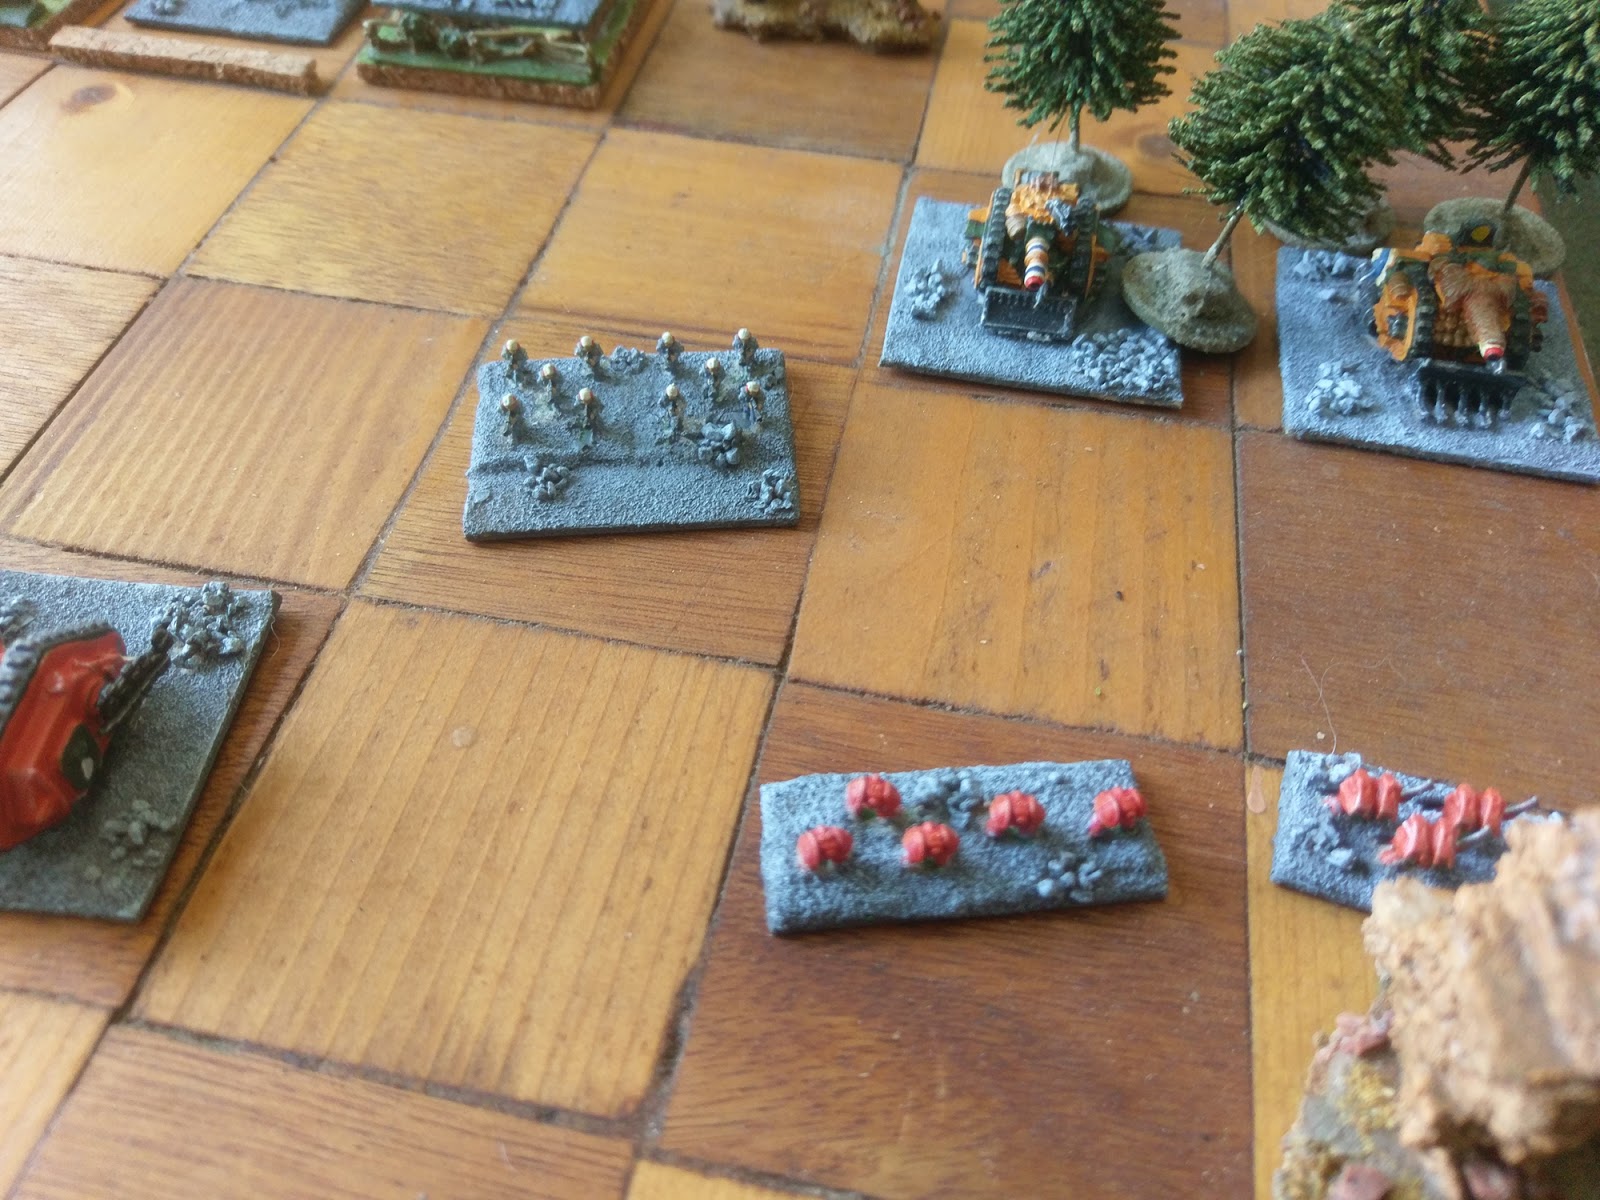
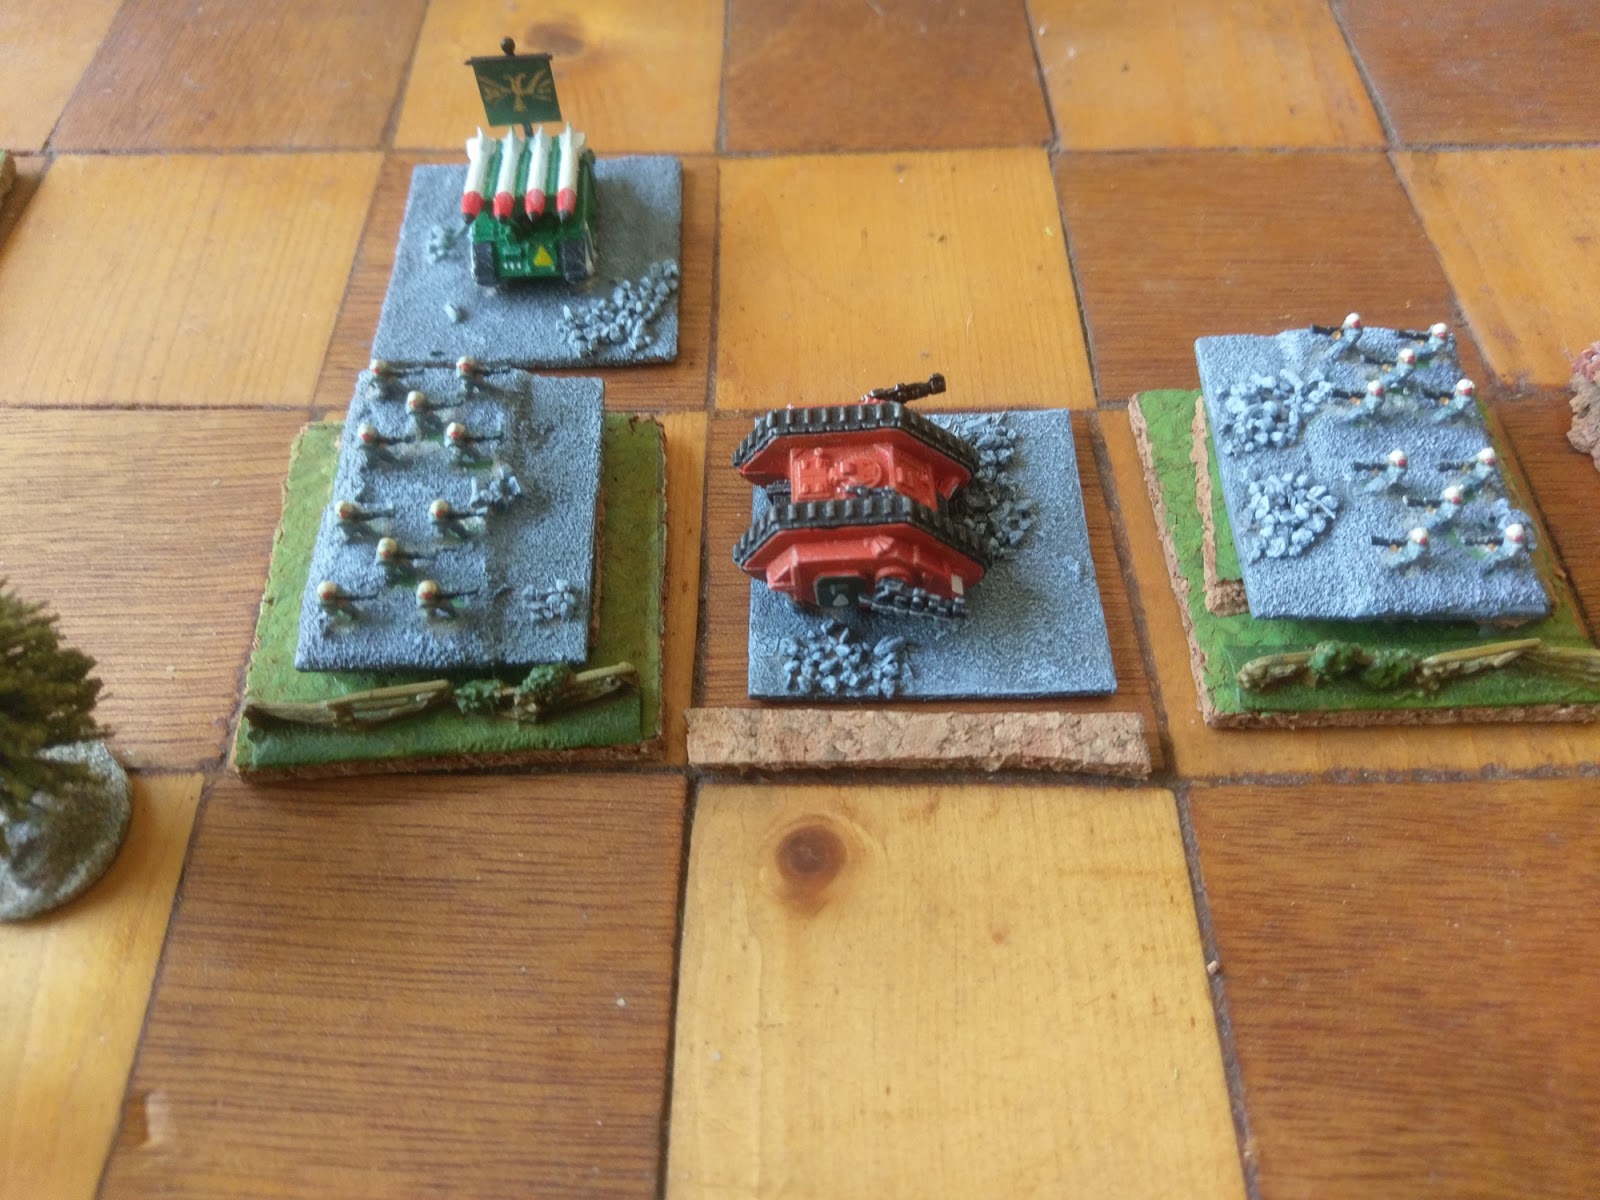
Here's the armies and battlefield set up.


Yes, the terrain is based on the Battle of Hook's Farm. This may be a classic 'scenario', but it's not one I've played before. The rocks acted as buildings, providing cover for everything, the trees were woods (again, cover for everything) and there was one patch of rubble, which slowed all movement, but only gave cover to infantry.

Both sides had four bases of infantry and three tanks. The Marines had a base of landspeeders (classed as cavalry), whilst the Guard had a base of medium artillery.

There was plenty of cover in the middle of the battlefield, and that's where the infantry ended up.


I say I used the rules straight out of the book. I didn't. I made two changes.


Firstly I modified the factors so that tanks in buildings or in woods didn't get a cover bonus if attacked by infantry. So they can hide from shooting, but not an infiltration-style close assault.


Secondly I changed the initiative system. Instead of one side activating all of its units, and then the other, I used an opposed die roll. Both sides rolled a D6, and the highest roller got to activate a single unit. They then rolled again, with the highest roller activating something else. This continues until all units are activated, or the turn ends. And end it could. If a double was rolled then the turn would end if the number on the dice was equal to or less than the number of doubles rolled during the turn. So a double '1' would always end the turn. A double '2' would end it if it was at least the second double rolled, a double '3' if it were at least the third and so on. If the double didn't end the turn, then the side that didn't act on the previous roll got an activation.

This is a lot simpler to play than explain, and meant that whilst most turns saw most units activated, on a few turns not everything got to at.


The fighting was intense, and there were lots of close combats because of the restricted nature of the terrain. One thing I wasn't sure about was whether a unit which has an enemy adjacent to it has to actually engage in close combat. There were a few points where I felt that an activated unit was better off sitting tight than risking a combat roll against something facing it. I may just house-rule this and say that close-combat is optional, and see how it plays out.

I was using strength points, and the game played out over several turns, with units slowly accumulating hits. Eventually the Marines reached their exhaustion point, but the Guard reached theirs the turn after before they could exploit their advantage, and the game ended in a stalemate. Only one unit was actually lost; a unit of Marine infantry.


I set up the game again, but this time I used the Sudden Death option. This gave a much more satisfying battle, with each move and attack being riskier, since an exposed unit could easily be picked off by a single shot.


Tanks duelled on the one flank, whilst once again the infantry ducked and hid in the centre.


The Guard tanks broke through, and turned the Marines' flank, forcing them to their exhaustion point.


A follow-up attack by the Guard saw more Marines fall, but the Guard then lost their attacking unit, forcing them to their exhaustion point. However with only four losses to the Marines' five, I gave the battle to the Guard.


The initiative system seemed to work OK, although it does make coordinated attacks difficult to achieve. I shall try it some more and see how it pans out.

The Sudden Death option gave a more satisfying game but, of course,  at the cost of one of the features that helps delineate different unit types; their strength points. Thus an artillery unit (two strength points) is now as tough as an infantry unit (four strength points). I'm not sure what the answer is there. The strength points would work, I think, for anything 19th century and earlier, where warfare is more attritional, but Sudden Death does rather suit this style of 'modern' warfare. I shall have to ponder the possibilities; I rather like the idea of an Epic 40K Portable Wargame now I've tried these armies out. Next time, though, I might use less terrain, or spread it out some more so that there is more scope for shooting.

Friday, 22 December 2017

Massive Maurice

For our last game of the year we played a big game of Maurice, with three 100pt armies on each side. We used two decks shuffled together, but reduced the army morale breakpoints a little just to make sure we could bring the game to a conclusion within the evening.

Armies were loosely based on historical prototypes. Or maybe not. We just put together interesting 100pt forces, with some people trying out a few ideas for our next Maurice campaign, which will start early next year if all goes to plan.

One one side Caesar, Peter and Ralph ran an Austrian/Prussian Alliance. On the other, John, Daniel and I ran a Russo-French-Swedish Confederation. Here are my Swedes. I tried irregular cavalry in my force.


Caesar's Austrians opposed me. He went for a cavalry-heavy force, backed up by lots of high-quality artillery.


The French (foreground) and Russians (background). The Russians had Rally To The Colours, but were facing Prussians with their deadly Lethal Volleys.


In the centre Peter advanced his Austrians along a river, taking two small villages there.


I pushed my irregulars forward, to grab the woods in the centre of Caesar's deployment area. They took hits from his excellent artillery on the way.


On the other flank Ralph's Prussians approached Daniel's Russians. Both armies looked very neat.


I pushed the Swedish cavalry forward to support my irregulars.


Meanwhile Peter's Austrians were approaching my infantry line. Both Peter and I had selected Clerics as a national advantage; would we get a chance to see how they work?


On our right the Russians and Prussians were exchanging shots and, as always happens, the Lethal Volleys were proving their worth.


Peter and Caesar jostled for position as they advanced. One of my units advanced alone to meet them. This wasn't my choice.


Meanwhile my cavalry piled into Caesar's rather unenthusiastic infantry, and routed it.


Caesar's cavalry surged forward towards my infantry in response. I prepared my clerics to bolster the troops.


My cavalry continued their attack, but failed to break Caesar's remaining infantry. The cavalry fell back and then got shot to pieces. As always.


The Russians were now attacking the Prussians to avoid being shot at. But our army was losing morale rapidly, and our opponents' wasn't.


Before Caesar's impressive cavalry force could hit the Swedes, our army collapsed.


We played to a conclusion in about three hours, which was great, even allowing for the fact that we dropped our starting morale values a little. Once again we found that Lethal Volleys is very good value indeed; maybe under-priced for the effect it has, or too powerful for the cost. We've considered a few possible 'fixes', but aren't sure where to go with it. Two of us chose Clerics, but we never got into a position to use them. I didn't really get to use my irregulars to their full potential either. But I think everyone got some ideas for our future campaign games.

It was also nice to roll some dice again, after a break of at least a couple of weeks.

Related Posts Plugin for WordPress, Blogger...