
Here are the Russians. Some of them wouldn't fit into the deployment zone, so started off-table.
4 x Raw Shot @ 3pts
2 x Dragoons @ 4pts
1 x Galloper @ 4pts

The Swedes cam on from the opposite corner. Both sides had to get all of their troops to the other side of the river, whilst preventing the opposition from doing the same.
2 x Raw Shot @ 3pts
2 x Raw Pike @ 3pts
1 x Regimental Gun @ 4pts
2 x Aggressive Gallopers @ 4pts

I determined the terrain randomly. Most of it ended up in the two deployment corners, slowing down both sides' initial moves, but especially those of the Swedes.

The Cossacks (Dragoons) raced forward, looking to cross the river quickly and skirmish with the Swedes.

The Swedes marched slowly towards the ford.

The Cossacks crossed the river.

The Swedes took cover behind a wall as the first shots of the skirmish were fired.

The Cossacks fell back and advanced as the Swedes tried to return fire whilst also advancing. The Russians advanced steadily, making the most of their officer's ability to reroll one failed activation per turn.

Away from the ford, the Swedish cavalry, led by their officer, was trying to turn the Russian left flank. Outnumbered Russian cavalry moved to block them.

The Cosacks were now properly across the river, but neither side was inflicting much in the way of casualties on the other.
As the Swedish cavalry advanced, the Russians closed, forcing the ensuing fight to happen in the river, where the Swedish advantage in the attack was nullified.

Both sides took casualties, but the Russians held, forcing the impetuous Swedes to charge them again and again in the river. The Russians were wiped out, but had seriously damaged the Swedish cavalry.

The Cossacks got their act together, and their fire drove back the Swedish pikemen. The Swedish shot behind the wall fired in support of their comrades, but scored no hits.

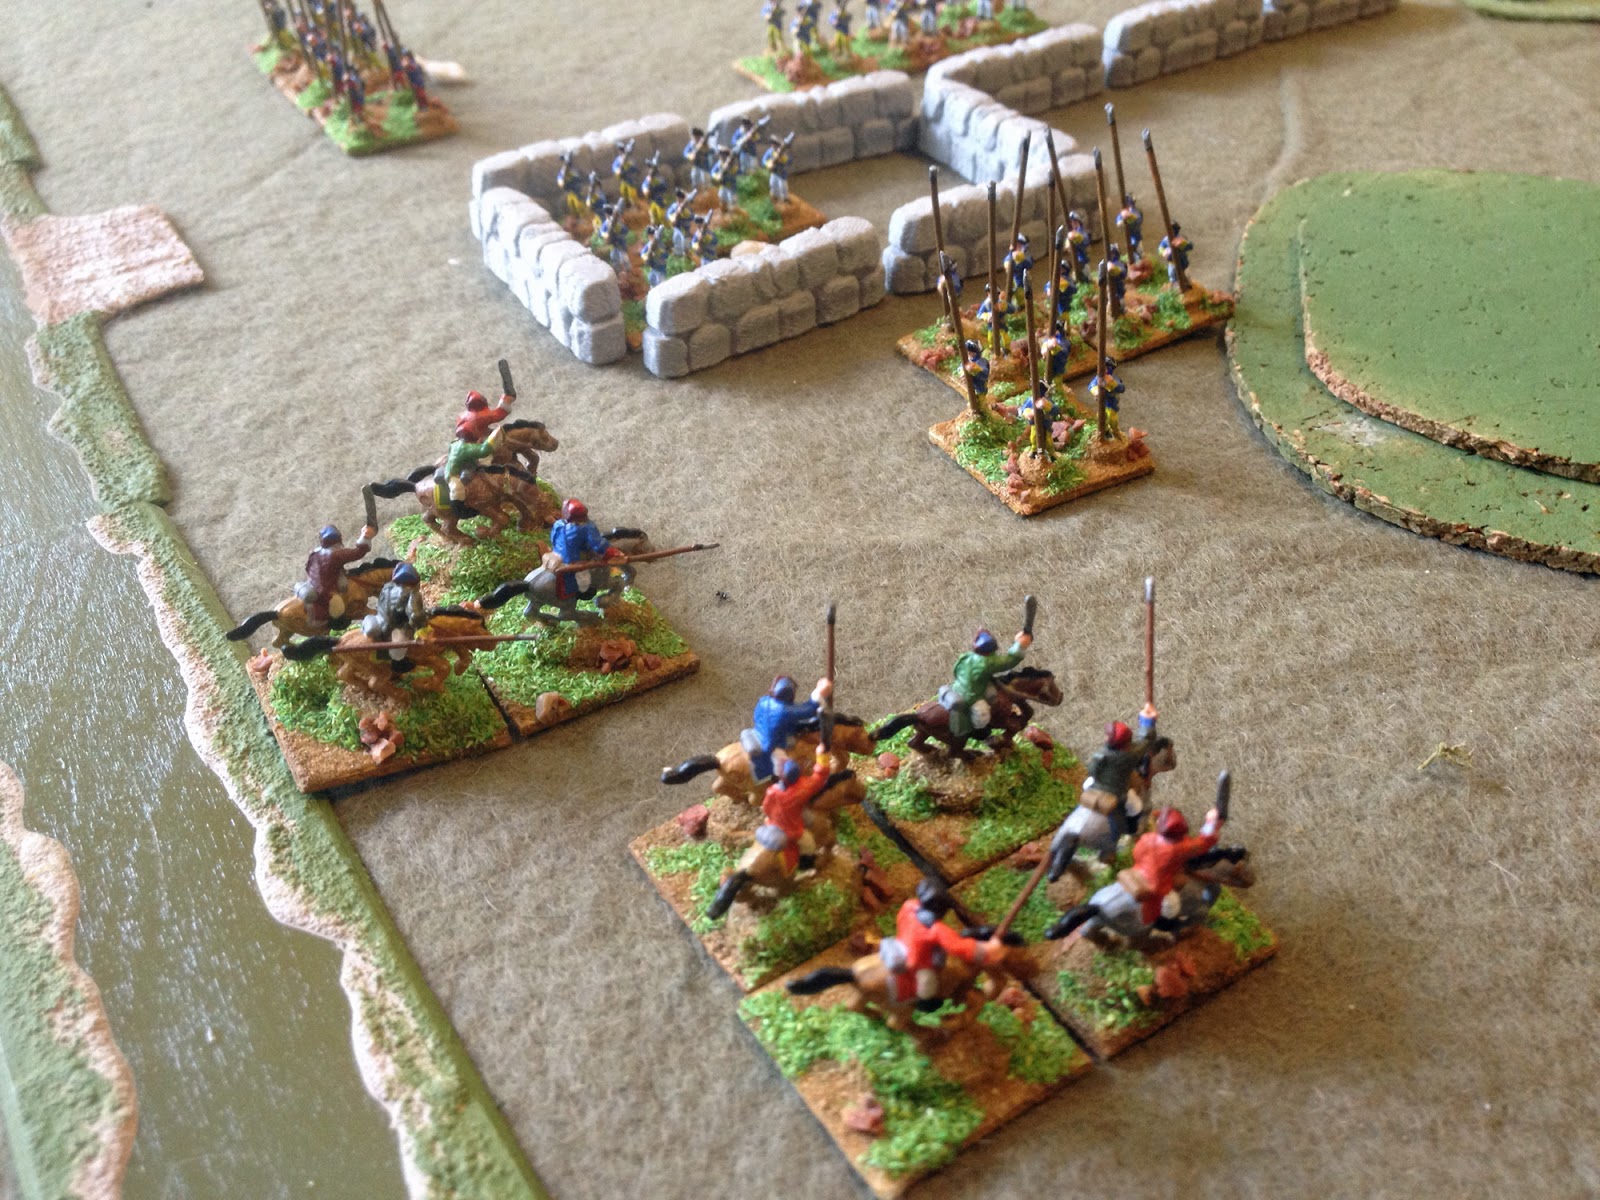
An overview of the action. The Russians were firing across the river, and holding back the Swedes whose activations were generally pretty awful.

The scenario ends when one side has all of its surviving troops across the river. With the Swedes in a muddle on their side, the Russians pushed forward, their officer leading the way.

The few surviving Swedish cavalry now found themselves facing Russian shot units. One unit was destroyed in the river, but that led by the Swedish officer charged forward ...

... and drove back the infantry with great panache.

However this left the Swedish officer as the sole surviving cavalry on their side, and the only one of their troops to have crossed the river and lived.

The Swedish pike got themselves organised, and charged the Russian officer's shot unit.

Both units took casualties ...

... and both routed, leaving the Russians leaderless.

There was now only one Russian unit left on their side of the river. The Swedish officer charged it (he had no choice). It routed. This left the Russians in a winning position, unless ...

... the Swedes could rout another of their units. This would bring the company's selected special orders into play and actually leave the action as a draw. The Cossacks were shot at and took casualties, but held firm. The final shot of the game saw the Swedish artillery fire at some Russian shot. They took hits ... and passed their morale test.

The Russians had scored a win 3pts to zero. The Russians failed both of their special orders, which cost them a couple of points, whilst the Swedes managed one of theirs (first charge of the action), but lost the point because their failed the other (routing half of the enemy force).

The Swedes were hampered by difficult terrain early on, and some poor activations, but the real decider was their cavalry being forced to fight in the river, where their combat advantage for being aggressive was nullified whilst their impetuosity remained unchanged. This left the Swedes toothless and unable to respond to the final Russian push.
The choice of 'raw' for the pike and shot units seems odd, but seems to force both sides to adopt a more close-combat orientated approach, something which works especially well for the Swedes. The effect of firing was erratic and unpredictable; had units been able to charge, the fights would have been more decisive.
6x6 - Game 3.3

Great report and pics for a fascinating conflict. Does The Pikeman's Lament suit this period?
ReplyDeleteI'll need to try it again, I think. Obviously all of the tactical stuff for this period concerning how the armies operate assume big units, not the skirmish scale of PL. I was more interested in how the pike worked with the shot, but in this game they never really got going.
DeleteIt's made for that period, aka it's one of the featured periods.
DeleteTrue, but it's one of the extreme ends of the period, an my experience is that rules tend to cover the middle bits the best.
DeleteIt does seem to work OK for GNW, though.
I suppose erratic firing fits the period. Interesting battle as it unfolded, a lot of things seems like they could have gone dramatically different.
ReplyDelete