
I chose Salem Church as my battle. The Confederates had five Infantry and Artillery and a General. The Union had six Infantry, two Artillery and a General. Neither side had cavalry, so rolls pertaining to them were ignored - treated as 'no effect'.
I set victory at four flags. The Union could gain a flag by passing through/controlling a square just behind the Church. This was to encourage an advance on their part, and a defensive action of the part of the Confederates. Both sides had three activation dice.
Here's the Union in their initial positions, with the Confederate defensive line beyond them.

The Union advanced their right, and the Confederates opened fire, inflicting some hits.

The Union returned fire, inflicting hits back.

The Confederates lost a unit on their left, but the two Union units there were looking shaky as well.

The Union turned on the centre, and drove off the Confederate artillery.

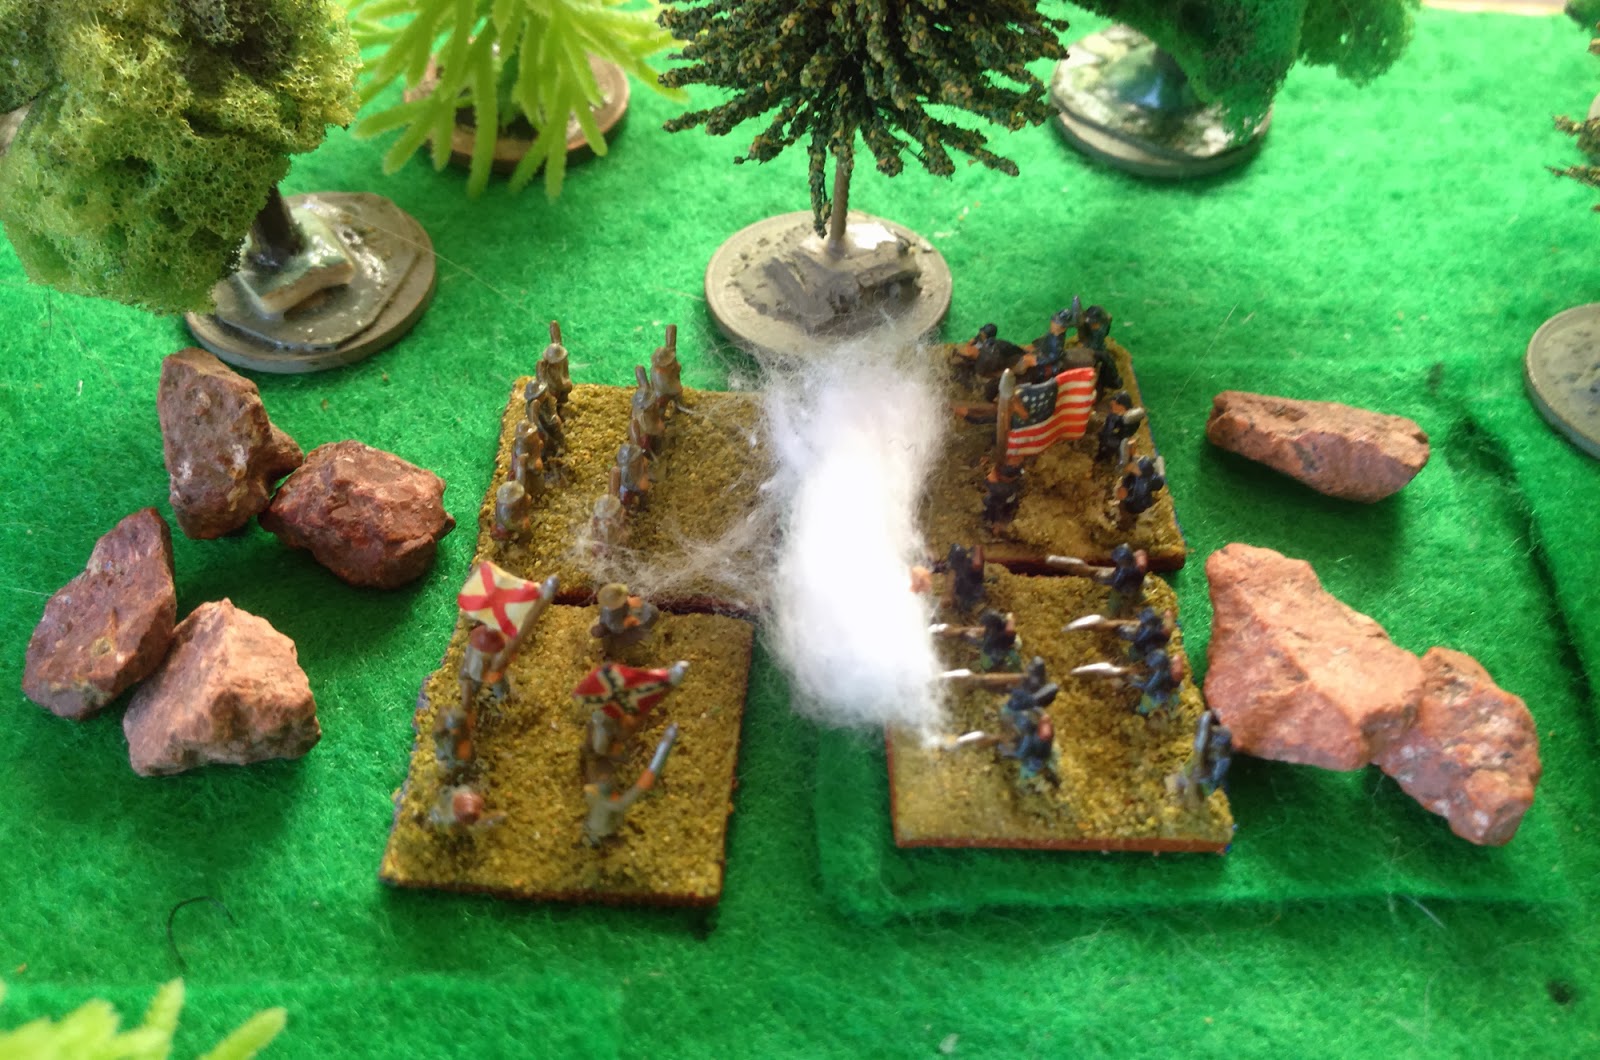
They received a deadly volley from the woods in return, though.

The focus of the action now switched to the other flank, with a fierce push and shove between the church and the woods.


A Union advance through the woods ran into some fierce resistance.

The Union regrouped, ready for another advance.

In they went again, with artillery support this time. But the Confederates held firm.

The closing stages of the battle.

Both sides were now one unit from breaking. The Confederates kept up a deadly fire, hoping to take out the last Union unit they needed for victory.

A Union counter-attack failed to break the Confederates on their left.

But back on the Union right, the continuing skirmish in the woods there saw the last Confederate unit on the flank break, giving the Union the victory.
The game played quickly with so few units, and there were numerous lost activations owing to neither side having any cavalry and the Confederates losing their artillery early on. Indeed on one turn the Confederates failed to activate anything. The charging rule I used in the last game worked well, and I want to try it with firearm-equipped ACW cavalry sometime, so horses will probably feature in my next game.

No comments:
Post a Comment