Sunday, 16 October 2016

Frocktober 2016

It's October again, and that can only mean one thing; the annual post promoting Frocktober.

Frocktober is a month-long event organised by the Ovarian Cancer Research Foundation here in Australia in order to raise awareness of, and funds to help fight, (you've guessed it) ovarian cancer. Here's what they say:

Ovarian cancer is an insidious disease, often known as a “silent-killer” as symptoms are vague and often strike without warning. Unlike many other cancers there is no early detection test. Consequently ovarian cancer is often diagnosed in its late stages and only 20%-30% of women will survive beyond five years of diagnosis. In comparison, survival rates increase to 80-100% when ovarian cancer is detected and treated early.

The Ovarian Cancer Research Foundation is Australia’s pre-eminent ovarian cancer research body. Our goal is to raise ovarian cancer awareness and vital funds for the development of an early detection test that will save women’s lives.

We receive no government funding and rely on the support of our community and business supporters to assist in driving our research forward.


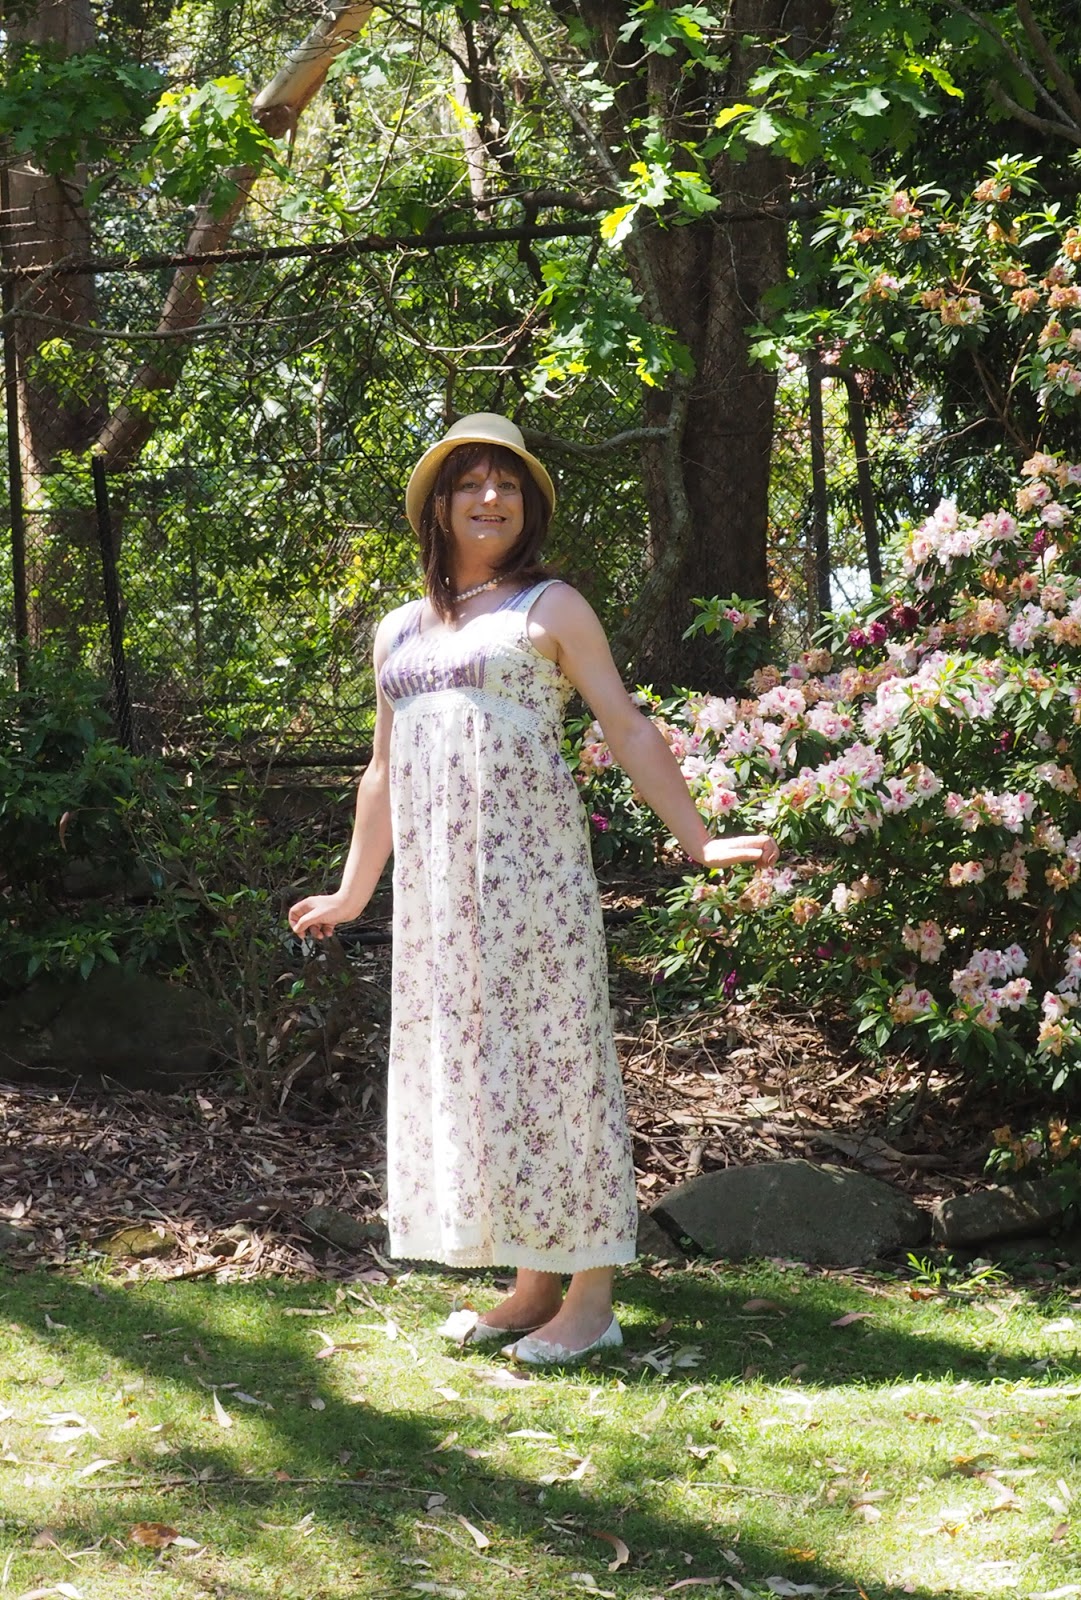
The classic way to raise funds is to wear a dress every day in October. Obviously that's fine for some, but despite my tendencies in that direction I'm not sure it would go down too well at work. My choice is to frock up at least once during the month, get some nice pictures and then use them to convince you and others to donate to the cause. This year I have been organised enough to manage two outings, and in one I was joined by the lovely Mrs Kobold.

First off, here's the link so that you can donate: Frocktober 2016

And, pride of place in the display of photos, is Mrs Kobold, in a replica Regency gown that she made herself, because she's really clever like that. It's actually the first time she'd ever made a dress, so all in all a good effort I reckon.


I went for shop-bought; boho/hippy goodness from Tree of Life. One of the staff recommended this particular one to me, and I reckon she made a good call.

Here we are together. 


The pictures were taken in the Wollongong Rhododendron Gardens, which wed earmarked as an excellent place for flouncing around in suitable frock earlier this year. Frocktober just offered a good opportunity.


 Earlier this month I had a day up in Sydney to shop for camera bits for our upcoming holiday, and decided that it would be as much fun to do it in a frock as not. So here's Froctober 2016 - Part 2 (which took place before Part 1).


Maybe next year I'll go for Frocktober at MOAB.

Tuesday, 11 October 2016

And Now A Word From Our Sponsors

Need to get from A to B swiftly, safely and without getting shot or rammed off the road?

Then book a trip in the Big Yellow Taxi


Whether you're going to a pink hotel, a boutique or a swinging hot spot, the Big Yellow Taxi will get you there in style.


This week's special offer - trips to the Tree Museum. Rates include the dollar and a half entry fee.


Don't Delay. Book Today. After all, you don't know what you've got 'til it's gone.

Sunday, 9 October 2016

More Machinas Chases

With a new car added to the racing stable, it seemed right and proper to give it an outing,

First off, I christened it. Most of my cars are named after songs on my iPod; the new spiky buggy becomes 'Please Don't Touch'.

I teamed it up with another buggy - Dead Flag Blues - and they ended up chasing Max himself.


And that's all they did do - chase. First Dead Flag Blues tried to set up a shot. But failed.


Please Don't Touch had a go. And failed.


They both had a go. And failed.


Try from a different side? Fail.


The problem was that the random road generator kept producing straights, and the V8 Interceptor is magnificent on straights because the engine acts as a great big, difficult to pass, speed boost.


One more go for Please Don't Touch. Failed


Sod this, I'm off.


Dead Flag Blues gave up as well. Victory went to Max for driving really, really fast.


My Digger On A Truck doesn't have a name, yes. I teamed it up with a bike, and set them loose on Meeting Mr. Miandad, the gun-toting Kombi.


First off the bike rushed ahead, thus forcing the Kombi into a more active role in the chase.


The vehicles cruised along in a line for a while, building up bonus dice and looking for an opening.


Meeting Mr. Miandad swung over to line up his rear guns; gunfire seemed to be the only safe way to deal with the monster in the rear-view mirror.


The driver failed, which gave the Digger On A Truck a chance to attack. This involved lots of dice.


The Kombi escaped.


Meeting Mr Miandad saw a brief opportunity to engage the bike, but the bike swung over to prevent it.


So the Kombi lined up its guns on the Truck again, and this time scored a damaging hit.


And another. Two solid hits saw the truck seriously damaged, and the digger arm almost useless. At that point the bike gave up.


With no support, and having taken severe damage, the truck pulled out on the next turn.


Despite the lack of actual mayhem, both chases were fairly exciting to run. I ran the chased vehicles, with a mix of AI and common-sense for the pursuers. It seemed to work OK, although I think live players would have probably chucked in more bonus dice early on than the AI does.

I'm in the mood for making some more vehicles now.

Spikes

Do you think this car has enough spikes?


This is the original vehicle.


I ripped it apart, cut up the bodywork, glued some of it back on and then drilled over 150 holes in it.


The spikes are chopped up toothpicks. Lots of them.


And now I have my very own Mad Max spiky car.


Friday, 7 October 2016

Ingmar Bergman's 'Might and Reason'

Death Rides A Pale Horse
'Might and Reason' is a little-known Bergman film set during the Great Northern War, in which Charles XII (played by Max von Sydow) leads his army in an enthusiastic, but ultimately doomed, charge against a Russian army commanded by Peter the Great (played by Svenge, an Oslo dentist and star of many Norwegian møvies: "The Høt Hands of an Oslo Dentist", "Fillings of Passion", "The Huge Mølars of Horst Nordfink"). It is famous for the iconic scene where Death himself leads the Swedish cavalry into the attack, although Death's appearance was due to the producers being unable to procure enough suitable costumes to outfit the army commanders of either side. Purists have noted that the Russian army commanders wore Austrian uniforms from fifty years after the film is set, and that some of the dwarves from 'The Hobbit' were in there as well.

Gary hosted a game of 'Might and Reason' for us this week, whilst I provided the Great Northern War Russian and Swede armies with which to play it. Might and Reason is basically the prequel to Maurice; you can see how parts of the latter are derived from the former. One thing it does is use a lot more commanders per army, hence our drafting command stands from other Maurice armies and even a few Warmaster figures (purely because they are 10mm).

Dawn breaks over a misty battlefield. Or camera-shake. Your choice.


The Russians. Lots of them, but indifferently commanded and with cavalry of dubious quality.


The Swedes. Small in number, but well-lead and very aggressive.


I played the Swedes and went for the simplest plan I could; charge straight into the Russians and hope to break their army before they could bring their numbers to bear.

I've had worse plans.


Here's Death leading one of the Swedish cavalry columns.


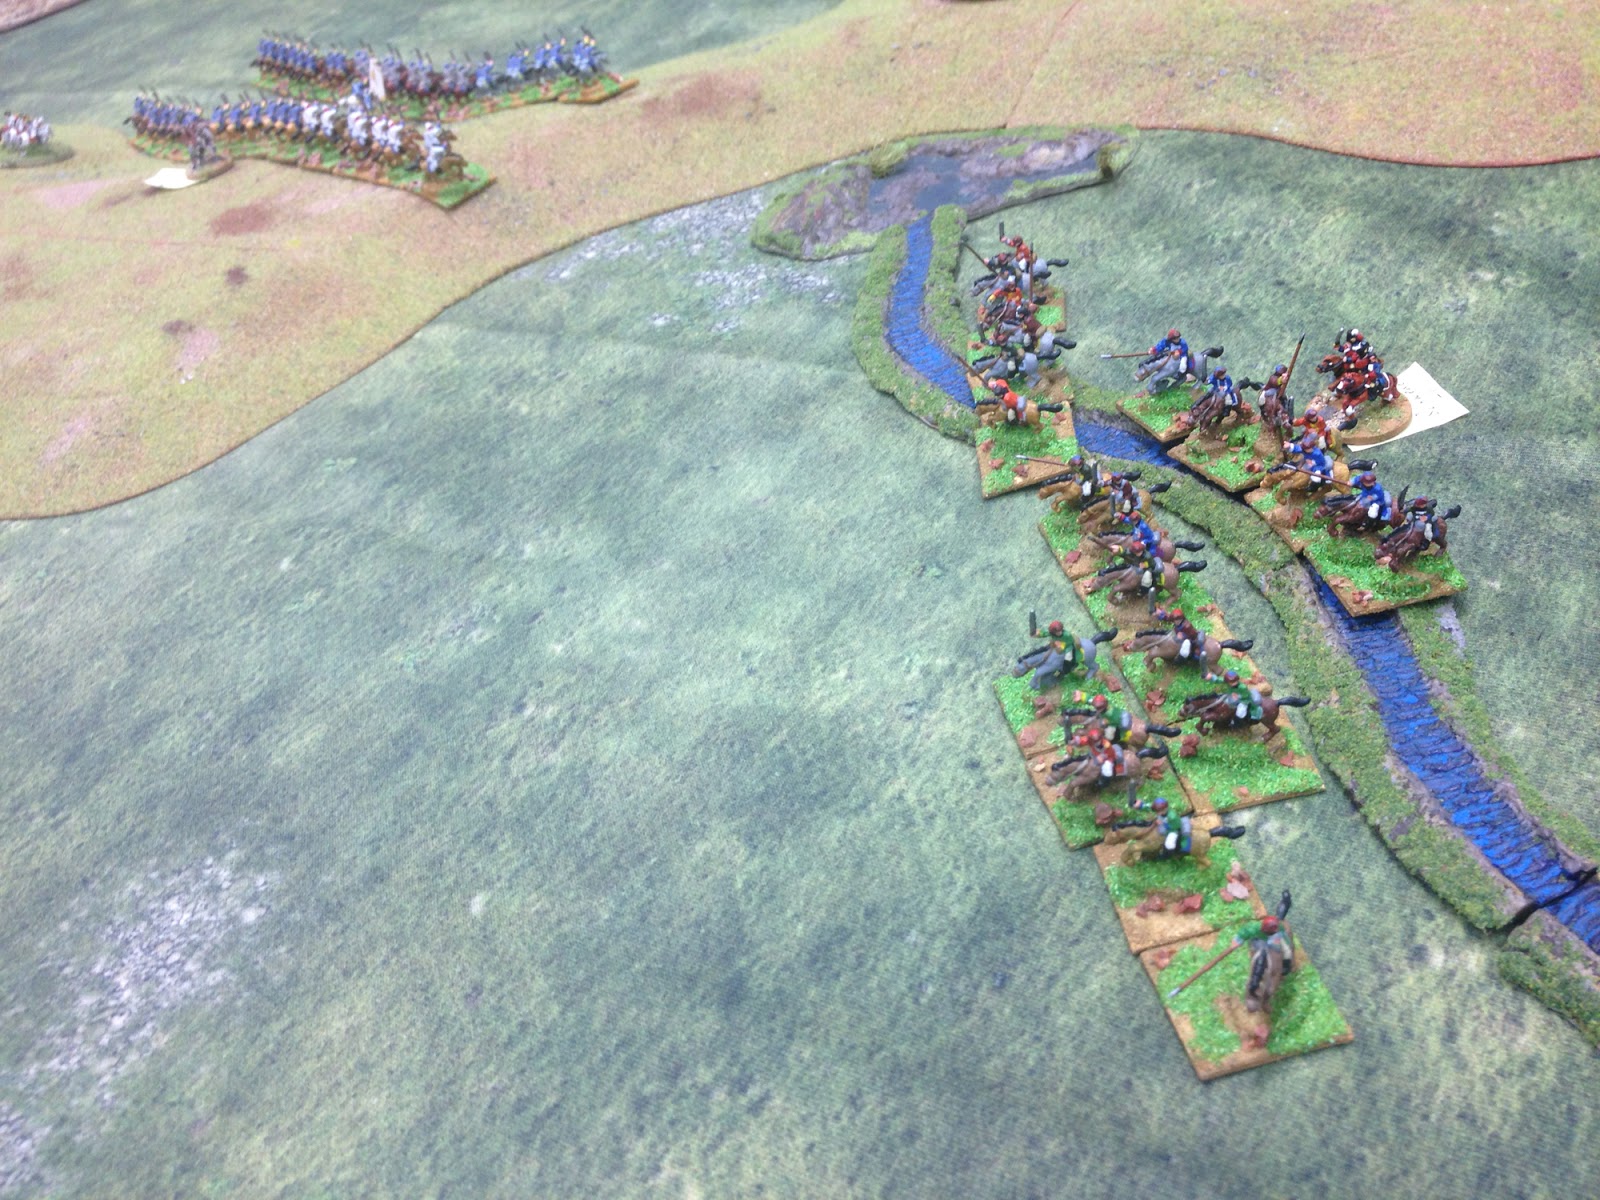
Movement rates in Might and Reason are actually quite good, and Dave, commanding the Russian left, soon had Cossacks in my rear. Unfortunately the command system, which relies on activation rolls modified by a pool of dice generated at the start of a variable-length turn, means that their bursts of extreme speed were punctuated by periods of milling around in confusion.


I turned my reserve cavalry line to face them. One unit of Cossacks charged home, and was swiftly routed.


The Russian cavalry also had a go, but was repulsed. I had high hopes for my cavalry after that.


In we went, but this time we failed to drive off two Russian cavalry units that weren't even properly formed up.


Meanwhile my reserve cavalry line had turned to attack the Cossacks, who promptly evaded, and hid in a corner for most of the rest of the game.


I threw my cavalry in again and again, but couldn't break any of the Russian units. It began to get worn down, and the Russians were forming a strong line in response.


True to form, Charles had left his artillery behind. Who needs artillery on the attack? Beyond the village, on the Swedish left, the infantry were advancing towards the Russian line. But I had deployed them in line from the go, and they were advancing very slowly. This gave Gary, in command of that portion of the Russian army, time to form up in response and also compromise the Swedish flank.


Plod, plod, plod. This was not the lightning assault I'd planned.


On the other flank the reserve cavalry formed up to join the fray.


Lots of charges and some desperate fighting saw the Swedes worn down even further.


The Swedish infantry finally advanced into musketry range. They aren't very good at musketry, being all about a volley and a charge.


They charged! They failed to really make much of an impact, their momentum being largely cancelled by casualties from the fire they had received standing around in front of the Russian lines, plus the fact that their flanks were up in the air.


In Might and Reason, having a unit fall back through you is bad. The Swedes had a few units fall back through their supporting lines, creating confusion and making command and control more than a little tricky. This is a set of rules where you have to manage supporting lines with some skill. Or not use them.


On the other flank my cavalry were still fighting, and I eventually had the satisfaction of seeing two Russian infantry units rout, after Russian cavalry charged through them, lost and fled through them going the other way. The Russians killed as many of their own units as I did.


We'd rolled for time of day, and the battle had started late. It therefore finished after about four turns when darkness fell. Whilst technically a draw, the Swedes were being enveloped by the Russians at that stage, and wouldn't have lasted long. With Cossacks now returning to the fray in their rear, even a retreat was going to be a problem.


This was an entertaining game, in which we all made terrible tactical errors, but that's half of the fun of learning a new set of rules. I shouldn't have formed up in supporting lines, and I should have had my infantry in faster moving columns, relying on my excellent command and control to bring them out into firing/fighting lines at the last possible minute. The cavalry put on a good show, and I probably wouldn't have done much differently with them. The Cossacks were an issue; not dangerous themselves, but had they got behind me whilst I was embroiled with the Russian regular troops, things could have gone very badly indeed. It takes good timing and a control of the initiative, to bring them to battle.

Thanks to Gary for organising the game, and to Dave for being a worthy foe. I think that this is a set we are going to try again sometime.
Related Posts Plugin for WordPress, Blogger...