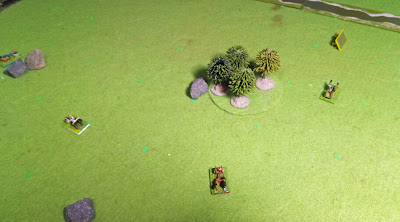
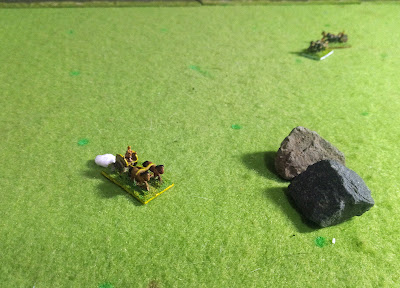
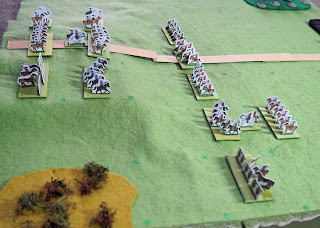
The race was all good fun, even if I have some reservations about the mechanisms of the game. It's a fun piece of entertainment, if nothing else, and the more open 'arena' reduced the frustrating collisions with walls that dogged other games I've played.
Tuesday, 21 December 2021
The Solstice Race
The race was all good fun, even if I have some reservations about the mechanisms of the game. It's a fun piece of entertainment, if nothing else, and the more open 'arena' reduced the frustrating collisions with walls that dogged other games I've played.
Saturday, 18 December 2021
Boldon Hill Again
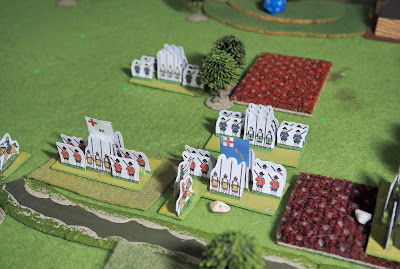
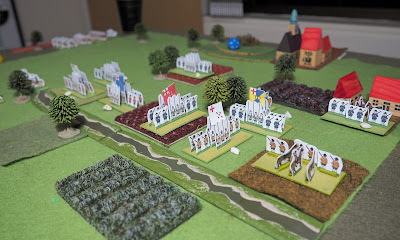
I set up my Boldon Hill game again, but this time I added some enclosures on the Royalist side of the stream. I reasoned that this would induce more of a stalemate on that side of the field.
The Earl of Leven had got himself back into the fight, but was seriously wounded almost immediately by a bold Royalist attack in the centre.
This felt much more like the accounts of the original battle, with an inconclusive firefight in the hedged areas leading to a draw and one side withdrawing. A little more luck, and a more coordinated push, could have seen the Royalists with the infantry fight, since the Scots left themselves vulnerable without a reserve, but it wasn't to be.
Friday, 17 December 2021
The Battle of Boldon Hill
There have been a few blog posts and similar with refights of the 1644 battle of Boldon Hill over the past couple of years, and I thought I ought to have a go as well.
The battle was fought between Royalists from Newcastle, led by the Marquis of Newcastle, and Scots under the Earl of Leven who had crossed the border earlier this year and besieged the town. Failing to make any headway they had raised the siege and marched south, threatening Durham, and also looking to link up with English Parliamentarian forces. Not content to sit in Newcastle, the Marquis pursued them, and the two armies danced around each other for a couple of weeks, and Newcastle threatened the Scots' supply line.
Eventually the two forces drew up opposite each other at Boldon on 23rd March, the Royalists on Boldon Hill and the Scots on Whitburn Lizard. The area between the two armies was intersected by hedges, fields and a fairly significant stream, although there was open moorland to the east of the battlefield which both sides covered with their horse.
The armies advanced late in the day, and there was inconclusive fighting as both sides were hampered by and took cover in the hedgerows between them. The armies shot at each other into the night until the Royalists withdrew to their original position.
Both sides claimed the victory.
Afterwards the Royalists withdrew to the south and the Scots followed. They met again at York and were eventually both part of the armies at Marston Moor later that year.
I decided to refight it with my Portable Wargame rules.
The OOB I took from a scenario for In Deo Veritas which can be found HERE
The board was initially derived from the scenario, with some additions from this map which I lifted from a post one the Prometheus In Aspic blog.:
Here the OOBs I came up with.
Scots
1 x Commander (Earl of Leven)
6 x Pike & Shot (3 x Trained and 3 x Raw)
3 x Horse (Trained)
1 x Dragoons (Raw)
1 x Artillery (Trained)
35SP (Breakpoint = 18SP)
Royalists
1 x Commander (Marquis of Newcastle)
4 x Pike & Shot (2 x Trained and 2 x Raw)
4 x Horse (2 x Trained and 2 x Raw)
1 x Dragoon (Raw)
28SP (Breakpoint 14SP)
Basically I went with what was in the original scenario, aside from adding some dragoons to the Royalist force. The Scots have a slight numerical advantage, but with their supply lines under threat I reasoned that they had to take the battle to the Royalists.
Here's the setup, with the Royalists to the left and the Scots to the right. On the Royalist baseline is part of Boldon Hill, and the village of West Boldon. At the top of the picture is the village of East Boldon, and between them two areas of enclosures. Before the Scots are some enclosures and the Don Stream.
I'd set the game at roughly ten turns; I would dice at the end of each turn from ten onwards to see if darkness ended the battle. However it actually finished in six.
The end result was a lot more decisive than the historical battle. It's a tricky one to set up in that respect; you want to get a good game out of it, whilst reflecting the terrain and forces of the actual action. So closing down the terrain a little more would make the infantry fight less conclusive, by giving the Scots more cover from both musketry and horse, but would make it likely that the battle will not come to any kind of conclusions. To be fair the Scottish horse collapsed very quickly, which pushed them rapidly to their breakpoint but without the Royalists showing any sign of reaching theirs. I suspect a more cautious approach by the Scots' horse would work, using them to simply cover the flank of their foot and bringing up some of their foot in support; they have pike & shot to spare, at least initially.
So I might refight this, but with a few terrain tweaks - a couple of enclosures between the stream and the Royalists, probably - and a changes in the Scots' tactics.
Thursday, 16 December 2021
Portable ECW Changes
Activation
At the start of the turn, roll one activation dice per active unit (including the commander). Each D6 which score 3+ gives an activation.
If desired, spend an activation to relocate the commander.
Assign remaining activations to units. This is done before any of them act. If you wish to replace a lost commander, keep an activation to one side.
Activate units, one at a time, either from the left to the right or the right to the left. If more than one unit is in a file, activate those furthest from the baseline first.
If you kept an activation to one side, replace a lost commander.
(The rationale behind this is that it is a method of activation which means that the proportion of units activated stays the same regardless of losses or reinforcement. In addition it doesn't restrict the activations to roughly half of your force; you might get to move everything, or you might get do move virtually nothing. The pre-allocation of activations and the sequence of activations stops the system from becoming too flexible; sometimes you have to commit to a course of action before knowing how something else pans out elsewhere. Loss of a commander becomes a little nastier since you not only lose his activation for a turn but you also have to spend one in order to bring him back. As a system it does stray from the elegance of the Portable Wargame basic design by requiring you to roll a bucket of dice rather than one or two.)
Effects of Hit
When rolling for the effects of a hit, an unmodified die roll of 1 means that the unit loses 1SP and must then roll for the effects of a hit again applying the second result as well. This may be an unmodified 1, in which case keep rolling.
When rolling for the effects of a hit, an unmodified die roll of 6 means that the unit must retreat if it is able. You cannot lose an SP instead, unless no retreat is possible.
Other Combat Results
Foot never pursue Horse.
(This seems pretty straightforward. Horse and pike-armed foot are the only things that pursue; horse will pursue anything, whilst foot will now only pursue other foot.)
Random Events
I used to link Random Events to a dice-based activation system. However when I gave up on the system I didn't want to lose the events. So I use this method instead.
Before rolling for activations, roll 2D6. If a double is scored, there is a random event. Use the number rolled as First D6. Roll a Second D6 to determine the specific event.
First D6 - 1-3
Second D6
1-3 - Inspired Command - You get activations on a roll of 2+ this turn
4-6 - Poor Command - You only get activations on a roll of 4+ this turn.
First D6 - 4-6
Second D6
1 - Confusion - The enemy player picks one of your units and resolves an activation for it. If it fights in close combat it does so at -1. The unit does not give this side a D6 for activations and can't be activated again this player turn.
2 - Commander Indisposed - The army's commander does not give the side a D6 this turn, and neither may he be redeployed or replaced if currently lost. He may move if the unit he is attached to moves, but doesn't offer any combat bonuses this player turn.
3 - Panic - The enemy player picks one of your units, which immediately takes a 1SP hit. This cannot cause it to be destroyed, however.
4 - Brilliant Colonel - Pick a unit. That unit may immediately make a free activation. It still generates and activation dice and can activate again in this player turn.
5 - Rally - Pick a unit that has taken one or more hits, and roll 2D6. For each that score 4+, remove one hit.
6 - Inspiring Speech - EITHER Pick a unit which gets a +1 the next time it either shoots or engages in close combat OR if you have to take an army morale test this turn, you get a +1.