Monday, 3 February 2014

A Square Grid In Riskovia

We're playing Maurice again on Thursday, so I dredged my gloriously unpainted Risk figures out of their cupboard this evening. And I noticed that two bases from each Maurice unit fitted into a square on my chessboard, and I thought ... why not?

I made the rules up as I went along. The basics were the same as my other square-grid Battle Cry derived games, but I thought I'd throw in some 18th Century specifics, derived from Maurice, mostly.

Movement distances were the same, but Artillery got a marker once it had fired. It couldn't then move again until the marker was removed - which cost it an activation.

Combat factors were reduced to reflect the fact that cavalry wasn't really shock-cavalry and infantry firepower wasn't as deadly as in the Mexican Adventure games. Infantry fought at 2-1, whilst cavalry fought with 3 dice, but automatically lost one if fighting Infantry. Artillery fired at 3-2-2-1.

The biggest change was that units could be activated in groups. The activation of a particular unit type could include a group of units, so long as they were all adjacent to each other and  on either the same rank or same file of the board. They all had to be in the same terrain as well. Activated units could move individually, but had to end orthogonal and adjacent to at least one other unit in the same activated group. Any units in the activated group that were eligible to battle could do so.

I used the close combat and troop quality rules I have been trying out.

I gave both armies six units of Infantry (two Elite) and three units of Cavalry (one Elite), plus one unit of Artillery. I didn't bother with a General on either side. I set victory at five flags, and gave both sides three activation dice.

I didn't take pictures of the game itself, but posed a few afterwards. The Riskovians won a crushing victory over their Sans Couleur foes, destroying five of their units for the loss of only one of their own. The group activation and low fire dice made for a wonderfully linear game, with infantry blazing away at each other for several turns. San Couleur attempted a cavalry flank move through some woods, but it was too slow to affect the game. The battle was won by the Riskovian elite infantry steadily eroding the San Couleur centre with deadly musketry, whilst their elite cavalry held the flank.

It was a lot of fun, and I'm going to do it again another day.

Here's the posed pictures.

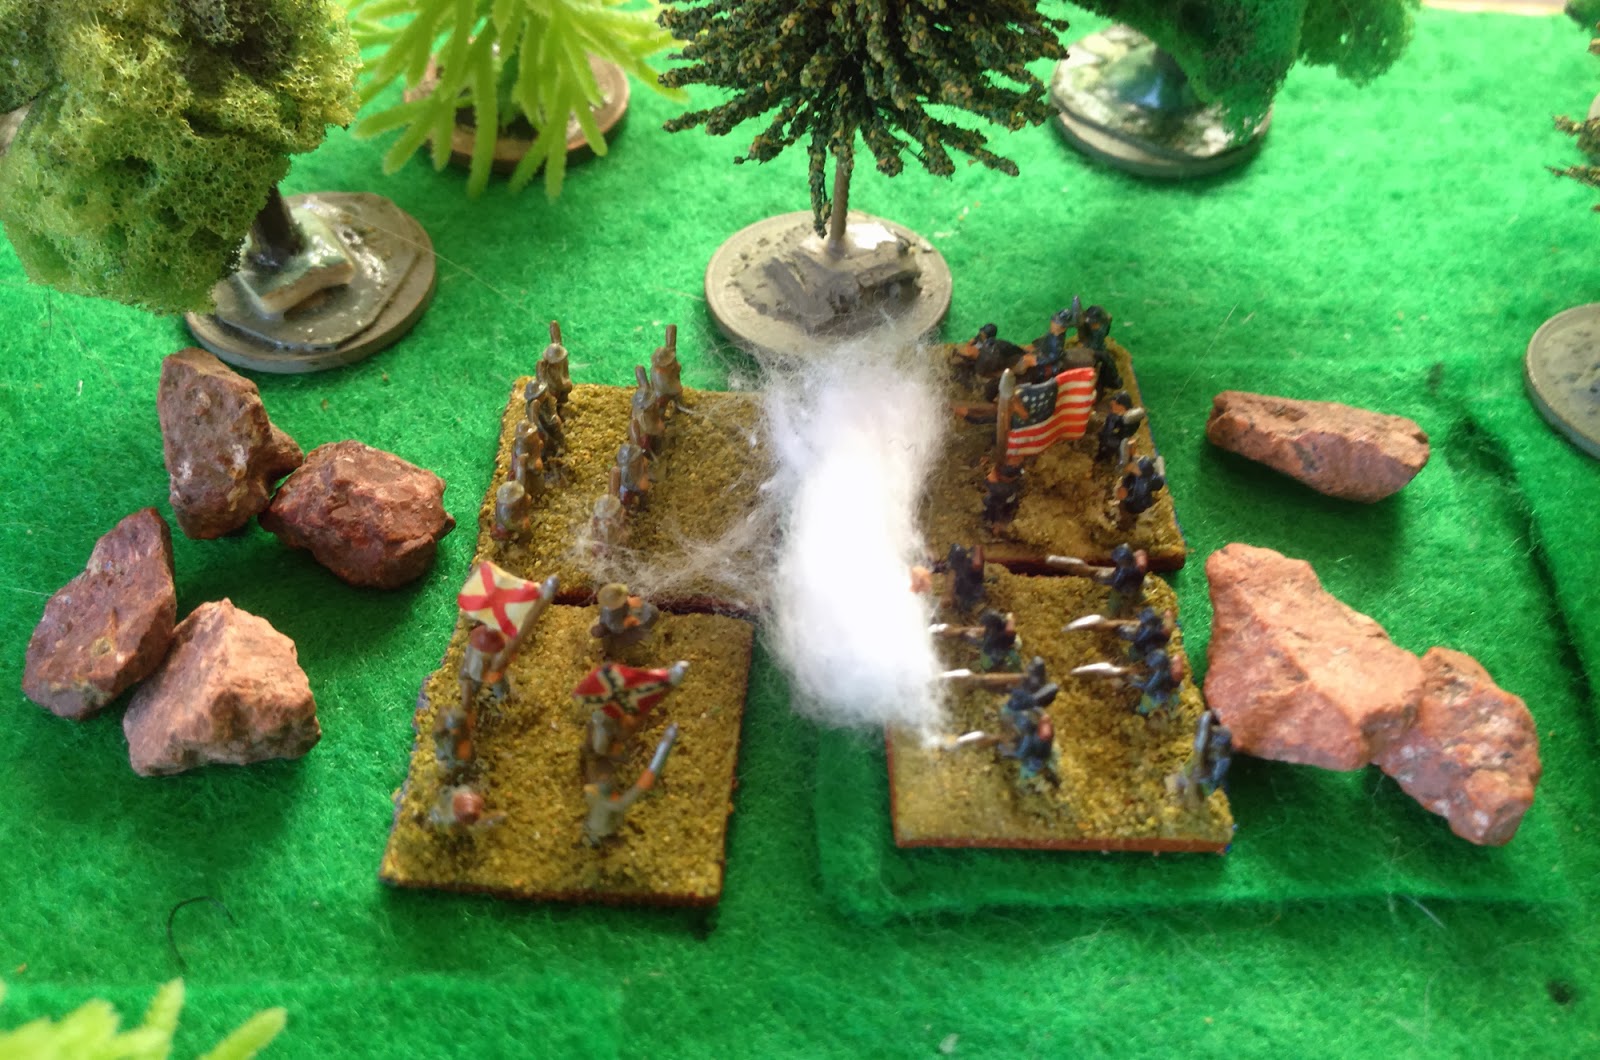
The Riskovians fire another volley.


Their elite cavalry rides up in support.


The Sans Couleur infantry fall back, before routing from the field.


Troop Quality Update

In a post yesterday I proposed an alternative way of representing troop quality in 'Battle Cry' style games. Today I played a few quick games using my Mexican Adventure armies; I tried the encounter game and the San Lorenzo scenarios, playing each a couple of times.

The Encounter scenario gave me a game with plenty of militia units. The changes gave them a little more resilience, but a bad set of rolls could cause them to collapse quickly. This was more how I want them to behave, rather than just being very brittle.

I varied the San Lorenzo scenario to include an elite infantry unit - the French Foreign Legion. Here they are advancing on the village, with their general in direct command.


The militia behaved as in previous games, but I was pleased that militia cavalry seemed to have a little more staying power. The elite infantry got a thorough testing, though. Pinned in front of the village by Mexican musketry, they resisted several rolls of '6' (crossed swords) which would otherwise have destroyed them, and survived a turn or so longer than they should have done.

Here they are being terribly elite:


Three hits on them already, and only one required to remove them. And the Republicans kept rolling sixes.

Anyway, from those few games I would conclude that the changes don't seem to have radically broken the game and certainly vary the performance of units. I'll keep trying them out.

Sunday, 2 February 2014

Troop Quality In The Battle Cry Variant

In some of the scenarios I have been playing using the Battle Cry based rules (which really need a name of their own) I have played with troop quality. Battle Cry itself doesn't really cover this; one scenario has a unit which starts with a strength of three figures instead of four, but that's about it. In the games I have played so far I have adopted this approach. So a normal unit can take four hits if it's Infantry or three hits if Cavalry or Artillery. Elite units get an extra hit, whilst Militia units have one less hit. This make Militia cavalry, particularly, very vulnerable; not necessarily a bad thing, but somewhat frustrating.

However I was pondering an alternative approach this evening, which I may try I the next game I play, but which I thought I'd throw open to the floor. This is to keep the number of hits a unit can take constant, but vary how likely they are to be inflicted.

I will use Battle Cry terminology, followed by the numbers I use in my actual games.

A normal unit is hit when its symbol comes up, or by a crossed sword (6).

An Elite unit is only hit if its symbol comes up. It can ignore the first crossed sword (6) rolled against it by a particular firing unit.

A Militia unit is hit if its symbol comes up, by a crossed sword (6). In addition the first flag (5) which actually causes the unit to retreat also inflicts one hit on it.

How does that sound?

And, like I say, I need a name for these rules; they're acquiring a life of their own.

Saturday, 1 February 2014

Salem Church Revisited

Having tried the square-grid, cardless Battle Cry variant for the Mexican Adventure, I tried it with an American Civil War battle this afternoon. This has a slight Coals To Newcastle thing about it; using rules adapted from a game about the ACW to refight an ACW battle, but I thought that it would be fun.

I chose Salem Church as my battle. The Confederates had five Infantry and Artillery and a General. The Union had six Infantry, two Artillery and a General. Neither side had cavalry, so rolls pertaining to them were ignored - treated as 'no effect'.

I set victory at four flags. The Union could gain a flag by passing through/controlling a square just behind the Church. This was to encourage an advance on their part, and a defensive action of the part of the Confederates. Both sides had three activation dice.

Here's the Union in their initial positions, with the Confederate defensive line beyond them.


The Union advanced their right, and the Confederates opened fire, inflicting some hits.


The Union returned fire, inflicting hits back.


The Confederates lost a unit on their left, but the two Union units there were looking shaky as well.


The Union turned on the centre, and drove off the Confederate artillery.


They received a deadly volley from the woods in return, though.


The focus of the action now switched to the other flank, with a fierce push and shove between the church and the woods.


A Union advance through the woods ran into some fierce resistance.


The Union regrouped, ready for another advance.


In they went again, with artillery support this time. But the Confederates held firm.


The closing stages of the battle.


Both sides were now one unit from breaking. The Confederates kept up a deadly fire, hoping to take out the last Union unit they needed for victory.


A Union counter-attack failed to break the Confederates on their left.


But back on the Union right, the continuing skirmish in the woods there saw the last Confederate unit on the flank break, giving the Union the victory.


The game played quickly with so few units, and there were numerous lost activations owing to neither side having any cavalry and the Confederates losing their artillery early on. Indeed on one turn the Confederates failed to activate anything. The charging rule I used in the last game worked well, and I want to try it with firearm-equipped ACW cavalry sometime, so horses will probably feature in my next game.

Thursday, 30 January 2014

Boxtel - 15th September 1794

We're planning on a double-sized Maurice game next week, but it's been a while since we played, so we set up a smaller game tonight so that we could remind ourselves of the rules. And, more importantly, how to play, as there's a knack to Maurice card-play that we'd still not got to grips with.

Ralph concocted a scenario for Boxtel, Wellington's first encounter with the French, when he was a mere brigade senior officer. It's a little outside of the period covered by Maurice, but allowed us to try massed columns and make use of Ralph and Dave's nice 15mm Napoleonic figures. It's also the first time we have played an actual battle using these rules.

Both sides had a Notable - the British had Wellington, the French a Revolutionary fanatic whose name escapes me. The British had two brigades of infantry, one of cavalry and some artillery. the French had much the same, but had more infantry of a generally lower quality but the Artillery Train national advantage. In addition the French had Columns and Bayonets, whilst the British had Rally To The Colours and Lethal Volleys. The French cavalry was superior to that of the British.

Here's the table setup. The French are in march columns in the foreground. The British are marching through, and to each side of, the village.


The French cavalry. Watch them; they're important ...


Wellington forms up his brigade ...


... whist French columns advance on it.


But the main attack doesn't come from the columns - the French cavalry charges towards the British artillery ...


... and sweeps it away/


It then moves behind the British line. The British cavalry moved up to defend their infantry.


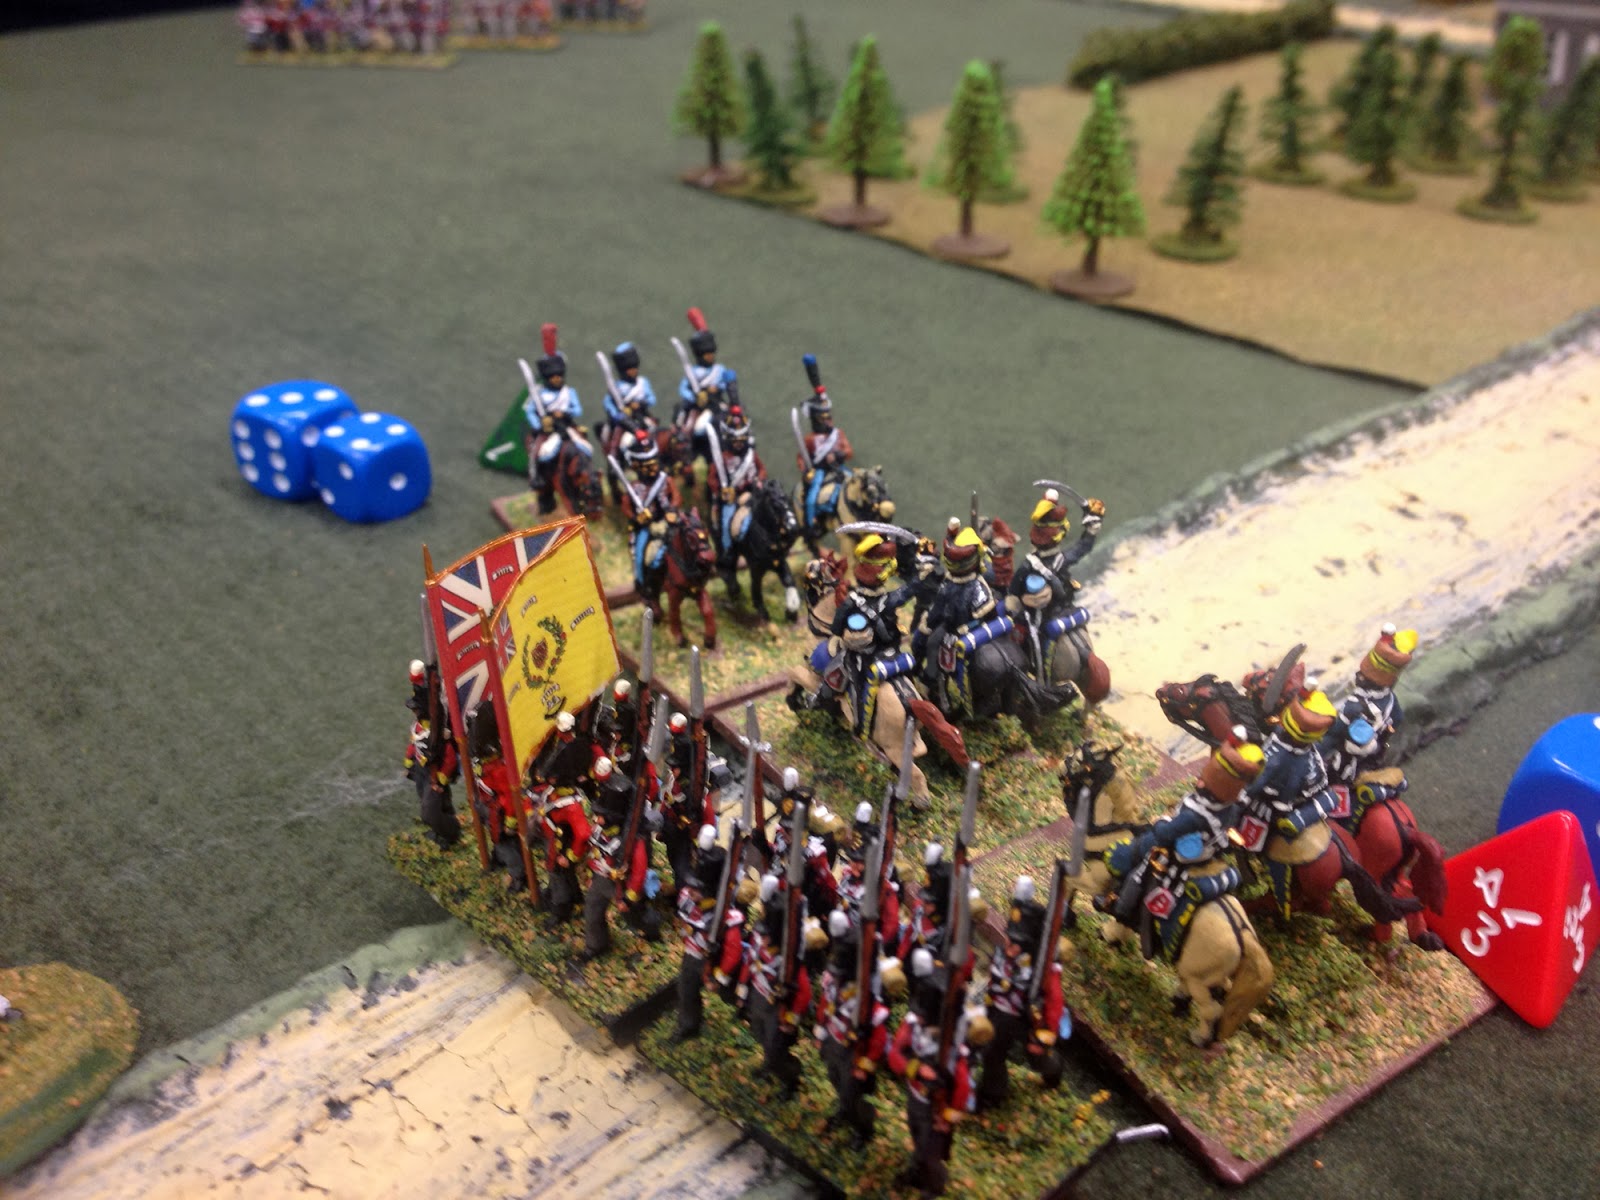
But the French cavalry swept into the rear of the 33rd Foot, routing it and killing Wellington. This left the British morale in tatters.


The French cavalry was spent by this stage, though, and a British cavalry charge swept them from the field. However the damage was done - the British morale was shattered and their line broken.


Time for the columns to advance!


The British cavalry tried to stem the tide, and destroyed one French regiment, forcing their notable to flee to the rear.


But after an exchange of musketry the other columns went in, and another British regiment routed. With only one point of morale left, against the seven the French had remaining, the British conceded.


The battle was basically won by a slashing attack by two French cavalry units, which took out key elements of the British line and left them just reacting to the French for most of the game. This was certainly the most exciting and fluid game of Maurice I've been involved with - great fun, and I look forward to next week's extravaganza. 
Related Posts Plugin for WordPress, Blogger...