Red Martians
Leader - Elite Foot with Venom (John Carter)
3 x Offensive Light Foot (Red Martian Warriors)
1 x Light Riders with Flying (One-Man Flyers)
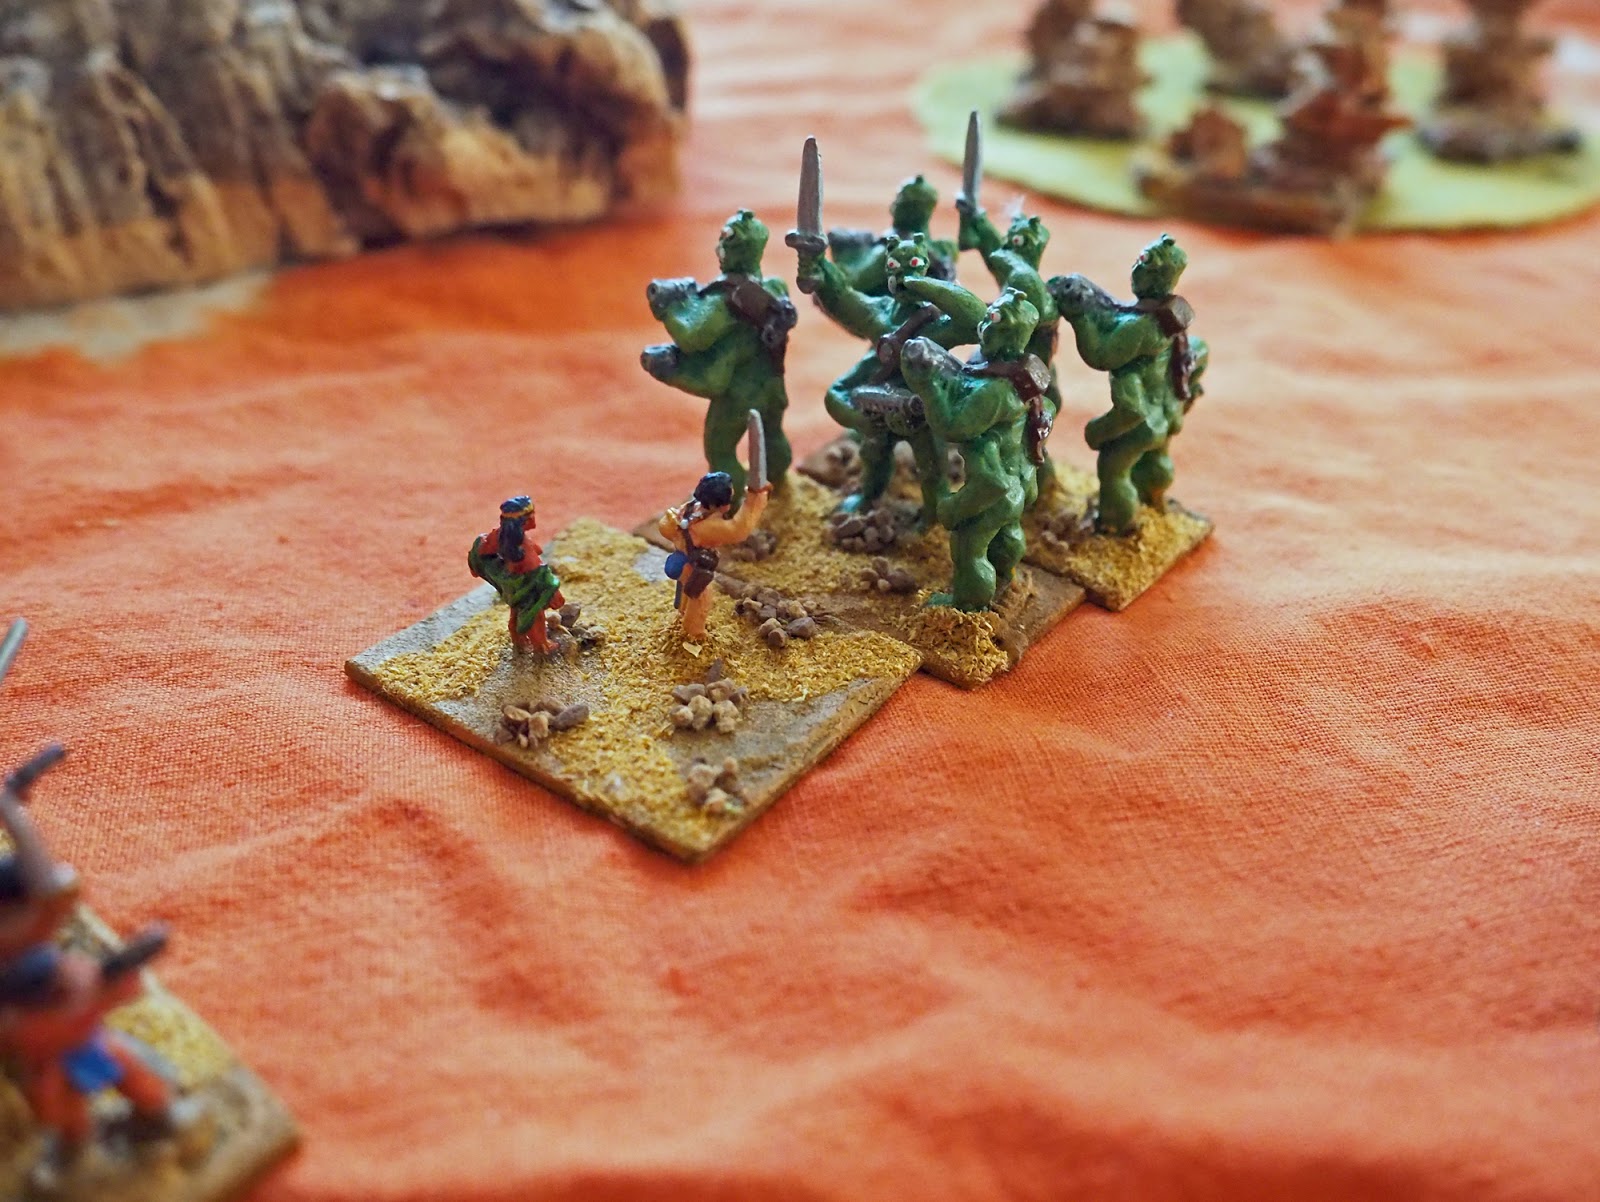
Green Martians
Leader - Heavy Rider with Fear (Jeddak of Warhoon)
2 x Heavy Riders with Fear (Warhoon on Thoats)
2 x Offensive Heavy Foot (Warhoon Warriors)
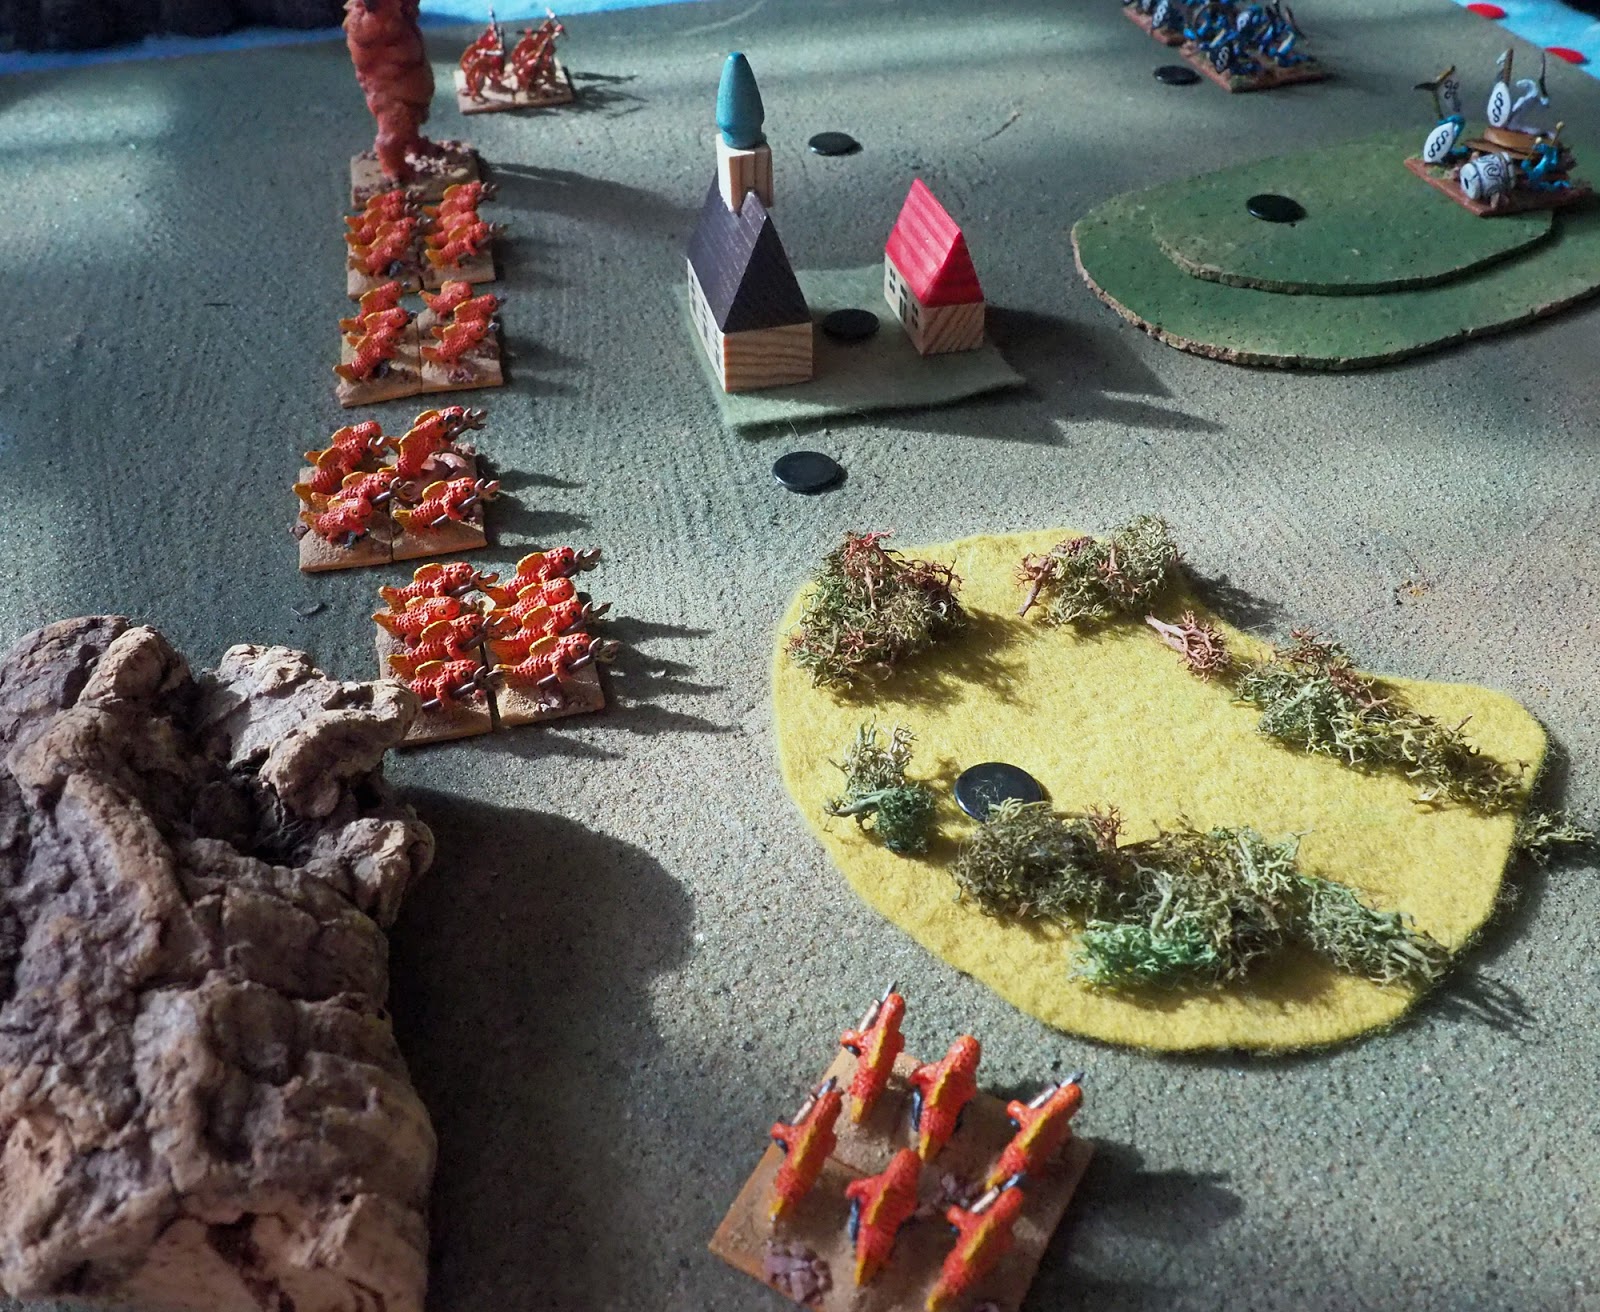
I rolled the Pot-Boiler scenario, with the Red Martians defending. Rather than them boiling up prisoners in a cooking pot (which is the premise of the original scenario), I had them covering a rescue operation where the Barsoomian equivalent of nuns and orphans were being airlifted from a crashed flyer.

The Red Martians have to form a defensive perimeter and prevent the Green Martians from contacting the rescue mission. Each turn they rescue one nun or orphan. If the Green Martians contact the crash, they kill the survivors automatically. There are ten survivors.

John Carter supervises operations.

Green Martian riders appeared to the south.

Other warriors moved in from the east and north.

The Red Martians rushed forward to block the rapidly moving Green Martians.

The Green Martians charged!

To the east the Green Martians kept their eyes on the prize, and tried to bypass the Red Martian warriors on the hill there, but were charged.

Meanwhile the Green Martians to the north came under fire from the Red Martian flyers.

To the south the Red Martian foot fell back, but they'd emptied many Green Martian saddles in return.

The Green Martian jeddak joined the fight.

That purple marker is the point the Green Martians have to contact.

Another Red Martian charge saw some Green Martians scattered.

But the other Red Martian foot had fallen back, shaken after their encounter with the jeddak of the Warhoon. John Carter was all that stood between the mounted warriors and the crash-site.

To the east a ferocious sword-fight was developing, but the Red Martians were getting the worst of it, despite their uphill advantage.

The Green Martians attacked John Carter, who cut them down.
(I left the die rolls in shot. A 3+ is a hit and because of the Venom trait he counts each 6 as two hits. He killed four of their six figures outright.)

The Red Martian foot rushed in and finished off the surviving Green warriors.

But it was too much for them, and they ran as well.
(They destroyed the Green Martian unit, but failed the post-melee morale check and routed. We can assume that they went haring off in pursuit of survivors or something.)

The Jeddak charged in. He'd boasted that today was the day John Carter would fall, and was intent on making good his claim.

He was decapitated, the wounded survivors fleeing the field.

To the north the flyers had kept up a steady fire, and drove off the Green Martians there.

This left one group of Green Martian warriors to the east, who passed the morale test for the loss of not only their leader, but the rest of their force as well.

They advanced steadily towards the crash-site, as the flyers shot at them.

The surviving Red Martian warriors fled as the Green warriors approached.


John Carter was slow in reaching the rescue site. A charge by the Green Martians would reach it ...

And did.

I didn't play out the final melee, but we can assume John Carter avenged the massacred survivors.

And the final tally? The Red Martians rescued six of the ten survivors (6 Glory) with the Green Martians cutting down four (4 Glory). The Green Martians scored 3 Glory for only ever having one battered unit on the table at one time (mostly because they died or routed when they failed morale tests), but failed in their quest to kill John Carter, or have all five of their units launch a charge at some stage (the northern unit, shot up by the flyers, let them down there). So they got a net 1 Glory for Quests - a total of 5 Glory. The Red Martians had already won on that basis, but scored 2 Glory for killing the enemy Jeddak (John Carter really didn't like him at all) and another 1 Glory for scoring 3 casualties in one turn (they did this more than once because of John Carter). They failed to launch the first attack of the game, so ended up with a total of 9 Glory, giving them a fairly solid win.
Later on I set up another game. For this one I dropped the flyers from the Red Martian force, replacing them with Tars Tarkas, a Green Martian Heavy Rider with Blessed Weapons, and dropping one unit of Green Martian riders to replace them with a Lesser Warbeast with Fear (supposed to be a pack of calots but actually depicted with the obligatory plastic dinosaur)
I randomly determined a scenario, and got Lion Rampant's 'Meeting the Neighbours'. This required each warband to cross from one corner of the table to the opposite, scoring points for exiting units, but with the wrinkle that they are each heading towards each other's entry zones. The scenario ends when one side has exited all of its surviving units, so it's a race of sorts; if you get left with units on the table they score nothing.
John Carter led his troops forward.

The Green Martians were slow to activate at the start, despite the bonus leadership abilities their commander had.

The two sides approach each other. The Martian warbeast headed along the north edge in an attempt to avoid a compulsory charge for as long as possible.

Tars Tarkas charged some Martian riders

He fought like a demon, drove them back ...

... and wiped them out.

A group of Red Martian warriors hung back to engage the warbeast. The Red Martians prized the skin of this particular animal for some reason, and had vowed to kill it.

Of course, convincing it to part with its skin was easier said than done, as they soon found out.

In the centre John Carter led his men past the Green Martians, who headed in the opposite direction. I'm not even going to try and rationalise this totally un-Barsoomian state of affairs.

One unit of Green Martians blocked his path. He drew his sword ...
... and the survivors fell back. Unfortunately they were blocking the Red Martians' path to their exit zone, whilst the surviving Green Martian units now pretty much had a clear run to theirs ...

... aside from Tars Tarkas, who attacked the opposing leader. In the ensuing fight the mighty Thark fell unconscious (and was, we can assume, captured by his foes), but he took plenty of enemies with him. This was good; damaged units count less when exited in this scenario.

Now the Green warriors could head for home.

Near their exit zone the warbeast was dining well on Red Martians. The ones not eaten fled.

John Carter moved forward and the Green warriors facing him also fled.

The last few turns of the game went down to movement activation rolls. The Green Martians got their final units off the table first ...

... whilst John Carter and one unit of Red Martians left the board on their side.

The Green Martians had got three units off the table, but two of them were at half-strength or less, so were only worth 1 Glory. The other was worth 2 Glory. The Red Martians exited two full-strength units for 2 Glory each. So in terms of the basic conditions the encounter was a draw. But what of the quests? Both sides had stated that all of their units would charge, but this was an empty promise on both sides, so they both lost 1 Glory for that. The Red Martians had, once again, boasted that they would score a pile of damage in one round, and thanks to Tar Tarkas they did so, giving them 1 Glory. But they failed to kill the warbeast, and lost a point for that. The Green Martians fared better. They scored 1 Glory for striking the first blow, and another 2 Glory for seeing two Red Martian units battered at the same time. The totals? The Red Martians finished with 3 Glory owing to their failed quests, whilst the Green Martians won the encounter with 6 Glory. Had the Red Martians killed the warbeast they would have won.
I'm not sure if my classifications fully do justice to the warriors of Barsoom, but they were both great games and I enjoyed playing them.