Monday 30 August 2021

HOTT Campaign - Season Four

The fourth season of my HOTT campaign promised some interesting encounters. The initiative rolls were as follows:

Undead, Swiss, Orcs, Elf, Camelot, Dwarves

The Undead were looking for an easy win and some resources, so went for the Orcs. The Swiss chose the Dwarves as their target, hoping to slice through their blades with a warband charge. And that left the Elves attacking Camelot once more.

Game 1 - Undead Attacking Orcs

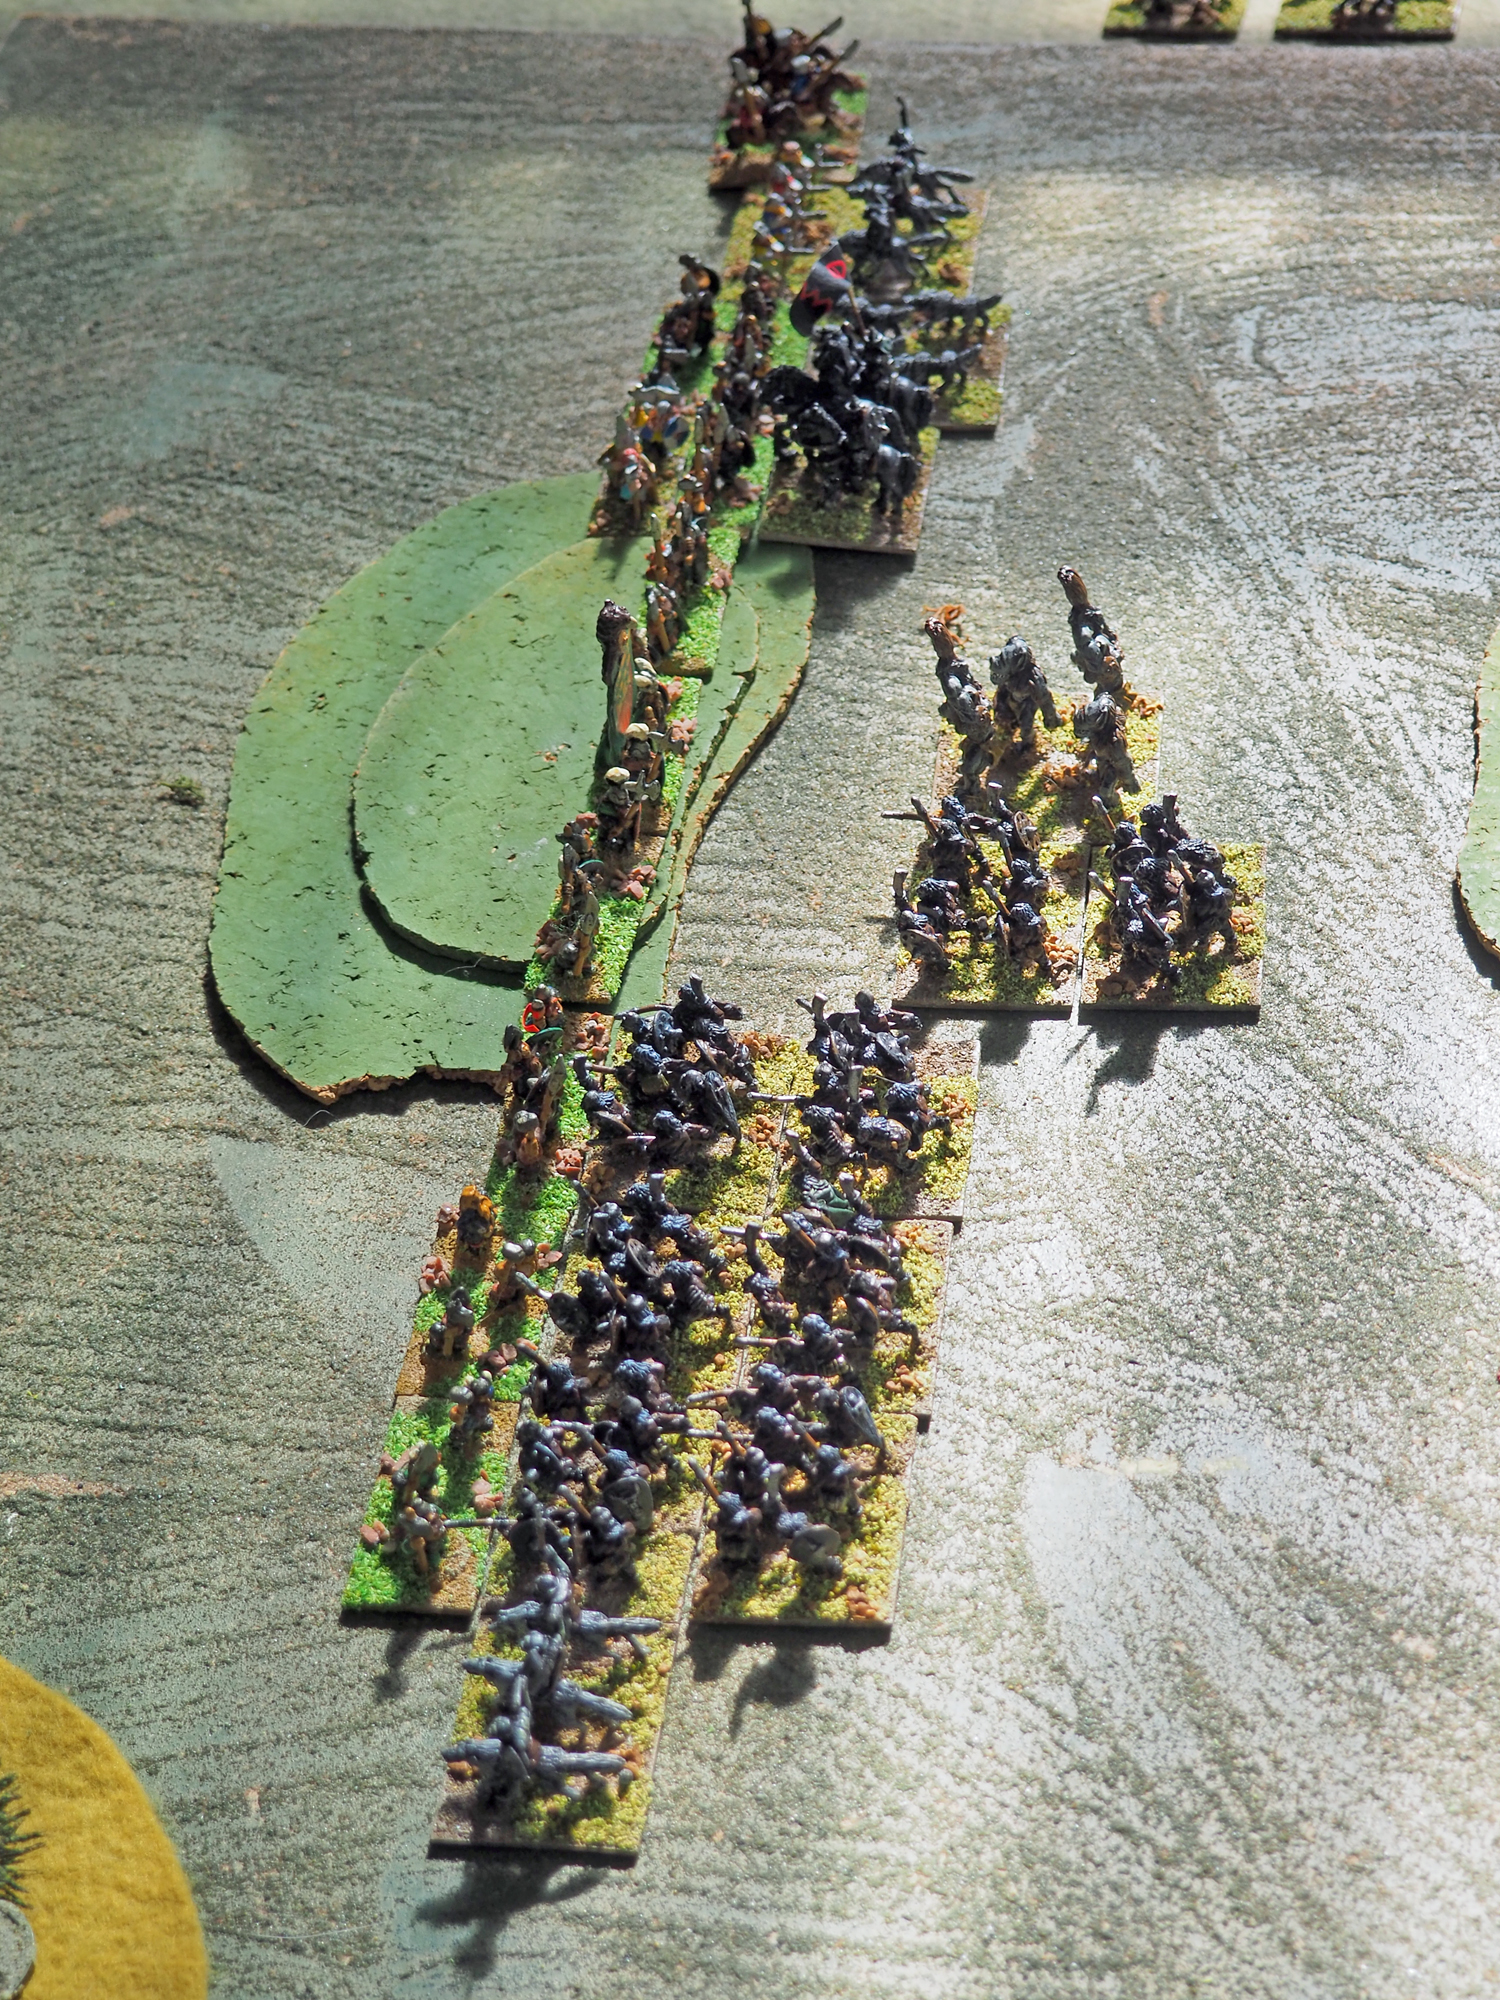
The Orcs got to cover one of their flanks with some woods, but the Undead got the advantage of a hill.


Obviously the Undead occupied the high ground. The Orcs swept in on their flank with wolves.


The Undead crumbled before them. Literally.


With their hilltop position now untenable the Undead attacked.


Their numbers were diminishing though. In the centre the Orcs' knight general was slicing his way through the opposition.


The Necromancer joined the fight, driving off some trolls.


He was then able to turn on the Orc general, who was dangerously exposed behind the Undead army. The Orc general fell.


Undead losses had been high, though. Unfortunately for the Orcs, such losses could be replaced. And soon the Undead had fewer losses than the general-less Orcs. And that gave them the victory.


Bringing back hordes to win a battle 8g-4 is always cool.

The Undead gained +2 Prestige, and took a Resource from the Orcs.

Game 2 - Swiss Attacking Dwarves

The Dwarves had a strong position based around a couple of spurs. The Swiss would have to rely on a solid breakthrough somewhere along the line.


The Swiss advance.


And in they go!


It wasn't a success. the Swiss attack was quickly broken up


On the far right the Swiss kept up a steady attack, but the Dwarves were holding firm as well.


On their left though the pike formations were breaking up.


Once again the men of Bern break through the enemy line.


But it was too late. The Swiss general was surrounded and cut down by Dwarf axes.


The Dwarves won 8g-2, gaining +2 Prestige.

Game 3 - Elves Attacking Camelot

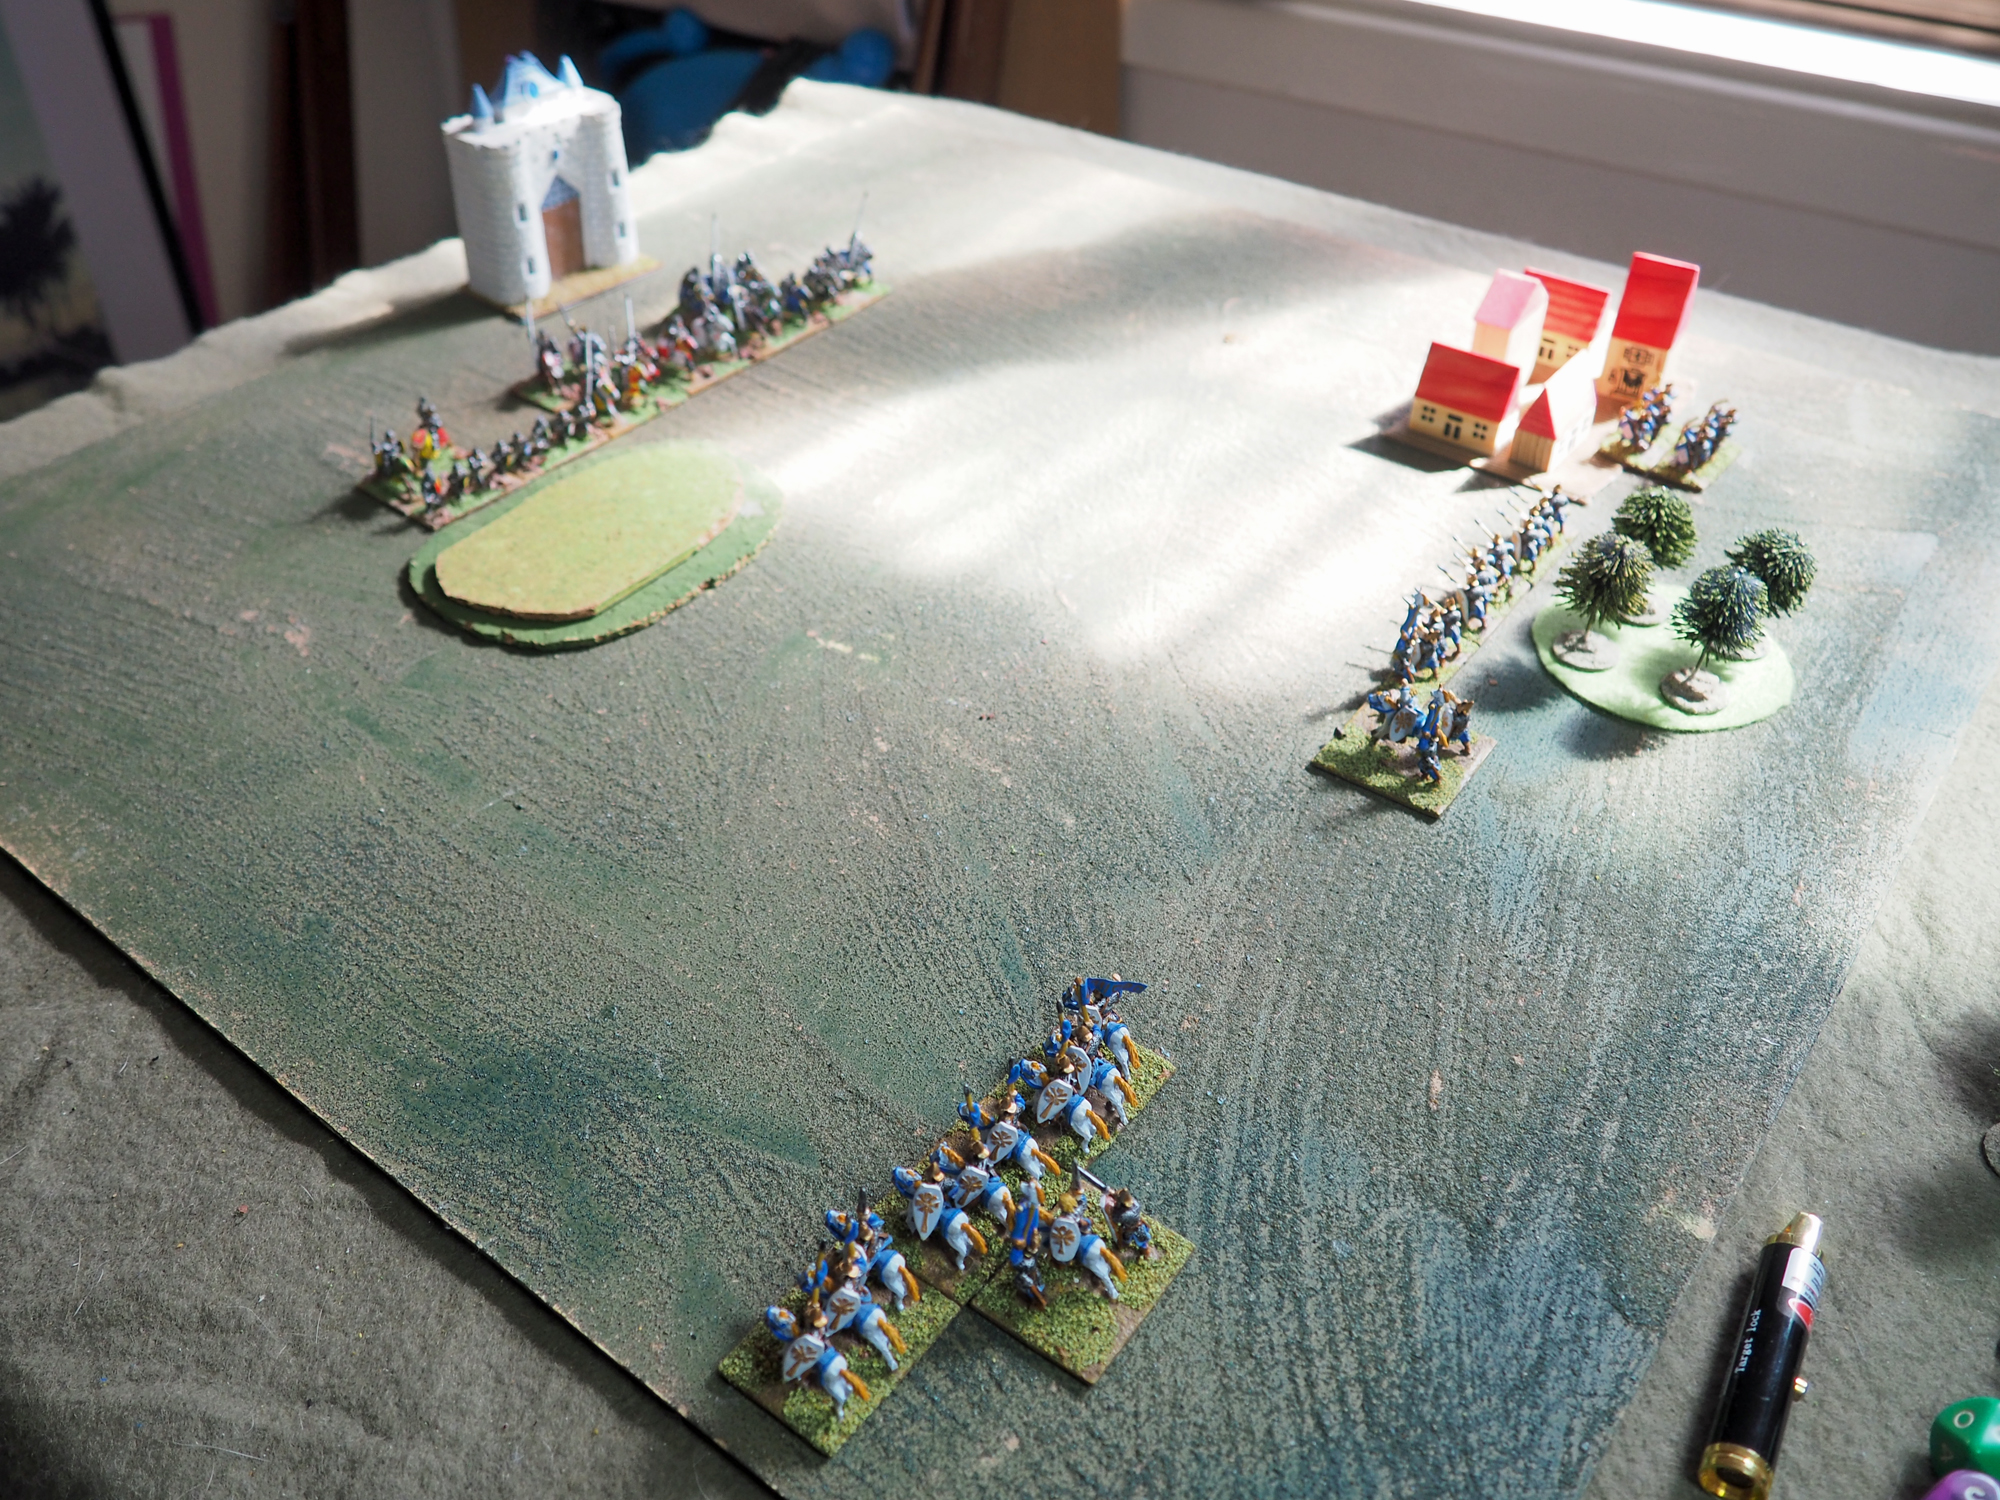
This was a repeat of the Season 3 battle, but this time the Elves would not rely on a flanking attack. They went for a steady advance, using the spears and archers to give their cavalry an opening.


Camelot shuffled their line as the two armies advanced, covering their general with the paladin to avoid getting Arthur ensorcelled again.

The elven archers shot down some of Camelot's knights. A good start.


The two lines met, and at that stage I realised they'd both shuffled their lines so the the two hero generals were head to head.


Hero vs Hero will always tend to end decisively. The Elves tried to juggle combats to get the advantage in overlaps, but when it came to it the overlaps were equal, and it went to a 50/50 roll.

The Elves lost, losing their general, and the battle.


The Elves lost 6g-2. Camelot picked up +1 Prestige.

So at the end of Round Four, this is where things stand:

Swiss - Prestige 4, Resources 3
Dwarves - Prestige 4, Resources 3
Elves - Prestige 3, Resources 4
Orcs - Prestige 2, Resources 1
Camelot - Prestige 6, Resources 4
Undead - Prestige 4, Resources 3

Camelot are beginning to look like clear winners, whilst the Orcs are putting on a dismal showing.


Friday 27 August 2021

Sushi Go Party!

I've dropped the ball on the miniature gaming front over the past few days, because we've been busy playing this fun and simple card-game I got for Christmas.

I hadn't really looked at it because when I first got it out I found it confusing. But I had another read-through of the rules, saw what I was missing and realised that it's a very simple game indeed. 

Basically the game is about collecting tricks and sets. You are dealt a hand of cards, and a turn consists of playing a card from your hand, then passing the hand to the player on your left, whilst receiving one from the player on your right. You play another card, then pass on the hand. A round ends when all cards are played at which point you score the various sets and tricks you have collected. A game consists of three rounds.

The fun comes in what cards actually make up the deck. The game is, as you have probably realised, themed around a sushi restaurant. Each game is set up with a menu, and the items on the menu are the sets of cards that go into the deck. The cards are split up into categories, and a menu will consist of one type of Roll, two Specials, three Appetizers and a Dessert. Every game uses the same set of Nigiri as well. The fun of the game comes with the number of different menus you can set up, as each one creates a different style of game and scoring, very much increasing its replay value. Some combinations offer high scores. Others offer simpler play. Some work better with higher player numbers (the game will handle up to eight. Some encourage interaction. Around ten sample menus are provided with the game, and players are encouraged to explore their own.

Here's a couple of pictures of the end of a game. We set up a menu using some of the cards we'd not tried before, so it was a bit of a random selection, but it seemed to give a good game.


And this is how close it was at the end - 55, 56 and 57 points!


 And a special shoutout to the artwork, which turns every type of food into a ridiculously cute character.

I can recommend this as a simple and fun family game.

Wednesday 25 August 2021

More Giants

 I put together Crimson Typhoon design for 'Giants' the other day, so last night I tested her out.

The design is:

Built - Protector
Distance 4 - Dexterity 5 - Strength 3 - Toughness 3 - Energy 2

Blaster - Ranged, 12", 2 Wounds, Caustic, 2 Energy
Twin Arms - Melee, 3", 2 Wounds, Impact, Clamp, Twin
Left Arm - Melee, 3", 2 Wounds, Pierce

Obscure, Swim, Overload

I teamed up Crimson Typhoon with Gipsy Danger and pitted them against Pteradax and Gakura.


Gakura tried to engage Crimson Typhoon quickly by leaping across buildings, but Crimson Typhoon shot out one of his perches and the great ape fell into a lake where he would be seriously disadvantaged.


Meanwhile Pteradax and Gipsy Danger exchanged energy blasts as they approached each other, before getting stuck into a vicious close combat.


A view of the early fighting.


Gakura charged out of the lake and fought Crimson Typhoon, but the jaegers changed tack, looking to team up on Pteradax. To this end Crimson Typhoon hurled Gakura into the lake, forcing the ape to leave through terrain which would slow him down. The plan was that Crimson Typhoon would them move to support Gipsy Danger before the ape could get back into the fight.

As plans go, it was rubbish. Gakura charged out of the lake far faster than anticipated.


He attacked Gipsy Danger, who was forced back into the street along which Crimson Typhoon was trying to enter the fight. 


Gipsy Danger was taking a beating, and even more so when Pteradax joined the fight.


Gipsy Danger concentrated on Gakura, already injured by Crimson Typhoon, and brought him down. Pteradax smashed Gipsy Danger back into Crimson Typhoon, as the two jaegers struggled to move out into a more open area.


Eventually they managed it, forcing Pteradax back and injuring him badly. Gipsy Danger was also close to collapse at this stage, but Pteradax just couldn't finish her off.


Eventually Crimson Typhon managed to get in a series of clear shots with her blaster, and pounded Pteradax into submission.

The two jaeger designs held up well, and are actually quite useful, but I struggled with the Twin ability on Crimson Typhoon, which seems to be an expensive way to reduce your chance of hitting whilst allowing for the very remote possibility of two hits. I may replace it with a different ability to represent the way the twin arms can make life difficult for an opponent.

And the game played smoothly and quickly as well. I'm still not sure my tactics are that optimal, but I'm getting there. 

Sunday 22 August 2021

HOTT Campaign - Season Three

I've played the three games for Season Three of the campaign during the week, so am now able to post them here.

The initiative order came out as follows:

Swiss, Dwarf, Elf, Undead, Orc, Camelot

The Swiss opted to attack the Undead, reasoning that their massed warband could cut through the hordes of their opponent. The Dwarves launched an attack on the Orcs. And that left the Elves attacking Camelot.

Game 1 - Swiss Attacking Undead

The two armies made a fine sight lined up against each other. The Undead opted to advance slightly and hold the hill in the centre of their line, as this gave their returning hordes better access to the fight.


The Swiss simply advanced as rapidly as possible. Their pike attacked up the hill to pin the troops there, whilst the warband smashed into the hordes of the Undead right.


The Undead melted away before the Swiss attack.


The end came quickly, with the necromancer slain by Swiss warband. Don't worry; he'll be back.


The end of the battle. The Swiss won 9g-0, gaining 2 Prestige and taking a resource from the Undead.


Game 2 - Dwarves Attacking Orcs

Both armies faced each other with hills just in front of their deployment zones. They advanced to occupy them and, at that stage, I realised that both could simply sit and wait for the other to attack. So I rolled to see who would crack first and advance on the other, weighting that role in favour of the attacking Dwarves. 


The Orcs attacked. Their beasts and riders were on one flank, and on the other they faced weaker (but deadly) warband, so they concentrated their efforts on the Dwarven flanks.


Wolves - ridden and riderless - crash into the Dwarf line.


The Dwarf line held firm as on their right the Orc hordes attacked.


The Orc army failed to break through, and collapsed through losses.


The Dwarves won 12-0, gaining 2 Prestige and taking a Resource from the Orcs.

Game 3 - Elves Attack Camelot

Camelot presented a short line, opting to hold a hero and paladin in reserve against whatever approach the Elves would make.


The Elves opted for the same plan as their previous battle; an attack by their riders and their hero general on the enemy right. Camelot moved some knights, plus Lancelot and Galahad, to block it.


Against such mighty foes the Elves didn't really stand a chance. The riders were contacted and swiftly disperesed.


The Elves advanced their spear-line, and threatened Camelot's left with archers. Camelot advanced to meet them.


With the paladin fighting on the right, there was no protection for Arthur against magical attack. This left him vulnerable to the Elven magician, who took advantage of the fact and ensorcelled Camelot's leader.


However this wasn't enough to break Camelot; the Elves had taken too many casualties themselves, and Galahad the paladin killed the Elven general to give Camelot the victory instead.


Camelot won 10g-4g. Both armies picked up 1 Prestige for killing the opposing general. No Resources changed hands.

At the end of Round Three, the scores are as follows:

Swiss - Prestige 4, Resources 3
Dwarves - Prestige 2, Resources 3
Elves - Prestige 3, Resources 4
Orcs - Prestige 2, Resources 2
Camelot - Prestige 5, Resources 4
Undead - Prestige 2, Resources 2

The Orcs and the Undead are at the bottom of the table. Camelot is the clear leader, whilst the Swiss and the Elves are both in second place; the Elves have more Resource, whilst the Swiss are doing well in Prestige.


Related Posts Plugin for WordPress, Blogger...