Showing posts with label pike and shot. Show all posts

Sunday, 20 July 2025

Tireless Antagonisms

I was requested to do a proper write-up of my English Civil War campaign rules, so I have done so.

You can find them here - Tireless Antagonisms

The PDF includes the campaign rules, the random army generator for 'Dominion of Pike & Shot' and the pretty ten-area map.

I will also link it on my FREE STUFF page

Monday, 30 June 2025

More Random Armies For Dominion Of Pike And Shot

On my walk this morning I wondered if it was possible to make my Dominion ECW campaign even faster. Whilst the random army generator I used gave some interesting results, I thought that it might be possible to come up with something that was quicker to use, even if I had to sacrifice some variety.

So I did. Walks are great for that kind of thing. Showers are great for coming up with basic ideas. Walks are the best for developing them.

This system will generate 'conventional' armies; they will always be a mix of horse and foot.

The army starts with two Horse (melee mounted) and two Foot (type undetermined at the start)

Then roll 2D6 and look up each score on the following table.

1 - Upgrade two random units to Elite

2 - Upgrade two random units to Armoured or Protected

3 - Add one Horse*

4 - Add one Foot*

5 - Add one Dragoon (Missile Mounted)*

6 - Add one Artillery*

*On a double 3-6 do the following:

On a double 3 add one Horse unit and reroll the other dice. In addition one random unit gets an upgrade (1-3 elite, 4-6 armour) and one random unit will be unreliable.

On a double 4 add one Foot unit and reroll the other dice. In addition one random unit gets an upgrade (1-3 elite, 4-6 armour) and one random unit will be unreliable.

On a double 5 add one Shot unit and reroll the other dice

On a double 6 add one Pike unit and reroll the other dice

Dice for each foot unit: 1-3 Mixed Melee 4-6 Mixed Missile.
+2 to the roll for Parliament, or for Royalists from 1644 onwards.

Roll a D6. On a 1-2 select a random foot unit and remove its Mixed status. So Mixed Missile Foot becomes Shot and Mixed Melee Foot becomes Pike.

And that's it.

A quick example for 1643.

Royalists

Start with 2 x Horse and 2 x Foot.

Rolls are 6 and 5, so that adds one Artillery and one Dragoon

Roll for the two Foot: 2 and 5 means that one is Mixed Missile and one is Mixed Melee.

Finally a roll of 6 means that both units remain Mixed.

So the army is: 2 x Horse, 1 x Mixed Melee Foot, 1 x Mixed Missile Foot, 1 x Dragoon, 1 x Artillery

Parliament

Again, we start with two Horse and two Foot

Rolls are 1 and 2, so that adds Elite to two units and Armoured or Defended to two units.

Elite gets added to the two Foot, as does armoured (we'll call it a good defensive position)

Roll for the two Foot: 3 and 6 means that they are both Mixed Missile, since the +2 for being Parliamentarian increases the 3 to a 5.

A final roll of 4 means that both Foot units remain Mixed

So the army is 2 x Horse, 2 x Elite Mixed Missile Foot in Defences

Parliament have good quality infantry behind walls or on a strong hilltop position. Can the Royalists oust them with their superior numbers?

(I am also thinking that for a campaign you might want to add in unreliable units, but I'm not quite sure how to do that yet)

Update: Changes made for a Double 3 or Double 4 to allow for an unreliable unit. Thanks to Martin Rapier for the suggestion.

Tuesday, 8 April 2025

Dominion Of Pike & Shot

If you've been following various blogs over the past couple of months you may have seen a few of them referencing the Dominion series of games. Starting with Dominion Of The Spear (for ancients and medieval) then Pike & Shot (for ... well, guess) and then Spear & Bayonet (for 19th century colonial) these are ruthlessly simple rules for extremely quick games. Perfect for running battles in a small space or with limited figures (the rules point out that you can play just using pencil and paper) they also allow you to do such things as run a campaign in a few hours.

I bought Dominion of Pike & Shot simply because it seemed to be the one that had the least mentions on blogs. 

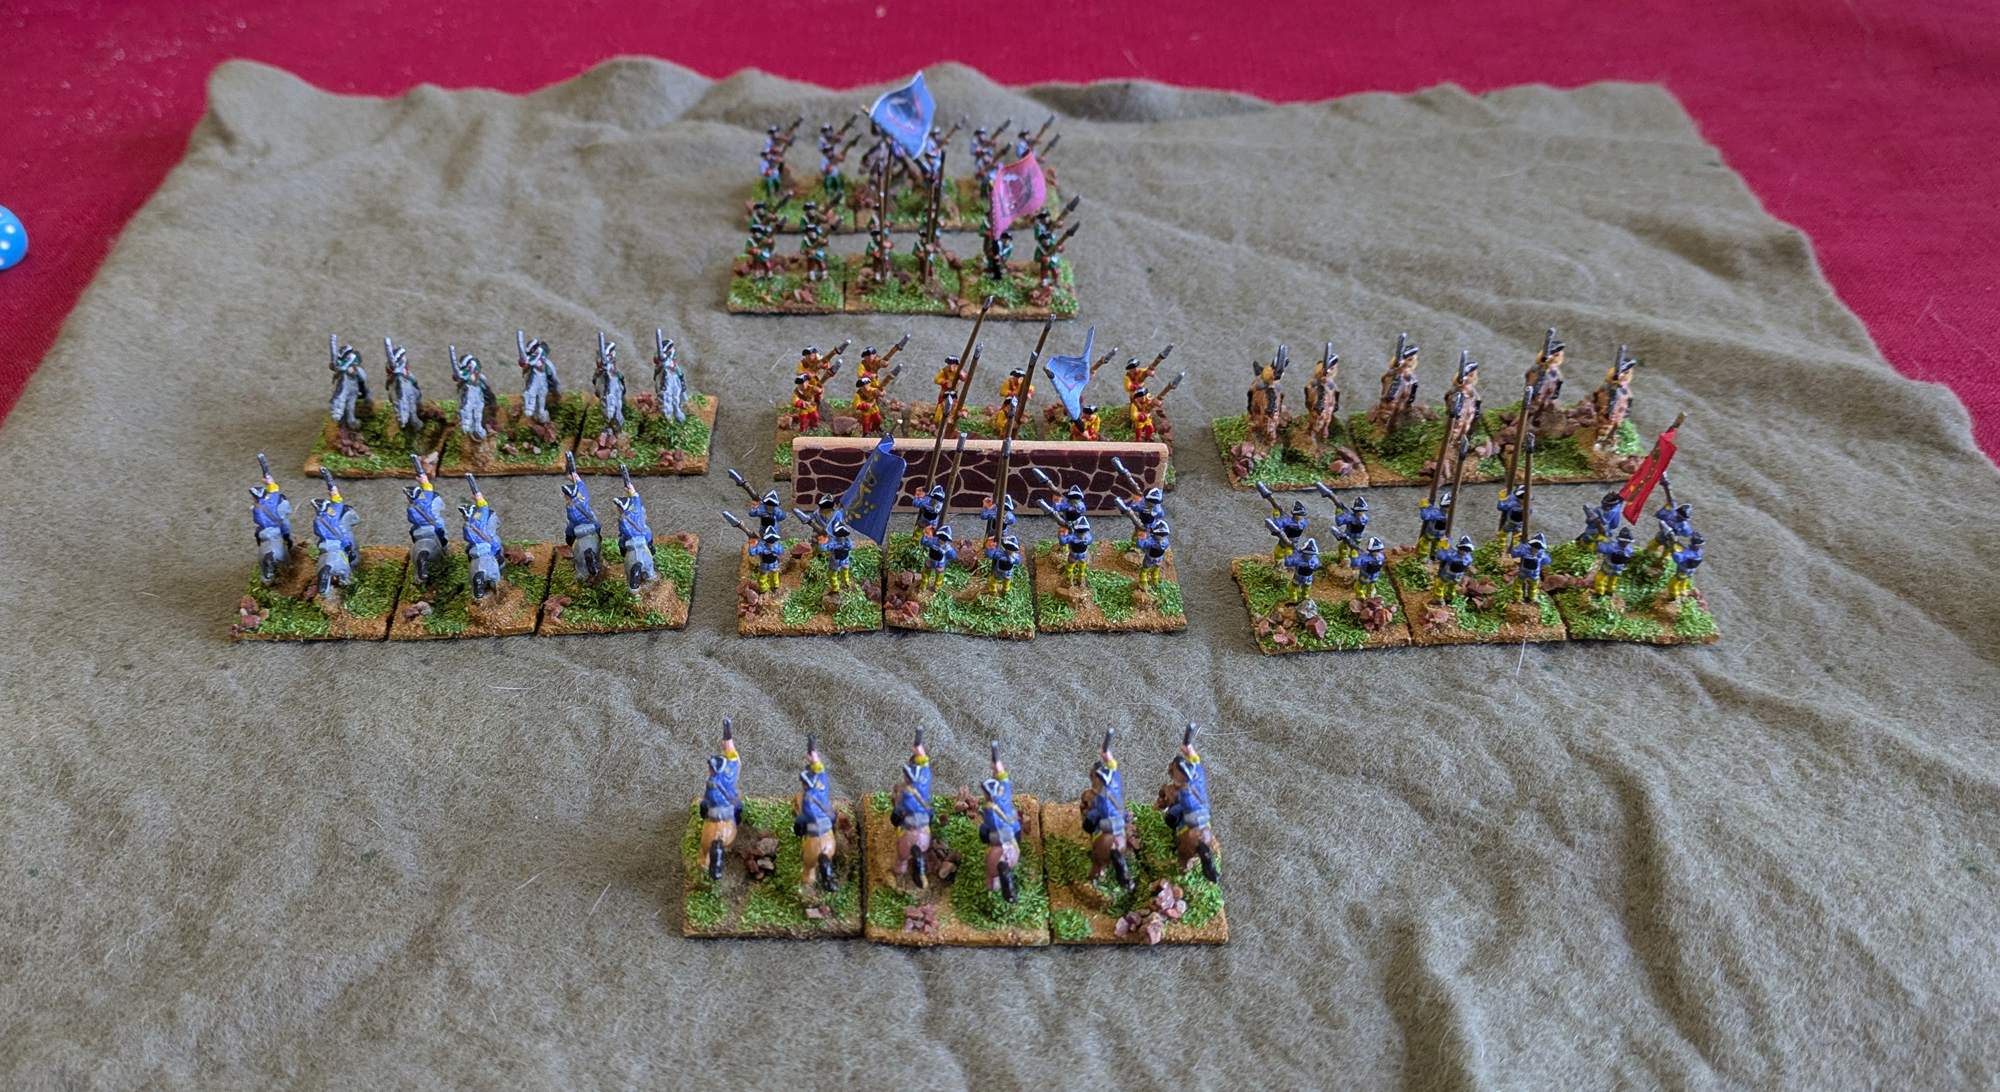
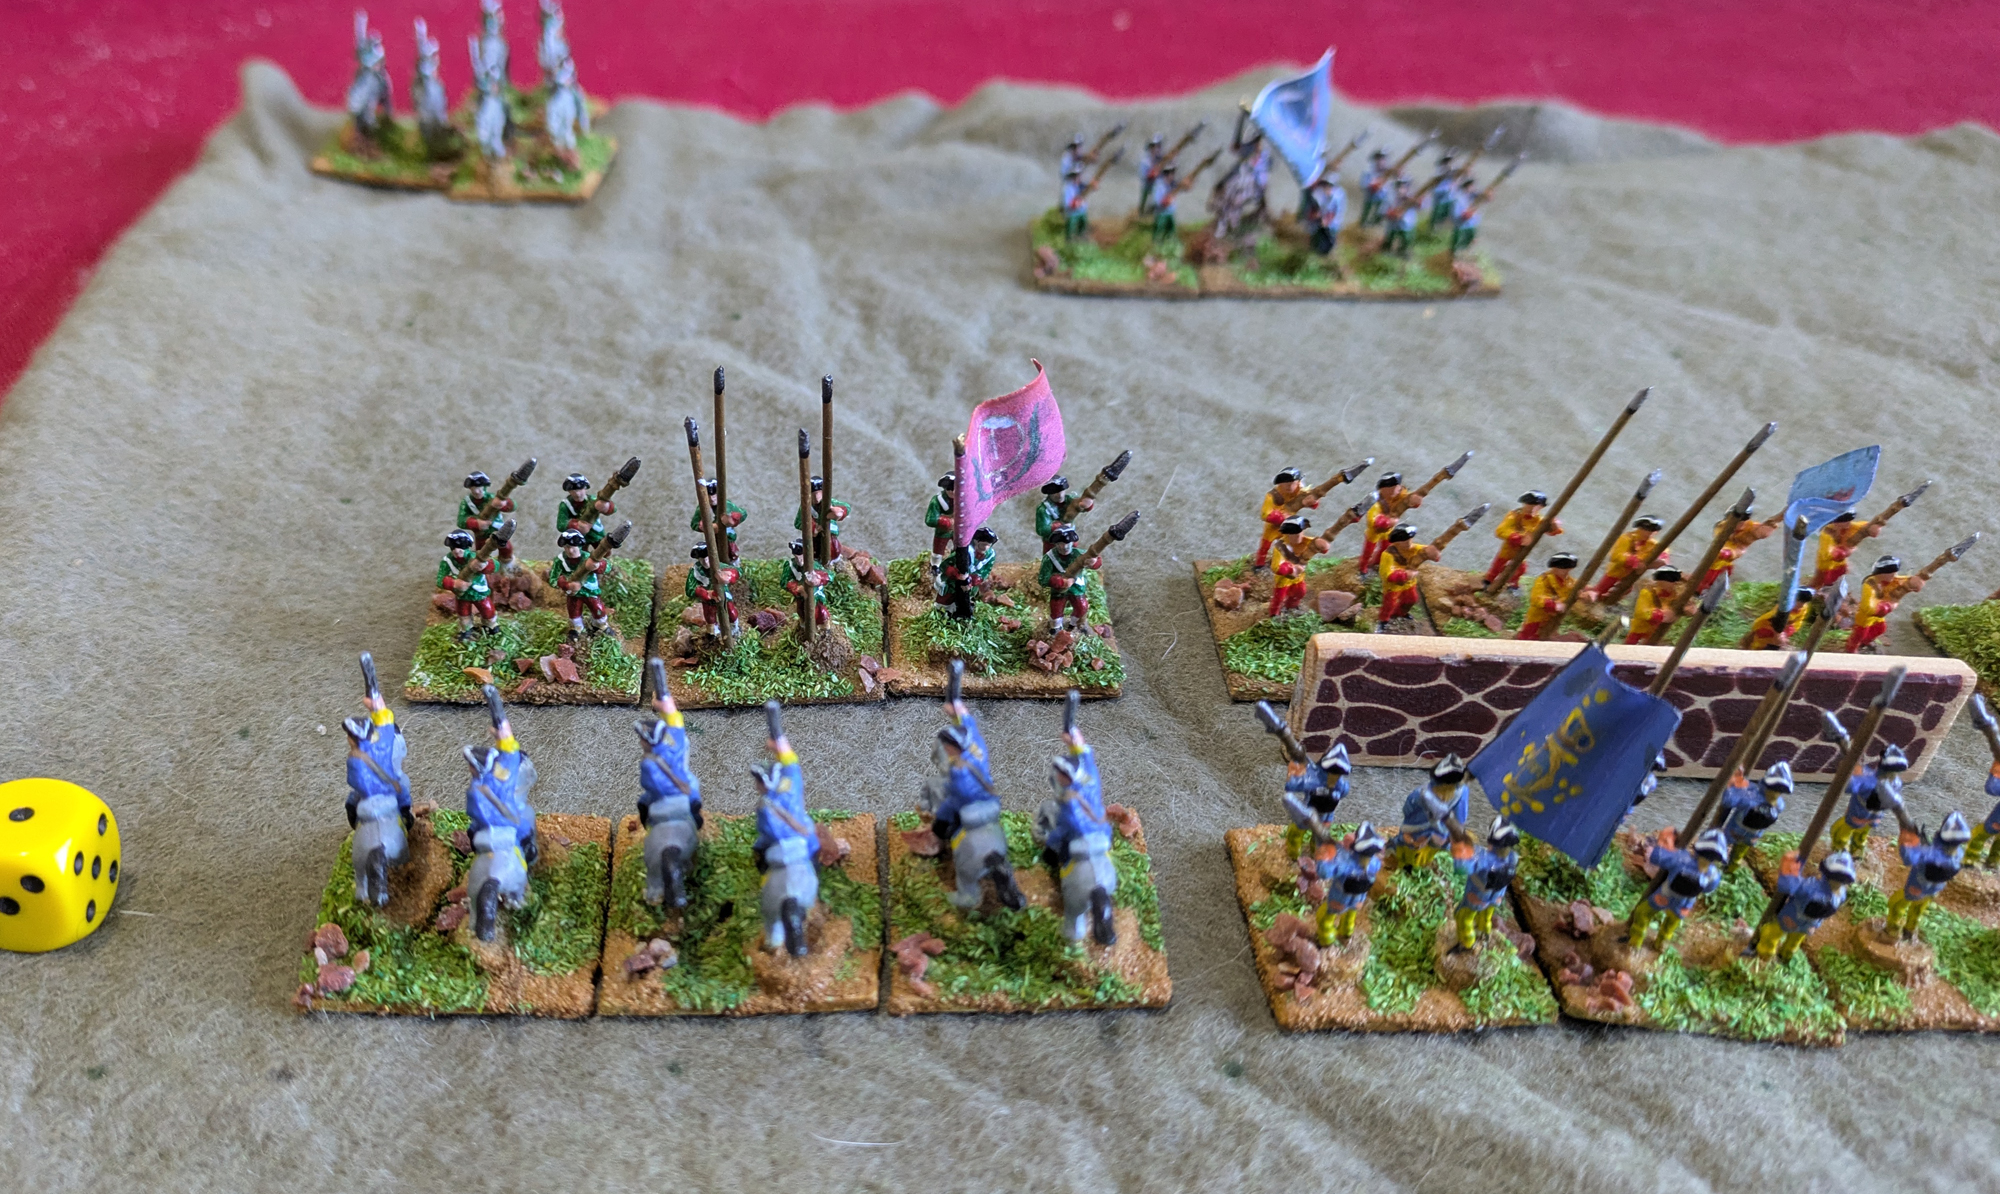
The basic game is played on a grid (which can be implied; it's not that important). The grid has three sectors for each player - flank/centre/flank - plus a reserve area. Armies are built using points and will have between 3 and 6 units (with the author reckoning that 5 units is the 'sweet spot'). You deploy one unit in each sector with any remainder going in the reserve area. Then you're ready to go.

Troops are either mounted or foot and then either missile or melee. There's a separate class for artillery too. They can be further modified by the addition of armoured and/or elite traits. Each of the main four types has another type it's good against and another that gets a bonus against it. So, for example, missile foot is good against missile mounted but vulnerable to melee mounted.

The game starts with an artillery bombardment phase that can adjust the deployment, then develops into a series of combat rounds. A sector is selected and the combat fought there. Missile troops get to fight first but melee troops have more chance of a hit. If the troops are of the same type then they fight simultaneously and can wipe each other out. Yes, there's not hits or retreats, A unit either escapes harm or is destroyed. It's brutal and quick. Units from the reserve replace losses. Once they run out a side may control a sector and can then use it to launch outflanking attacks.

It's a simple game and not that detailed, but it offers a few decisions as you play so isn't entirely a dice-rolling exercise.

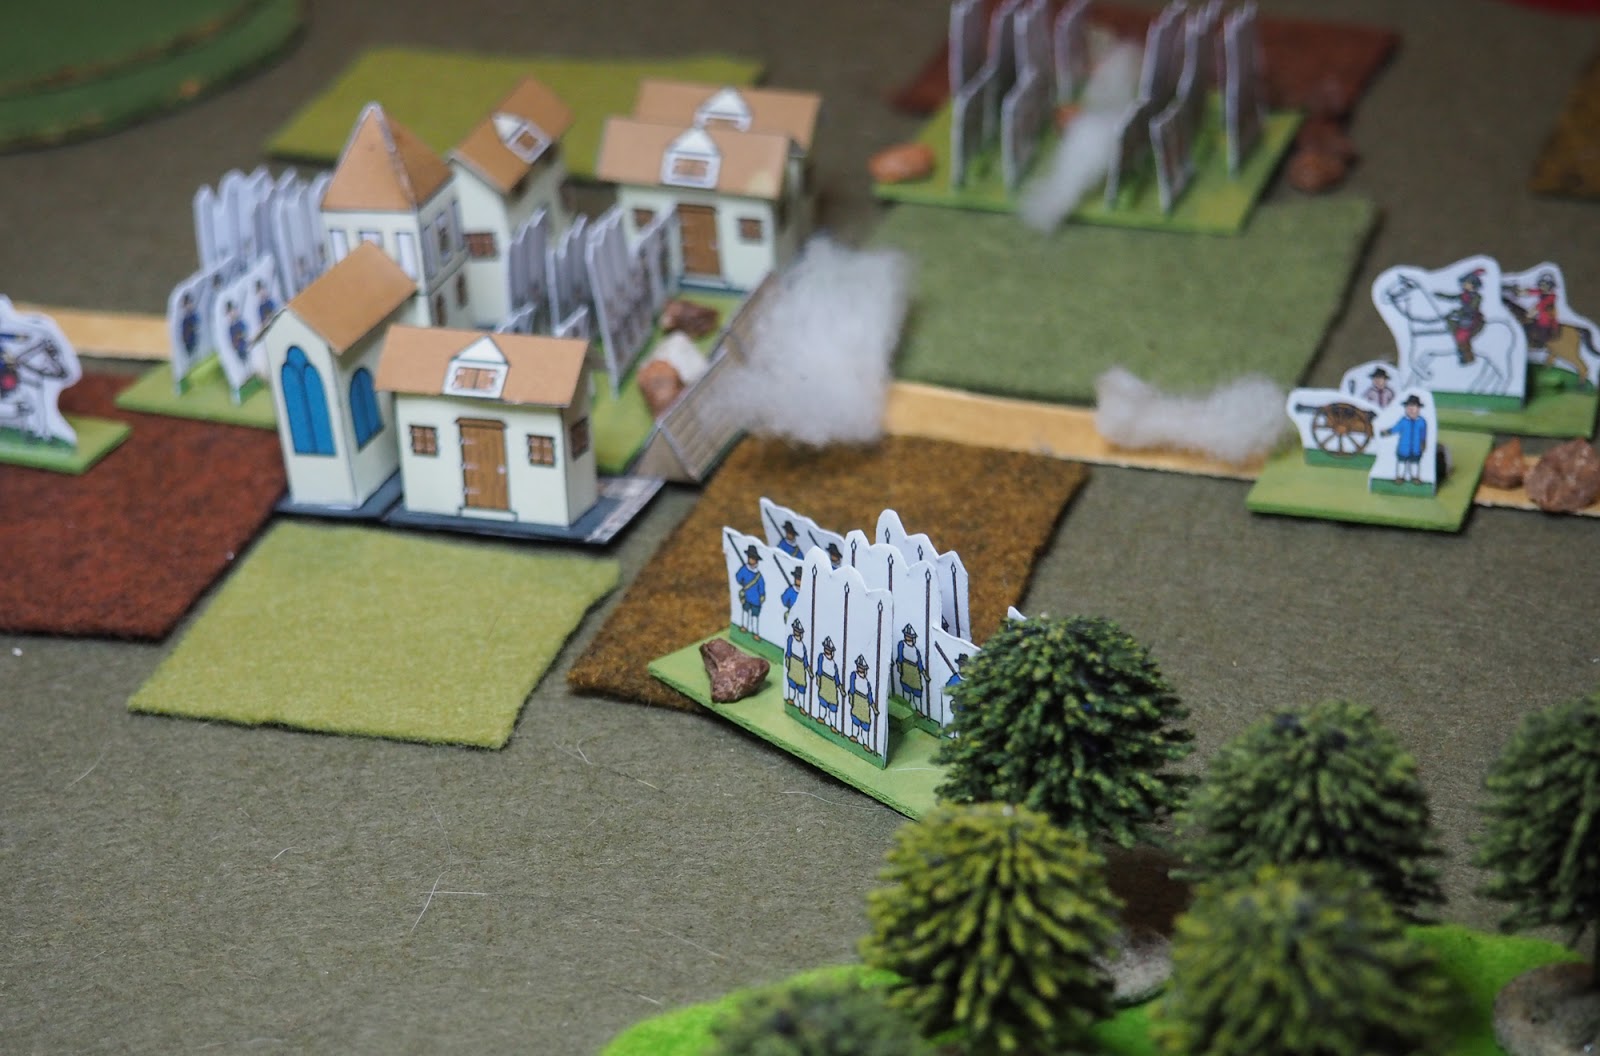
For my first games I used my Great Northern War armies. They're out of period (the rules end in the 1660s), but I didn't think they were excessively so, and my ECW armies were down in the garage. I played a few games to get a feel, then decided to set up an historical battle.

So here's the 1709 Battle of Poltava pared down to the basics.

In the foreground are the Swedes - two units of elite melee cavalry and two units of elite melee foot. They have both of the foot in their battleline (right flank and centre) and one horse (left). The remaining horse are in reserve.

Beyond them are the Russians. All of their three foot are missile armed. One is armoured (the redoubts in the centre of the line). Another, in reserve, is elite, representing the Guards. Facing the Swedish left are dragoons (missile cavalry) and facing the Swedish right are other cavalry (melee cavalry).


The Swedes opened the battle by attacking the dragoons and routing them


Russian infantry moved up from the reserve.


The Russians attacked the Swedish right with their own cavalry, but the fighting was inconclusive.


The focus of the fighting shifted to the redoubts. 


The Swedes couldn't crack the Russian defence, however.


However on the Swedish left their cavalry kept advancing, smashing through the Russian infantry in front of them.


They now faced the Russian Guards.
(I added a small scenario specific rule that the Russian Guards had to be the last reserve unit committed)
The Swedish cavalry cut through them as well.


Russian losses; three of their five units.


The Russians tried to rally a unit and failed.


The Swedes now turned on the redoubts and swept the defenders away.


This left the Russian with one unit, so they had lost.

The victory was won entirely by one unit of Swedish cavalry that simply rode everything in front of it. The Russians couldn't catch a break; three of the four units the cavalry destroyed got to shoot before they were attacked, and missed every single time.

This is a fun set of rules. Not one that you'll drag out for regular gaming purposes, but worth holding in reserve for when you need a quick wargames fix, or if you need a quick method of running battles for campaigns. For the latter I feel some small random events (in keeping with the limited granularity of the game) would make things interesting. 

Playing it for GNW didn't feel too awkward, but I understand that gunpowder-era sets are on their way so it will be interesting to see how it pans out in future.

I've only found one things that's not clear. It's possible for a unit to be attacking such that it needs a 1+ on a D6 to hit. I wasn't sure if an automatic hit was in the spirit of the game, so have assumed that a 1 is always a miss. But the rules as written don't mention that.

Tuesday, 29 November 2016

Neil Thomas Pike and Shot

Ever since I bought Neil Thomas's 'Wargaming: An Introduction', I've been keen to try out the Pike and Shot rules and see how they compare to my own dubious attempts to put together English Civil War games. I've read mixed reviews of these rules on the 'net, but wanted to see how they played out. So this evening I sorted out two basic armies and gave them a go.

The Royalists had:

2 x Average Foot (3 Pike with light armour, 3 Shot with light armour)
1 x Elite Foot (3 Pike with medium armour, 3 Shot with light armour)
2 x Average Chevaliers (4 bases with light armour)
2 x Elite Chevaliers (4 bases with medium armour)
1 x Artillery

Their Parliamentarian opponents had:

3 x Average Foot (2 Pike with medium armour, 4 Shot with light armour)
1 x Elite Foot (2 x Pike with medium armour, 4 Shot with light armour)
3 x Levy Reiters (4 bases with medium armour)
1 x Artillery

I selected a few terrain pieces - two hills and some fields, then randomly placed them on a board, then randomly diced for sides and first move. This would be a straight encounter battle.

As you know, my ECW forces are paper figures with units on single bases, whereas the rules assume units made up of four or six bases. To track hits (actual bases lost) I drew up a roster for each side, but used small stones to mark the casualties scored.

Here are the forces of Parliament arrayed for battle.


And the Royalists.


I allowed the artillery to move at Pike speed. Deploying it used a whole movement, and once deployed it couldn't be moved again.

Parliament was strong in firepower, whereas the Royalists were better in melee, an edge offset a little by Parliament's better armour. But a bold push forward seemed to be the Royalist's best plan.


Royalist horse crested a hill, and came under pistol fire.


They charged.

I rather liked the initial stages of cavalry combat, with the Reiters being able to shoot properly and the Chevaliers being limited to using their pistols at the moment of contact. It forced an aggressive tactical doctrine on the Royalists.


The cavalry action expanded as more units joined in.


The infantry advanced. With cavalry in action near their flanks the Parliamentarians held their ground, but the Royalists were keen to close.


A unit of Parliamentarian horse broke, and the Royalists pursued.


The artillery was now in action as well.


The Royalist cavalry now turned onto the flank of the Parliamentarian infantry.


However the Royalists weren't having it all their own way; one unit of Parliamentarian cavalry was holding its own against and elite opponent.


The infantry melee in the centre became general. The Royalists had taken some shots as they advanced, but were still in good shape. Now pikes and armour would decide the day.


But with Royalist horse on their flank, the Parliamentarian foot needed to win quickly.


The Royalist artillery was lost to its Parliamentarian opposite number.


The push of pike in the centre was a long, hard slog for both sides, but with the flank advantage it was rapidly turning the Royalists' way.


And, indeed, they rolled up the last of the Parliamentarian foot on the same turn as their horse overran the artillery. The Royalists scored a fairly decisive victory, losing just their artillery and a unit of horse.


I rather enjoyed these rules, despite the oddities of how the mixed pike and shot units took casualties.

Of course they had the usual Neil Thomas issues. Basics such as how units turn, or how a flank attack is defined are left to experience or imagination. And they are delightfully random as well, but I rather like that in a game, especially when I'm playing solo. But if I persist with playing them then I will deal with the issues as I go along. For playing ECW games there's something to be said for writing out the rules to exclude weapons and troops not really in use, although I found that after a few turns I could remember most of the rules and factors anyway.

As I have stated before, this is not an era about which I have any kind of expertise, but I felt that I'd had a fun game, and that there was some good in these rules.

Wednesday, 16 December 2015

One Hour Wargames - Scenario 17 - Encounter

With a new combat system to try out for my ECW variant of the One Hour Wargames rules, I moved straight on to the next scenario in the 'One Hour Wargames' book. This was is simple, but fun, albeit somewhat random. the field is empty except for a hill in the centre, which is the objective for both sides. Both armies start with one of their six units deployed. The other units appear randomly throughout the course of the battle as they march to the sound of the guns, or fighting, or whatever. Thus you never quite know what troops you will have available, or when.

Since the main changes to combat were with cavalry I rejigged my army lists generation rolls; I gave both sides four units of horse, with the Royalist horse being impetuous. I then randomly determined what the other two units would be, but in fact both sides ended up with units of pike and shot.

The Battle of Griffins Hill

As 1643 drew to a close there were a number of small skirmishes in the county of Midsomer. One of these saw the antagonists both trying to seize some key high ground near Causton. Parliamentarian horse advanced from the north,  Royalist foot from the south.


More troops arrived. The Parliamentarian horse swung to the east of the hill, as their foot arrived and moved to take it from the Royalists.


A cavalry fight ensued to the east of the hill.


And fierce footing took place on the hill itself.


The Parliamentarian horse routed, pursued by their Royalist opposite numbers.


To the west of the hill more Parliamentarian horse arrived.


On the hill itself the fight had developed into a furious melee, which saw the Parliamentarian infantry rout.


Another troop of Parliamentarian horse arrived. Things were not looking good for the isolated Royalist foot.


They formed a hedgehog to resist the cavalry assault, and held off attack after attack, despite being battered after the earlier fighting. Their hilltop position and their pikes saved them again and again.


More horse arrived on both sides ...


... and one troop of Parliamentarian horse found itself engaged to the front and flank.


Another shot of the furious melee around the hill.


The melee ended with the Parliamentarian horse breaking ...


... followed by the Royalist infantry. The surviving horse of both sides became engaged.


To the west of the hill Royalist horse engaged the remaining Parliamentarian infantry unit, preventing it from moving to the hill.


The Parliamentarian horse on the hill broke and were, once again, pursued from the field by their Royalist opponents.


This left two continuing melees one to the east and one to the west of the hill. At this point, night fell, leaving neither side in clear control of the objective.


The game played out very quickly, partially because, at any given time, there weren't that many units in play. The Royalists were unlucky with bringing troops onto the table; half of their troops didn't arrive until near the end, and one of their foot units never turned up at all. This was offset by the luck their foot unit had on the hill and saving every hit scored against it by the attacking horse for several turns. Otherwise this game would have been a relatively easy Parliamentarian victory.

I think the basics of the combat mechanism are sorted, so in my next games (which may or may not be part of the scenario project) I will maybe try out foot with different pike/shot ratios.

Follow the rest of the scenario refights HERE

Tuesday, 15 December 2015

One Hour Wargames - Scenario 16 - Advance Guard

The Battle of Fletcher's Cross - Refight

I thought that it was about time I kicked myself up the bum and got on with playing and writing up another game in my project to play all of the scenarios in 'One Hour Wargames' in order. However I actually played the next scenario (16 - Advance Guard) only a couple of months ago, just after putting together my paper ECW armies. I could have cheated, and just counted that as the game, but instead I decided to play it again, with the same forces and (roughly) the same rules. I say 'roughly' because they have moved on since then, and I am now exploring a few ideas for simplifying and streamlining the combat mechanism, whilst still allowing a certain amount of granularity so that I can reflect certain troop types.

Anyway, the battle started once again with the village of Fletcher's Cross enjoying a quiet Sunday morning (or Monday evening in this case).


The peace was shattered by the sounds of a force of Royalist troops under Lord Standing, coming from the north. The force consisted of four units of pike and shot, one of dragoons and one of horse.


Simultaneously Sir Thomas Barnaby's Parliamentarians were advancing from the south, with three units of pike and shot, one of dragoons, one of horse and a battery of artillery.


The Royalist dragoons occupied the village and opened fire on the surprised Parliamentarians.


Both sides rushed to deploy their troops before and around the village. The Parliamentarian foot moved to bring musketry to bear on the village, and also deployed their guns astride the lane. Both sides sent their horse to the east. The Royalists, anticipating that their dragoons might not survive an onslaught by the full Parliamentarian force, positioned a unit of foot in reserve, ready to occupy the village if the dragoons were driven out.


A view of the battle from behind the Royalist lines.


To the east the horse clashed in a battle that would last for several turns with neither side gaining any advantage.


Fierce fighting erupted on the south side of the village, as the Parliamentarians brought their full force to bear. The dragoons defended themselves gallantly, though, barricading the streets and laying down a telling return fire.


The Parliamentarian dragoons moved to occupy a copse to the south west of the village. From there they could cover the Parliamentarian left flank.


The Royalists attacked to drive them out of the copse, and another long struggle ensued.


Sir Thomas personally directed the attack on the village.


Meanwhile Lord Standing was content to lecture the Royalist foot on the importance of keeping a reserve.

(In game terms the leaders were just for show - you can ignore them)


Eventually the Parliamentarian fire proved to much for them, and the Royalist dragoons fled from their barricades.


But more Royalist foot moved to replace them. And Royalist units moving around to the east and west of the village were taking some of the sting out of the Parliamentarian assault.


A unit of Parliamentarian foot broke.


The reserve foot didn't hold the village for long. Its morale wavered under fire, and its own firing quickly depleted its powder, so Lord Standing was obliged to withdraw it back into reserve and bring a unit from his right flank into the village to replace it. This unit had more fight in it.


To the east of the village the Parliamentarian horse broke,but the Royalists horse hared off in pursuit and Lord Standing was not to see them for the rest of the day.


Sir Thomas tried to rally another of his foot units, but to no avail. It joined what now seemed to be a general retreat.


He switched his attention to directing the artillery, now the only force he had putting any pressure on the village.


To the west of the village the Parliamentarian dragoons slipped away through the woods


The only real fighting going on now was to the east of the village where infantry of both sides were engaged in a fierce melee.


Royalist foot moved to menace the Parliamentarian guns ...


... then attacked.


With their guns lost, that was really the end of the battle. The remaining Parliamentarian foot fled the field, leaving the Royalists in command of the village.


Lord Standing congratulates his troops.


This was a fairly easy Royalist victory, and I would agree with other people who think that this scenario is very much weighted towards the side which moves first; the objective is the village so the first side to get into the village is going to be at an advantage. Choice of rules and mix of troops might alter this a little, but it holds true in principle.

I have boiled most of the combat down to rolling 2D6, looking for hits on a 4-6, but with variations as to how the dice are read to trigger other effects, limitations or advantages. I'll write these up in dues course but, for example, horse get 2D6, but if they get a double then they score an additional hit for impetus. If either of the dice are a '1' then they lose that bonus for the rest of the game. This covers 'average' horse. More impetuous Royalist horse doesn't lose the bonus ever, but if they roll a double, or destroy the unit facing them, then they automatically take one hit, reflecting increasing disorganisation or a wild pursuit. This is, in fact, what happened in this game; the Royalist horse were on four hits when they destroyed their Parliamentarian opposite numbers. The extra hit destroyed the Royalist horse as well, representing them chasing off after the fleeing Roundheads. I am working on some ideas to reflect disciplined Parliamentarian horse as well, but I'm still deciding what effect I want to achieve there. A variant of the 'double' mechanism could also be used to reflect foot which is shot-heavy or pike-heavy as well; it gives results which are not quite as extreme as adding or subtracting whole dice.

Finally, all pictures were taken with my new camera, although the lighting could have been better. Since I didn't start playing until after 9pm the game was lit by the normal room light, plus a desk-lamp. The results were still pleasing, though, and I'm keen to try it out with some 'real' figures at some stage.

Follow the rest of the scenario refights HERE
Related Posts Plugin for WordPress, Blogger...