At the end of 1642 the Royalists were looking strong, with a good proportion of England rallying to their cause. What would 1643 bring?
From 1643 onward I would be dicing for an active area and then choosing where it would decide to attack. If it attacked a area that was uncontrolled then that side simply took possession. If it was controlled then a battle would take place. Two such battles end the year.
1643 - 1
I diced for the areas and the highest scoring was the South. So Parliament was finally taking the initiative!
They had the option of attacking the South or the South Midlands. Note that unlike the previous campaign I am deciding where the attack is made; in the previous campaign the attack would be on the South as that has the lowest score.
Anyway, the obvious choice was the South Midlands, as it contains the Royalist capital of Oxford. Victory before the end of 1646 comes if you control 4 more areas than the other side and control their capital.
So in the spring of 1643 Parliamentarian forces marched out of London along the Thames Valley and laid siege to Oxford.
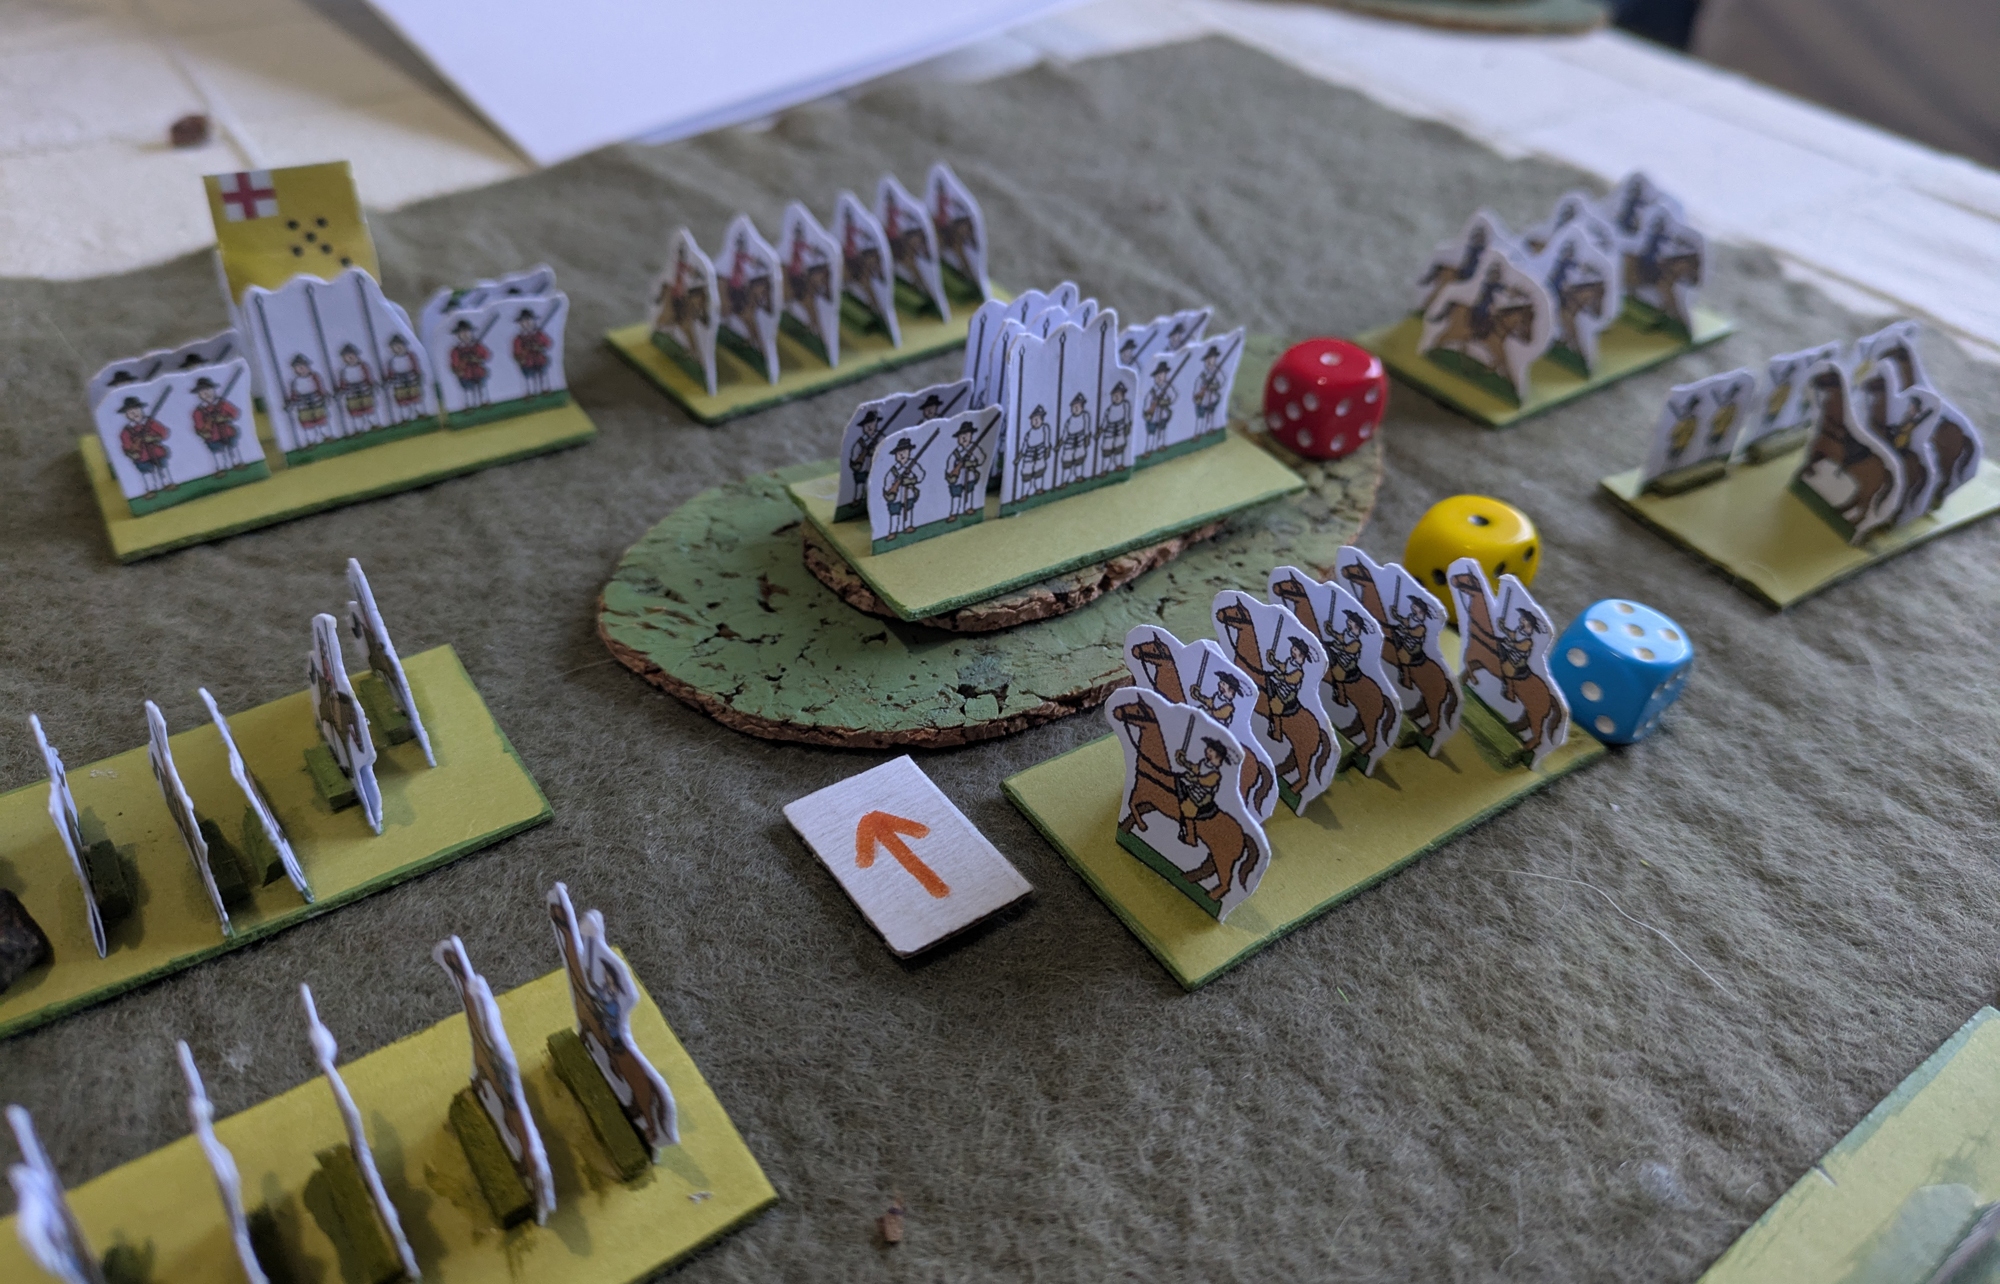
Game 3 - The Relief of Oxford
Royalists - 3 x Horse, 1 x Pike, 1 x Missile Foot, 1 x Dragoons
Parliament - 1 x Horse, 1 x Armoured Horse, 1 x Artillery in Defences, 2 x Missile Foot
The Royalists were attacking once more.
Prince Rupert led a force in a rapid march though Berkshire and attacked the Parliamentarian outer-works. The attack was centred on a large artillery bastion.
Parliament placed horse on their wings, with the cuirassiers on the right. The artillery bastion was their centre.
The Royalists had horse on their wings and hurled their finest pikemen at the bastion.
The initial artillery bombardment saw the Royalists coax the Parliamentarian horse on the left into a charge, but the fighting was inconclusive.
Turn 1 - The Royalist pike attacked the bastion but were unable to make any headway against it.
On the right the cuirassiers charged, sweeping the Royalist horse there before them. Royalist dragoons moved up from the reserve.
Turn 2 - In the centre the Royalists continued their attack on the bastion, but failed to take it once more.
Parliament's cavalry attack on the right continued, and the Royalist dragoons were no match for their armoured opponents. The Royalists were forced to commit the last of their horse to cover the dragoons' retreat.
At the end of the turn the Royalists successfully rallied some horse.
Turn 3 - Fighting continued on the right flank as the Royalists committed more horse. Neither side gained any advantage.
The Parliamentarians countered and drove off the Royalist horse. The newly rallied horse was now all they had left.
Turn 4 - The disaster continued for the Royalists as they attacked on the other flank, but were routed. This saw the Royalists forced commit their foot.
But the Parliamentarian cavalry was unstoppable, and cut through the unprepared infantry. The Royalist army was critically exposed.
Turn 5 - The Royalists tried once more to take the bastion, but failed.
With their flanks exposed the Royalist army was forced to flee.
With the defeat of the relief force Oxford fell, the king fleeing north to Nottingham. Parliament now controlled South Midlands.
1643 - 2
South Midlands became the active area. I could have chosen to attack the South, but with the Royalist capital under their control it made sense for Parliament to try and grab as many uncontrolled areas as possible and get that majority of 4 needed for a win. So they exerted control over Wales.
1643 - 3
Wales actually became the active area next turn, so the North West declared for Parliament.
Parliament now controlled 5 areas to the Royalist's 3.
1643 - 4
Amazingly the newly committed North West became the next active area, and Parliament seized the North.
(With hindsight this was the least sensible of the two options. A move into Yorkshire would have stopped the Royalists in North Midlands from grabbing it, and given Parliament a chance to take the North on another turn.)
The campaign was now at a critical juncture. If Parliament could take Yorkshire, or if they could take another Royalist area, then they would have the majority needed for victory.
And for some reason I didn't take a photo of what happened next ...
1643 - 5
The Royalists finally got a break and North Midlands became the active area. They swung Yorkshire to the Royalist cause. The Royalists had held off the prospect of an immediate defeat.
1643 - 6
Every area was now controlled, so any action would automatically result in a battle. The rolls saw Wales as the active area. The only option from there was an advance into the North Midlands. If Parliament won then they would win the campaign 7-3 because they hold Oxford as well.
Under the command of Sir Thomas Barnaby, Parliament combined forces from Wales and Cheshire and advanced into Shropshire, quickly taking the town of Shrewsbury. However as they headed South they were attacked by a Royalist army under the ever energetic Prince Rupert near Wenlock Edge.
Game 4 - The Battle of Wenlock Edge
Royalists - 2 x Defended Horse, 2 x Defended Missile Foot
Parliament - 2 x Missile Foot in Defences, 3 x Horse
For a fourth time the Royalists were attacking.
There were lots of units in defences in this game! I classed the Royalist defence as being their attacking from a position of advantage down a hill. Parliament were assumed to be in defensible terrain.
So, advancing south from Shrewsbury the Royalists attacked in the mist, sweeping down the slopes of a large hill. The Parliamentarian army formed up in a series of enclosures.
Parliament placed their defended foot on the left and centre, horse on their right and more horse in reserve. The Royalists had horse on the wings and foot in the centre. Prince Rupert is nothing if not a traditionalist.
Turn 1 - After an ineffective artillery bombardment phase (this is a surprise attack after all) the Royalists opened the battle with an attack on the right with their horse. This saw the horse of both sides go haring off into the mist, out of the battle.
The Royalists brought up the foot that was their reserve, whilst more Parliamentarian horse moved up the ridge to oppose them. I didn't get a picture of the attack the Parliamentarian horse made there, but neither side bothered the other, so it's not important.
Turn 2 - The Royalists attacked on the left, but couldn't shift the enemy pike and shot from the enclosures.
Parliament committed in the centre, but the Royalists counter-attacked and drove the troops there from the enclosures. Parliament moved up horse from their reserve.
Both sides rolled to rally troops. Some Royalist horse returned to the fray, whilst the Parliamentarian foot rallied behind their horse.
Turn 3 - The Royalists attacked on the left but things were inconclusive.
Parliament's attack on the right was also inconclusive.
Turn 4 - Pushing through the enclosures the Royalist foot in the centre tried to drive off the Parliamentarian horse there. But it failed to make any headway.
The horse formed up for a charge and drove back the Royalists. Their horse moved to cover the retreat. Both sides now had horse in the centre.
Turn 5 - The Royalists continued to make heavy weather of their advance on the right, but neither could Parliament's horse drive them off.
Parliament's horse continued their advance in the centre and drove off the Royalists, exposing their centre. It looked like Prince Rupert's plans were to be thwarted by Parliament's horse once more.
Turn 6 - The Royalist foot on the right finally saw off Parliament's horse, but now came up against the rallied foot in the enclosures.
Parliament's horse attacked the Royalist left, but failed to defeat them.
Turn 7 - The Royalists couldn't shift their Parliamentarian counterparts from the enclosures.
Parliament's horse failed in their flank attack again. The artist didn't do an engraving.
Turn 8 - The Royalist launched an attack on the left, but Parliament's foot held them off.
The Parliamentarian flank attack failed again.
(If you're keeping score that's five combats in a row that proved to be inconclusive. The Parliamentarian horse needed a 5+ to destroy the Royalists and win the battle. Not getting the +1 for outflanking was critical to this; horse don't get it if they're attacking from the centre.)
Turn 9 - This is probably the longest Dominion game I've ever played! The Royalists kept up their cavalry attack on the left and the opposing foot fled.
And for the fourth time Parliament's outflanking horse failed to destroy the Royalists.
Turn 10 - I mean TEN TURNS! Who'd have thought it?
Anyway, the Royalists now had nothing facing them on the left so also got to do an outflanking attack. In this case there are opposed rolls, although the two units stay in their own zones. However the Royalists get a +1 because they are attacking from a flank sector.
They won.
So the Royalists picked up a narrow win, but prevented Parliament from taking North Midlands and winning the war.
(And, in case you weren't keeping score, 12 out of the 19 combats had no result)
That saw the end of 1643. Parliament controls 6 areas to the Royalists' 4, and also control Oxford. So the war is very much going their way at the moment.
(Just a reminder that the black marker in Wales shows that the area launched an attack last turn hat failed, so they get a -1 on initiative on the next turn.)
If Parliament get to attack and win, then they also win the campaign. The Royalists need to take the initiative. But will they? Find out ... soon.