Thursday 30 September 2021

Frocktober 2021

 Yes, it's back! 


And once again we'll be raising money as IT HAS POCKETS!

Elves vs Fishmen

Over the weekend I found myself taking a few photos of HOTT elements to use as diagrams for a discussion on the HOTT Facebook group. Since the armies were out on the table, and it was too wet to go for a walk this lunchtime, I set up a game using them

So this is a battle between the Fishmen (left) and the Elves. I randomised both armies and ended up with two two-point terrors - armies made up entirely of the 'vanilla' 2AP elements. The Fishmen fielded six spears, four shooters and two warband, whilst the Elves had four spears, four shooters and four riders. Both armies had a spear general, and the Elves defended.

The Elves put their spears in the centre, the riders on one flank and their archers on the other. The Fishmen lined up their shooters against the enemy cavalry, used the warband to cover the flank opposing the Elven archers and also put their spears in the centre.


The Elves immediately advanced their shooters against the weak left flank of the Fishman army.


As they rained arrows down on the enemy warband, they brought up a rider, which had been held in reserve, in support.


The warband dispersed and were quickly defeated. The Fishmen detached a spear to hold up the enemy and kept pushing their spear-line forward.


On the other flank the Elven riders rushed the Fishman shooters, since otherwise they would simply sit and be shot to pieces. This turned out to be a good plan; the charge destroyed a couple of shooters, and the Fishmen were now in serious trouble on both flanks.


The spears finally contacted. And this is where the Fishman plan - hit four enemy spears with six of your own - fell apart, because even with that level of superiority it's not going to be a quick, decisive fight. And their army was falling apart elsewhere.


Or was it? On the one flank a lone spear was holding out against the Elven rider and shooters, whilst on the other the Fishman shooters were starting to whittle down the Elves' cavalry.


Another push in the centre ...


... and another defeat for the Elven cavalry.


But it wasn't enough. One of the Fishman spears was lost, and finally the spear on the flank succumbed to the constant arrows and cavalry charges. The Fishmen lost 4-12.

Next time they need a better plan.

Saturday 25 September 2021

The Battle Of Bantam

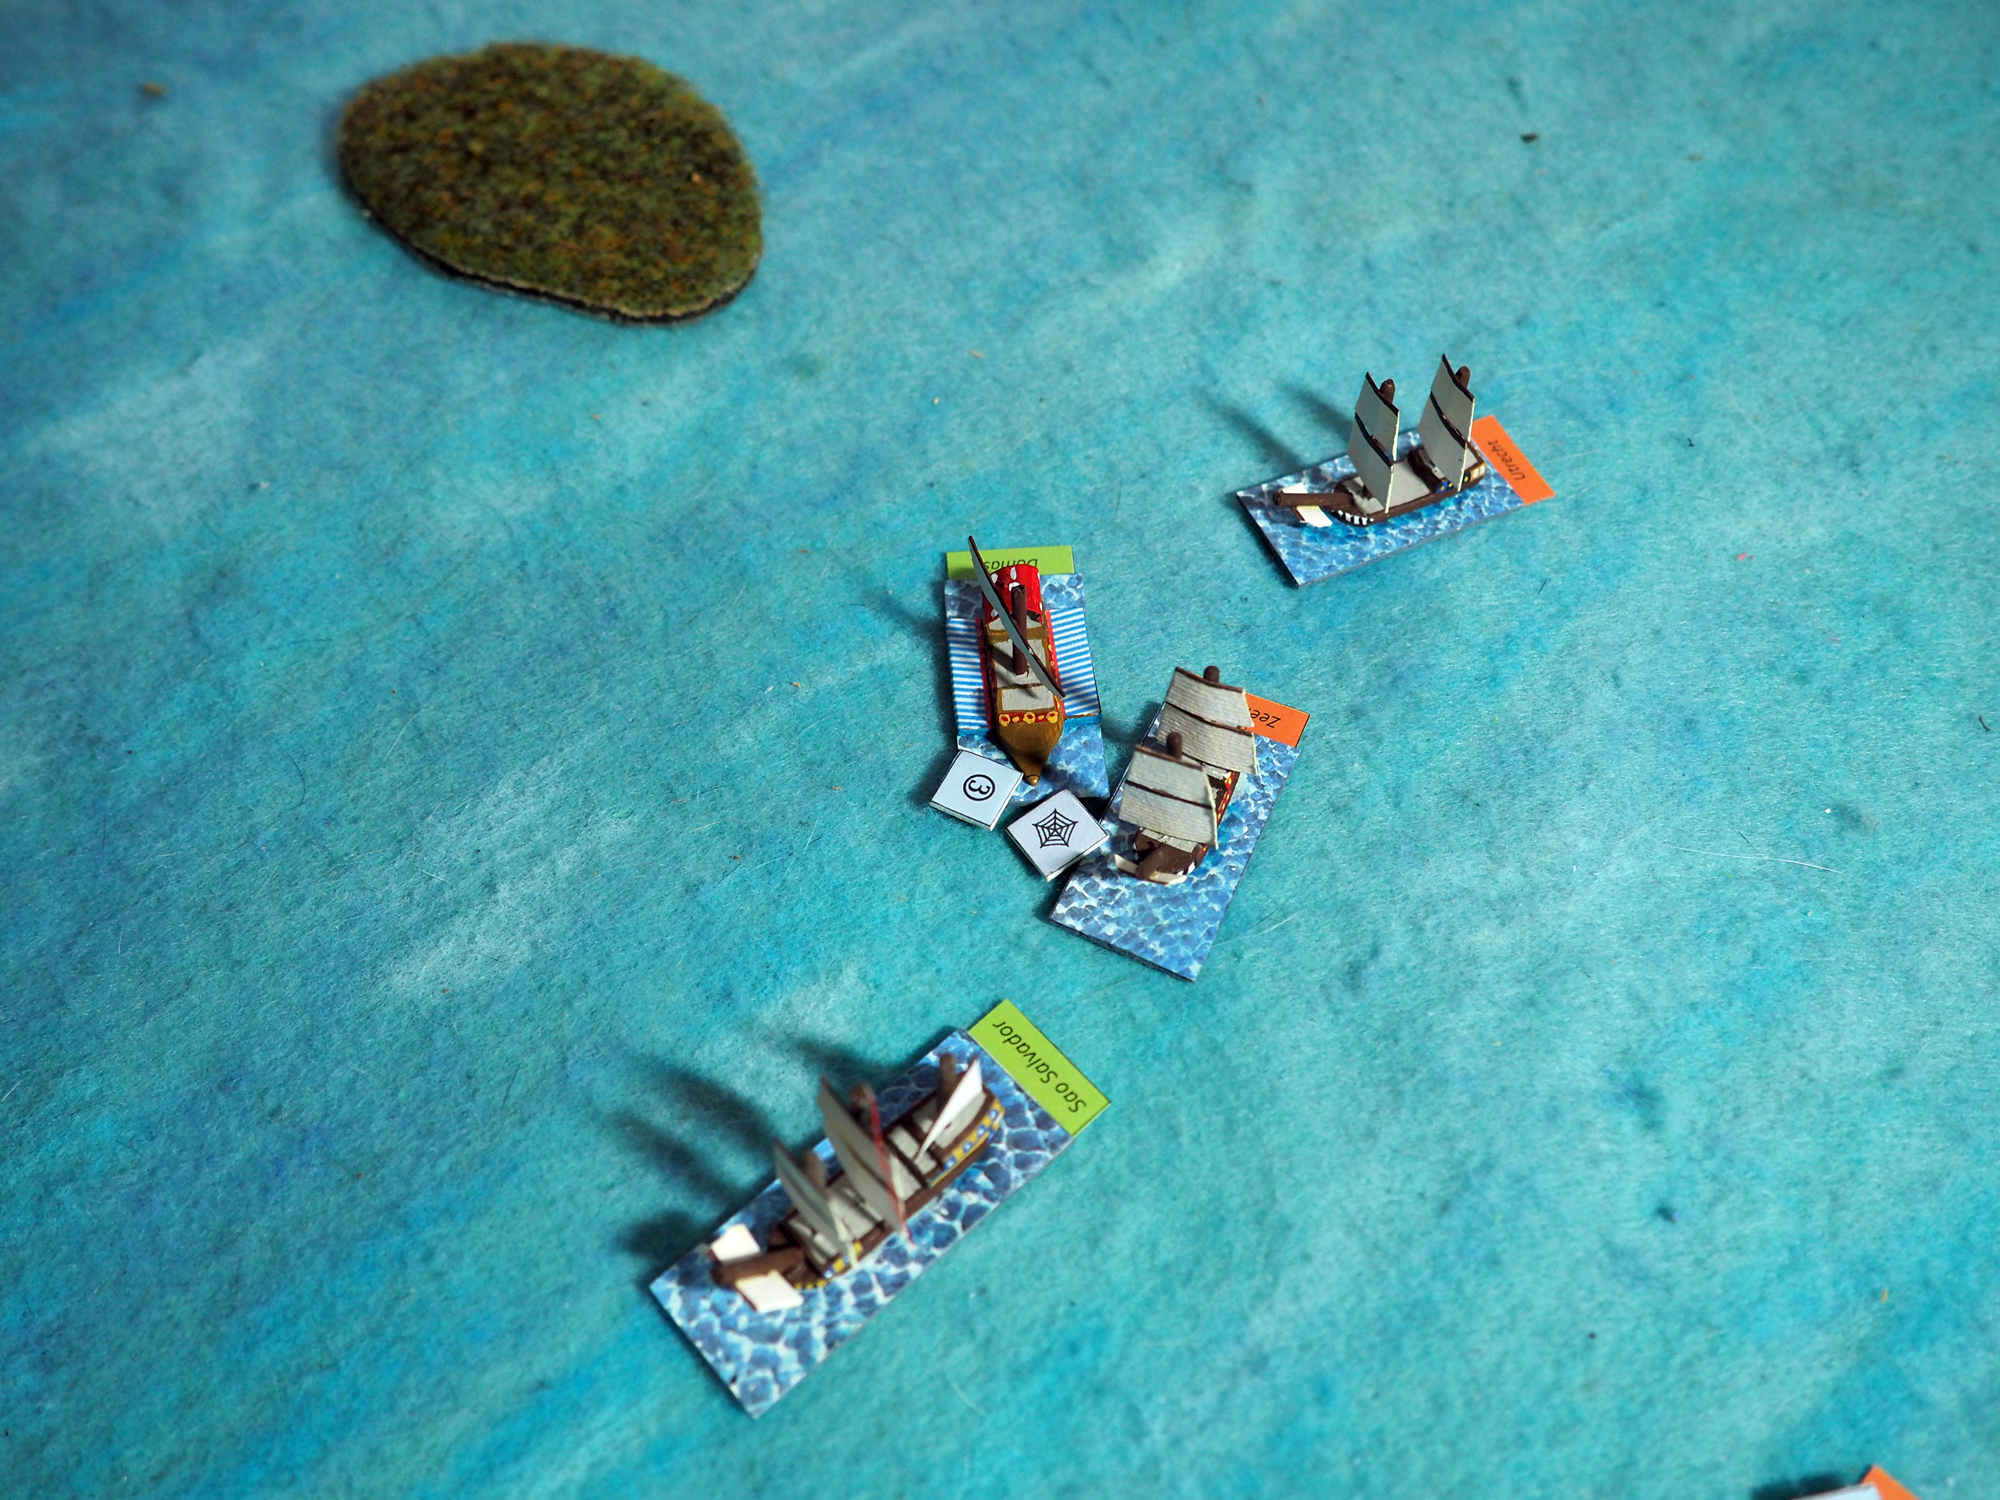
Strictly I should say that this is the Battle of Bantam Bathtubbed, since it's a little scaled down. And the idea of a bathtubbed naval battle does appeal, it has to be said.

But, anyway, this is the result of another foray into the archives at Three Decks. It was fought off the northwestern tip of Java on 27th December 1601, when eight Portuguese galleons from Goa, supported by some twenty or so fustas (small galleys) under AndrĂ© Furtado de Mendonça met an exploration force five Dutch vessels under Walter Harmensz. The Portuguese were forced to retreat. It seems there were skirmishes into the New Year, but eventually the Portuguese were driven off, allowing the Dutch to establish themselves in the East Indies.

I scaled the battle down to match my available ships and table-size, plus to reduce the Portuguese force. I went with the following:

Portuguese - Four Carracks (Sao Salvador (flag), Santa Cruz, Sao Simeao, Nazare), two Fustas (Domas, Serang)

Dutch - Three Cromsters (Gelderland (Flag), Utrecht, Zeelandia) plus a Jacht (Wachter)

All ships were lifted straight from the book aside from the Fustas which I rated as Q2 C1 with Galley, Shallow Draft and Yare. Domas and Wachter both had the Relay trait which extends the flagship's command radius.

I set up the terrain and wind randomly. The Dutch got initiative and chose a corner, then the Portuguese chose theirs.

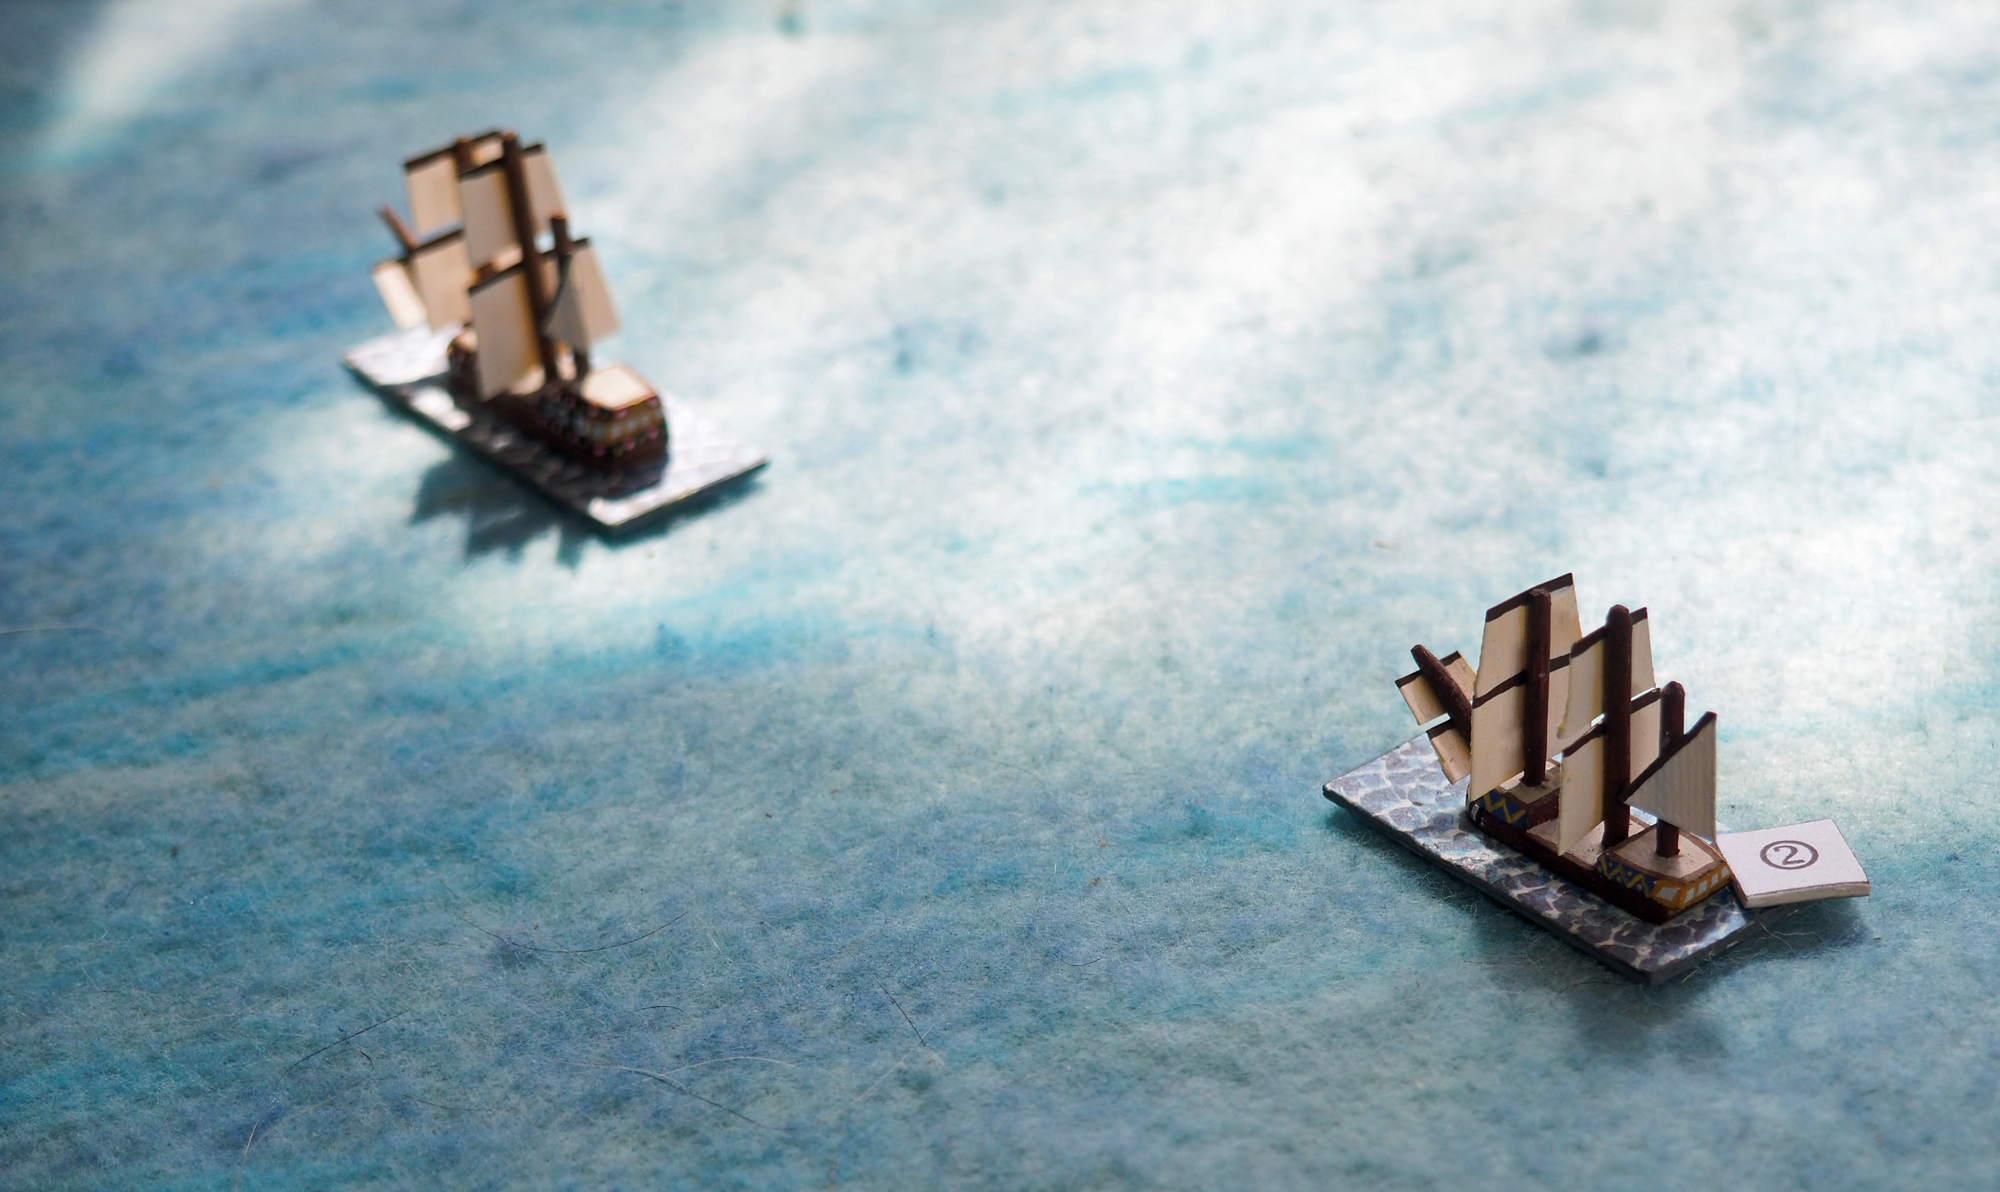
Here's the Portuguese, heading south-west on an east wind. At the back is Domas, followed by Serang. In the middle is Santa Cruz, followed by the flagship Sao Salvador. And in the foreground is Nazare, followed by Sao Simeo.

.

The Dutch were on a north-west heading. Zeeland took the lead, followed by Gelderland. Utrecht was to their starboard and Wachter to the port.


The Portuguese were good on raw strength, but their ships were cumbersome to command. The Dutch vessels were lighter, but had a shallow draft and turned well. The Dutch needed to avoid a head to head fight and try to pick off individual carracks hoping to score criticals and disrupt the enemy squadron's movements. To this end they immediately turned north, aiming to get into the rear of the enemy and seize the weather gauge.


The Portuguese slowly turned towards the south. A shift of wind saw it coming from the north-east, slowing the Dutch, but also making life harder for the Portuguese who found themselves making longer moved now the wind was on their beam.


The opening shots saw the Zeeland fire on Nazare.


Nazare returned fire. Neither side suffered any damage.


The wind began to shift back to the east. In fact during the course of the game it would continue to veer; by the end it was blowing from the south. The Dutch ships swung into the rear of the Portuguese squadron, guns firing, but couldn't inflict any significant damage.


The Portuguese tried to get into the area away from the islands, so they could safely turn and face their opponents. The Dutch pursued. Nazare suffered navigational difficulties and ended up heading towards a small island.


The Dutch plan was to fall on to the rearmost ships of the Portuguese squadron. Zeeland and Utrecht would go after Sao Salvador, whilst Gelderland and Wachter would engage Sao Simeo. But the little Portuguese galleys were moving up as well.


Sao Simeao engaged Gelderland causing some damage.


Meanwhile the fusta Domas ran aboard Zeeland and grappled it. Both sides prepared boarding parties, as Utrecht came up in support.


Nazare couldn't turn out of trouble, and ran aground. Its crew abandoned it.


The crew of the Zeeland seized the initiative and swept on board the Domas, rapidly gaining the upper-hand in the fighting. The Portuguese ship was a mere hairsbreadth from striking.


Meanwhile Sao Simeao and Santa Cruz were slipping away from the Dutch as they tried to turn back into the fight. Gelderland turned and moved to intercept the enemy flagship, Sao Salvador.


Meanwhile the surviving crew of the Domas rallied, and drove the crew of the Zeeland back to their own ship. Caught totally by surprise the Dutch surrendered.

(In game terms the Zeeland scored a 6:1 in their favour when they initiated their boarding action, crippling the Portuguese galley. But the Portuguese got enough activations to respond with a counter-boarding action, and also scored a 6:1, inflicting a crippling hit on the Zeeland. The Zeeland failed an activation on the next turn and struck)


Serang was closing on Utrecht, but the gunners on the Dutch ship were quick and accurate and wrecked the fusta, which caught fire.


Meanwhile Gelderland was in the middle of the main Portuguese squadron, but surprisingly unmolested as the big carracks expended their efforts on trying to stay in formation and turn.


And what of the smallest Dutch ship? With its lateen rig the Wachter had been slow in coming into the battle as the wind was to its aft. But it swept in as the Domas ungrappled from the struck Zeeland, and raked the galley again and again, leaving it virtually immobile.


The Portuguese exploited the Gelderland's isolation, and the Sao Salvador closed on the smaller Dutch ship. The two vessels were soon locked in a gunnery duel.


Sao Simeao and Santa Cruz were failing to turn, and were rapidly moving out of the action. Utrecht was coming up fast, and fired a broadside which damaged both the hull and rigging of Santa Cruz.


Serang exploded as Domas and Wachter continued their duel. However Domas was too badly damaged and eventually struck.


Sao Simeao fired a broadside at Gelderland, damaging the Dutch flag some more.


As the Sao Salvador closed on the Dutch flagship, the crew of the Gelderland struck. Meanwhile the Sao Simaeo and Santa Cruz left the action, despite the best efforts of the Utrecht to try and damage the latter.

The undamaged Sao Salvador followed the other two carracks rather than try to turn and engage the Utrecht. This left the Dutch in command of the field of battle. However two of their ships were crippled and had struck, leaving them in a bad way. The Portuguese had lost both fustas, and one carrack wrecked early on. So on the whole neither side could claim a victory here; the Dutch would have to contend with the Portuguese coming back, whilst the Portuguese had lost three of their six vessels.

This was a tough, and frustrating, battle for both sides. The Dutch gunnery is potentially good, but the Portuguese ships are tough and difficult to damage. However their ability to activate is abysmal, and they turn very slowly. A good job as if they can fire at a decently short range their gunnery is potentially devastating. The fustas were unexpectedly good; despite their low combat value they could give the Dutch ship a run for their money in a boarding action and if two could have teamed up on one Dutch ship they would have taken it quickly and easily.

This is one I'll probably try again.

Postscript: One of the five Dutch ships in the original battle was the Duyfken, which a few years later became the first European vessel to sight and land crew on the coast of Australia. There's a replica of her on display in Sydney.

Thursday 23 September 2021

The Capture Of Santa Catarina

One site I like to browse through from time to time is Three Decks, and the other day I came across this action - The Capture of Santa Catarina. You'll notice that apart from a one line description of the location and end result there is basically no information given aside from the names of the ships involved. This makes it an easy action to set up as a game, since I can just make the whole thing up.

I decided to run it as a Galleys & Galleons 'Blockade Runner' scenario - the Santa Catarina, a Portuguese carrack, would have to run the gauntlet of two Dutch cromsters, the Witte Leeuw and the Alkmaar. I ran the carrack straight out of the book, but in order to get the points to come out for the scenario setup I dropped Shallow Draft and Master Gunner from the cromsters, but added Carronades to make up for the loss of the latter trait.

I set up the terrain randomly and ended up with a chain of islands from one corner to the other. The Santa Catarina gets to choose the corner it starts in and the wind direction, and I went for this, with the wind on the starboard beam (from the East). The Dutch have to set up on the centreline, facing directly into the wind. They deployed to cover both passages through the islands.


The Santa Catarina headed for the north passage, covered by the Witte Leeuw. This would leave the Alkmaar with the choice of heading into the wind to intercept, or working north around the central island, which would take time and activations.


The Witte Leeuw closed on the Santa Caterina, receiving a damaging broadside as it did so.


The crew panicked and failed to fire their own broadside as they cut across the Santa Caterina's stern. A shift in the wind to the North-East did give them a slight improvement in their chances of combining against the Portuguese vessel, though.


Unfortunately fortune did not favour the Portuguese, who failed all of their activation rolls leaving the Santa Catarina unable to avoid running aground on the central island.

So a win for the Dutch, even if they did little to achieve it.


I set the game up again, with the same wind and positioning. The Witte Leeuw managed a better approach this time, and got in a broadside on the Santa Caterina, but scored no significant damage.


It also not blocked the carrack's movement. A turn to port would see it heading towards the island again, whilst one to starboard wouldn't clear the Dutch vessel. So the Santa Catarina ran aboard the Witte Leeuw and grappled. It didn't have enough actions to initiate boarding, though.


The Witte Leeuw considered the odds of winning a boarding action against the massive Portuguese ship, and opted to cut grapples instead, sailing away.


The Alkmaar was working around the island this time, but the Witte Leeuw turned rapidly and began to shadow the Santa Caterina. Fire from the carrack began to damage the Dutch ship.


The Santa Caterina pulled ahead into open water as the Alkmaar came up. A single broadside saw a fire start on the Dutch ship ...


... which promptly exploded.


The Witte Leeuw pursued the Santa Catarina, but it was obvious it wasn't going to catch it before it escaped.


So a win for both side. Each game took 15-20 minutes to play, so it was a perfect lunchtime entertainment.

Tuesday 21 September 2021

Stora Kronan vs Sophia Amalia - Again

With all the ships still on the table it was a simple thing today to run yesterday's action again. Once again the Swedes are on the left - Draken, Stora Kronan and Hieronymous with Fenix shadowing them - and the Danes on the right - Christianus V, Sophia Amalia and Dannebroge, accompanied by Hommeren.

Both squadrons stayed fairly organised this time. The Swedes bore down on the Danes, who held their line.


The Swedes opened fire first, with Draken damaging Christianus V.


Christianus V returned the favour, and Sophia Amalia also opened fire on Stora Kronan, but with negligible effect.


Both sides were exchanging fire now.


The two flagships are very ponderous. As they closed Stora Kronan found itself unable to turn hard enough, and there was a massive collision, which left both it and Sophia Amalia damaged.


At the rear of the lines Dannebroge managed to rake and seriously damage Hieronymous.


The Swedish ship caught fire, and the crew rushed to contain the blaze.


They did so, but they had continued to turn, and the Hieronymous crashed into the stern of the Stora Kronan. the collision left the Swedish flag crippled, and the Hieronymous so badly damaged that it hauled down its colours.


The Stora Kronan's crew were in some confusion now and paying little attention to their helm. They found themselves steering straight for the Dannebroge. With no alternative they threw out grapples and rushed to board the Danish vessel. Initially they had the upper-hand ...


However the Dames quickly rallied, and the Dannebroge forced the battered Swedish flagship to strike.


Whilst this dramatic series of events had been taking place, Draken and Christianus V had been firing at each other, and both ships were close to striking. Draken had to steer to avoid the shallows ...


... and collided with Sophia Amalia. The resulting damage was too much for the surviving Swedish battleship, and it struck.

This just left the Swedes with the Fenix, which fled. Neither frigate had been seriously engaged.

The Swedes lost all three of their ships of the line. The Danes had been seriously battered though, with both Christianus V and Sophia Amalia being crippled. Only Dannebroge had escaped serious damage.

This was a much more satisfying game, with both squadrons maintaining some semblance of order for most of the battle, but a lot of it hinging on failed activations leading to rolls on the terrible All At Sea table.

I made two small changed. Excess Hull criticals would only cause a ship to sink if it was, or had previously been, holed. And if a ship took excess damage from a collision, it would sink on a D6 roll of 1-3 and remain afloat but strike on a 4-6. I'll write up my excess damage rules and add them to my house-rules at some stage.

Related Posts Plugin for WordPress, Blogger...