From Scenario 20 onwards there is always a disparity of numbers; mostly they feature one side fielding four units whilst the other fields six.
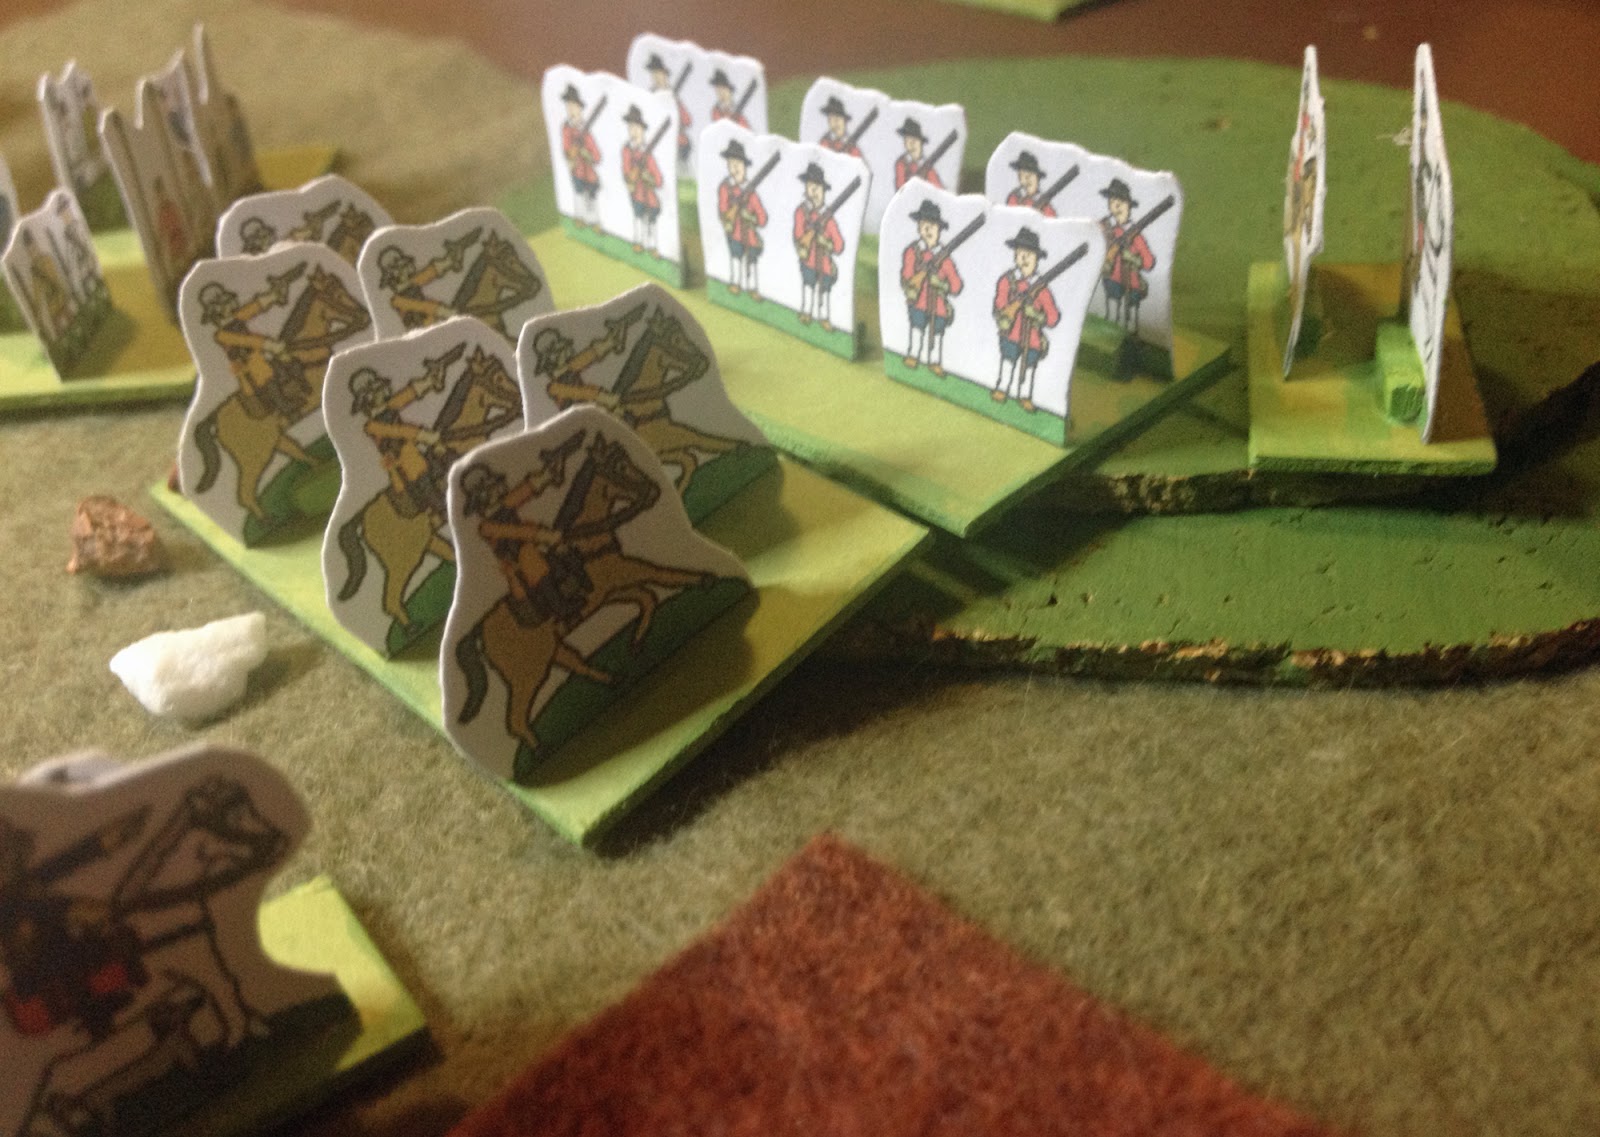
For my latest post covering my sequential replay of every scenario in the book I have returned to using my paper ECW armies. A blog post concerning the release of a book featuring such armies and some rules reminded me of them, and I have taken the opportunity to ponder a few rules changes I wanted to make. Since these mostly covered how horse worked, I decided to play, once again, a mostly cavalry-orientated action. And the scenario lent itself to such a game anyway.
Skirmish at Badger's Drift
It's 1643, and in the county of Midsomer the conflict between Parliamentarian Sir Thomas Barnaby and Royalist Lord Standing continues. A Parliamentarian foraging force under Sir Thomas Nelson find themselves under pressure from a concentration of Royalist forces, so opt to withdraw to the safety of the north bank of the River Causton, and the high ground of Pullman's Mound. Two fords offer safe crossing either side of a bog.
The Parliamentarian force consisted of:
1 x Unit Shot-Heavy Pike and Shot
1 x Unit Dragoons
2 x Units Disciplined Horse

The foot and dragoons moved to cross by the western ford.

The horse crossed to the east.

The Royalists were in close pursuit, with a strong force of horse. Led by Sir Edward Case they consisted of:
3 x Dashing Horse
2 x Horse
2 x Peasants
(I rated the two peasant units as a single unit for order of battle purposes. They were raw and poorly-armed.)
The Royalist horse concentrated their efforts on the eastern ford,

The peasants, angry at having their farms looted, rushed the western ford. Some of them had guns. This would be important.

The peasants spread out as the Parliamentarian foot opted for a close defence of the ford. Pushing their musket-armed men to the fore, they opened fire, and much to everyone's surprise, inflicted casualties on the Parliamentarians.

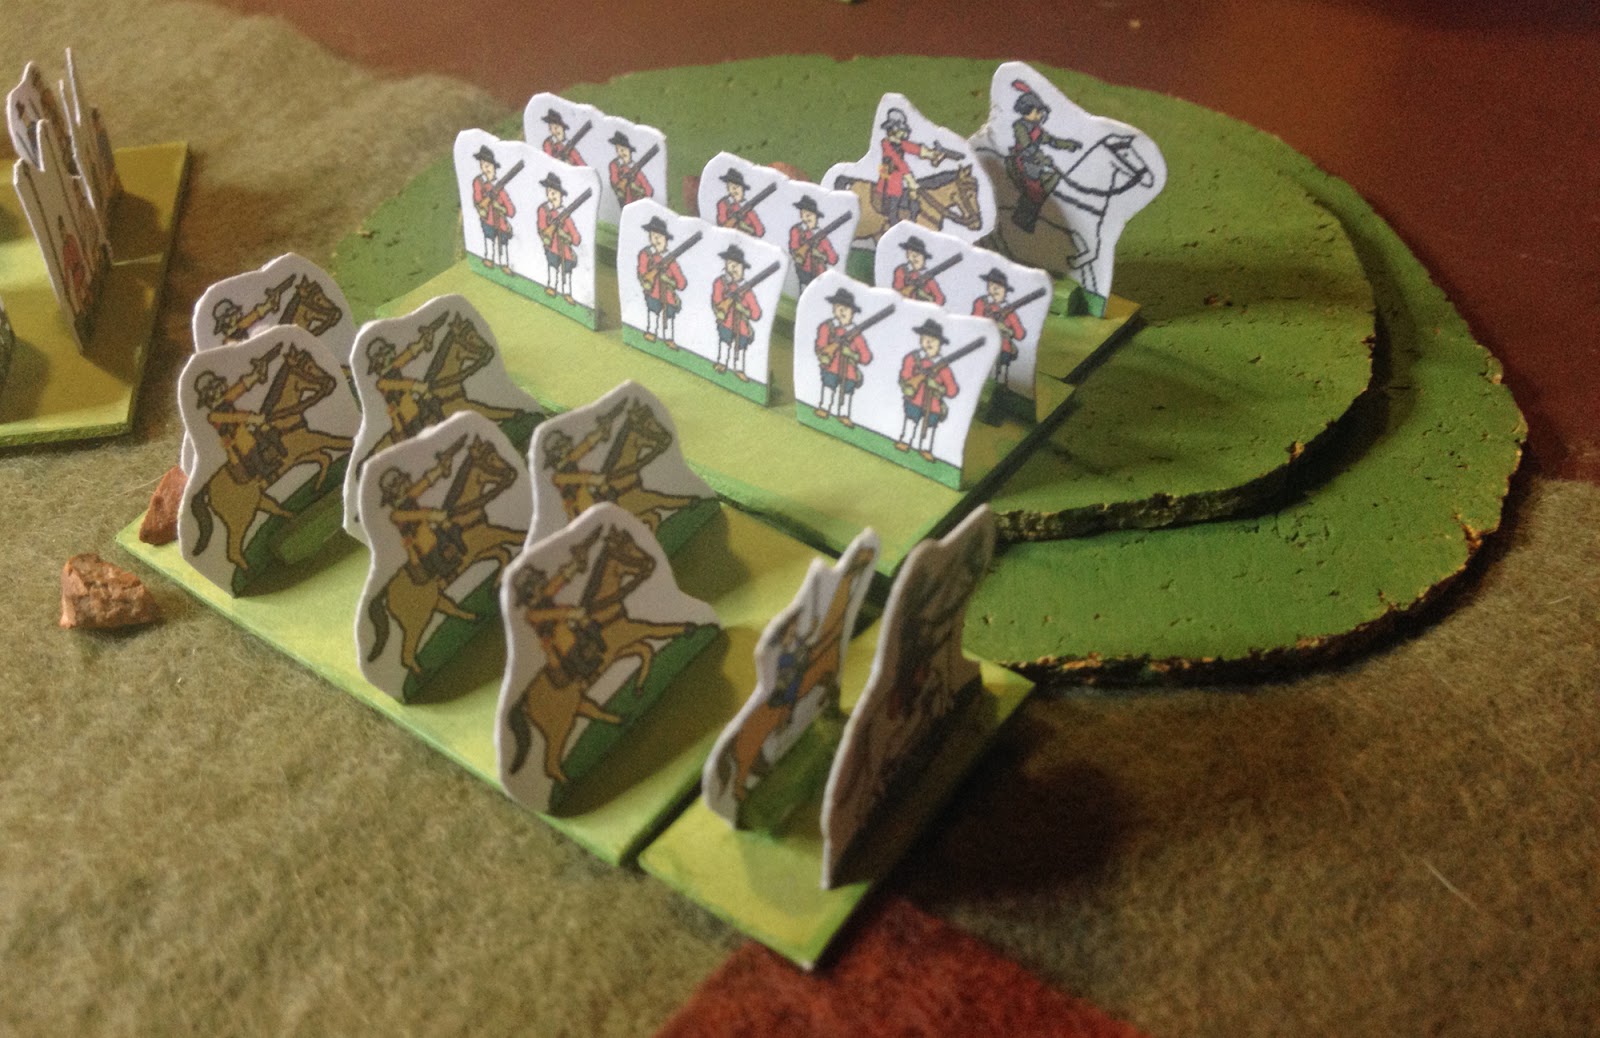
At the other ford Royalist horse charged boldly across the river, to be met by coolly disciplined Parliamentarian riders.

The Parliamentarian foot returned fire, but their powder must have been damp or the retreat had left them short of supplies; they went out of ammunition without inflicting a hit. Ordinarily their commander could help by removing the marker ...

... but his presence was required at the other ford, where the Parliamentarian horse were close to breaking under a ferocious Royalist attack.

A third of the way into the game. The peasants kept up a steady fire on the pike and (useless) shot, whilst a furious cavalry melee developed at the ford.

The reasoning of the defence of the western ford was that the peasants' firepower was pretty limited, and that they would soon run out of ammunition, forcing them into a charge across the river, where the defending pike and shot would be at a significant advantage. I reality what actually happened is that (i) the peasants didn't run out of ammunition (they must have found the wagon with the pike and shot's supplies) and (ii) they seemed to be unable to miss. The pike and shot was soon on its last hit, and no furious charge was developing. Sir Thomas ordered the dragoons forward to cover the ford, whilst attempting to withdraw the pike and shot towards the hill, where maybe they could rally.

They took the withdraw order literally, and as another volley rang out across the river, they ran.

At the eastern ford, despite the best efforts of Sir Thomas, the Parliamentarian horse fled as well. The Parliamentarians had lost half of their units, ad the Royalists were ready to cross and stop them reaching the hill.

The second unit of Parliamentarian horse charged. The vanguard Royalist unit was still disordered from its attack, and broke.

Time was ticking on, and Sir Thomas decided that a withdrawal to the hill, the actual objective, was in order. The dragoons fell back from the ford, firing as they went. This required careful timing; withdraw too soon and the Royalists would have plenty of turns to mount an attack on the hill. Withdraw too late and the Parliamentarians risked being destroyed before they could take the objective.

At the eastern ford Sir Edward threw in another troop of horse. The Parliamentarians held the attack.

The dragoons made a temporary stand behind a low wall as the peasants swarmed across the river, supported by a unit of horse.

A few volleys, then they withdrew towards the hill. A unit of peasants broke under the fire.

Anther unit of Royalist horse broke, as discipline triumphed over impetuosity.

The dragoons reached the hill, just in time; they were charged by Royalist horse. This was lesser cavalry, though, lacking the dash of their brethren at the ford.

Again and again they charged, but the dragoons were rallied by Sir Thomas, and held firm.

A third Royalist horse unit broke at the ford. The Parliamentarian horse was looking weaker now, but the day was drawing to a close and they'd held their foes for long enough. The battle would be decided by the units already at the hill.

The impetus went out of the Royalist attack ...
... until they were rallied by Sir Edward. One good solid charge would sweep the dragoons away ...
... But it was not to be. Reduced to their last hit the dragoons held, and as night fell were able to consolidate their position on the hill. The Royalists withdrew as the surviving Parliamentarian horse moved up.
The battlefield at the end. Both sides had lost half of their units, the Royalist casualties mostly being their best horse, cut down by a single unit of opposing cavalry at the ford.

This was a brisk, and exciting action. The peasants shooting down the Parliamentarian foot was a real shock; they have a one in four chance of inflicting a hit each time they fire, with a one in three of going out of ammo. Yet between the two of them they inflicted five hits on the enemy, routing it, and still had powder and shot left with which to engage the dragoons.
The differing approaches of disciplined horse vs dashing horse seemed to work OK. I give cavalry a bonus 'Impetus' dice in close combat. However certain combat rolls can cause them to lose it. Mostly. Dashing Horse never lose their Impetus, but certain combat rolls cause them to take a hit as they become disordered or pursue their foe. Disciplined Horse can lose their Impetus, but certain rolls allow them to regain it. Ordinary Horse get Impetus, but if it's lost it's generally lost for good (I allowed a leader to try and rally it back, however. But I'm still not sure how I want to play leaders and their abilities). At the eastern ford the Dashing Royalists initially had the upper hand, but took hits from their own attacks which left them open to a counter-attack. The second unit to attack was unlucky, scoring three hits on itself (out of five). The third unit just lost out in a one to one fight against an enemy with a cover save for the ford.
I need to try out these changes (and the changes I'm probably going to make in the wake of this game) in a more straightforward head-to-head battle, where there are fewer tactical distractions.
Follow the rest of the scenario refights HERE