Friday 28 June 2019

Lion Rampant

Caesar and I played Lion Rampant last night, using his collection of Saga figures. We threw together two lists: Nominally Normans against Sort-Of Saxons. The terrain was simple and we did a head-to-head fight. Both retinues started off-table, and had to make move rolls to enter.

Here's the battlefield, with Caesar placing his first unit.


I got most of my Saxons on-table in the first move. I had a core of foot sergeants, with my leader in a group of men at arms, plus some bidowers as skirmishers and a force of Vaguely Viking wild foot.


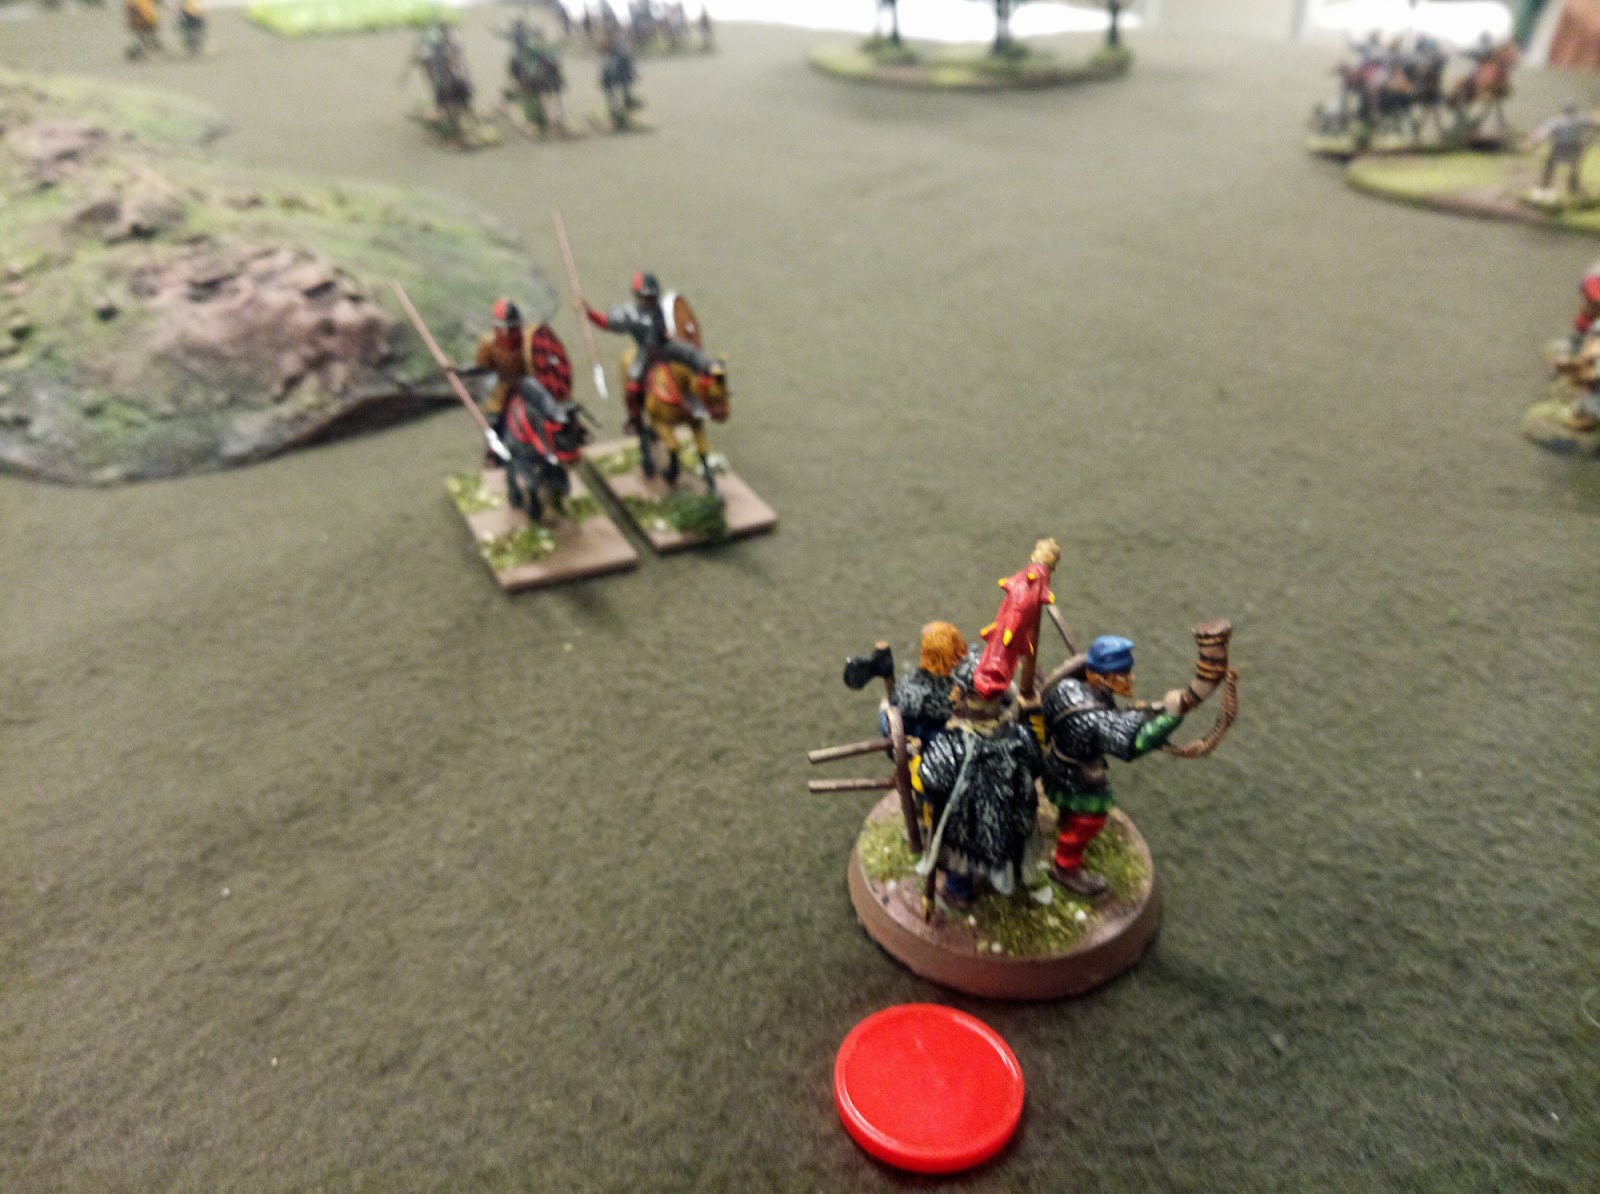
Caesar's Normans were mostly mounted - two units of mounted men at arms supported by two units of mounted sergeants, plus some archers.


We secretly chose three boasts, and annunced them via heralds before our troops arrived on the table. Both of us vowed that out leader would destroy the opposing leader, and that we'd also destroy the enemy's highest value unit (which in both cases was that of the opposing leader). This was going to make for a very personal fight. Caesar boasted that he would ride rings round my army, meaning he would have a unit closer to my baseline than any of mine. I vowed that I would challenge his leader to a duel. This played to my leader's special ability; I was good in duels.

Caesar set out to achieve his easiest goal, sending sergeants down each flank to get into the rear of my retinue.


His leader hung back. As part of a unit of men at arms he was prone to charging the enemy, and Caesar wanted to keep him out of the action until he'd had a chance to seek out my leader's unit and soften him up a little. His other men at arms piled into my foot sergeant 'fyrd'.


Supported by his lesser horse he made short work of the hapless Saxons, not helped by my failing early activation rolls for a couple of turns.


The bulk of the Saxon foot were swiftly and ruthlessly eliminated by the Norman horse.


I was quickly reduced to my skirmishers, the Viking allies and my leader and his hearthguard. I needed a plan. I advanced to try and draw out Caesar's leader, but it turned out that he was a craven coward, and he slunk away behind some woods.


Meanwhile the rampaging Norman horse attacked my brave Saxon commander, but were fended off.


My skirmishers slipped into a patch of marsh, and put themselves within charge range of the Norman commander. Against his better judgment the Normans charged, and were caught in a fight where they had no real advantage over a few guys with sticks. Normans died.


The other Normans kept attacking the Saxon leader, who was losing bodyguard, but still fighting.


The Vikings got stuck in, destroying a unit of Norman sergeants.


They fared less well against the other group of sergeants though ...


... but drew the Norman commander out of the marsh, before routing.


The Norman leader was now in range of his Saxon counterpart, and I issued a challenge, thus achieving one of my objectives. Caesar's leader, craven to the last, declined. But his retinue were used to it and passed the ensuing morale tests.


However vows had been made, and Caesar was still intent that his leader would destroy mine, even if he was only willing to do so backed up by a gang of mates. He charged and the leaders met as foes, even if not as honourable gentlemen.


Reader, I killed him. Begging for mercy the Norman commander was dragged from his horse, and introduced, briefly, to the business end of an axe. I had fulfilled both of my remaining boasts - my leader had slain his, and I had destroyed my target unit.


Caesar was well ahead in terms of the scenario conditions, with the Saxons now reduced to their leader and a single bodyguard. But we were into the endgame, where any turn might be the last. Unable to achieve one of his remaining boasts, he set out to achieve the other - destroying my leader's unit. His remaining knights charged ... and failed. At the end of what turned out to be the last turn, my leader stood alone and undefeated!


We totalled up Glory. Caesar had easily won the battle (5 Glory), and had achieved one minor boast (1 Glory). But he lost glory for the two failures (-2 Glory), for a total of 4 Glory. I had achieved all of my boasts for a total of 6 Glory. The Saxons, with a single man remaining, were the winner!

This was a fun game with the Saxons very much on the back foot but able to scrape a victory by judicious use of terrain, keeping an eye on the actual victory conditions, and a seasoning of outrageous fortune.

Wednesday 26 June 2019

Written Rules

In a comment on my previous post it was suggested that I write down the rules I was tinkering with in that particular game. Some of them were written down. I hereby present to you the written rules as they currently stand:


I think I'll need to get them tidied up a bit.

Update: It's all safely stored in a Google doc now!

Tuesday 25 June 2019

Symplicity Squar'd

I played another ECW game last night, but rather than use the Portable Wargame I had a try with a variant of Simplicity in Hexes. Obviously the biggest variation was switching it to a square grid, which obviously creates some differences in the way movement is handled. Otherwise I tried to stick to the original rules as much as possible, but with a pike & shot slant.

I'll write up what I came up with another day - a lot of the movement rules are still in my head (as in I made them up as I went along), and the combat and firing still needs tweaking, but what I played worked OK for a quick game.

The main thing I wanted to try was the initiative system. This time I decided to abandon cards altogether, but base it off one of the ideas suggested in my earlier post on initiative for games like this. Here's what I went with.

Each side has an Initiative Value (IV) equal to half the number of units in their force, rounded up.
Each turn, both sides roll a D6. The side which rolls highest goes first, then the other side takes their turn. The number of units a side can move is based on their roll - if it's 1 or 2 they can move IV-1 units. On a 3-4 they move a number of units equal to the IV. On a 5 or 6 it's IV+1 units. In the event of a tie, the side which moved second in the previous turn goes first, with both sides moving a number of units based on the number rolled as above.

Example: Both sides have six units, so their IV is 3. On the first turn Red rolls a 2 and Black rolls a 4. Black moves first, moving 3 units. Then Red moves, but can only act with 2 units. On the second turn Red rolls a 6 and Black rolls a 4 again. This time Red goes first. moving 4 units (IV+1), then Black responds with 3 units. On the third turn, both sides roll a 2. Black acted second in turn two, so goes first this time, and can activate 2 units (IV-1). Then Red moved 2 units.

On with the game. I gave both sides 6 units, and made control of the village the objective. Both sides had three horse - the Royalists rely on a charge with sword and pistol, whilst the Parliamentarian horse is more reliant on pistols. Each side also had three foot. One of the Parliamentarian foot units was predominantly shot, whilst the Royalists had one at the other extreme - all pike.


The Royalist left attacked with their horse, driving back the outnumbered Parliamentarians, who had also stacked their horse on the left.


Both side's foot advanced on the village and surrounding fields.


There was an exchange of musketry along the main street of the village, with both sides trying to weaken the opposition before a charge. Meanwhile the Royalist pike unit was driving hard against some Parliamentarian foot in an adjoining field. Despite fighting across a wall, the Royalists gained the upper hand.


The Royalists were also dominating on their left, routing the Parliamentarian shot and scattering their horse.


Parliament tried to gain the initiative on their left, but the terrain was not suited to action by their horse who had to content themselves blazing away with pistols.


The village was still contested, but Parliament had no support.


Despite that they went on the offensive, driving the Royalists out of their end of the settlement. But the pike pushed in along the side-streets, and broke them.


With just some units of horse left, Parliament were defeated.


The game played quickly, as I suspected it would. The changes I'd made to combat made some of it less decisive than the original Simplicity in Hexes, but even so units degrade pretty quickly. However it felt right and worked well, and was happy with the flow produced by the initiative system. I'll be giving it another try.

Friday 21 June 2019

Daleks, Dinosaurs and Rocketships

After a break of seven weeks, I'm back to Thursday evening wargaming!

I kept it simple. A game of HOTT with Caesar. What else?

I brought a few armies with me, and we went for a sci-fi setup. I took Flash Gordon and the Warriors of Mongo. Caesar used the Daleks, adding in a controlled dinosaur for extra silliness.


Daleks and mercenaries.


Saucer vs Rocketship


The airboat fight on my left sucked in other elements - Flash committed the Frigians on their riding-birds, whilst the Daleks sent in the dinosaur.


Flash himself skulked at the rear, hiding from the Special Weapons Dalek. He sent the Lionmen into the scrub to fight the main Dalek force.


Lion-Men prepare to fight the Daleks.


The dinosaur ate some Frigians, but didn't really achieve much after that. The rocketship and saucer eyed each other warily.


The fight shifted to the centre, where the Lionmen got the upper hand over the Daleks, soon putting their Supreme Leader under pressure. Zarkov, Dale and the Hawkmen assisted.


The dinosaur hovered around looking threatening, whilst Flash and Barin considered the best way to take it down.


The Lionmen saved them the effort, destroying the Supreme Dalek and forcing the metallic invaders to retreat. Maybe to invade another day ...


I popped some dinosaurs in as a fun thing to add to an army, and Caesar went for it. It fitted quite well with the Dalek ethos, and I'm tempted to make a proper one with some suitable mind-control attachments as a permanent option for the army.

Thanks to Caesar for a fun, if slightly daft, game.

Thursday 20 June 2019

Burlesque Update #7

I've been holding off from posting this Burlesque Update on the hope that we'd get some official performance photos I could show off. But photos take time, and I want to post whilst everything's still fresh.

In my last update I reported on our first show, including my solo debut. Since the we have done the group performance a second time, at an arts showcase event in Sydney, and a second student showcase performance, also up in Sydney. All of the performances basically went OK (I had a very minor costume incident in my solo performance, which I was able to work around), and we had an amazing time.

In lieu of the performance photos (which I'll post in a future update) here's a nice picture I took of Catherine and Maya at the arts showcase:


Yes, that's a stack of cardboard boxes behind them. Because we get the best dressing-rooms.

And here's another curtain-call picture, by Stuart Bucknell Photography. This time I'm looking at the camera:

Now, of course, comes the crash. I have found the past few weeks incredibly intense, and have put a lot of mental effort into them. Our group has worked together well and we've become a little family, supporting and looking out for each other. And now it's all over. We're all going to go our separate ways and, whilst many of us will meet again in future classes, and we've made promises to get together socially, it won't be quite the same. My brain is still whirling, and I'm trying to find something for it to focus on. I suspect that 'something' will be games-related, of course.

But I'm proud of what I have achieved. Last year I set myself the goal of doing burlesque lessons. I did that. Then I set the goal of performing. And I did that. Off the back of those performances last year I promised myself that I would perform solo. And now I've achieved that. I have now set myself the goal of performing solo on my own initiative. The performances I have done were arranged for me by the burlesque school. My aim now is to take my routine out into the world and do it simply as a solo artist, rather than a showcased student. So I have now put myself forward as a performer in a forthcoming local arts festival, and also applied to perform at one of the regular burlesque shows in Sydney (one which is known for encouraging and finding places for neophytes or, as they like to call them 'fresh meat'). I'll let you know how I get on.

And further goals? Maybe develop and perform another routine. And maybe do it without the full-on mentoring I got last time. Although that's probably far too ambitious at this stage, so we'll see.

Thank you for indulging me in these updates which, I am fully aware, are not really a blogging subject any of you signed up for when you chose to follow The Stronghold: Rebuilt. And thank you to those who posted good luck messages. They were all greatly appreciated.

Powick Ford

I had a little bit of a fiddle around with my ideas for Portable Wargame card activation, and I'm beginning to be swayed to the school of thought that it's maybe a non-issue, and that I'm fixing something that doesn't really need to be fixed. However the discussion has thrown up some interesting ideas for activation mechanisms, and I tried something different last night in a refight of the Action at Powick Bridge (which, owing to me having lost my one decent bridge) became a ford.

This is an interesting action to try with a 'random' turn sequence, as it has reinforcements appearing based on a die roll made each turn, and units testing to see if they recover from surprise each turn. And the problem with the card activation system is that there's no real concept of a turn. It simply allows one side or the other a number of actions.

Now in other games I have treated each reshuffle as the end of a larger turn, allowing me to place a time-limit on the game. This is not unlike Maurice, where you go through the deck three times, and the game then ends. I normally treat six or eight reshuffles as a day of battle. However for this scenario a possible full deck of cards is too large a gap between tests for it to be truly viable.

What I did was create an initiative deck as normal, but include two Jokers. Whenever a Joker appears, the current 'turn' ends, and you test for reinforcements of unit recovery. The deck is reshuffled after the second Joker appears. Essentially each turn is, on average, half a deck, which I thought would give about the right pace.

Anyway, here's the action set up. The Royalists on the right are resting in and around some fields, whilst Parliament's horse, and some attached dragoons, are riding down the road towards the ford. Both sides are surprised to see the other - the yellow markers denote units that are subject to surprise.


Another view of the Parliamentarians.


Parliament has a considerable force of horse off-table, which appears randomly from the second turn onwards.


The Parliamentarians milled around in surprise, aside from their dragoons, whose commander moved them swiftly onto their flank so that he could lay down fire across the river. The Royalists were quick to get their units organised, and galloped to the ford, attacking Parliament's horse as it tried to cross.


Prince Rupert rode forward from the Royalist main body to lead the attack, rashly driving his men into the Parliamentarian advance guard.


The Royalists pushed forward aggressively.


And then Parliament turned the table and drove the Royalists back.


At that point the Parliamentarian main body arrived.


And that's how the rest of the game went. The Royalists drove forward again ...


... and Parliament drove them back.


But Parliament could never quite get over the ford before the Royalists rallied and drove them back. And their troops, whilst numerous, lacked the Royalists dash and quality. But in the narrows confines of the lane and fields they couldn't bring their numbers to bear. One by one their units broke.


Finally the Parliamentarian commander decided to make use of his dragoons, who had been doing a sterling job holding the flank. He brought them out into the lane, hoping their firepower could clear the Royalist horse from the ford and allow his surviving horse a chance to drive forward and bring their dwindling numbers to bear.


It didn't work. Prince Rupert charged the dragoons who, deprived of any real cover, scattered and fled ...


... followed by the horse supporting them. The surviving Parliamentarians routed.


So the action was a convincing Royalist win (although they were only a unit away from being at risk of rout themselves).

The card mechanisms worked fairly well, splitting the game up into believable turns, although because of the confined nature of the action neither side really needed or used more than a couple of activations from each card draw.

I'm actually starting to think that this totally random method of activation may be more trouble than it's worth, and that a turn-based approach is the way to go, but with some limit on how many units activate. I will reread my other posts, and the comments, and try to put something together.
Related Posts Plugin for WordPress, Blogger...