Friday 29 November 2019

Funlands

I played my first game of Gaslands since the new edition was released yesterday, so it was finally a chance to see how some of the new stuff worked out. The basic rules are virtually unchanged, as you'd expect. From what I can see the only changes to the core mechanics are that you can evade explosion damage, and that the wrecks of vehicles destroyed by collisions are removed. The biggest changes are to the sponsors and perk classes (there's new ones, and changes to existing ones), plus weapons (tweaks to costs and effects in order to improve play-balance).

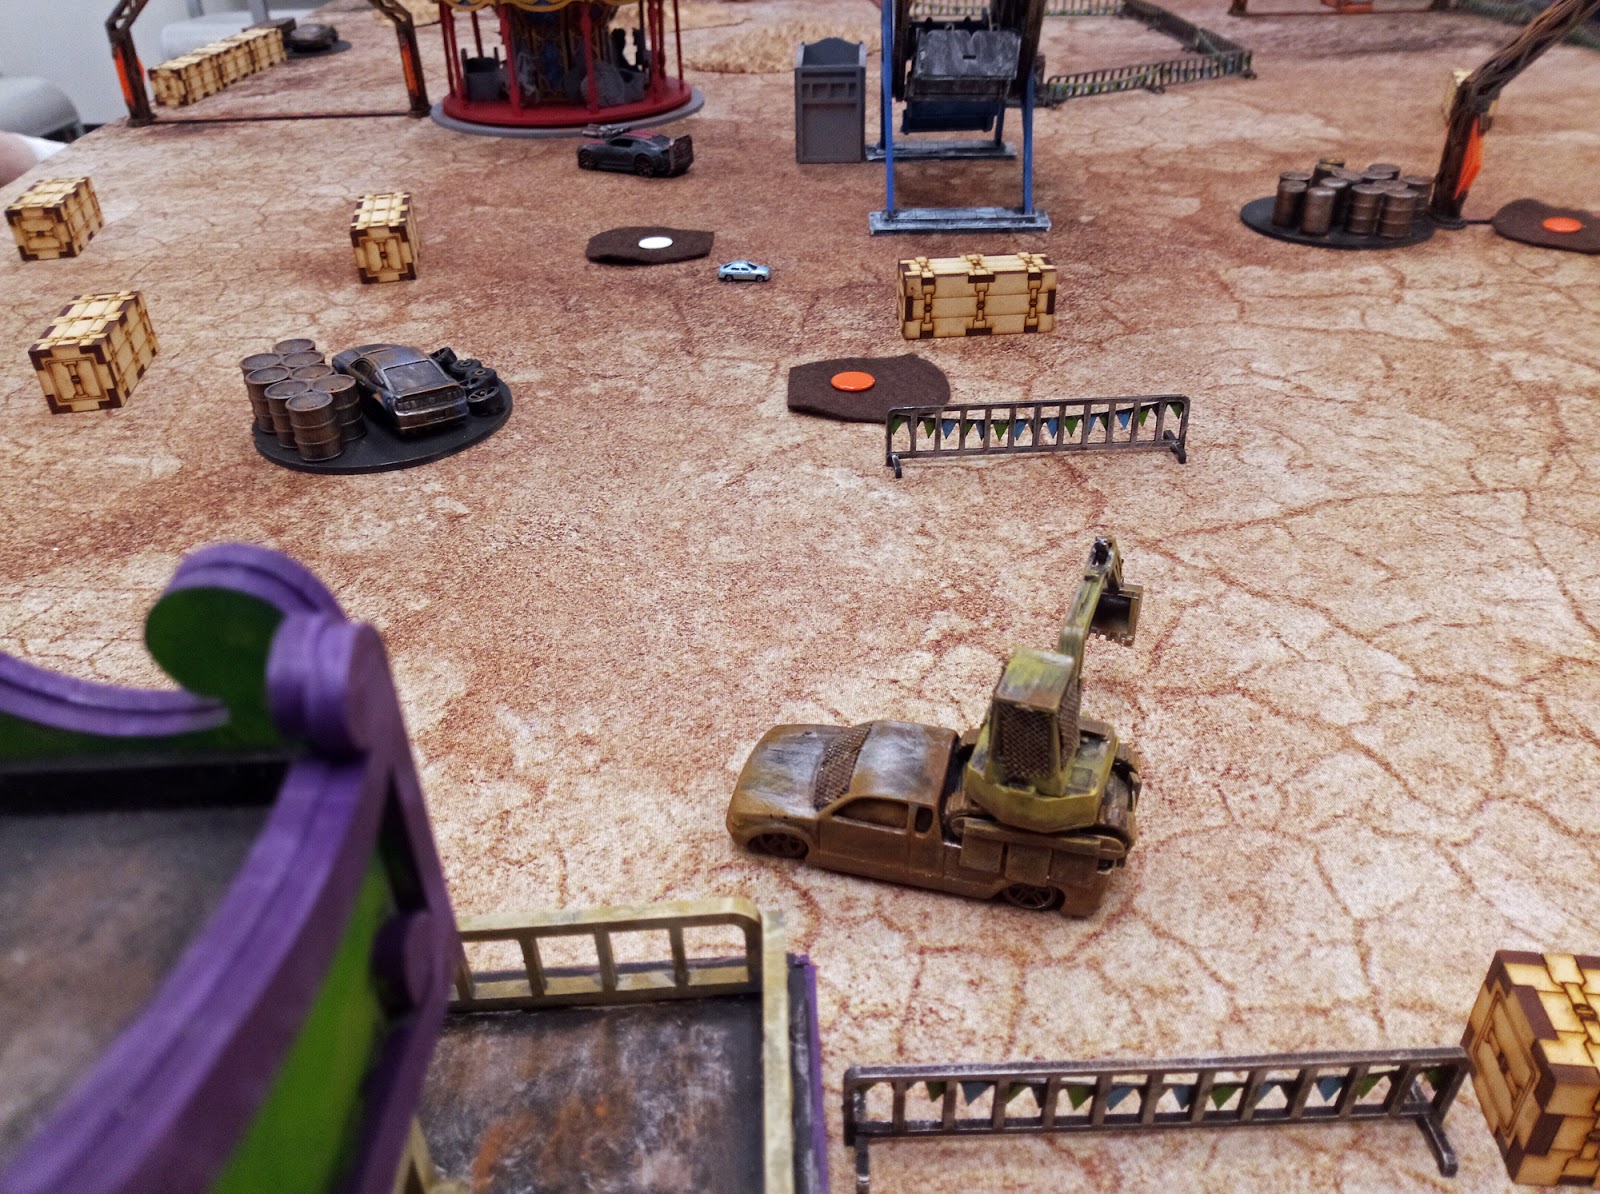
Jason brought along his terrain set-up as well; he invested in a pile of MDF laser-cut fairground scenery, which gave the whole board a wonderful theme.


We had four players, and played with 50 can teams of exactly two vehicles per player. Dave and Ceasar both ran Rutherford teams (lots of destructive firepower), whilst Jason and I had both opted for Verney sponsored teams. This is a new sponsor, based around clever mechanical builds, rather than the mad-science builds of Mishkin from the original game. Verney sponsored teams get a number of perks based around heavy use of dropped weapons.

And away they go. Most vehicles headed out of the start gate in a traditional way. My motorbike headed off to the side. It wasn't there to race, but had the new SatNav perk, which allows it to store shift dice results which can then be passed to any other vehicle on the team. The bike's job was to drive around building up a pool of shift results which could then be used by my other vehicle (a truck with a mechanical digger strapped to the back) to keep it in the race by burning off hazards.


A small obstacle in the run-up to the first gate caused some consternation, and broke up the pack, causing some near misses. At this stage though, weapons were still not active, and no-one was really equipped for ramming.


Dave was first through the gate, with a rocket-armed car, and obliterated Caesar's lead vehicle. Jason was next through, and immediately sprayed the area beyond the gates with napalm. I took my truck through, avoided the napalm and added some mines. I also attacked Jason's car with the digger's grabber-arm, which would have allowed me to pick up and drop his vehicle on the mines and the napalm. Sadly he evaded the attack.


Jason's car sped off into the distance, dropping napalm, caltrops and remote-controlled RC cars as it went. I misjudged a turn with my lumbering truck, and crashed into Dave's rocket-car. We survived the collision, and in the next turn I was able to grab Dave's vehicle and throw it into a more awkward position. It took virtually no part in the rest of the race.


Everyone else was now maneuvering desperately to avoid the death-trap waiting on the other side of the gate. Caeasar turned his truck around, playing it safe. Jason's other car dropped an annoying gun-turret. Dave's flamethrower-car also approached the gate. Swerving to avoid the napalm it crashed into Jason's car, lost control and flipped through both the napalm and the mines, wrecking and exploding in the process. The plus side for everyone else is that napalm and mine templates are removed if a vehicle 'activates' them, so the way was clear for everyone else. Nearly clear, anyway. One napalm template remained. Jason tried to avoid it, and inadvertently picked up an illegal template for his vehicle. In that case he has to discard it and another player gets to choose his template for him. His car drove through the last of the napalm, caught fire, wrecked and exploded.


Jason was well out in front with his first car, easily navigating the obstacles on the track. I followed on with my truck, unable to catch him, but cruising along happily. Every so often we dropped mines and napalm to annoy the vehicles behind us if they ever got themselves organised enough to pursue.


My satnav bike had had a terrible time, rolling really badly and wiping out a couple of times (albeit that I was storing the shifts that would prevent this rather than using them to keep the vehicle in play). It still hadn't passed the first gate, so couldn't shoot, but I positioned it to try and interfere with Jason's lead car, which was now so far ahead that no-one was going to be able to catch it from the main pack.


Caesar got his performance car back in play, and tried to catch up, but never got past the first gate before the race ended.


My truck passed through the final gate, mining it as it did so.


Jason sped towards the finish. I revved up my bike. It may not be able to shoot, but the bike itself was a weapon. With a ll of the shits I had stored (and which the truck seemingly had no use for, as it was cruising nicely), I was able to accelerate to top speed virtually from a standing start, aiming straight for the front of Jason's car. If I could destroy him in the collision, then he would have to respawn back at the final gate, which I'd just mined, and would be behind my truck which could then just cruise to the finish line for a win.


BLAM! The two vehicles collided head on at speed. And both were wrecked!

But ...

I'd misjudged the positioning. When a vehicle wrecks it makes a short move straight forward before it ceases to count as active. and that move was just enough to edge Jason's car over the finish line before the chassis disintegrated. We had a winner!


I came second, with my truck, Dave a distant third with the rocket-car and Caesar was fourth.

Making the track an oval did make it easy for a vehicle to get out ahead and stay there, whilst being difficult to stop. There's a reason for building circuits where the lead vehicles have to pass back through the main pack. But the circuit did look gorgeous and the race was a lot of fun. The Rutherford vehicles never really got to unleash their full potential, but the changes to rockets certainly made them less deadly than they were in the original game. The Verney vehicles were great fun to play and frustrating to oppose, and I loved using the grabber-arm as well. My SatNav strategy worked OK as well, even if the bike kept wiping out. At one stage I had nine Shift results stacked up for my team to use.

Thanks to Jason for the great terrain, and to him, Dave and Caesar for a fabulous and entertaining game.

Monday 25 November 2019

Boxers

I played a second game of HOTT yesterday, using my Boxer Rebellion matched-pair (as featured in the back of the rules).

The Foreign Devils defended. Their plan was to occupy the village to their front with American and Italian troops (shooters), and hold the line with the rest. The Bengal Lancers (knights) and Bishop Favier (hero) were held on the right flank as a reserve.


The Boxers, mostly warband, massed against the left of the Foreign Devil's army.


The village was occupied, according to the plan.


The Boxers advanced rapidly across the table. Facing them were the sailors and marines of the Royal Navy (warband).


The Boxers hadn't paid much attention to their flanks, however, and Bishop Favier was upon them. The two-hundred year-old devil prince sliced his way through one group of warriors.


The Boxer advance was also slowed by the Foreign Devils' artillery.


The Red Lanterns (magician and flier) engaged Bishop Favier, and drove him from the field in a puff of magic.


The Boxers charged.


But on the other flank, the flying Red Lantern was cut down by American and Italian troops.


The Royal Navy were now in big trouble. The Foreign Devils deployed their secret weapon - naked women (cleric).


Meanwhile Japanese and Russian troop (blades) fixed bayonets and advanced on the surviving Red Lantern, pushing her back.


The left flank of the Foreign Devil's army wasn't looking good, and their artillery (the general) was under threat.


The Boxers charged ...


... but the magic-defying naked women kept them at bay.


Japanese troops overwhelmed the Red Lantern, supported by American skirmishers.


The Americans engaged some Imperial riflemen (shooters), who routed.


Both armies were looking shaky now. The Boxers charged the Foreign Devil artillery, destroying it. But it wasn't enough to break their army.


The Bengal Lancers charged some Boxer warriors, routing them. This did break the Boxers.


Both sides pretty much destroyed their opponent's left flank, but losses were fractionally greater for the Boxers.

The Foreign Devils were only a couple of points away from breaking, although in fact I made an error mid-game, in that Bishop Favier, being a hero, was ensorcelled rather than destroyed, so should have returned to play when the Red Lantern magician was killed. This didn't really affect the outcome of the game (he would have appeared on the Boxer baseline and would have taken a couple of bounds to get back into action), but the result wasn't as close as I thought.

Sunday 24 November 2019

Fishmen vs Tiamat

I felt guilty depriving you all of pictures of Thursday's HOTT games, so I set up a 24AP game using the same armies this afternoon.

The Fishmen (left) attacked, whilst the Spawn of Tiamat lurked behind some bad going.


The Fishmen are a slow army, and plodded relentlessly across the field towards their opponent, who was content to marshal their hordes behind the safety of terrain. But Qingu the hero led some ove the more impetuous spawn on a flank attack on the advancing Fishmen.


The Fisman advance stalled at a field of crops.


At that point Tiamat was able to summon a Great Dragon to her aid.


The dragon few into the rear of the Fishman army, slowing their advance even further.

The Fishman commander led his trident-armed warriors to face the flank attack. Unfortunately this left him somewhat detached from his other flank, slowing the Fishman army even further. However the spawn led by Qingu were also sme distance from the mighty Tiamat, leading to her having trouble commanding them.


Fishmen with harpoon-guns advanced into the rocky ground on Tiamat's left, and took some giant snakes under fire, slaying them all.


Qingu and his mighty spawn charged the Fishman trident-line. It initially held ...


... but the dragon soon came to aid Qingu, and the line was rapidly overlapped.


Tiamat was surprised to find herself the target of harpoon-guns, but shrugged off the pin-prick attacks.


The Fishman commander was now surrounded, and was quickly cut down. His army fled.


So there you go; pretty pictures, and another win for Tiamat.

Friday 22 November 2019

HOTT!

Caesar and I played HOTT last night. Unfortunately I left my phone at home, so there are no pictures.

Caesar used my Spawn of Tiamat army. Here's Tiamat, and some of her spawn. It's basically a Sumerian mythological extravaganza, with loads of weird and wonderful monsters.


I used my Fishmen. Here they are.


The Spawn of Tiamat has 34AP worth of troops in the box. Caesar couldn't decide what to drop for a 24AP game, so we played at 34AP. The Fishmen have enough troops to cover this.

I lost both games. The Fishmen always had a solid centre, being based around spears, but Caesar used beasts and a hero to turn one of my flanks in both games. In the second game I actually managed to rotate my spear-line in response to this, and held off the attack for a while, until Tiamat's army was close to breaking. But a lucky kill on one of my elements broke the line, and in a single turn it collapsed entirely, costing me the game.

Top element in my army was the single element of artillery. In the first game it ended up isolated on a flank, and was attacked by a beast, supported by a hero. They held off the attack, killing the beast, then shot the hero in the next bound, killing him. In the second game they were attacked by Tiamat's dragon, and drove it off.

Anyway, both games were great fun, with plenty of colourful troop-types on the table, and plenty of drama. But you'll just have to take my word for it.

Related Posts Plugin for WordPress, Blogger...