Showing posts with label report. Show all posts

Sunday, 19 January 2014

A Square-Grid Mexican Adventure

Recently I have been following various posts on Warwell's Wargames, especially the Francesian battle reports. These are 19th century square grid games, using the C&C/Battle Cry system, with a few adjustments. I felt inspired to give the rules a try this afternoon, so set up another game based during the Mexican Adventure.

The gist of the rules would be lifted from Battle Cry. But I used ordinary D6, and just translated the scores.

Because of the small size of the play are I reduced movement and ranges. Infantry could move one square and battle. Artillery could move one square or battle. Cavalry and generals could move two squares, and cavalry could battle. If a general was attached to a unit he could automatically move with it.

Ranges were adjacent for cavalry (with 3 dice), two squares for infantry (4 and 2 dice) and three squares for artillery (4, 3 and 2 dice). Infantry could take four hits, cavalry and artillery three hits.

Combat was the same as Battle Cry - a 1 or 2 scored a hit on infantry, a 3 a hit on cavalry and a 4 a hit on artillery. A 5 caused a one square retreat and a 6 scored a hit on anything (including a general).

I used the Warwell activation system, including some adjustments he's been trying. Each army was allowed to roll so many dice per turn (I used three for each side). The scores dictated what type of unit could be activated - 1 or 2 an infantry unit, 3 a cavalry unit, 4 an artillery unit and 6 any unit of the player's choice. On a 5 I allowed the activation of any unit to which a general was attached or the player could add one extra square to the move of an activated unit (but it could no longer battle, even if allowed).

The setup was simple - a Republican force of four infantry units, a cavalry unit and an artillery unit were defending a town. An Imperial/Austrian column was attacking them, consisting of six infantry units, two cavalry and two artillery. I set victory as five flags. The Imperials gained a flag if they could control two squares of the town.

This is the Republican setup. On the left an infantry unit garrisoned an outlying farm.


The Imperials marched on the outlying farm.


Their main force started across the line of hills.


The Republicans had shifted another unit across to support the farm, but took the first hit as the Imperials advanced.


A close assault was less successful.


Retaliation saw the Imperials forced back with heavy casualties.


The Imperial artillery slowly moved up to support the attack.


The Imperials attacked from the woods to the left of the farm, and destroyed the defenders ...


... but the supporting Republicans took their revenge with exceptionally accurate fire, wiping out the attacking Imperials.
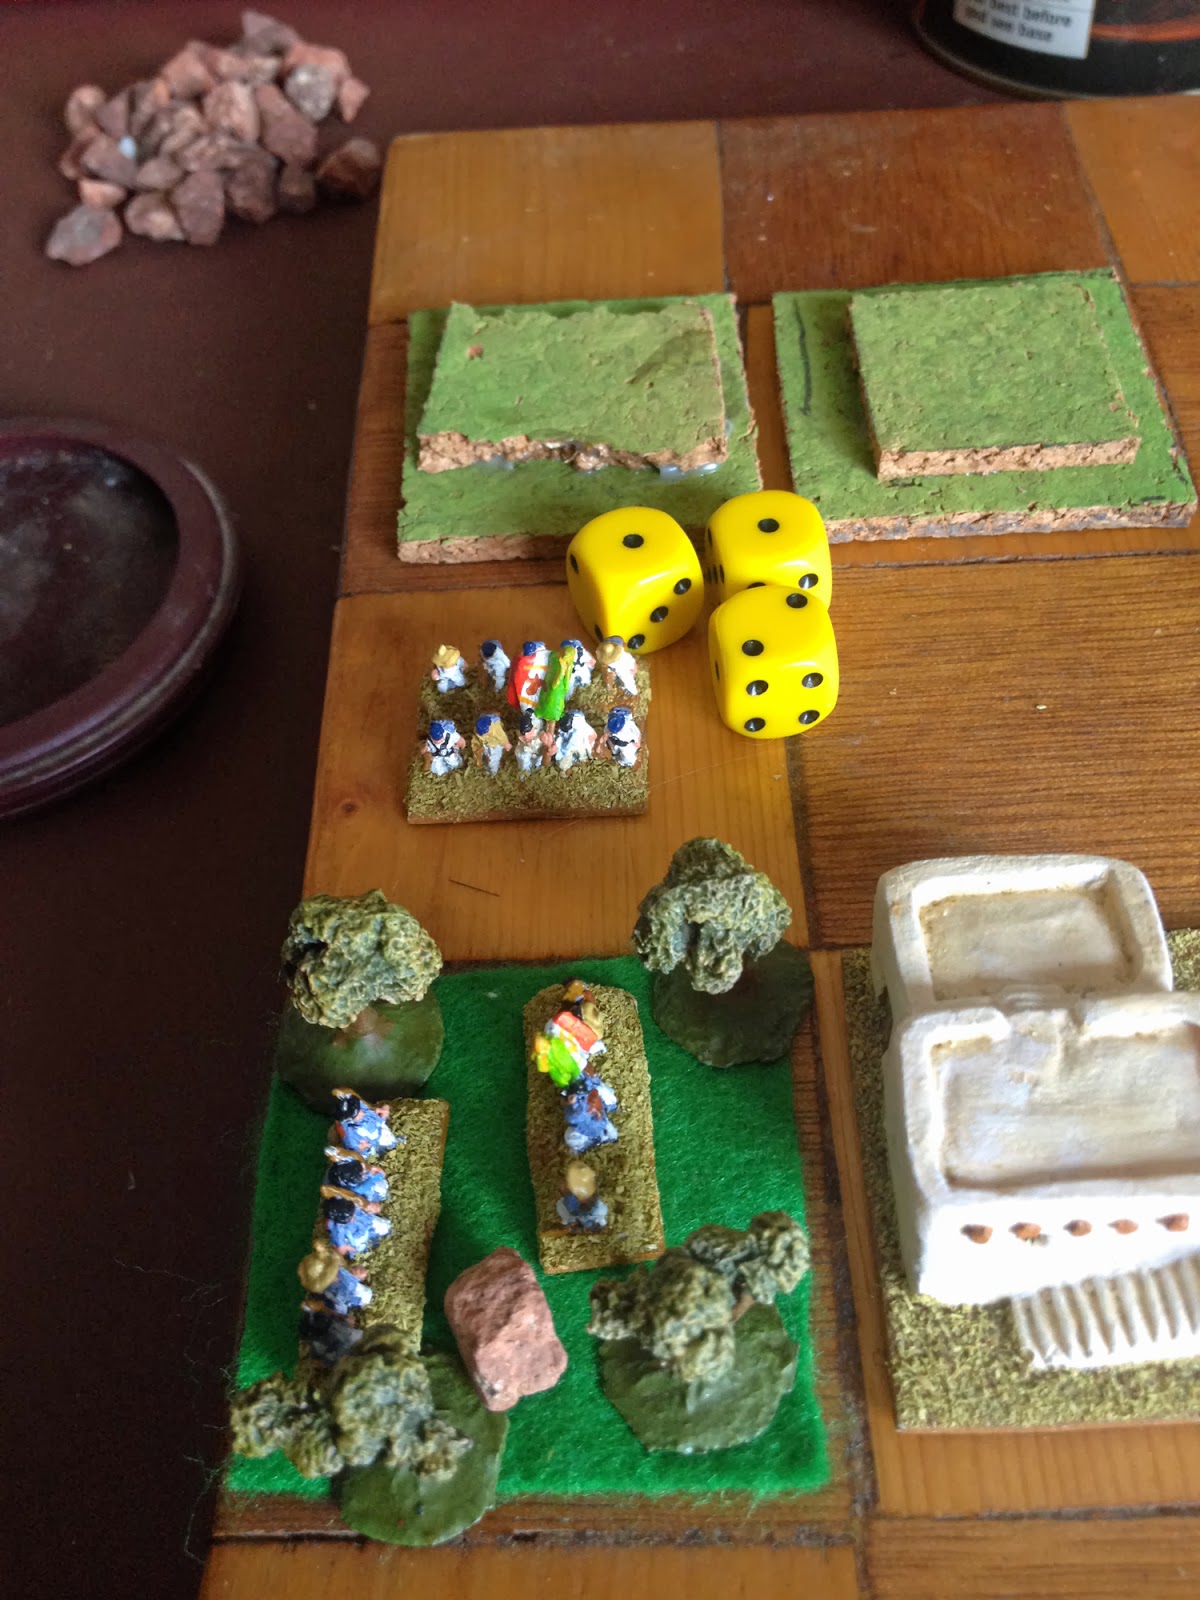

With the attack on the farm totally stopped, the main Imperial fore advanced. They had lost two infantry units already, as well as one of the artillery units, destroyed by counter-battery fire from the Republican artillery.


The Imperials advanced on the town, and the Republican cavalry came up in support.
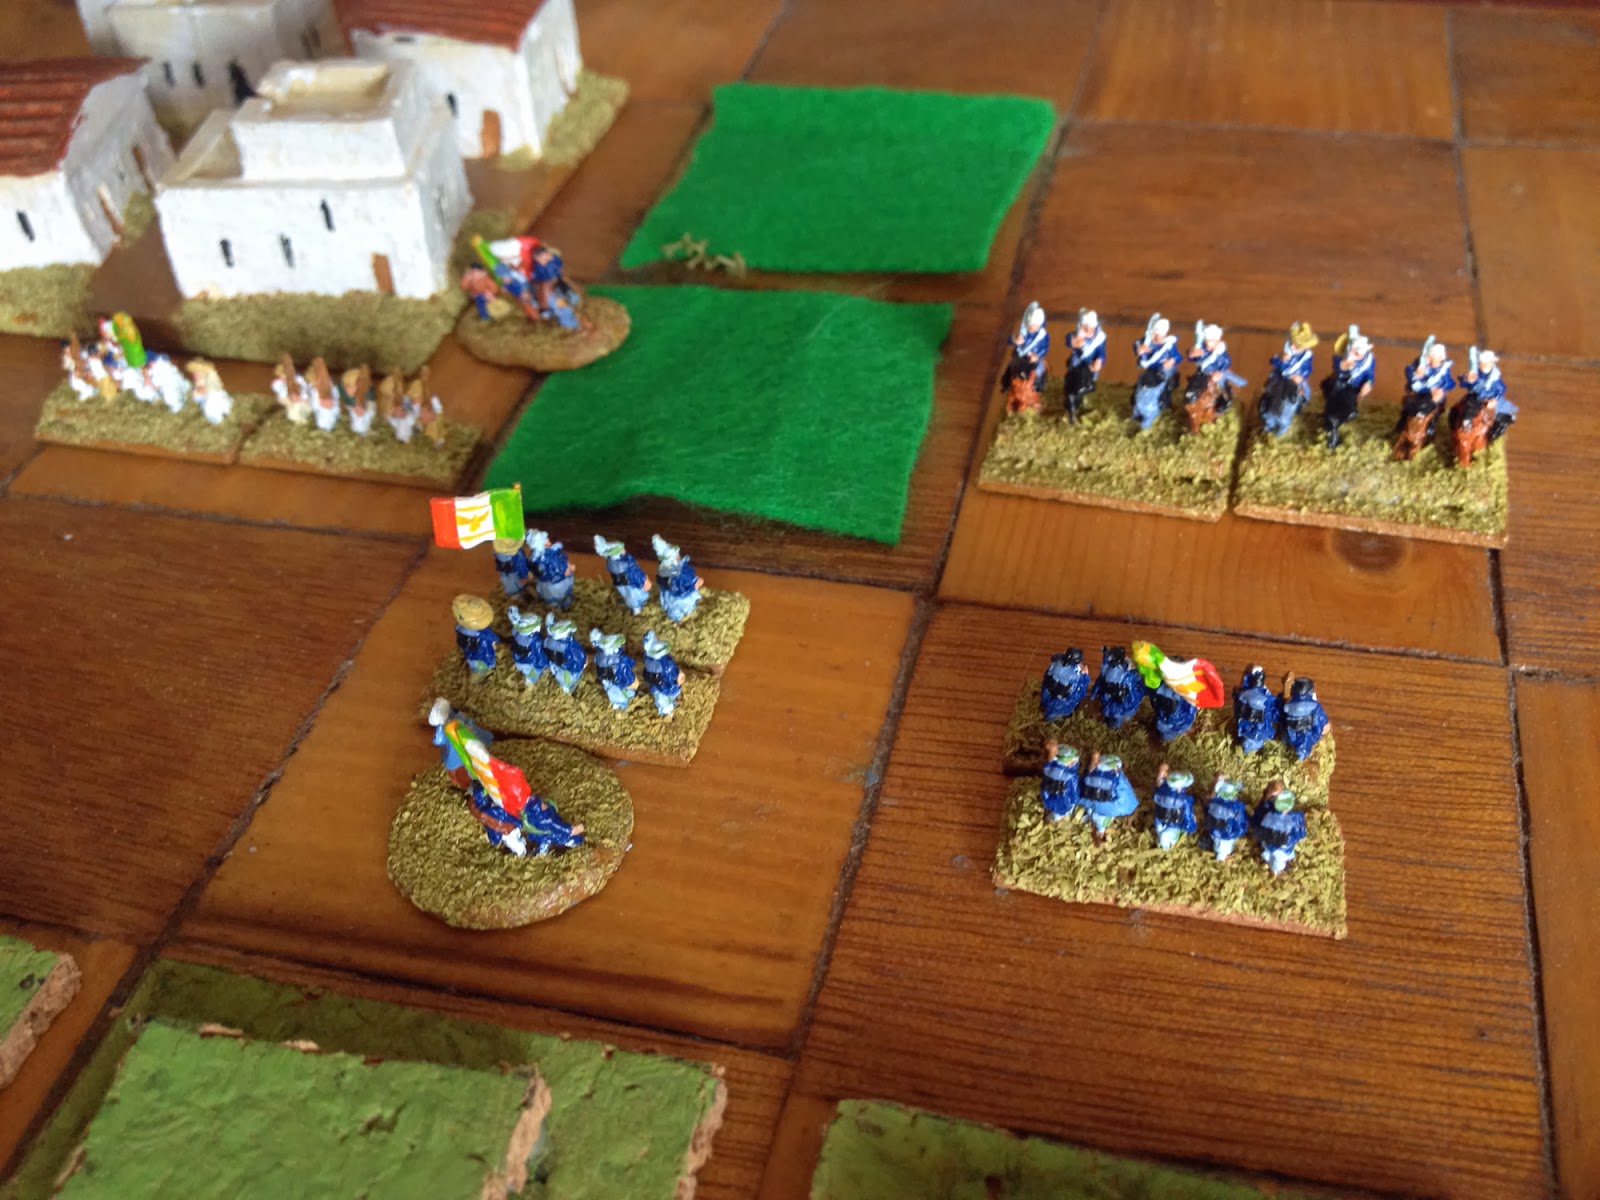

A brisk engagement saw then driven back, but not before they had inflicted casualties on the attackers. By now I'm sure you will have realised that I used small stones to mark hits.


The Republicans had also re-garrisoned the farm. With the battle slipping from their grasp the Imperials resorted to desperate measures, and threw in their cavalry. This was less desperate than it looked here, as the Republican unit had already taken three hits from artillery fire as it advanced, so was close to being destroyed.


Imperial cavalry supported the attack on the town ...


... but a volley from the defenders emptied so many saddles that they routed. This was the fifth unit to be lost, so the Imperials puled out.


An aerial view of the battlefield at the end of the game. The Republicans lost one unit.


The activation worked well, and made for some interesting decisions, although unlike the card/sector-driven activation of Battle Cry it is easier to pick on vulnerable enemy units when you have more choice as to which (say) infantry you are going to activate. Movement, ranges and fire-factors seemed OK just for this game, but I shall see how they stand up to further play. In addition I'd like a way of differentiating troop quality - haven't got any solid ideas on that yet.

A couple of random shots to finish with - here's some Imperial infantry.


And here's the town and its heroic defenders.


Saturday, 18 January 2014

Weird World War II - Enter The Americans!

I finally finished my American army for Weird WWII HOTT last week (bar the stronghold, which I'm still pondering). On Thursday night, at the my first Gong Garage Gamers meeting for a month, they had their debut game - against the Germans, of course.

Based on Hollywood and comics, of course, the army consists of:

1 x Rider general (Cigar-smoking general in jeep)
1 x Paladin (Captain America)
1 x Hero (Sergeant Rock/Fury or similar)
1 x Knight (The Haunted Tank)
5 x Warband (Gung Ho American infantry)
1 x Beast (Lassie)

The Germans defended, their position being based on two hills.


Here's the Haunted Tank, making up the US right flank.


The general commands his troops from the rear.


Combat! Captain America engages the Demon Panzer.


Lassie and The Haunted Tank are also engaged. The Haunted Tank destroys an element of Nazi robots, but Lassie finds them less to her taste and is driven back. The robots would fight off Lassie and the tank for the rest of the game.


US infantry engages the German's Death's Head Battalion.


Captain America fell to the Demon Panzer (don't worry - he's not dead; just in suspended animation), so the US general was forced into action.


Lassie and Sergeant Rock rush to help, surrounding the Panzer. In fact Sergeant Rock had already fought his way through to the enemy stronghold, but failed to capture it, and his flee move put him close into the rear of the Demon Panzer.


Try as they might the US forces couldn't finish off the Panzer. As their elements were whittled down elsewhere, it fought off attack after attack. Eventually Adolf himself stepped in, and finished off Sergeant Rock to win the battle for the Germans.

The Americans are a fun army to play, with a hard-hitting Hero and Paladin combination. Of course the downside of this is that they are vulnerable to losing these troops, and the rest of the army - Warbands, Knight and a Beast - are potentially brittle if things don't go their way.

In a second game we pitted the Germans against the Russians. The Russians won after a bold German attack on their centre became over-extended and got outflanked.


Meanwhile - another time and another place; this HOTT game on another table used essentially historical medieval armies.


There was also an epic game of Bolt Action on the go, with Germans fighting French resistance, but I neglected to get any pictures of it.

Friday, 17 January 2014

HOTT Weird WWII - Taster

My PC is still hors de combat, so I'm not really up to doing a full post, but here's a taster from last night's HOTT game, which saw the debut of my Weird WWII American army - Captain America faces the Demon Panzer.

Sunday, 5 January 2014

Soviet Wonderland

Having fended of the Weird Nazis, the Soviets thought they'd had enough of fighting. But it wasn't to be. Dark Nazi sorcery had opened up tears in the fabric of space and time, and through a particularly large rabbit-hole came invaders from  ... Wonderland. Led by their decadent Queen of Hearts they marched on Moscow.

I used random terrain placement for this game. This left the armies fighting on an open plain before a long ridge. Given that the Soviets were outclassed in bad going but had an edge in mobility, this was to their advantage.

Here's how the armies deployed.


And here's the position after a couple of bounds. I had taken several pictures before I realised that my phone was set to square format. So a lot of the action was chopped off at the edges.


The Soviets advanced a strong right, trying to outflank the army of Wonderland. Wonderland responded by deploying a couple of Spears on a hill.


The Soviets attacked ...


... and were repulsed.


The soviet centre pushed forward, aiming to overwhelm the enemy spear-line.


Meanwhile the Wonderland Beasts worked their way around the Soviet left.


All neat and tidy so far ...


... including another failed attack up the hill.


The Soviets fall back in the centre...


... aside from the Hero of the Soviet Union, who fought alone. At this point I hadn't noticed that he'd been deployed facing the wrong way.


On the Soviet left armed factory workers put up an heroic last stand as they were assaulted by flamingos, a griffon and the mock turtle.


But they didn't last long.


Once again Soviet attacks couldn't break the Wonderland line.


Success! The Ghosts of the Heroes of Old Russia ride down an element of Spears.


But on the Soviet left the proletariat Hordes were being overwhelmed.


They went down, flags flying ...


... and Alice, plus the other Wonderlanders, had a clear run at the road to Moscow.


Facing the right way at last, the Hero of the Soviet Union fought defied the enemy Spears.


A Spear element was outflanked ...


... and destroyed.


But Alice and the griffon were making a run for the stronghold ...


... and captured it.


The position at the end.


Casualties were even - the Soviets lost four Hordes, whilst Wonderland lost two Spears.


Both sides were badly hampered by lack of PIPs; on a lot of turns they rolled '1' only. This led to attacks by large blocks of troops, or isolated counter-attacks. There were never enough PIPs for maneuver. It also meant that the Soviets didn't get chance to bring back any Hordes to cover the stronghold; a delay of a turn or so could have seen then begin to exploit their success in the centre.

My next Army Showcase will look at the Wonderland army in more detail.
Related Posts Plugin for WordPress, Blogger...