Shirecon is a mini-convention put on by the Southern Battlegamers in Sydney. It's mostly tournaments and a bring & buy, but I thought I'd give it a go this year because it would be a welcome break from the long process of sorting out our house-move and also because there was a Lion Rampant tournament on offer and that seemed an intriguing prospect.
Naturally I was hampered by not having any 25mm figures for Lion Rampant, so Victor loaned me a Sub-Roman British army. He let me know what figures were available, and I put together this warband:
It consisted of the following troops:
1 x Heavy Cavalry with Leader (Lionheart & Strongsword)
1 x Veteran Heavy Foot
2 x Light Foot with Javelins
2 x Skirmishers
So whilst I didn't have any archer units, the skirmishers and light infantry gave me a useful missile capability if I could bring them to bear. The heavy foot and the cavalry would be my offensive punch.
The setup was that there were four tables, each set up for a particular scenario from the book, and we would play a game on each table. So we would all play the four scenarios, randomly determining for each whether we'd be the attacker of the defender. Points for the tournament would be based on the Glory accumulated in each scenario (but we didn't have boasts, as it was felt they would slow things down).
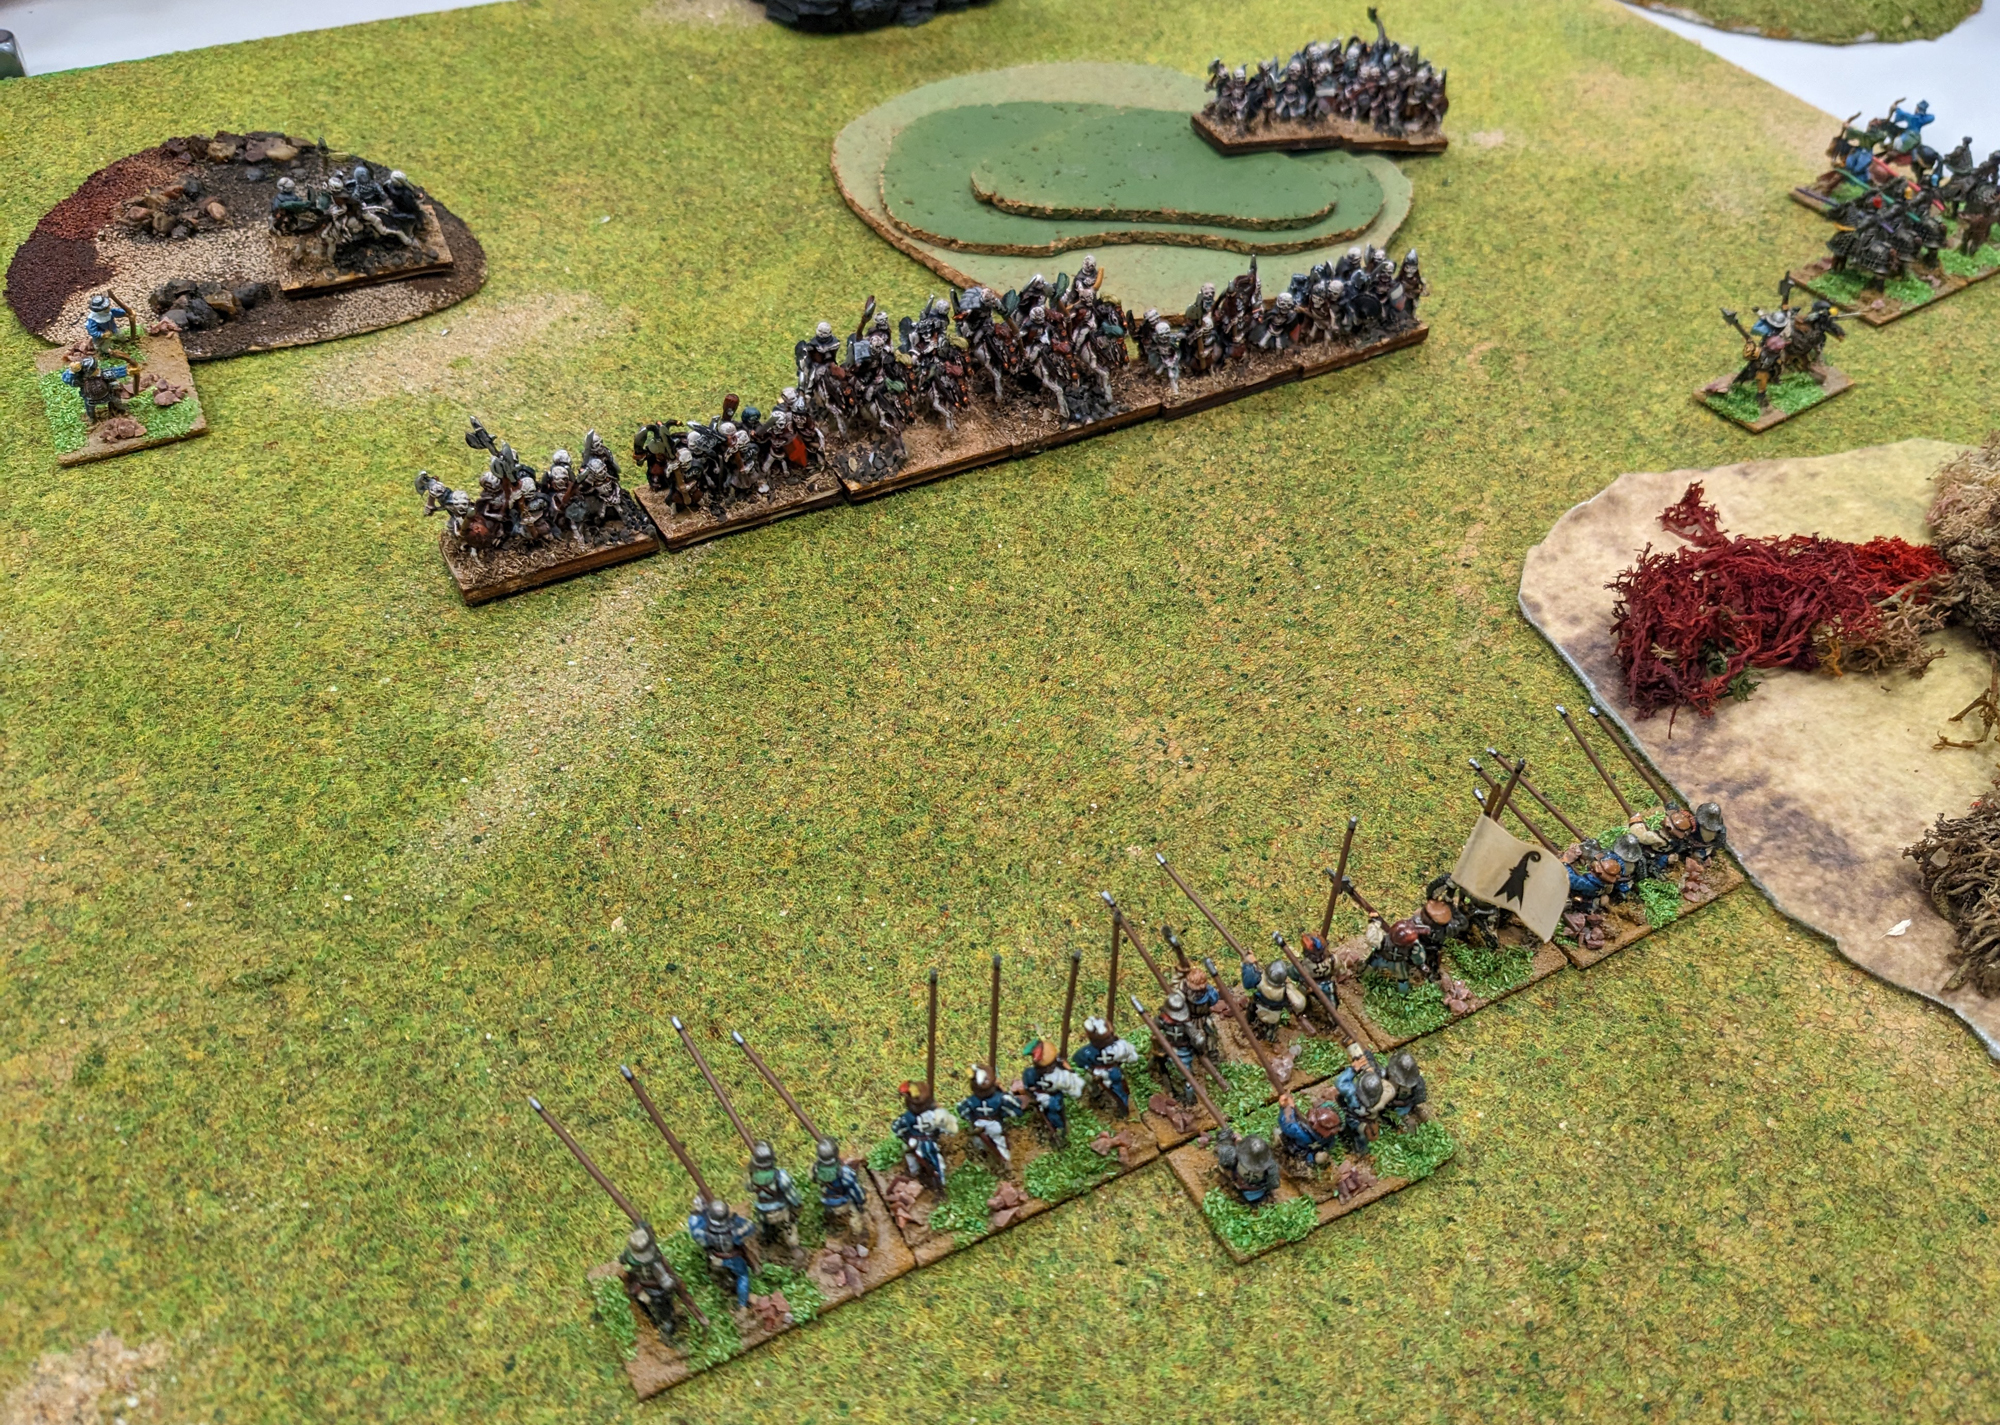
My first game was against Alistair, who was fielding a Byzantine warband. The scenario was The Convoy, and Alistair had to carry three convoy tokens from one corner of the table to the opposite.
I had to stop him, capturing tokens if the unit they were with was routed or destroyed. I started with my force spread evenly across the three remaining corners.
Alistair had put two of the tokens on his lead heavy foot unit, so I mercilessly harried it with missiles as it plodded along the road. I had some woods to put my skirmishers in, and the light foot were able to close up and throw javelins. Meanwhile my cavalry and the heavy foot closed up to deliver the killing blow.
A hail of javelins cost the Byzantines another figure.
Alistair swung some horse archers into action, in order to clear the way for his foot. Arthur engaged them and drove them off.
Meanwhile my veteran heavy foot charged the advancing Byzantines, and routed them, taking two of the three convoy tokens.
The Byzantine heavy cavalry charged Arthur, who promptly routed. The rest of my warband didn't seem to mind.
The second Byzantine heavy foot unit made a break for it, or as much of a break as a heavy foot unit can make. It was closely pressed by javelin-throwing light foot and harrassed by long-range skirmish fire.
Alistair managed to force the light foot away, and the survivors made a run for the exit point. I had no units left to effectively intercept them, but ...
... unfortunately his impetuous leader decided to charge unsupported at some skirmishers lurking in broken ground. Inevitably he died, and the resulting morale test caused the heavy foot to rout, abandoning the convoy token.
So I retrieved all three convoy tokens to pick up 6 Glory in my first game. A great start, helped by a scenario where my showers of missiles were really useful.
For my second game I played Theo, who was using a Saracen army with a fair mix of troops in it, including three units of cavalry (one elite, one heavy and one light). The scenario was Hold On Tight, where you scored Glory for occupying a small hill in the centre of the board at the start of your turn.
We both advanced towards the hill.
My skirmishers lured Theo's elite cavalry into charging them, and gave them something of a mauling.
Foolishly I pushed my light foot onto the hill. They were shot at and retreated.
Theo finished them off with his cavalry.
Arthur challenged the Saracen leader to a duel, but the Saracen, being a craven dog, declined the challenge. His warband seemed OK with this and passed the morale test forced upon them
Anyway, I tried getting units on the hill, and Theo shot them down and charged them, eventually breaking my warband. Theo then got the full 5 Glory for surviving, whilst I managed one turn on the hill for a single point of Glory.
The third game saw me as the attacker in Sausages With Mustard, which meant that I had to get to four buildings groups in the centre of the table and burn them. Keegan's War of the Roses English were trying to stop me.
I rushed at the village and quickly set one of the buildings on fire. The archers assigned to defend the village pulled back awaiting reinforcements.
I worked my skirmishers around Keegan's flank, as my heavy foot pushed forward to create room for my lighter infantry to engage in more arson.
We set the second building on fire (out of shot), but the heavy foot routed. I tried to clear some space with Arthur, but he ended up being routed as well.
So as my skirmishers got into a good position to pepper Keegan's leader with arrows, my warband withdrew from the fight - in this scenario the game ends when the attacker reaches half-strength.
Each building is worth 2 Glory for the attacker if burned and 2 Glory for the defender if unburned, so we picked up 4 Glory each.
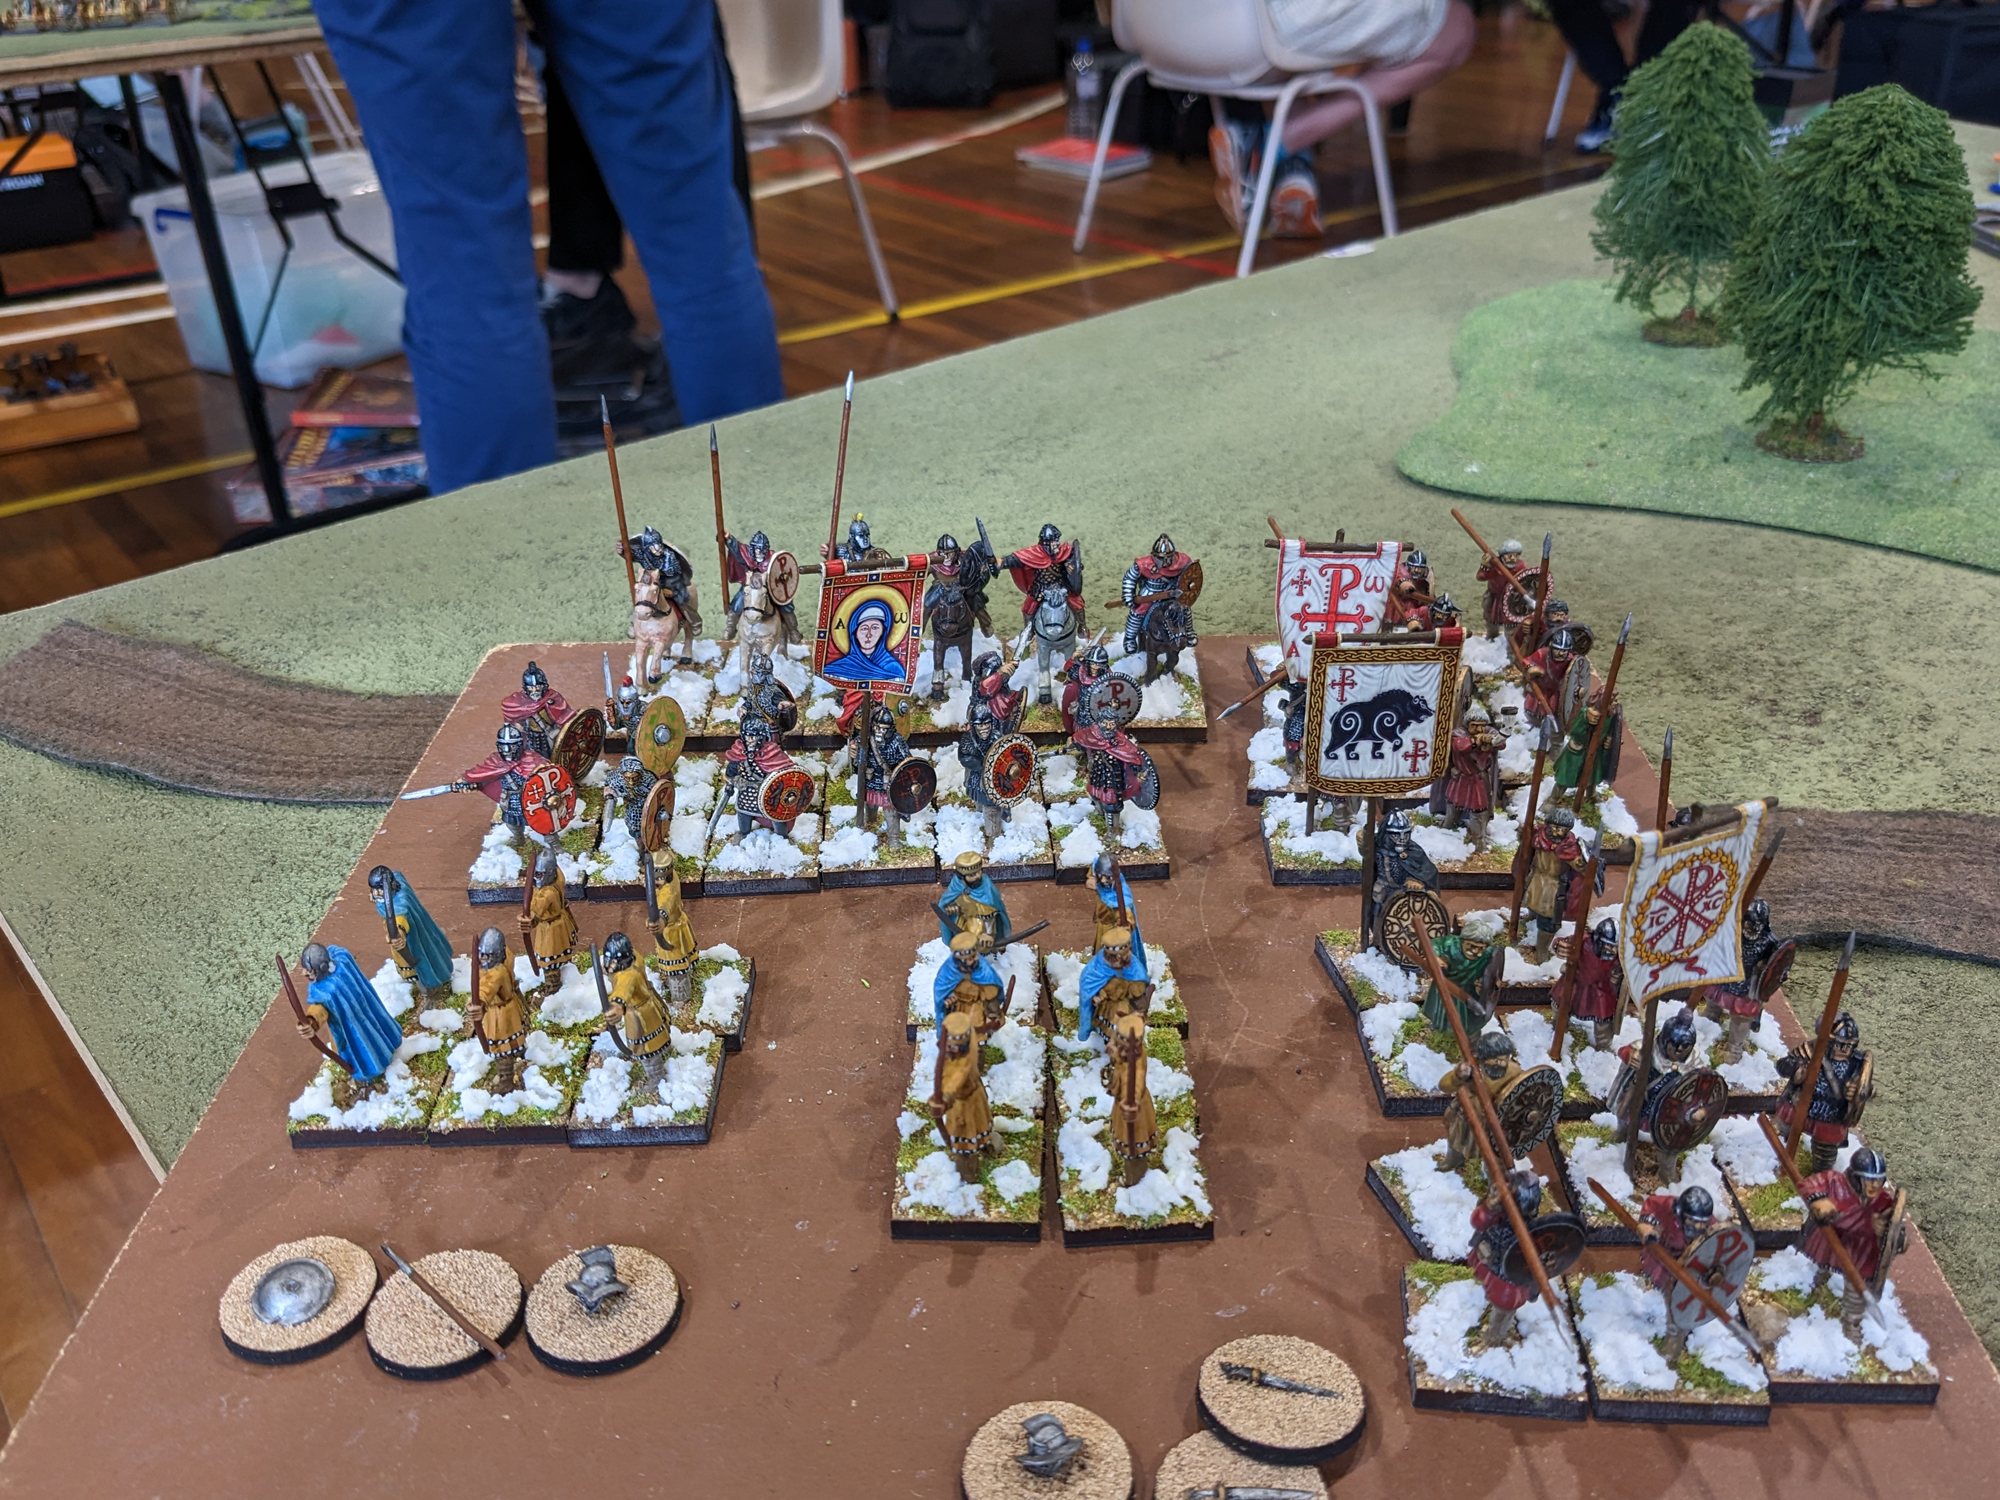
So I had 11 Glory going into the last game. Here's Arthur and his companions wondering who they will fight next.
My final opponent was Robert, and the scenario was Blood-Feud, which saw Arthur trying to kill the opposing leader. Robert was running a Saxon warband with loads of warrior foot, so this was effectively Badon Hill in miniature, with Mordred as the opposing commander.
I even had a hill to put my light infantry on. Robert's Saxons had very few missile troops - just some light cavalry that was kept busy by my skirmishers all game - so I reasoned that sitting tight was the way to go, since he couldn't just shoot at me. The hill would give me some defence, and my troops could form wall of spears for more.
Basically I created a fortress.
Robert hung back looking for an opening, whilst I moved my heavy foot and cavalry around also looking for ways to encourage a Saxon attack. The heavy foot incited a charge, which saw them take some casualties but drive the Saxons back. The Saxons ended up within javelin range of my infantry on the hill and took more casualties.
The heavy foot repeated the exercise, and were lost in the process, but now Robert was facing my fortress with units that had taken casualties already.
Robert was nothing if not sporting. Reasoning that I wasn't going to come to him (I was, but I was going to do it slowly and carefully), he just pushed forward into a charge.
A pattern quickly developed - the Saxons would charge, inflict a casualty on the light foot on the hill, take more themselves and then fall back. The light foot would then pelt them with javelins, and score more casualties. Needless to say the Saxons force began to disintegrate.
One warband did force back some of my foot, breaching my position, but a counter-attack by Arthur saw them off.
Arthur then charged Mordred himself. The honours in the fight were about even, and both leaders fell back with their companions.
Arthur then challenged Mordred to single combat. Despite Arthur's advantage in this area, Mordred accepted. The fight was a draw, and both leaders returned to their troops with tales of how they'd almost bested the other.
The two leaders' units fought again and again, until Arthur was left with but one companion, and Mordred was left all alone. The rest of the Saxon force had fled. Arthur sat back and watched as one of his lowly infantry units hurled spears at Mordred until he resembled a pin-cushion.
So a win for Arthur in his climactic last battle! To be fair it was very much down to Robert deciding to fight against the odds; he could have sat tight and forced me into a more mobile game, especially as the onus was really on me to attack him. But with an army built around charging he had to do something aggressive at some stage.
I picked up 5 Glory in the final game, taking my total to 16. This got me joint second place, along with Theo. Caesar won, with 22 Glory (out of a possible 24). He was using a Hundred Years War English warband, consisting of nothing more than two units of veteran archers and two units of elite foot. It was small, slow and deadly.
This was a really fun tournament played in the right spirit. The format seemed to give everyone a chance, although inevitable some people found themselves in scenarios where their warband was not optimal. We used the optional rule that a failed activation didn't end your turn. None of our group like that - we like the chaos of the rapid back and forth of turnovers - but I have to admit that it did work for a tournament environment where we were trying to fit four games into seven hours. It does affect how some of the scenarios play out though. I have to confess that in a tournament based on Glory as a score, using Boasts would have been interesting too, since you could decide how many points you wanted to try and get in each game. I'm a big fan of the Rampant Boasts/Quests, simply because they create wonderful situations where a side can lose the scenario, but still win the game by being epic. It would create some interesting decisions in the later stages of a tournament as you could improve your ranking by choosing and achieving high point boasts.
Anyway, my thanks to Victor for organising and hosting the game (as well as lending me the army), to Caesar for being our chauffer for the day and to everyone else for being great opponents.