Thursday, 9 February 2023

Giants And Other Stuff

I finished off a few more figures today. Three of them are some rough old 3D prints that were cluttering up my desk. I gave them the best paint-job I could. The other is a metal miniature I acquired years ago that looked like it wouldn't be hard to paint. And it wasn't.


First up is this ogre wielding a couple of bones as clubs. I have a smaller version of this print that, when he's painted, will work with my 15mm HOTT armies.


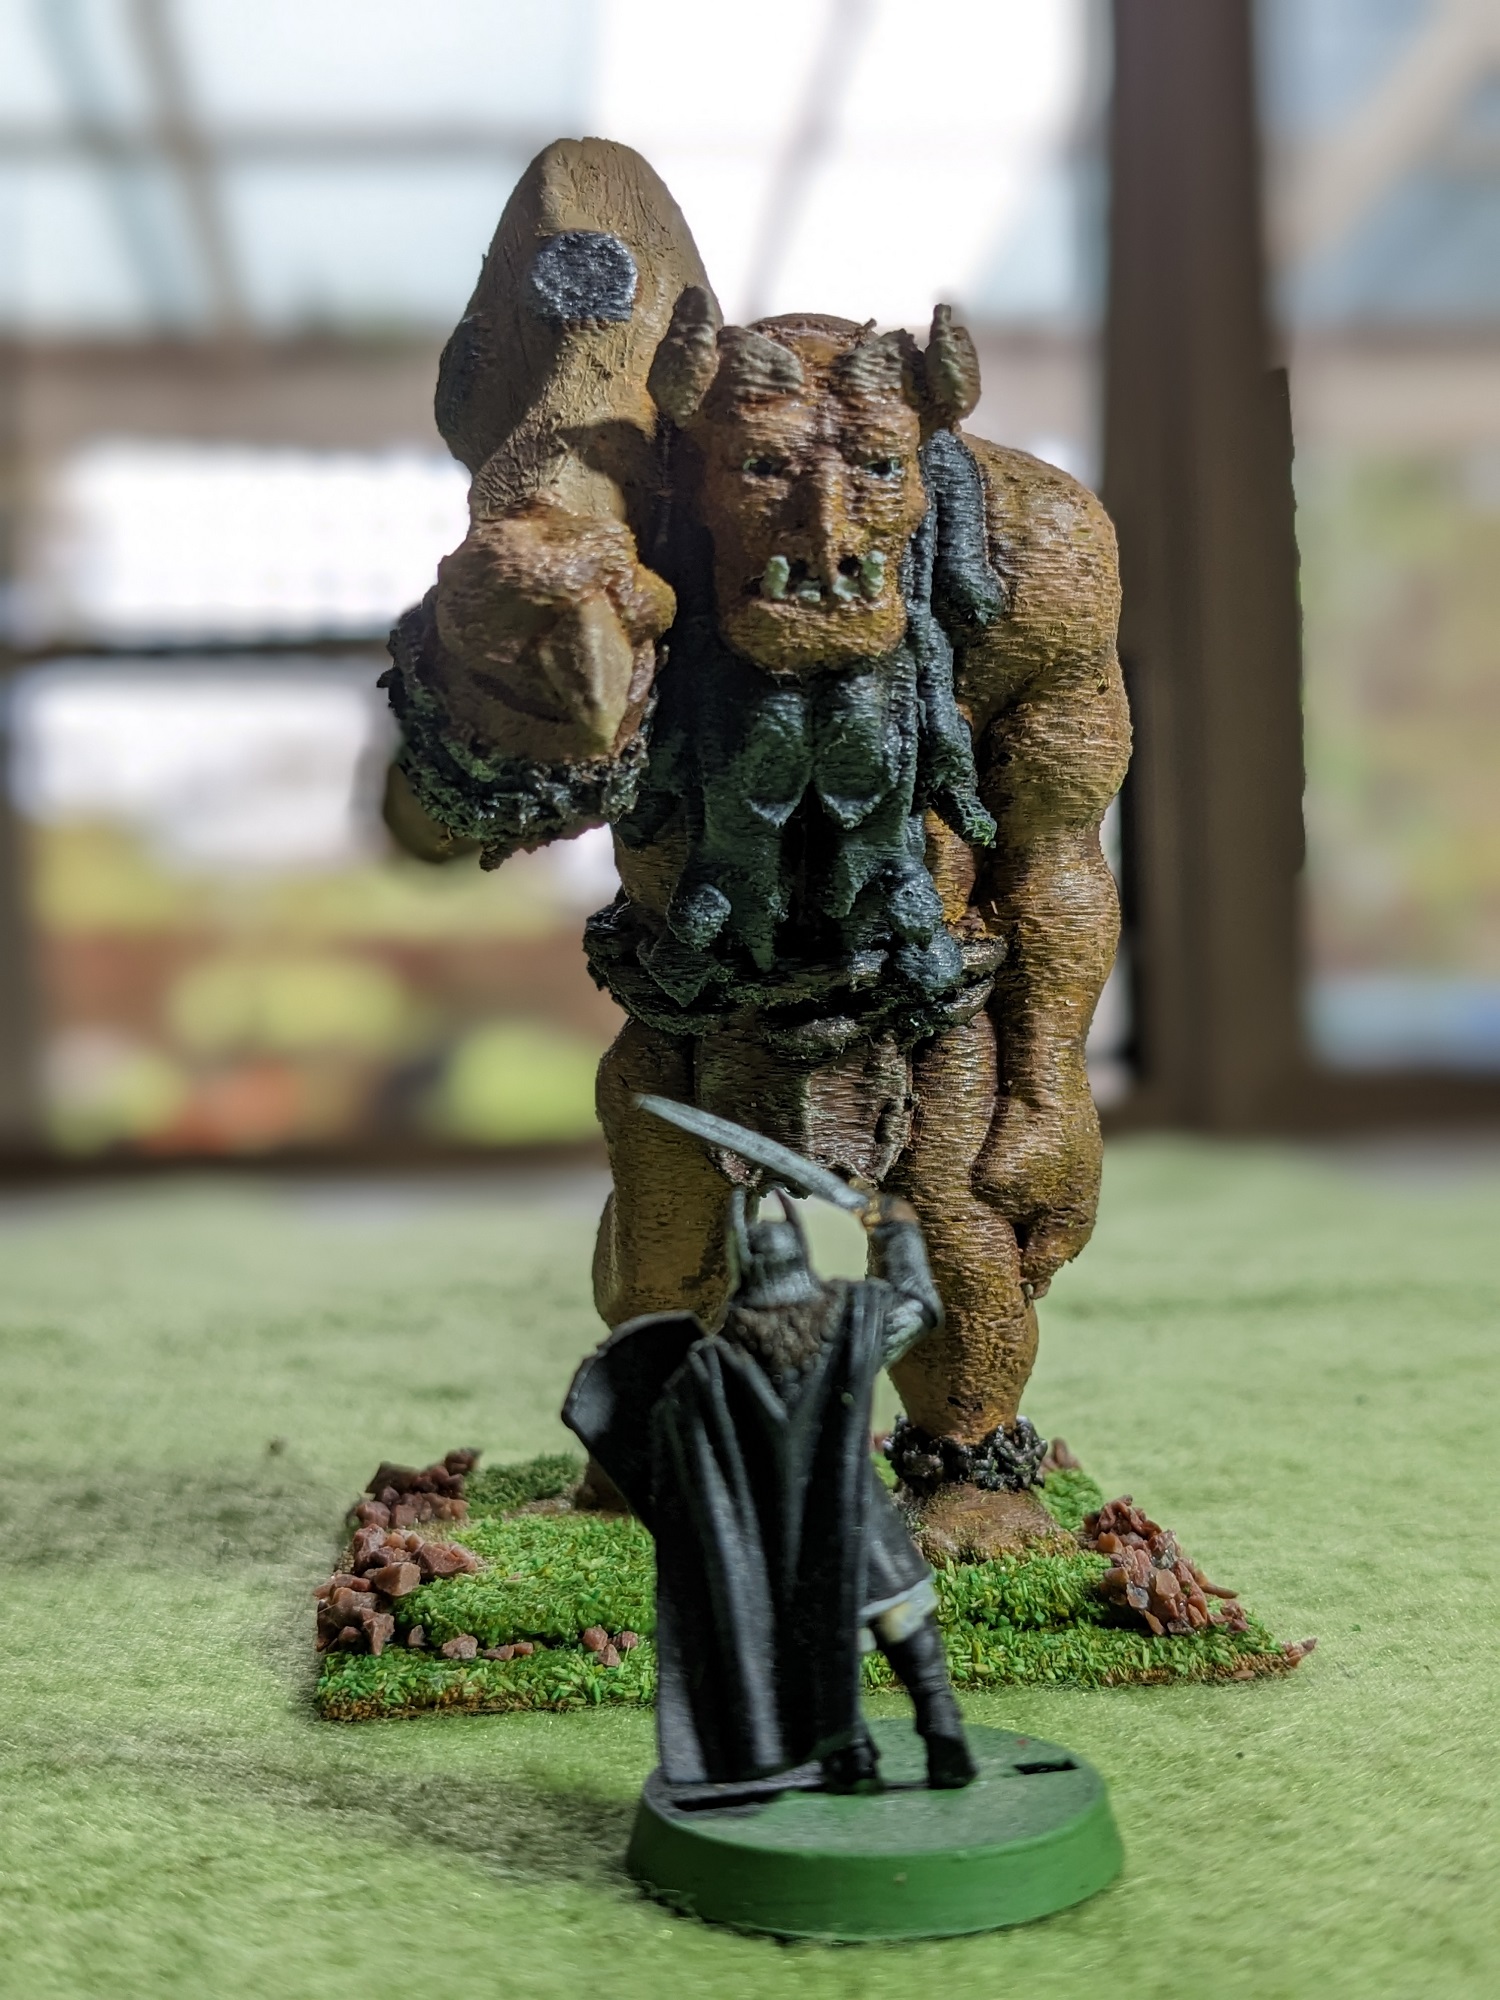
Secondly we have an impressively large giant. The figure is fairly light because it's almost hollow inside. There's a GW Minas Tirith warrior for sscale.


The giant and the ogre are on 60mm square bases, so can be used as behemoths in 25/28mm HOTT armies. But they're most likely to be used for skirmishes using Song of Blades and Heroes or Battlesworn.

The third 3D print is the Barrel Golem, which is apparently a D&D thing associated with Dwarves. It's a smaller figure and I've based it for use with my 15mm HOTT armies. There's some pyrates for scale.


Finally here's a lovely grey wizard figure, who is determined that you shall not pass. No idea who the manufacturer is. He'll get added to my skirmish collection as well.


There's another batch of figures almost done. But I will try not to turn this into a painting blog. There's far too many of those ...

Wednesday, 8 February 2023

Siege Of Queretaro

'Siege of Queretaro' is another game from Blue Panther Games. When I order Poltava from them it was economical in terms of postage to order at least one more game, so I selected this one since it uses the same basic rules as Poltava and is in a setting which interested me.


The siege took place in 1867 at Queretaro, north of Mexico City. A Juarista army under General Escobedo trapped emperor Maximilian and his Imperial forces at Queretaro. The Juaristas have superior numbers, but the Imperial troops are well-trained and up for a fight.

I finally got this out and played it through yesterday. 

Production-wise it's as lovely as Poltava with chunky easy-to-read counters and a lovely canvas map.

Here's the initial setup. It has more counters than Poltava, and the terrain has more of an effect - in Poltava there is terrain, but most of it constrains the battle, and you really only deal with redoubts and fortifications. In this game you are fighting in a city, and the surrounds are dotted with hills and orchards, all of which limit or assist you.

The green counters in the city are the Imperial troops. Victory is about controlling eight objectives in and around the city at the end of the game. Seven of them are worth 1VP each and there is one final fort that is worth 2VP. On the first turn the three Juarista armies enter the board - the Armies of the North, West and South. Both sides have the potential for reinforcements. Those of the Juaristas will turn up in the first ten turns, whilst the Imperial reinforcements are less certain and the Emperor must wait at least ten turns for them.


The end of the Juarista first turn, showing their forces ready for the attack. The Juaristas look strong, but many of their units are feeble National Guard which are OK if you can bring their numbers to bear, but can be vulnerable to destruction. The Juaristas need to use their better troops to spearhead the assault. There are possibilities for cavalry to operate around the margins of the city - you can see some Juarista cavalry on the left of the map.


The first Juarista assault was on the isolated Hill of Bells fort, and disordered the defending artillery.


A second assault ...


... took the fort. So by the end of turn two the Juaristas had taken an objective and had a toe-hold in the city.


The position at the end of four turns - there is some cavalry action on the bottom right of the map, and the Juaristas are consolidating their position around the Hill of Bells.


By the end of Turn Six the attack had shifted to the south-west walls of the city (top-left). The juaristas had broken in, but it was with National Guard and it was unlikely they'd hold their position for long without support from better troops.


The end of Turn Eight. The Imperials were still holding the walls, but the Juaristas were pushing forward from the Hill of Bells with decent troops. Imperial cavalry were fighting their Juarista counterparts to the north and east of the city. The Juaristas had also captured San Sebastian, an objective outside of the city walls on the centre-right of the map.


The position at the end of Turn Ten was looking less good for the Imperials. They had been pushed back from the outer walls to the west of the city (conceding more objectives) and were now forming a new line in the centre of the city near the objectives there. On the plus-side, they had recaptured San Sebastian.


The end of Turn Twelve. When the collapse comes, it comes quickly. The superior numbers of the Juaristas make it easy for them to block Imperial retreats, making it far easier for them to eliminate units. A steady advance was grinding down Maximilian's troops, and unless the reinforcements turned up the Imperials were simply going to run out of men.


It ended on Turn Fourteen with the last Imperial unit being eliminated, giving the Juaristas all of the objectives.

I will try this again one day - I realised that I made a couple of mistakes during the game which, whilst they probably weren't critical, might have affected the early stages differently. However it does look like the Imperials have a tough job here. The Juaristas simply have to keep attacking and eventually the odds will work in their favour. Constrained in the city the Imperials have limited retreat options and can be easily destroyed. I'm not sure I like this game as much as Poltava, which is, at heart, more of an open field battle; the Imperials seem to have limited options and are generally left reacting to the Juarista attacks. So an interesting game in a setting less well-known than others, but maybe not a classic I'd get out again and again.

Tuesday, 7 February 2023

Galley Shipyard

I decided to tweak my scratchbuilt ancient galleys a little yesterday. I'd never been happy with how I'd broken up the flat decks, and decided to do something better. This is how they look now; I think they're more aesthetically pleasing.


I did the same for some galleys I put together last year but hadn't started painting. I'm expanding my forces to include more quadriremes and quinqueremes, as well as a couple of hexareme flagships. Galleys & Galleons only has one type larger than that - a catch-all polyreme for anything bigger than a six. I'm still working on a design for those.


The two galleys at the front are rough drafts for a bireme design. I like it, so I have cut out all the necessary bits for another fourteen of them, which I will assemble this weekend when I'm away on a short family break.

This will add some more stuff to my currently active painting table.

I have been thinking about a possible different design for my triremes, but since I only redesigned them last year I might hold off on that for a little, since this one would require scrapping them and starting from the ground up. Not sure I fancy that at the moment.

Saturday, 4 February 2023

Battle Of Poltava

Inspired by Norm's post about the game on his blog I recently bought the Battle of Poltava game from Blue Panther Games. I've always wanted to have a go at refighting Poltava, but it's a tricky one, with a massively outnumbered Swedish army very much up against it, and a chain of events that, if left to the wargamer's free will, simply doesn't happen. getting a boardgame would show me how at least one designer approached the issues.

And here's the game. It's very nicely put together - clear chunky counters, a lovely map printed on canvas, two sets of ten cards and surprisingly clear rules given that they run to essentially three sides of A4. Probably the only quibble (aside from a small spelling error on the map) is that the symbols in the setup hexes are possibly a touch faint so you have to look closely when setting up the first time. 


I have played through a couple of games during the week to get a feel for the rules, got some very prompt answers to a couple of rules areas I wasn't quite clear about (the answers were the common-sense ones, so that was good) and today set up a game just so I could write this post. 

Here's the initial setup. The Swedes are to the bottom-left in blue. The Russians are in three groups. Immediately in front of the Swedes are the redoubts, defended by immobile units. Beyond the redoubts are a mass of Russian dragoons. And beyond those is the main Russian army, safely ensconced in its camp. The game is scripted, which causes it to follow the path of the original battle to some degree. The Swedes must break through the redoubts to an assembly area beyond the Russian dragoons. If they can get ten units into the assembly area then they can move freely from then on. The main Russian army must remain in the camp until the Swedes have ten units in the assembly area. So the Swedes are basically required to line up in front of the camp before being allowed to attack it, whilst the Russians can't simply sally forth with their main army from the start.


Turns are driven by cards. each side has a deck of ten, with various events on them. Since the game is 24 turns long, you will see each card at least twice and possibly three times, assuming you go for the whole time. A card tells you how many units you can move (and sometimes which type), how many units can make attacks and then they generally have some restriction or special rule.


The sides alternate their turns, with the attacking Swedes going first. In a turn you draw a card, move units, the other side gets some limited defensive fire, then you resolve your attacks and finally you rally disordered units.

Attacks are simple; a unit has an attack strength and a defence strength. You roll a D6, add you attack strength and are looking to equal or exceed the target's defence. A basic hit will cause the target to become disordered and force it to retreat. Win by enough and you destroy the unit. You can combine attacks to give you a better chance on a single roll. Some units can make ranged attacks.

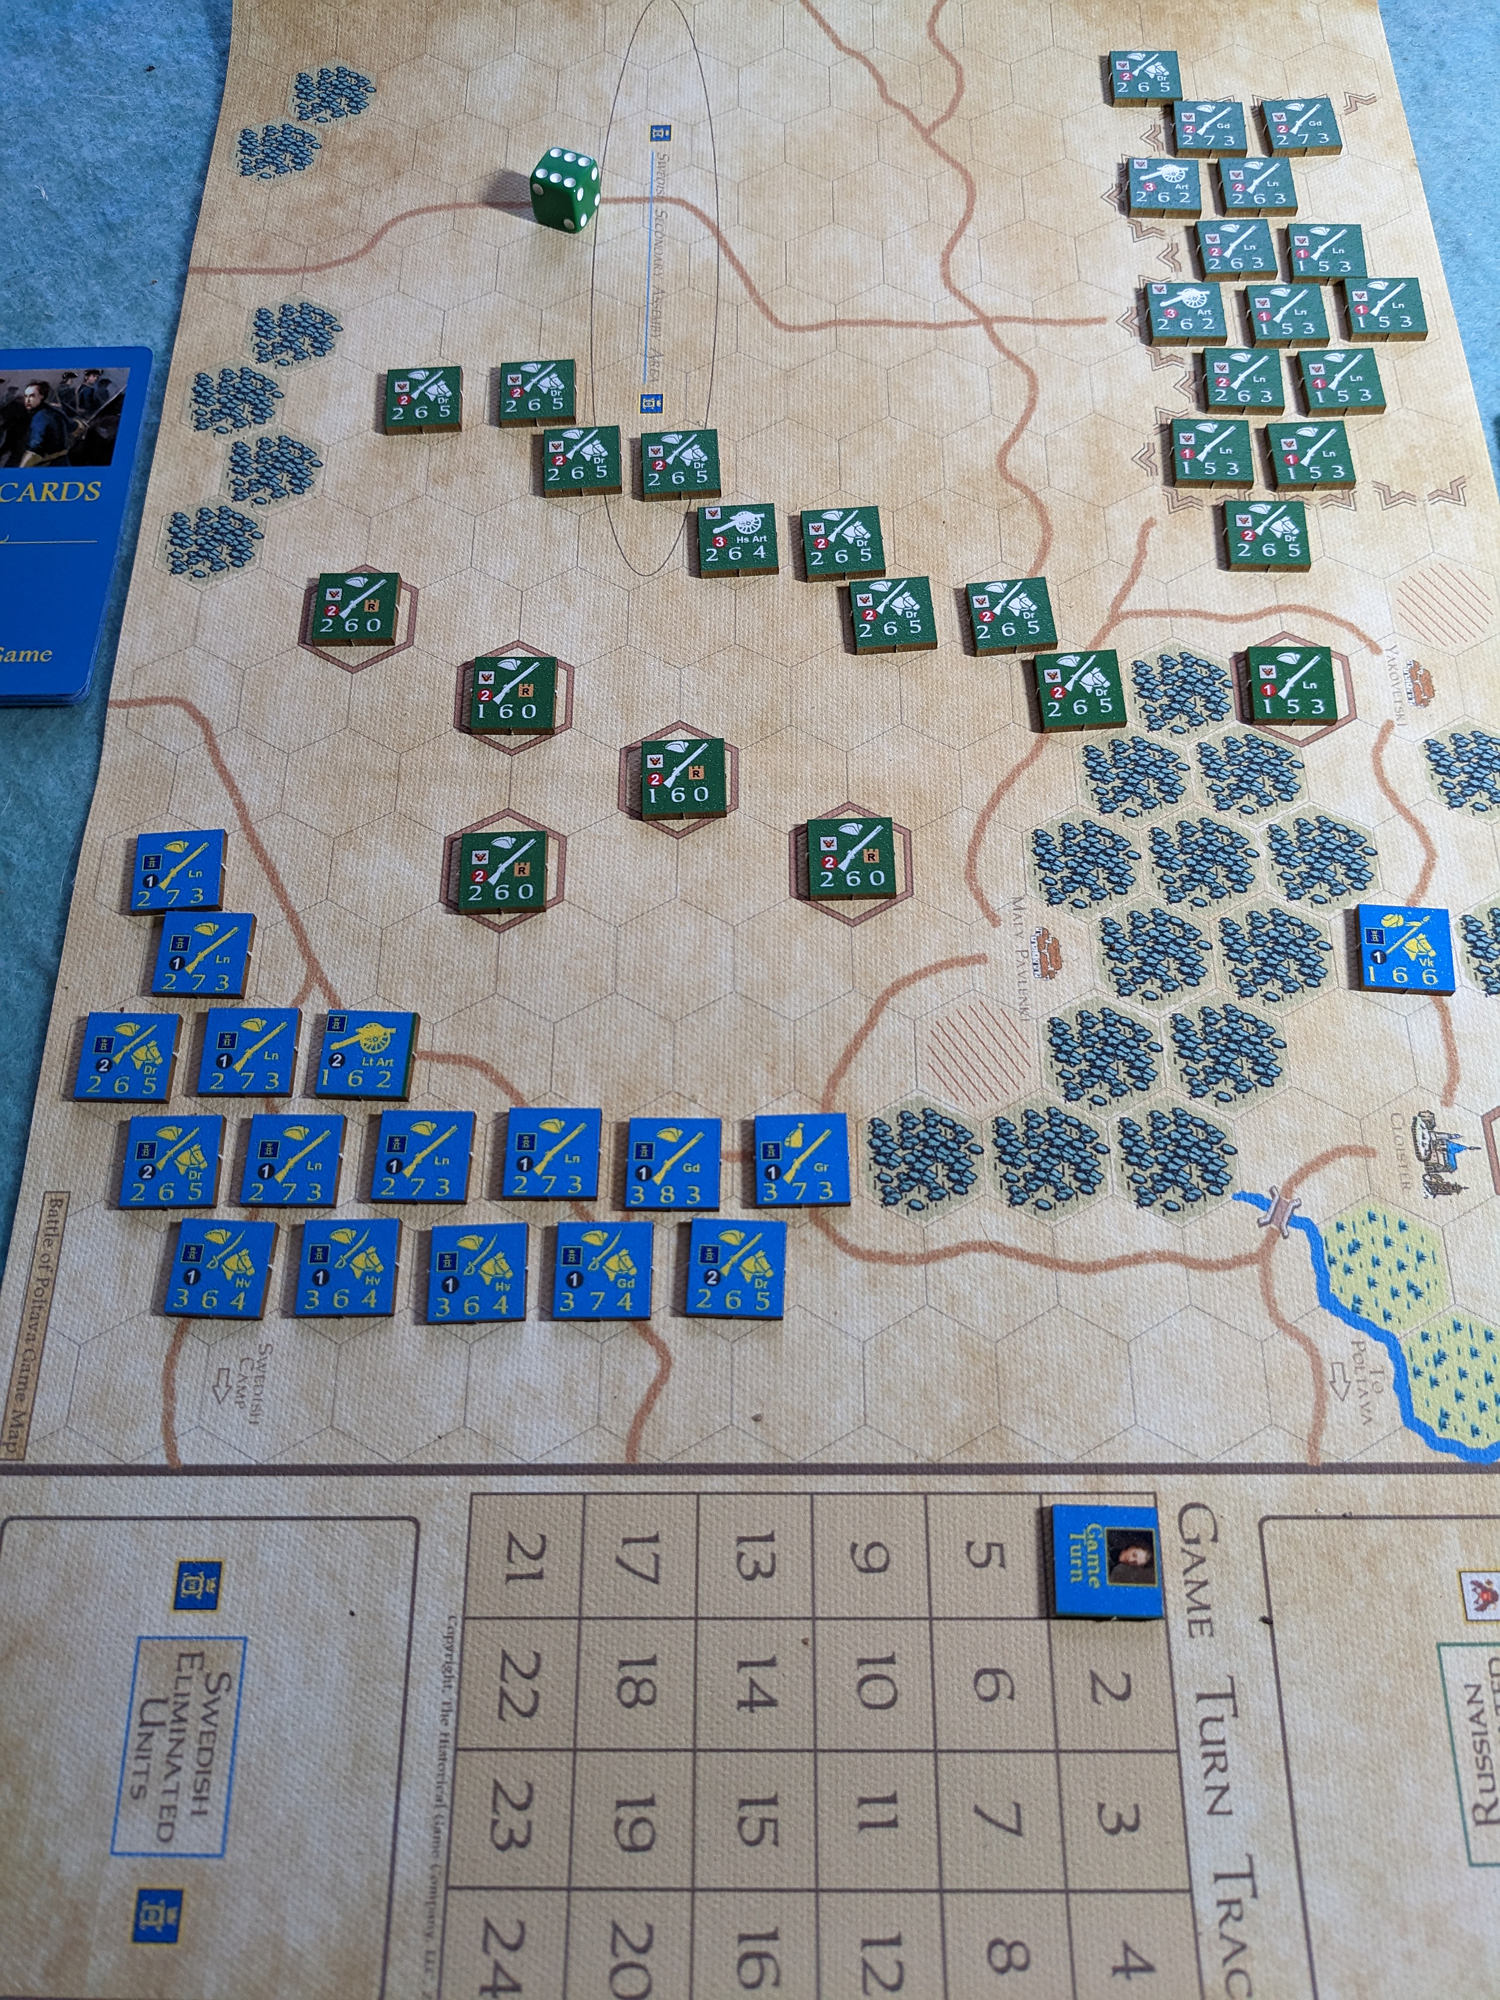
Here you can see the first Swedish turn, with them attacking a couple of the redoubts. This is another part of the script; until two redoubts are cleared of defenders, the Swedes must, if possible move and attack redoubt defenders with at least three infantry units during their turn. So obviously early on it's about trying to clear a couple so that you get more freedom of movement and attacks.


The end of the first turn. The Swedes have attacked two redoubts, but not had any success. Meanwhile the Russians have pushed their dragoons forward into a close defence of the redoubts.


The game at the end of the third turn. The Swedes were still making heavy weather of the redoubts, but had disordered the defenders of one of them. The Russians were doing a good job of holding back the Swedish advance.


A coordinated attack took the first redoubt!

(And you can see the canvas the map is printed on here)


Five turns in and the Swedes are doing better. They had cleared two redoubts, which freed up their attacks, and had caused the dragoons to fall back. They could now organise themselves to break out of the redoubt line and head for the assembly area.


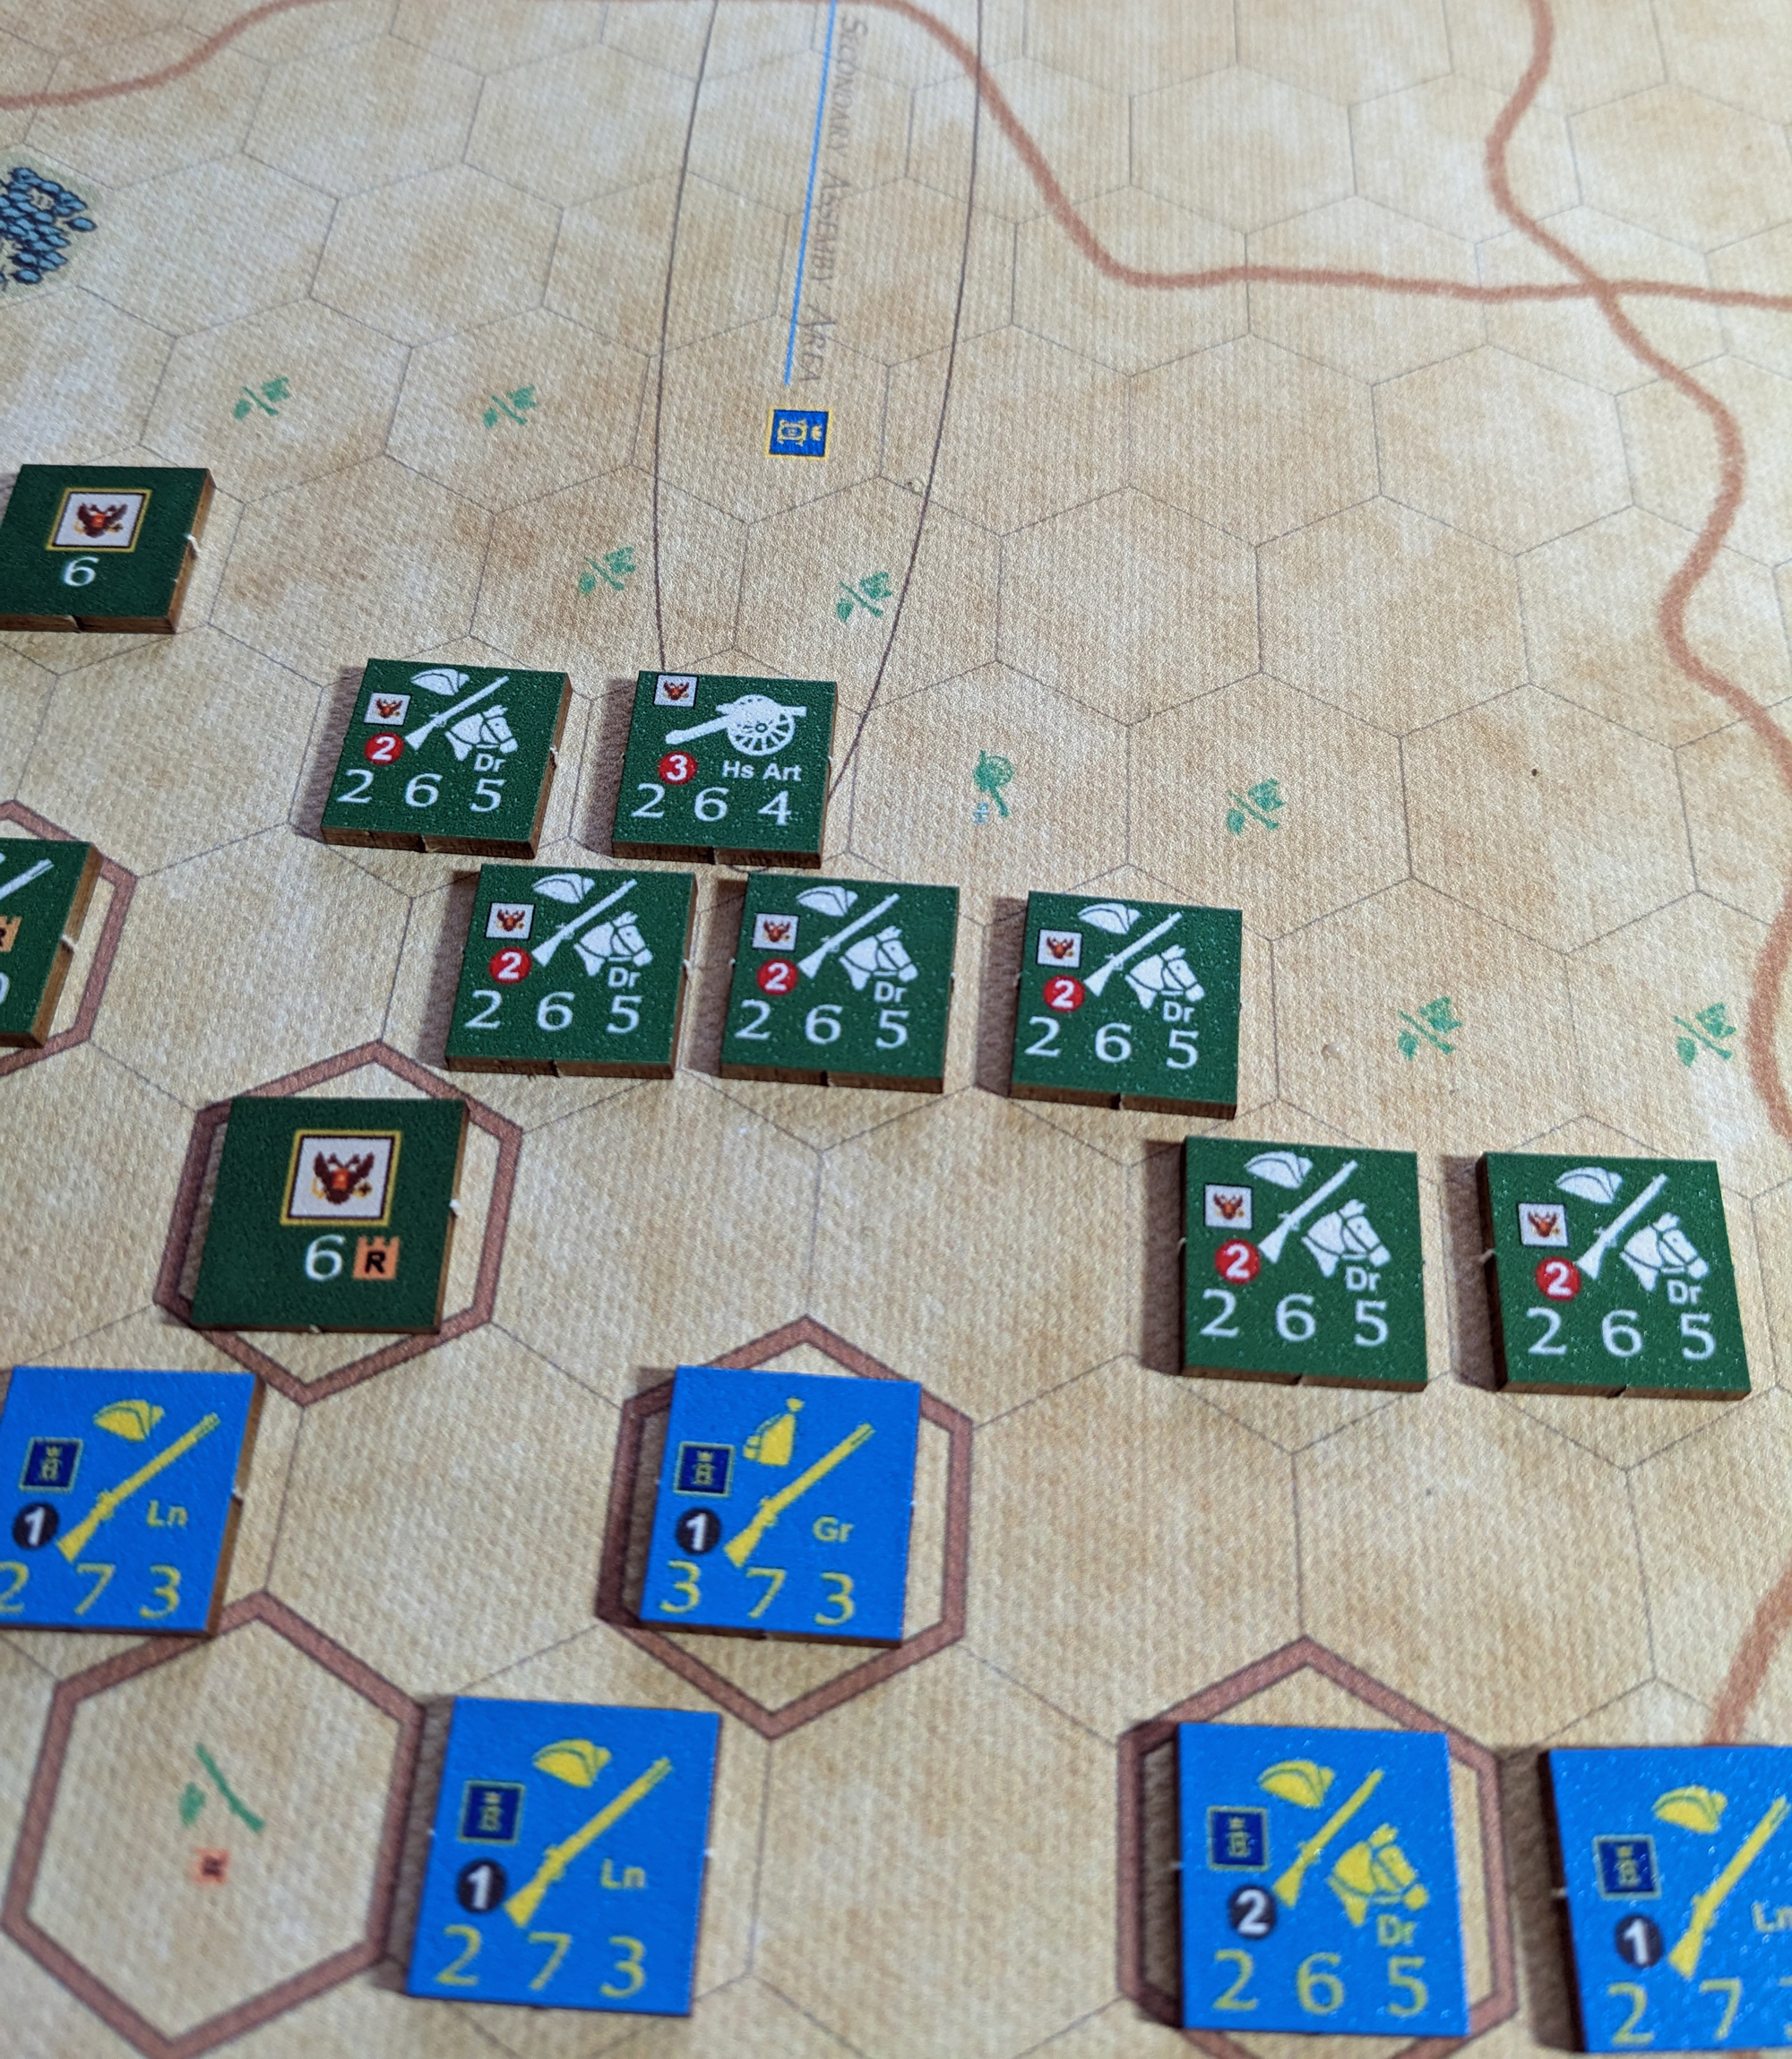
Here's the power of massing fire though. The Swedish grenadiers in the centre had cleared another redoubt and sensibly occupied it for the bonus to defence it gives. But a solid line of dragoons, supported by artillery blasted them out of it and destroyed them. The Russian dragoons are tricky opponents, since they can generally evade combat if the Swedes attack them (although this causes them to become disrupted). Using the dragoons is a matter of knowing when to run and when to stand and fight.


Eight turns in and things had gone very badly for the Swedes. They got some good cards and broke out of the line of redoubts, but as they did so the Russians drew an excellent card which boosted the attack of their dragoons. The Swedish advance was cut down in an instant, leaving them in a ton of trouble.


In fact they were in a peculiar position where they didn't have ten units left for the assembly area, a condition not covered by the rules and which I forgot to ask a question about. Lose enough units and you lose the game, but there is a small spot between battle-losing losses and having enough units to fulfill the assembly area conditions. I have decided that if the Swedes have fewer than ten units, but have not lost the battle then they fulfill the condition so long as they get all available units into the area.

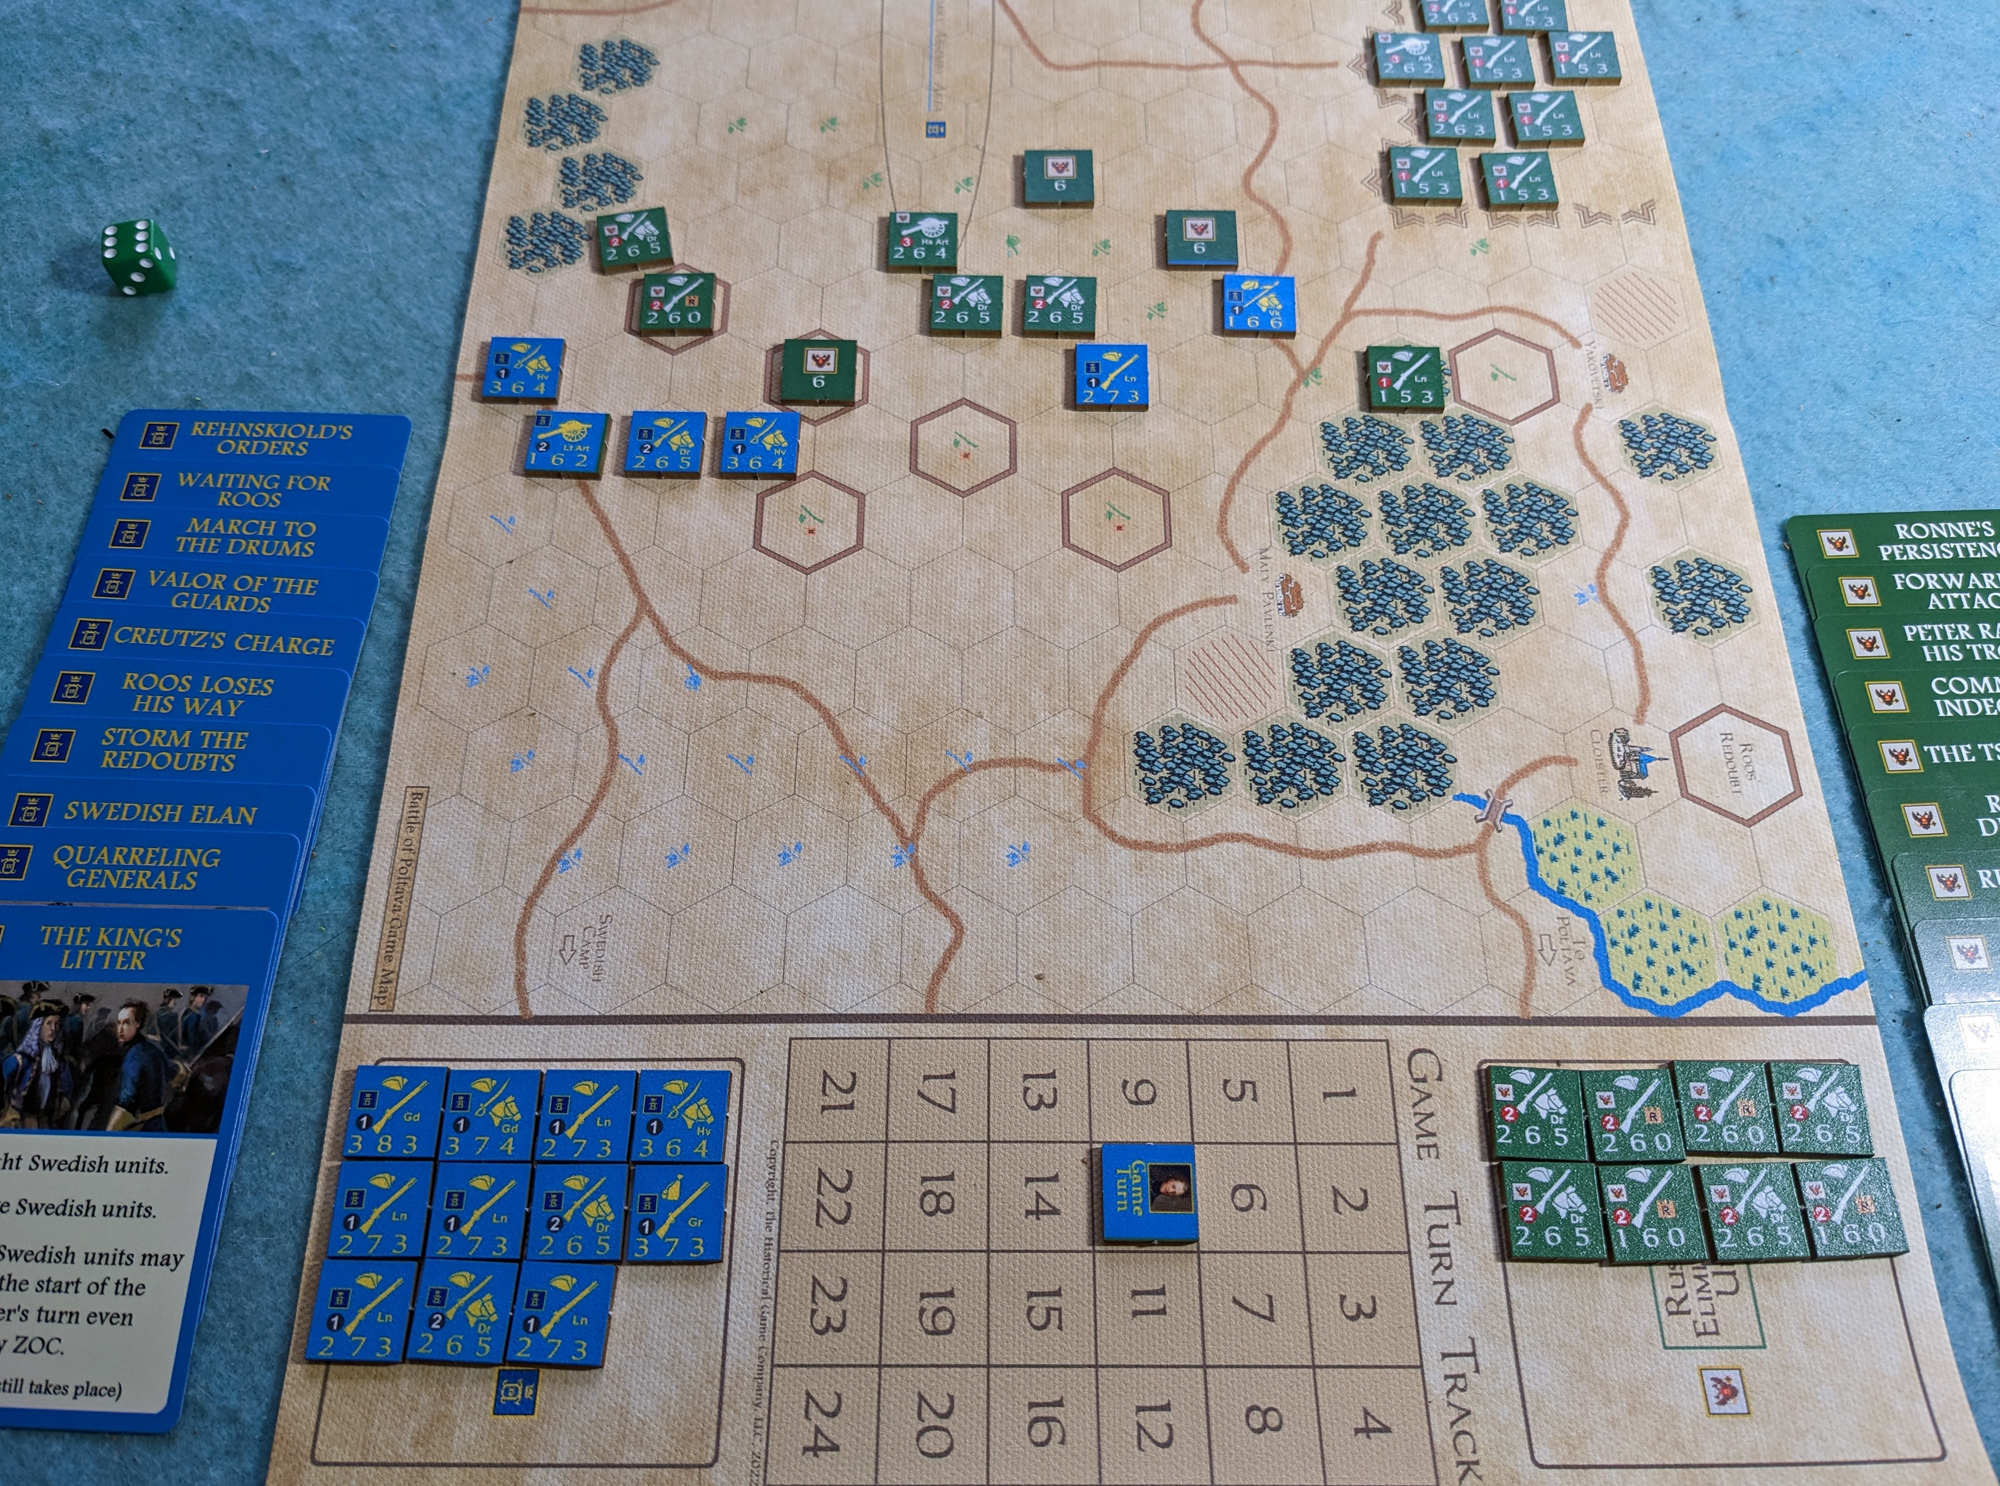
As it was the Russians kept up a steady fire and eventually destroyed eleven Swedish units to win the battle.


The victory conditions are mostly based on unit losses - the Swedes win if they destroy eighteen Russian units, whilst the Russians win if they destroy eleven Swedes. The Swedes can also win if, at any point, they have three units in the Russian camp.

This was the final position.

This report gives the impression that the Swedes are really up against it and, to some extent, they are. But the cards very much drive the game. early on the Swedes got a couple of cards which slowed their rate of attack, delaying their breakthrough at the redoubts. This gave the Russians time to set up a decent defence. In the mid-game the Swedes got some good cards, and got an excellent attack started, pushing the Russians back, but the Russians got their cavalry counterattack just as the Swedes were reorganising after overextending themselves, and it smashed them. They never got chance to recover.

Overall this game is a lot of fun, and shows how a refight of this interesting battle can be done.

(There are a number of games in this series, all of which seem to involve sieges or attacks on forts. To make the postage worthwhile I also got 'The Siege of Queratero', since it was nice to see a game set during the French intervention in Mexico. I haven't had chance to try that one yet, but the rules are essentially the same, so it should be easy to pick up.

Friday, 3 February 2023

Broadside: Empires Of Steel

I tried something new last night as Ralph put on a game of 'Broadside: Empire of Steel', which is a newish set of rules for WW1/Dreadnaught-era battles.


Ralph put together a scenario which saw both British and Germans running four light cruisers entering from opposite corners and looking to exit off the other side's corner. Pretty simple. But each side would get reinforcements of increasing weight as the action progressed, meaning the cruisers would have to be protected as they made their journey.


For some reason our cruisers scattered. Neat formations didn't seem to be a feature of our game at all.


Early in the game the British got some destroyers. The Germans didn't have destroyers in their reserve pool; I think they had more (or better) heavier cruisers and battlecruisers than we did.

The destroyers headed straight for the German light cruisers.


Much fighting ensued ...


... and little photography. I tried this arty shot but ballsed up the focus and failed to check it afterward. That blur at the front is the protected cruiser HMS Edinburgh. But it's a nice shot of Theo and Stuart planning their Teutonic shenaningans..


By the end of the evening the German light cruisers had taken a pasting, after their plan of boldly dodging down the table as fast as possible failed in a hail of torpedoes and (eventually) gunnery from HMS Edinburgh and the late-arriving HMS Invincible. To be fair the British light cruisers still had to run the gauntlet of the German battlecruisers, but at least they'd be doing it with support from the larger British ships and what remained of our destroyers. So we kind of called this a British win.


What of the game? Well, this isn't an era I'm that familiar with nor one I have a lot of interest in, so I can't attest to its authenticity. It was pretty simple to play. Turns have players alternating moving ships, with each ship firing after movement. Each ship can be given an order which will boost some aspect of its performance (turn better, move faster, shoot better) or do a special action (launch torpedoes). Generally it will always obey this order, but if under pressure (damaged, taking fire) the ship will have to dice to continue the order. Changing a ship's order also requires a test, with negative modifiers if under fire or damaged. So all ships can move, turn and shoot, but the better-disciplined ones can do things better. I quite liked that aspect of it.

Firing was fairly straightforward - you do a single roll to hit. If you miss then you get a splash marker which makes it easier to hit next time, and these accumulate, up to three. If you do hit then you place all three splash markers to show that you've ranged in, and the target gets a save roll against the number of guns in the salvo. You then roll damage for each tube that's not saved, based on the weight of the gun and the target's armour.

There's a slightly different mechanism for torpedoes, and for secondary guns which fire direct and therefore hit more easily but only at close-range.

Basic damage is simple hits - when they reach zero the ship sinks - but critical damage is also scored and that uses cards. I'm not keen on this system, as you draw a damage effect from a deck of cards and put it next to the ship chart to show the effect. This naturally means that the card is no longer in the deck and available for another ship to draw until the damage is repaired and the damage card discard pile is reshuffled. The odds of various damage effects happening is therefore skewed by what effects have happened earlier in the game. This doesn't seem right to me. I appreciate that having a card next to the data sheet with the effects of the damage on it reduces bookkeeping, though. 

(One critical hit I liked was 'Clear The Decks', which has no effect other than you must repair that card before any others. Since you can only attempt to repair one card per turn, it means you are stuck with other criticals, ones that do have an effect, for a little longer. It's an interesting way to make some critical hits nastier.)

Aside from the quirks of the critical damage I enjoyed this game, and would play it again.
Related Posts Plugin for WordPress, Blogger...