Sunday, 20 July 2025

Pioneers

Sometimes a scenario calls for a detachment of engineers or pioneers to clear a road, build a bridge or (maybe) blow one up. So I made one.

I was out most of yesterday but found some time in the afternoon to put these chaps together using scraps of wire and wood on my desk, then painted them in the evening.


I only did two bases because I reasoned they'd mostly be fielded as markers or a small unit. I did them in a generic brown uniform that would look suitable for any 18th century army.

Tireless Antagonisms

I was requested to do a proper write-up of my English Civil War campaign rules, so I have done so.

You can find them here - Tireless Antagonisms

The PDF includes the campaign rules, the random army generator for 'Dominion of Pike & Shot' and the pretty ten-area map.

I will also link it on my FREE STUFF page

Saturday, 19 July 2025

Light Infantry

I did a few units of light infantry for my Russians and Swedes. For strict Great Northern War games these are not needed as light infantry weren't really a thing then. But sometimes it's nice to just use the armies for generic 18th century games using One Hour Wargames or the various Grant scenarios, and they often need light infantry. 


There's little difference between these figures and the line infantry. I just clipped off the bayonets. And, obviously, there's fewer figures per base.


Friday, 18 July 2025

Turks And Venetians

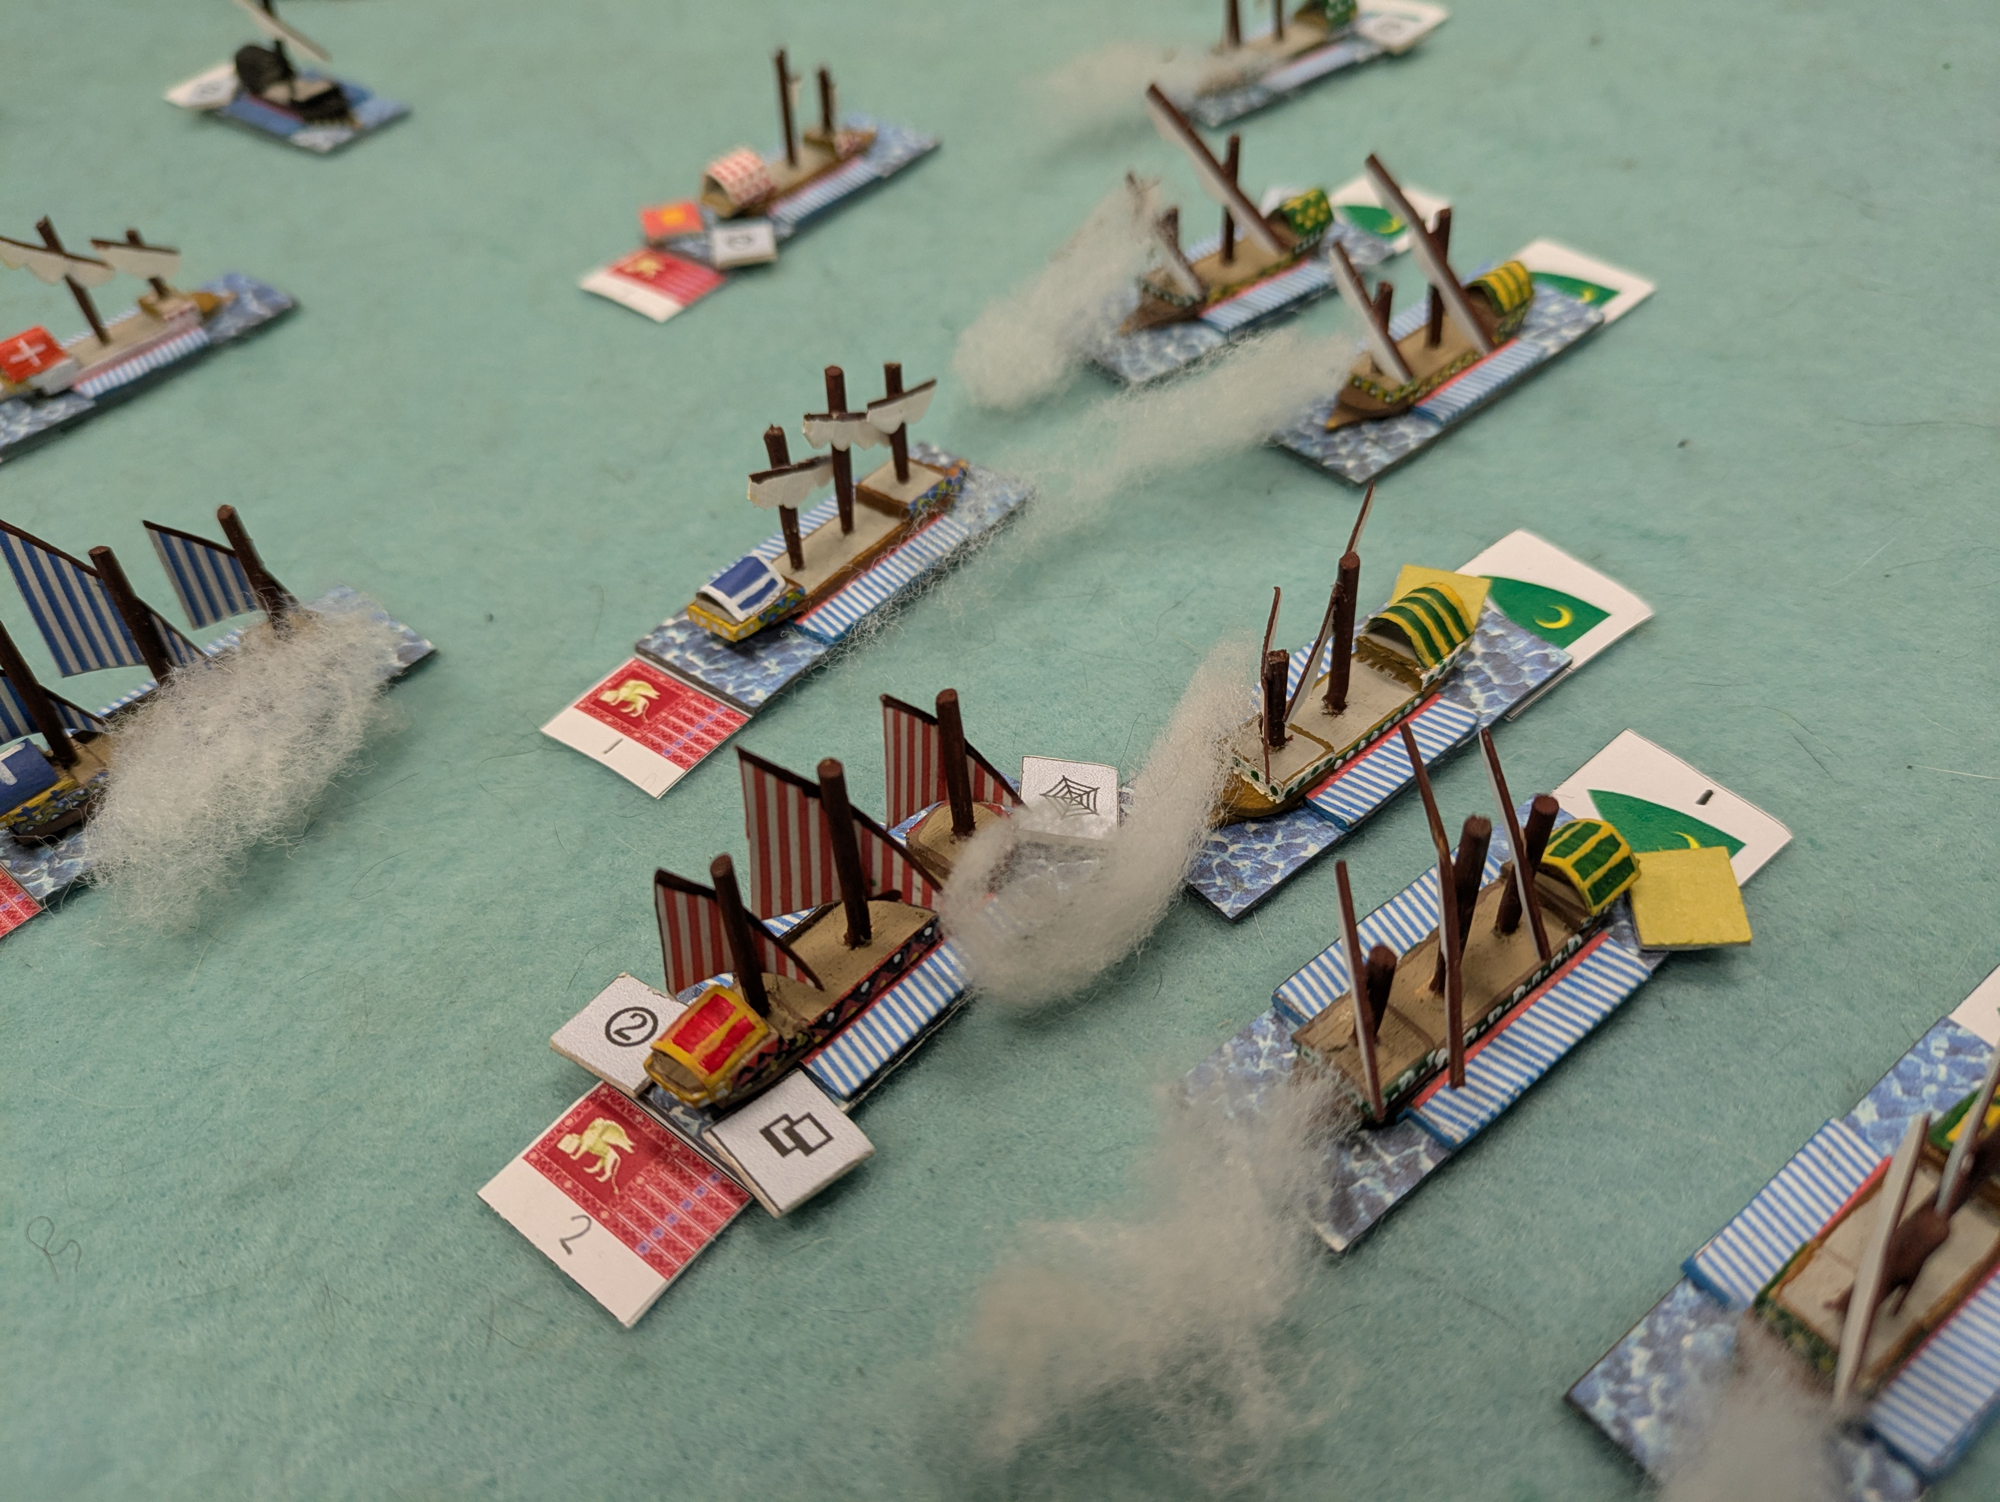
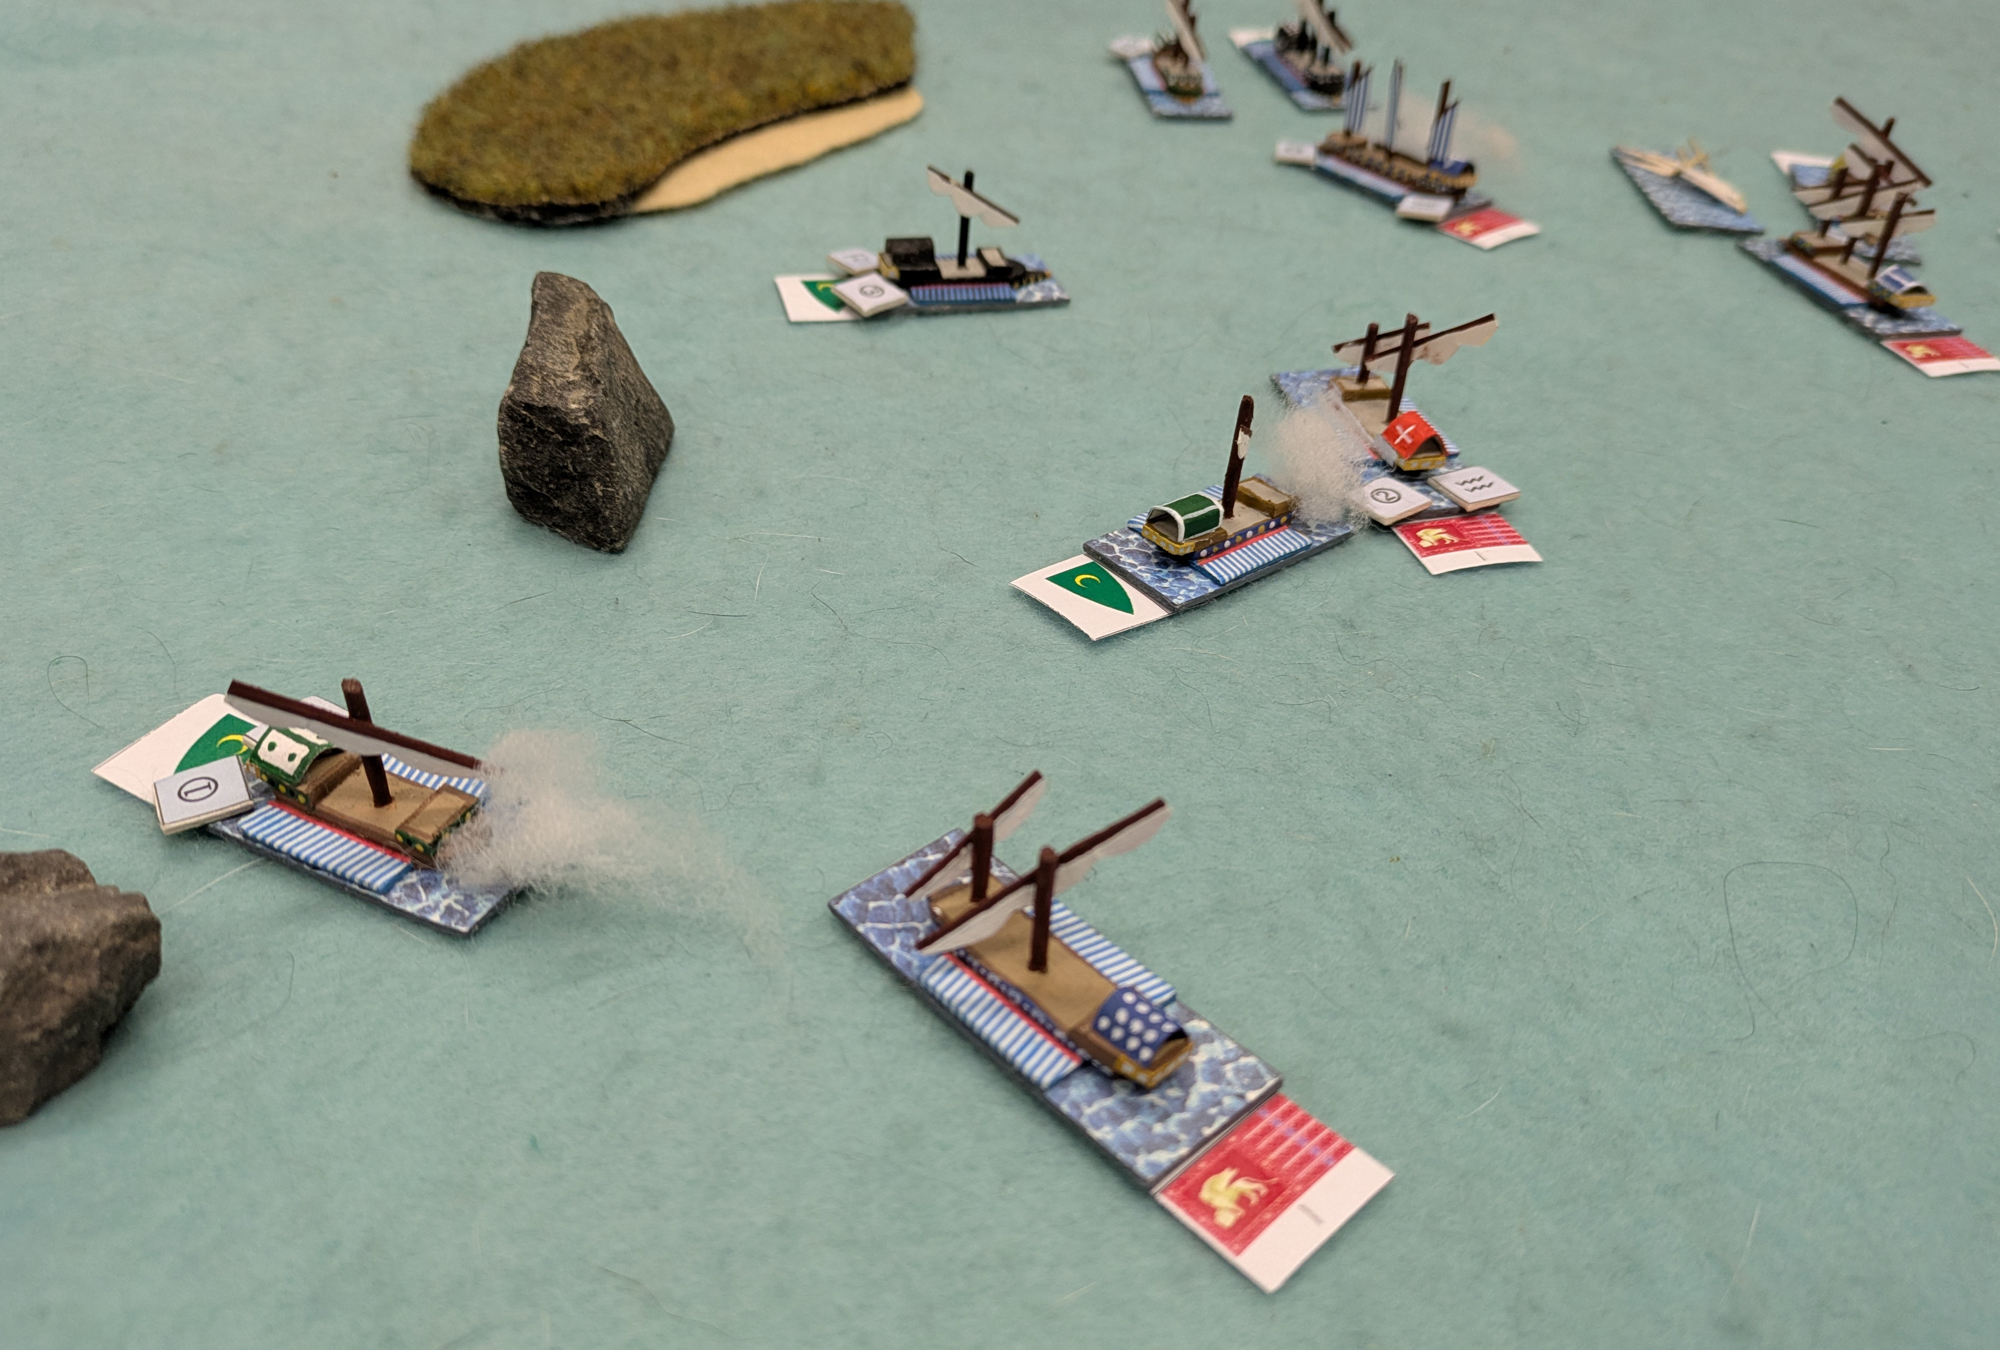
Caesar and I played a game of Galleys & Galleons last night. I set up two roughly equal forces of Renaissance galleys lifted straight from the book.

The Venetians fielded two lanterna flagships, four galleys, two galliots and a couple of galleasses. Opposing them the Turks has two lanterna flagships, three galliots and six galleys. Caesar took the Turks whilst I ran the Venetians. The latter are a little more complex since they have a mixed sailing and oared force.

Here's the setup. With two flagships we each got to divide our force into two squadrons, and used cards to decide which squadron activated when.


The Venetian fleet, ready to advance. At the bottom left you can see the two galleasses.


Early advances. Both sides made use of galliots to work around the enemy's left flank.


The galleasses get left behind. Most of the galleys have good activation rolls so could move twice each turn, whereas the galleasses sail; they get to move for free, but only once per turn.


The Turks fired the first shots, but they caused no damage.


More firing and a couple of damage markers appeared. To the left a galleass has opened up with its heavy bow guns.


Caesar concentrated fire on the big galleasses, and one of them started to take both hull and rigging hits.


The two fleets were now locked in battle (although I took this photo at the end of a turn, when we'd removed all of the smoke).


Ah! A shot of the two fleets actually looking like they're locked in battle! In the centre I'd committed a galleass to a boarding action which, with hindsight, wasn't a sound move. Galleys get a small bonus in barding, so the odds weren't as highly in my favour as I'd hoped.


One of my galleys caught fire and promptly exploded. The only silver lining in the huge cloud of smoke and debris was that it set one of the Turkish galleys on fire.


A Turkish galliot is pounded into striking by a Venetian galley.


One of my galleasses surrendered after a long series of boarding actions.


The other made up for it by firing a mighty broadside that utterly demolished a Turkish galley. With modifiers I was rolling of a combat value of 8, which is pretty good in this game. You can see the wreckage of the galley in the background.


Remember that Turkish galley that caught fire? It exploded as well.


The action was very close now; plenty of point-blank firing and boarding going on.


Out on the Venetian left, Turkish galliots continued to skirmish with the larger Venetian galleys.


An overview of the action.


Another Turkish galley surrenders as two Venetian galliots grappled it.


However sustained gunfire from a galley and one of the Turkish flagships forced my second galleass to strike.


At that point we called the game as it was getting late and the fight had reached that point where both sides would need to consolidate their forces before any more action would take place.


We called it a draw, although I think with the loss of two galleasses the Venetians probably had had the worst of it. The Turkish right was still relatively fresh and in a position to cross the centre and bring its weight to bear on the intense action on the their side. I think that would have swung the battle in their favour.

Still, it was a lot of fun to get these ships out again, even if I still haven't really worked out the most effective way to use the galleasses yet.

Here's a bonus picture from Ralph showing me smiling far more confidently than the situation deserves.


Thursday, 17 July 2025

The English Civil War - 1646

1646 began with the situation still very much in Parliament's favour. 1645 had seen the Royalists try two offensives, both of which had been easily blocked. With the country tired of war the Royalists would need to perform miracles to see things swing their way.

Early in the year Parliament decided to take advantage of the Royalist weakness, and advanced into Yorkshire with a large army. In response the Royalists assembled all of the troops they could and moved to counter them. They brought the Parliamentarians to battle at Otley in West Yorkshire. Their army was led by the King himself, who was facing Sir Thomas Barnaby.


Game 9 - The Battle of Otley

Royalists - 1 x Elite Horse, 1 x Horse, 1 x Melee Foot, 1 x Elite missile Foot, 1 x Missile Foot
Parliament - 2 x Horse, 2 x Missile Foot, 1 x Dragoons, 1 x Artillery

The Royalists formed up with Rupert's elite horse on their right. Parliament opposed them with a mix of horse and dragoons. 


An initial artillery bombardment did nothing but waste daylight. 

Turn 1 - Parliament opened the battle by advancing on Rupert's horse. A series of inconclusive engagements took place.


Goaded by the Parliamentarian probe, Rupert ordered a charge. But Barnaby's troops made the most of the ground they were on and the Royalist horse was routed.


Turn 2 - With his left flank now threatening the Royalist foot, Sir Thomas ordered an advance in the centre. The Royalists fell back in disarray, obviously discomfited by the swift loss of their horse. The King advanced his best foot to hold the line.


The Royalists attempted to stabilise their right, but their foot became caught up in a stalemate with the Parliamentarian dragoons who continued to exploit their terrain advantage.


Turn 3 - With the Royalist right in complete disarray Parliament sent in their reserve horse. This smashed the Royalist centre and the King's army routed.


Charles escaped the battlefield, but had no significant forces left in the area. He fled to Scarborough where he took a ship to France and exile.

With the loss of Yorkshire the Royalist cause was defeated. They still had some support in the south and south-west of England, as well as a pocket in the Midlands, but their armies were exhausted and demoralised after two years of defeats. 

Indeed the whole country was exhausted. To some extent the Royalists had lost the war in 1643 when Oxford fell, but whilst Parliament had enjoyed a lot of support their failure to completely extirpate the Royalist cause caused the war to drag on for years longer than it should have done.

Despite the lack of change for most of the campaign it still gave some fun battles, and I hope you've enjoyed following it. If I did it again I'd probably make one cosmetic change, and have three battles each in 1643 and 1644, then two in 1645. There would still be ten battles, so mechanically the campaign  would be the same. But it would create a better feel I think.

Related Posts Plugin for WordPress, Blogger...