Saturday, 22 August 2015

One Hour Wargames - Scenario 11 - Surprise Attack

I have played, and documented, this scenario on this blog before. Its loosely based on Quatre Bras and has some similarities to the GNW battle of Lesnaya as well. I played it out using my ACW armies and my modifications to the rules for that period in One Hour Wargames. For fans of the Rocks as Markers, this is a Five Hit set.

Here's the terrain. There are woods to the left (passable to infantry in these rules) and a marsh to the right which is impassable to all troops. The fields are just garnish. The objective is the crossroads in the distance. The attackers - the Union in this game - will enter from the bottom of the picture. The Confederates have two units on the board, in the gap between the terrain pieces, and are expecting two groups of reinforcements from the roads at the top and at the left of the picture.


The Union troops arrive along the road. They led off with two regiments of infantry, followed by a couple of regiments of cavalry.


The Union troops continues to arrive, with the cavalry swinging to the right to pass around the marsh and make a run for the objective. The lead infantry took its time swinging into a line to oppose the Confederates. Whilst doing so they had already taken some hits. The Union had one unit of Zouaves, which represent better quality infantry in these rules. They formed up behind the lead units as a reserve.


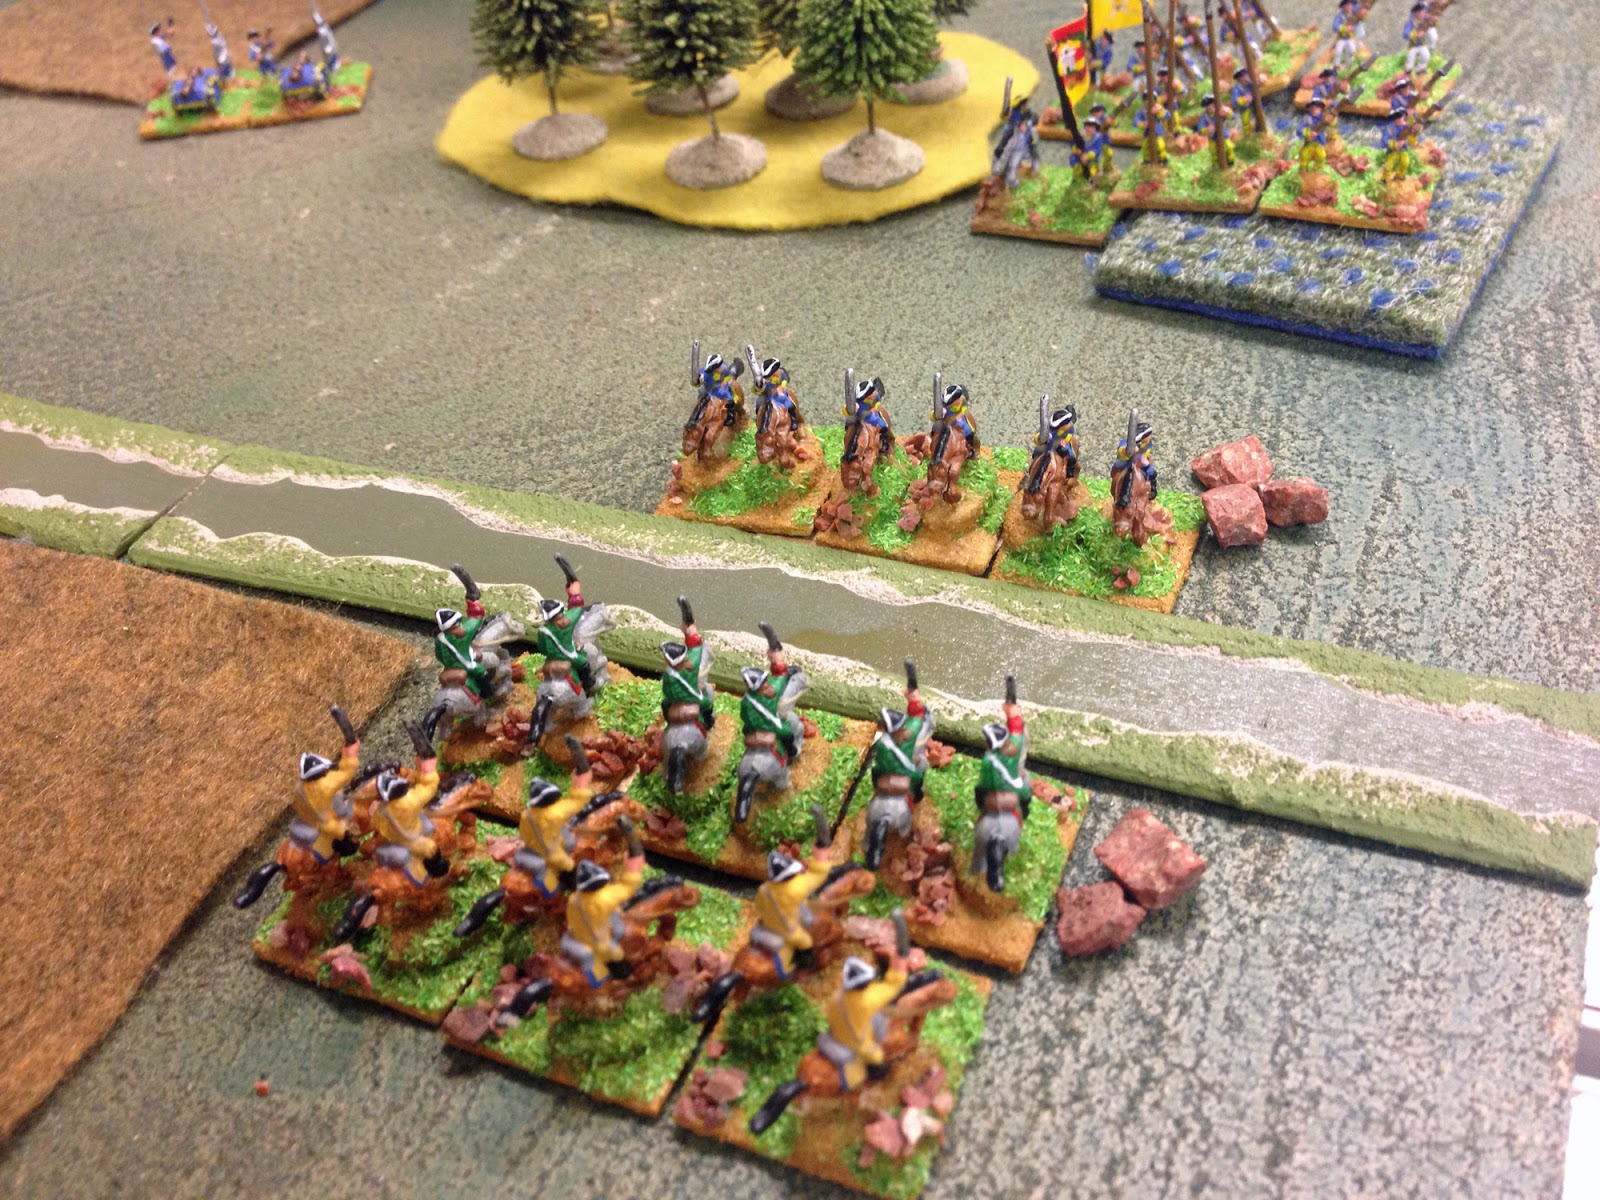
As the firing really got going in the centre, the Union cavalry continued its move around the flank.


The first Confederate reinforcements arrive - artillery and some better-quality infantry.


The fight in the centre did not go well for the Union as the Confederate defenders held their ground.


A Union infantry regiment broke.


The Union Zouaves join the firefight in the centre, and the cavalry engages the Confederate reinforcements. Meanwhile anther Union regiment was working its way to the woods.


The fight in the centre.


Although outnumbered two to one, the Confederate elite troops were more than a match for the Union cavalry, especially with artillery support as well.


A cavalry unit fled.


And more Union infantry fled. The Union were down to three units now, against four Confederate units. And there were Confederate reinforcements to come.


The Union Zouaves were fighting alone against the main Confederate line. However they were inflicting hits and receiving few back.


A Confederate unit broke.
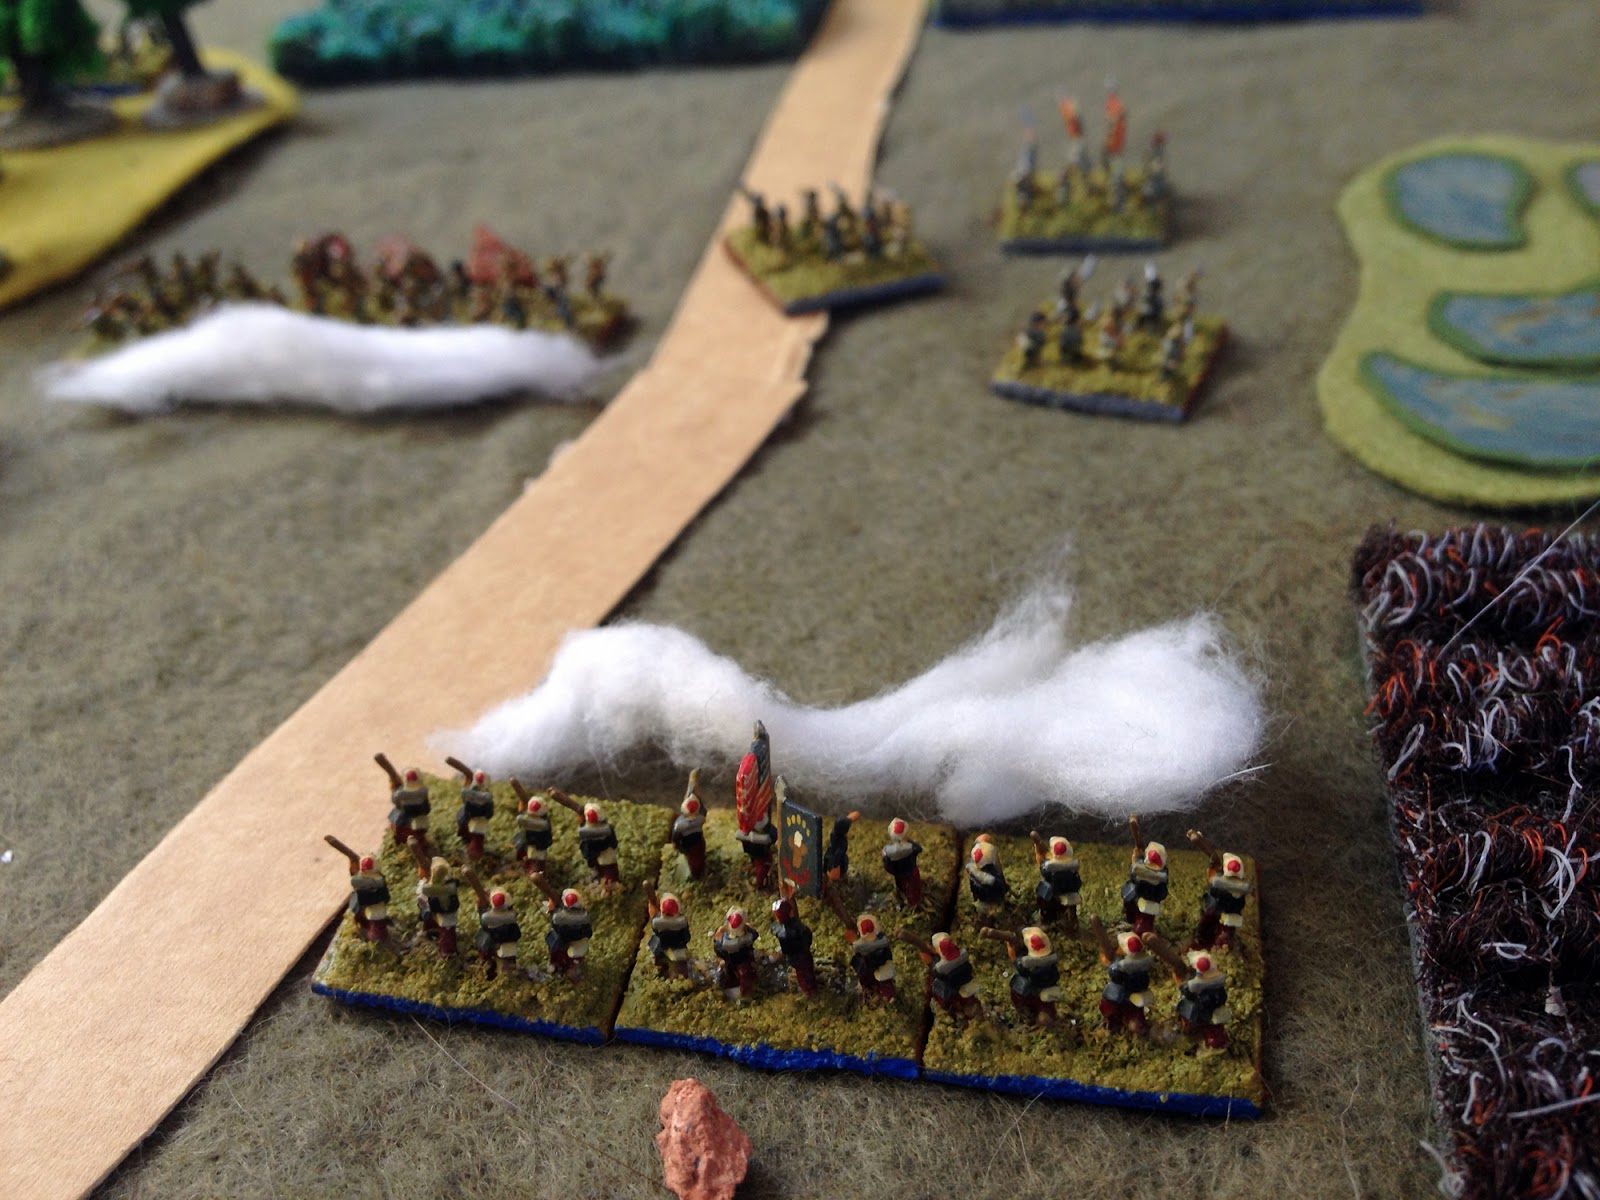

But so did the remaining Union cavalry regiment.


The Zouaves finally cleared the centre, and could move on the crossroads.


Meanwhile the final Confederate reinforcements had arrived. But the Union occupied the woods and a firefight ensued. The Confederate artillery supported the newly arrived troops, but the woods offered good cover and the Union infantry held firm


An overview of the battle. The elite units of both armies were facing off in the centre now.


The Confederates broke first, but the Union Zouaves were wobbling on four hits.


The Zouaves advanced on the crossroads, still defended by the Confederate artillery. And, try as it might, the artillery couldn't take that last hit off them.


The artillery broke and ran. But this was the last turn; the Union didn't have a move left with which to take the crossroads.


On the Union left the firefight continued, but the battle was now essentially over.


The Union came close to winning, but only because their Zouaves survived against the odds on the last couple of turns. They made two mistakes which really cost them the game. Firstly they spent a turn too long getting into position at the beginning of the game, instead of making sure at least one unit was shooting from the second turn onward. They casualties they took in the first two turns counted against them in the long run, ensuring that they would struggle in the firefight. Secondly, the advance through the woods was a good plan, but the unit making it ended up poorly positioned. Had it been slightly more towards the centre it could have covered the point at which the final Confederate reinforcements would arrive, but also have engaged the Confederate artillery on the crossroads for a turn as well. Had the artillery taken a hit or so before the Zouaves engaged it, it might have broken a turn earlier, allowing the Zouaves to occupy the crossroads on the final Union turn.

Given how badly things seemed to be going for the Union at the start it's amazing how close the final game was.

Once again the rules held up well, with the multiple dice hit system making combat less predictable than the system in the original rules.

Follow the rest of the scenario refights HERE

Friday, 21 August 2015

One Hour Wargames - Great Northern War Rules

I have now added the rules I have been using for my Great Northern War games to my 'Free Stuff' page.

The 'Free Stuff' page is HERE

As ever, comments are welcome.

Two One Hour Wargames

Caesar and I tried out a couple of scenarios from One Hour Wargames last night, using my GNW rules and figures.

The first scenario was the now-familiar Control The River, which involves seizing two fords on a river. I had the Russians (foreground) and Caesar the Swedes. Here's the position after the first moves. I set cavalry to the ford on my right, an infantry regiment to cover the centre and two infantry regiments and some artillery to contest the ford on my left. Caesar's Swedes were stronger in infantry, and he split it equally between the fords, his artillery went in the centre and cavalry covered his advance on his left.


Initial combats saw a cavalry action at the ford. I had the numbers to win a straight cavalry fight, but his was supported by infantry. Not wanting to launch cavalry attacks against infantry defending a ford I opted to pull the cavalry back and wait for the Swedes to come to me.


On my left the Swedes pushed across the ford.


I'd held back creating a killing ground with the infantry and artillery, and the Swedes marched straight into it.


On my right the Swedes were also advancing. Now they didn't have the defensive benefits of the ford I sent the cavalry back in. I had also moved the reserve infantry scross to support the cavalry.


In true Swedish style Caesar pressed forward, despite the cavalry attacks. His artillery supported the advance from across the river.


The Swedish push on the other ford ended in disaster, with both units destroyed. I moved one of the infantry regiments from that flank to support the action on my right, whilst the other prepared to take the ford. The artillery was nicely positioned to bombard its Swedish opposite numbers.


The battle on my right had been bloody. The Russians almost managed to push a cavalry regiment through the Swedish lines to the ford, but it was too weak and ran from a final volley of musketry.


However the Swedes had infantry superiority on that flank, and the steam had gone out of the Swedish assault. The artillery on the other side of the river was lost to Russian infantry that had crossed via the other ford. The game ended with the Swedish force being totally lost after nine turns.


For the second scenario we randomly selected Twin Objectives. In this scenario an attacking force of six units has to capture two separate objectives from four defenders within a time limit - the wooded hill to the top-right and the town at the bottom of the picture.

Again Caesar was the Swedes, and again he was attacking. The Russians had infantry on the hill and in the town, artillery supporting the town and cavalry on a roving brief on the open flank - Cossacks in this game, just because I could.


Caesar decided to concentrate on one objective and piled straight forward for the town. Sometimes he rivals me for headlong aggression.


His cavalry attacked the guns.


Realising that the town was possibly tougher than it looked, he swung one infantry around to soften up the hill defenders.


His cavalry eliminated the Russian artillery, and his infantry settled in for the attack.


My Cossacks had been riding all over the battlefield, threatening flanks. Seeing the Swedish cavalry looking weak, they charged, eliminating it.


The town fell at last. In the distance the hill defenders were looking weak, under attack from infantry and artillery.


The Cossacks fought a delaying action, trying to prevent more infantry from reinforcing the attack on the hill.


It was too late. The Swedish artillery drove off the Russian defenders, and the Swedes controlled both objectives.


This second game had looked like an easy victory for the Swedes, but the objectives being widely split and offering good cover made their job tougher than it looked.

The rules held up very well, although I still have some small reservations about the balance of my special Swedish Ga Pa rule. I may just publish and be damned, and see how they stand up to continued play. I suspect that they need nothing more than minor tweaks.

Thanks to Caesar for indulging me in what I think is the fourth set of rules with which we've played Great Northern War battles.

Monday, 17 August 2015

The Northern Meteor

I am continuing to tweak and refine my Great Northern War variant for One Hour Wargames and have played a couple more games to try out ideas I've had.

This evening I had a go at a scenario I've played before - the Flank Attack. One army starts on a hill, the other starts with a small screening force before them and the bulk of their troops on the defender's flank. The defender must turn to face the main attack before it sweeps them from the hill.

I did it before with monsters. Really. It was a fun game in its own right, but as a representation of the original scenario it lacked a certain something. This game was closer to the original intent.

The Russians got to defend. The Swedes got to do the bold, sweeping flank attack. You can guess how the game panned out.

Here are the armies at the start. The Russians had cavalry superiority - two dragoon and a cavalry regiment, to the Swedes' two cavalry regiments - but the Swedes had the edge in infantry - four to three. There was no artillery.


The Russians had the dragoons on their right, and the cavalry on their left. All things considered this wasn't a good move, putting their primary shock troops right in the way of the initial attacks. The Swedish main force was three infantry and a cavalry regiment, whilst the other two units - ne each cavalry and infantry - occupied the Russians' attention from the front.


The Swedish attack rolls in. They moved cavalry around behind the hill, but it took a lot of fire moving into position and after an attack on some Russian dragoons it pretty much withdrew for the rest of the game.


But this was a battle for the Swedish infantry. They charged up onto the hill and the Russians could do little to resist them.


The Russians were soon forced back into a horseshoe line. On their flanks the dismounted dragoons tried to hold off Swedish attacks for as long as they could, but they weren't up to the job.


On turn 8 (of 15) the Swedes destroyed the last Russian defender on the hill ...


.. whilst a final cavalry charge wiped out the surviving dragoons.


This was an easy win for the Swedes, but the they are an army built around this kind of attack. I tried out a different way of reflecting their aggressive infantry tactics in this game. Previously I have allowed their infantry to charge into contact, at the expense of not being able to fire for the rest of the game. However in this game I merely allowed them to ignore the penalty I give to infantry who move and fire so long as they pretty much move straight forward. To offset this their long-range fire is less effective than that of the Russians. In this scenario that wasn't an issue. I will explore this idea again, though, as it did create the right feel.


Sunday, 16 August 2015

One Hour Wargames - Scenario 10 - Late Arrivals

Flushed with the success of my previous GNW-based scenario, I decided to use the rules and armies for the next scenario in One Hour Wargames.

This scenario sees an army marching down a road towards a strategic town. The road passes through a choke-point. Only a small defensive force is covering the approach to the town, but they are expecting reinforcements. The attacker must push through quickly before the defender's build up too much strength.

I kept the rules much the same as in the previous game, although I allowed Swedish infantry to charge with the proviso that they then lost their ability to shoot. I had rules for them recovering this ability, but I'm inclined to say that it lasts for the rest of the game, as this is simpler to keep track of. This game also featured Dragoons, who can switch between being mounted and dismounted - they act as weak cavalry or weak infantry, but have the option of being either to offset this.

The Swedes defended. Their force was three infantry regiments, two cavalry regiments and an artillery battery.


The attacking Russians had four infantry regiments, one regiment of dragoons and an artillery battery.


The starting positions. The Swedes deployed two infantry regiments forward of the town, covering the choke-point between the impassable woods.. the Russians would be entering on the road to the left of the picture.


The Russians arrived. Their forces backed up because I wanted the lead unit to fire. In these rules infantry can move and fire (although I apply a penalty if they do), but I don't allow it if they used the road bonus.


No smoke at this stage, but firing is taking place between the Swedish defenders and lead Russian regiments. The rest of the Russian force is arriving and beginning to move into position.


The two lines exchange musketry.


Meanwhile the Russian dragoons worked their way around the Swedish left, threatening its flank. In response the Swedes charged.


The dragoons rallied and established themselves on the Swedish left.


The Swedes kept up a vigorous and aggressive defence.


The dragoons charged one Swedish infantry regiment, whilst two Russian regiments concentrated their fire on the other Swedish unit.


Under heavy fire the one Swedish regiment fled. The other fell back.


However the first reinforcements now arrived - Swedish infantry deployed in the town ...


... and Swedish cavalry charged into the flank of the Russian dragoons.


The Swedish infantry kept up an aggressive attack.


Heavily damaged, the dragoons retired out of the way. The Swedish cavalry could have pursued them to finish them off, but it would have taken hem out of the main fight for a couple of turns. And the Swedes still needed every unit they could get.


The Russians kept pushing forward. Their army was now clearing the choke-point.


On the Russian left the artillery and an infantry regiment moved into position to assault the town. In the centre the second Swedish infantry regiment was finally driven off.


The Russians had two weakened units in the centre, and the Swedish cavalry charged one of them in an attempt to break the Russian army.


The infantry held. The Russian artillery opened up on the town.


The Swedish cavalry went in again, through a hail of musketry. This time the Russian infantry broke.


On the Russian left their infantry attacked the town. The garrison put up a bold defence.


The Swedish horse was still under fire in the centre ...


... but charged again.


This time it broke, though.


The attack on the town was going badly for the Russians though; the artillery was scoring no damage, and in the exchange of fire between the two infantry units the Russians, without cover, were coming off worse.


More Swedish reinforcements arrived; and artillery battery set up in support of the town ...


... and more Swedish cavalry attacked the Russian dragoons, who had dismounted by this stage.The dragoons routed.


An overview of the battle. The Russians still had three infantry regiments left, as well as their artillery battery. But they would have a tough fight to reach the town and some of their units were close to routing.


Indeed the regiment tasked with attacking the town did rout.


The Russians threw their one fresh unit into the attack ...


... but the Swedish cavalry hit it in the rear ...


... and it was lost as well.


It was now Turn 14 of the 15 allowed, and it was obvious the Russians could not take the town with their available forces. A Swedish victory was declared.


This scenario seems to be a tough one for the attackers. It is difficult for them to bring an overwhelming force to bear on the initial defenders in order to knock them out before the reinforcements arrive. The reinforcements have free entry anywhere along their edge, which allows the defenders some choice as to where to launch their counterattack. And, of course, they can occupy the objective with part of the first batch, leaving the defenders with a 'fortified' position to crack.

As for the rules, I think I have the core of them in a state I'm happy with. I still need to refine the move/fire mechanism to clarify when a unit can do it, and when they get a penalty, though. I also need to decide just how Swedish infantry charges will work, and how much damage they should cause.

Follow the rest of the scenario refights HERE
Related Posts Plugin for WordPress, Blogger...