Friday, 7 July 2023

Valour & Fortitude

Yesterday evening some of us gave the 'Valour & Fortitude' Napoleonics rules from Perry Miniatures a go. These are a set originally designed for fighting big demo games, and are, to some extent, simplified from Black Powder, although they have a character all their own.

They can be downloaded from the Perry Miniatures website HERE

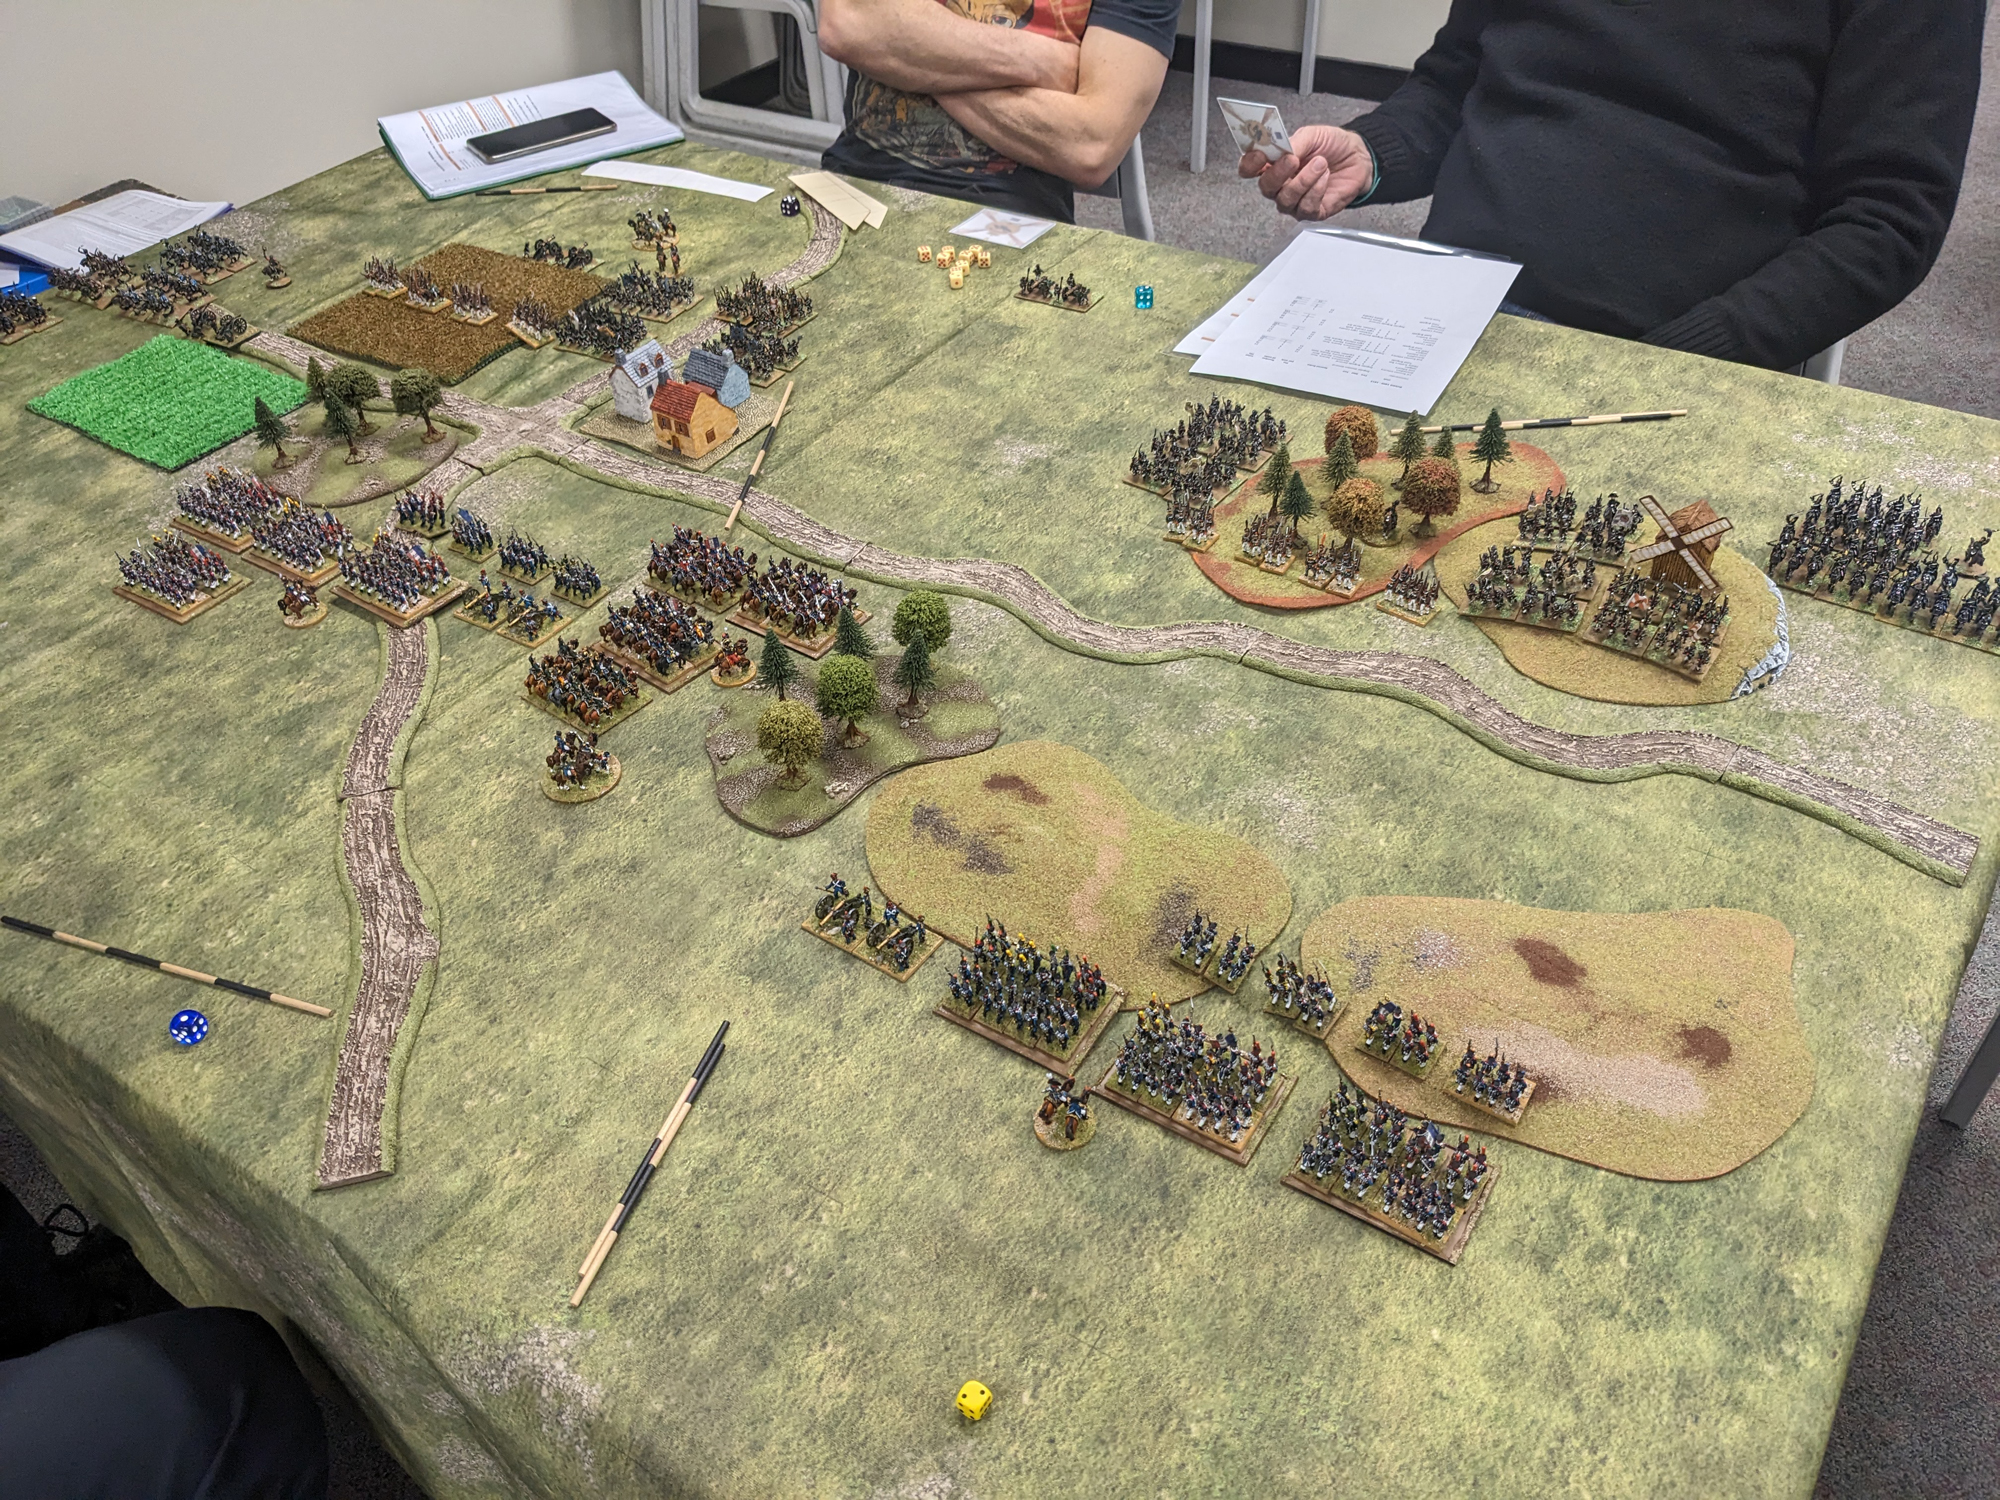
We set up a simple encounter between the Russians and the French, with each side having two infantry brigades, a heavy cavalry brigade and a light cavalry brigade. Objectives were the hills to the right of this picture and the village and wood in the left-centre.


Black Powder players would recognise some of the unit setup - each unit has a number of dice for firing (French infantry have 3, for example), melee combat (4 for the French infantry) and a Tenacity value (4 for French foot) which represents how many hits they can take before things go pear-shaped. Hits are normally scored on a 4+; there are combat adjustments both to the number of dice rolled and the roll to hit. A unit which takes hits equal to its Tenacity is shaken. Excess hits cause a morale test; for each hot roll a D6 and you need a 4+ not to rout. This morale test is brutal; once things go badly for a unit, it will rout. This then causes a test for the whole brigade, with the possibility of units taking a hit each (which can trigger more routs if they're badly damaged enough).

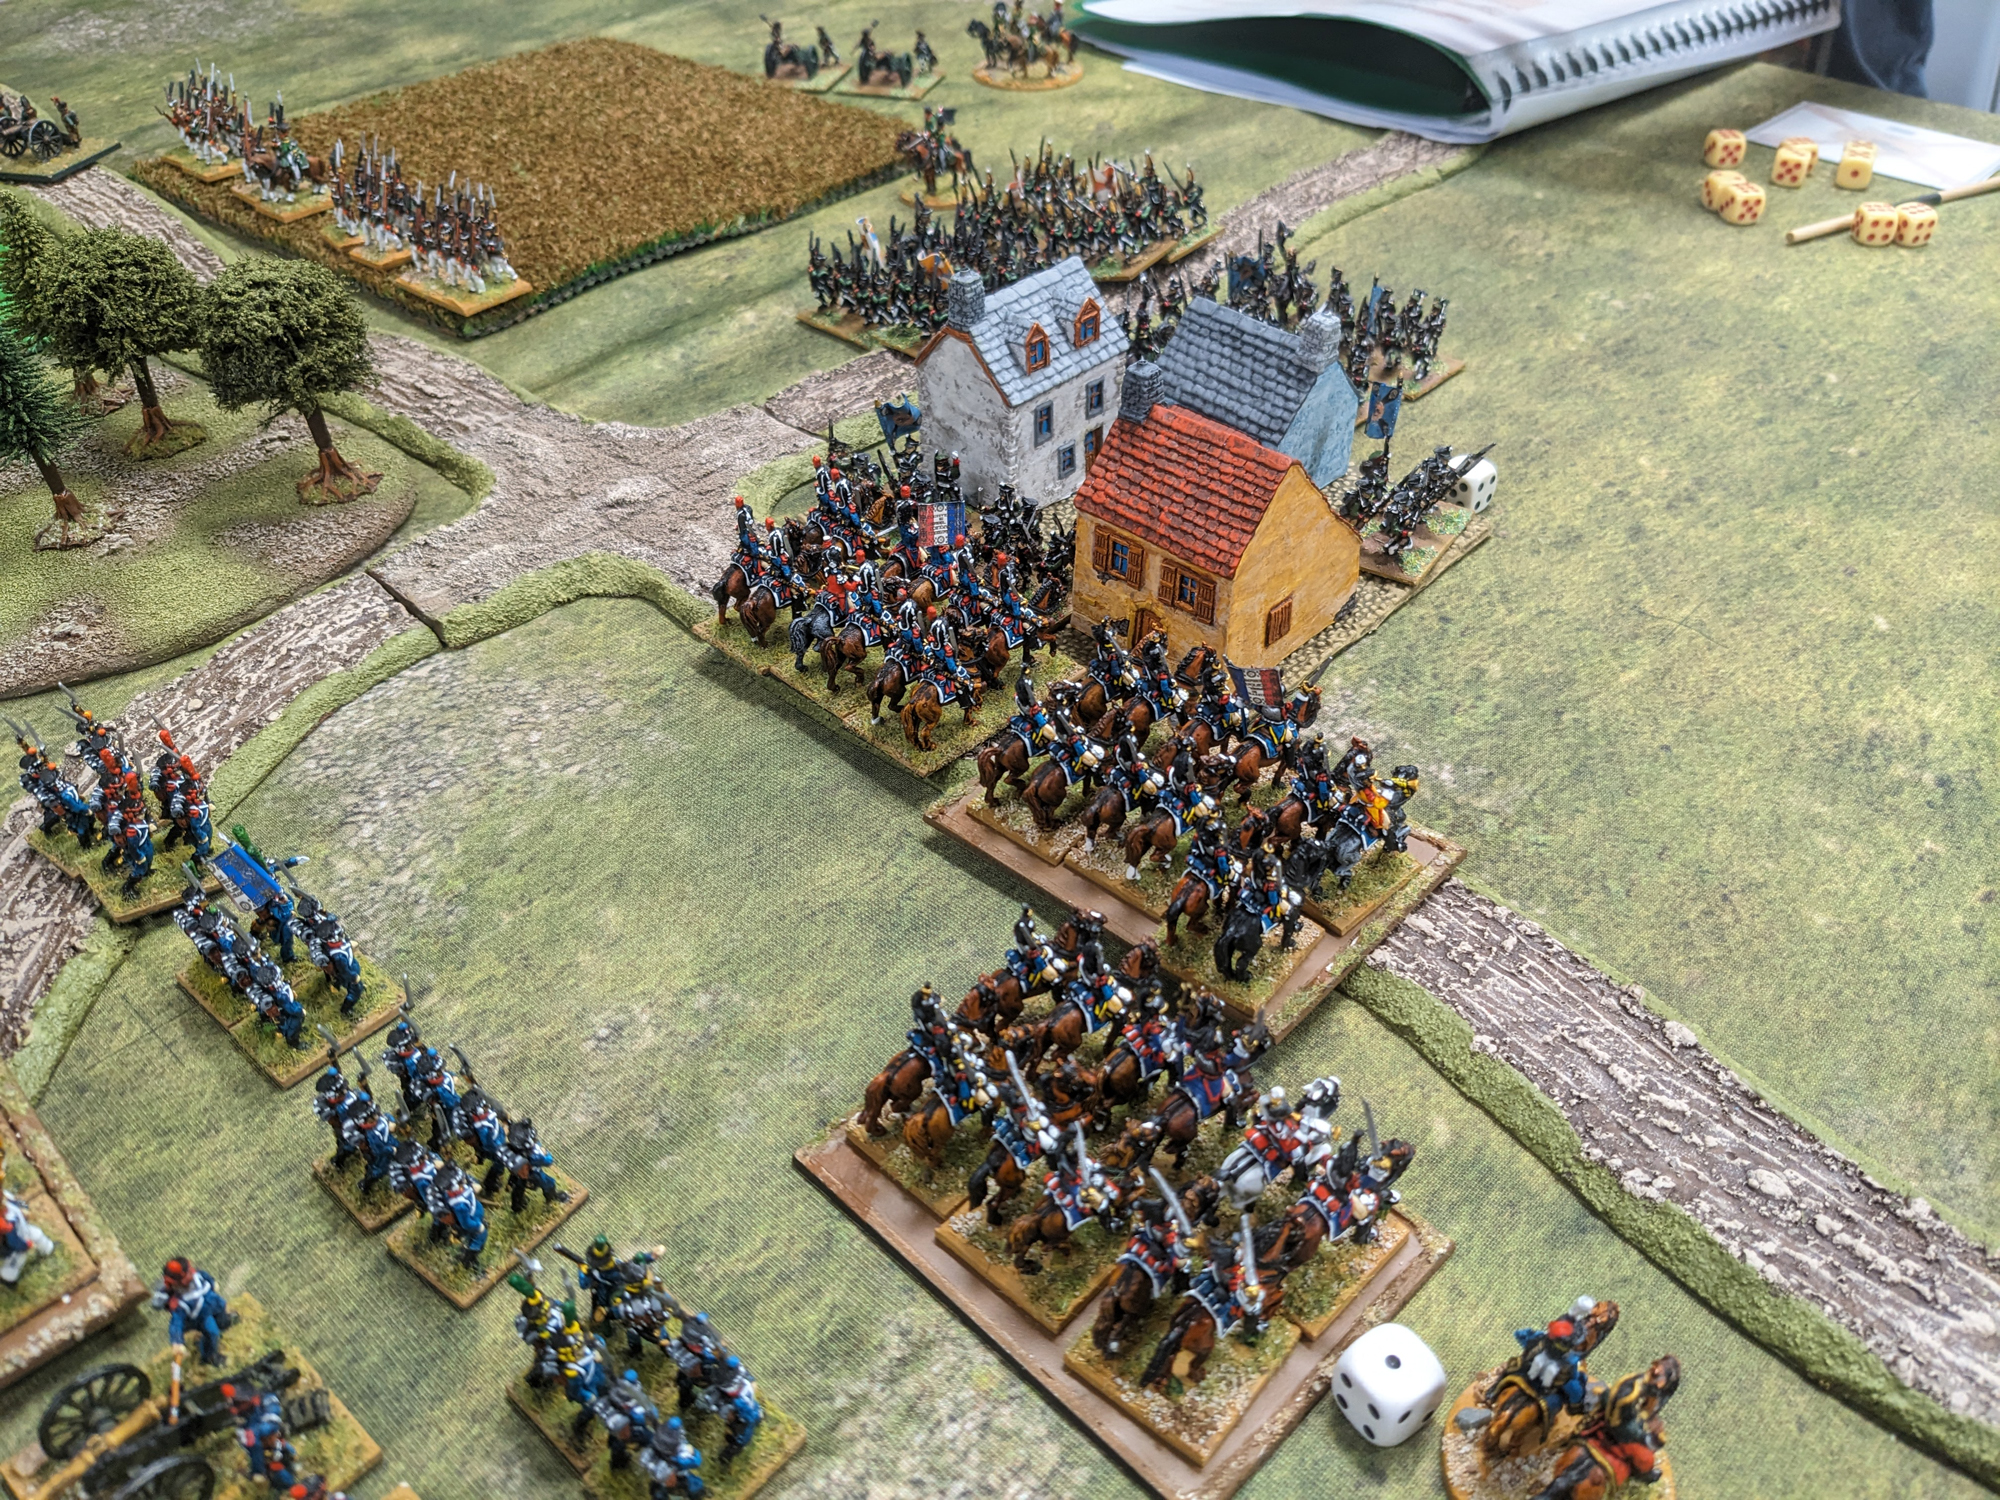
Anyway, Stuart and I went wild with the French from the start; the Russians had occupied the village, whilst we had our heavy cavalry in the centre being shot at by Russian heavy artillery. So to save them from the gunnery, we attacked the village ...


More on that later ...

Meanwhile on the other flank, Brian was advancing masses of Russians against my French infantry on their hill. I forgot to put my troops into line, where they shoot better, and suffered for it.


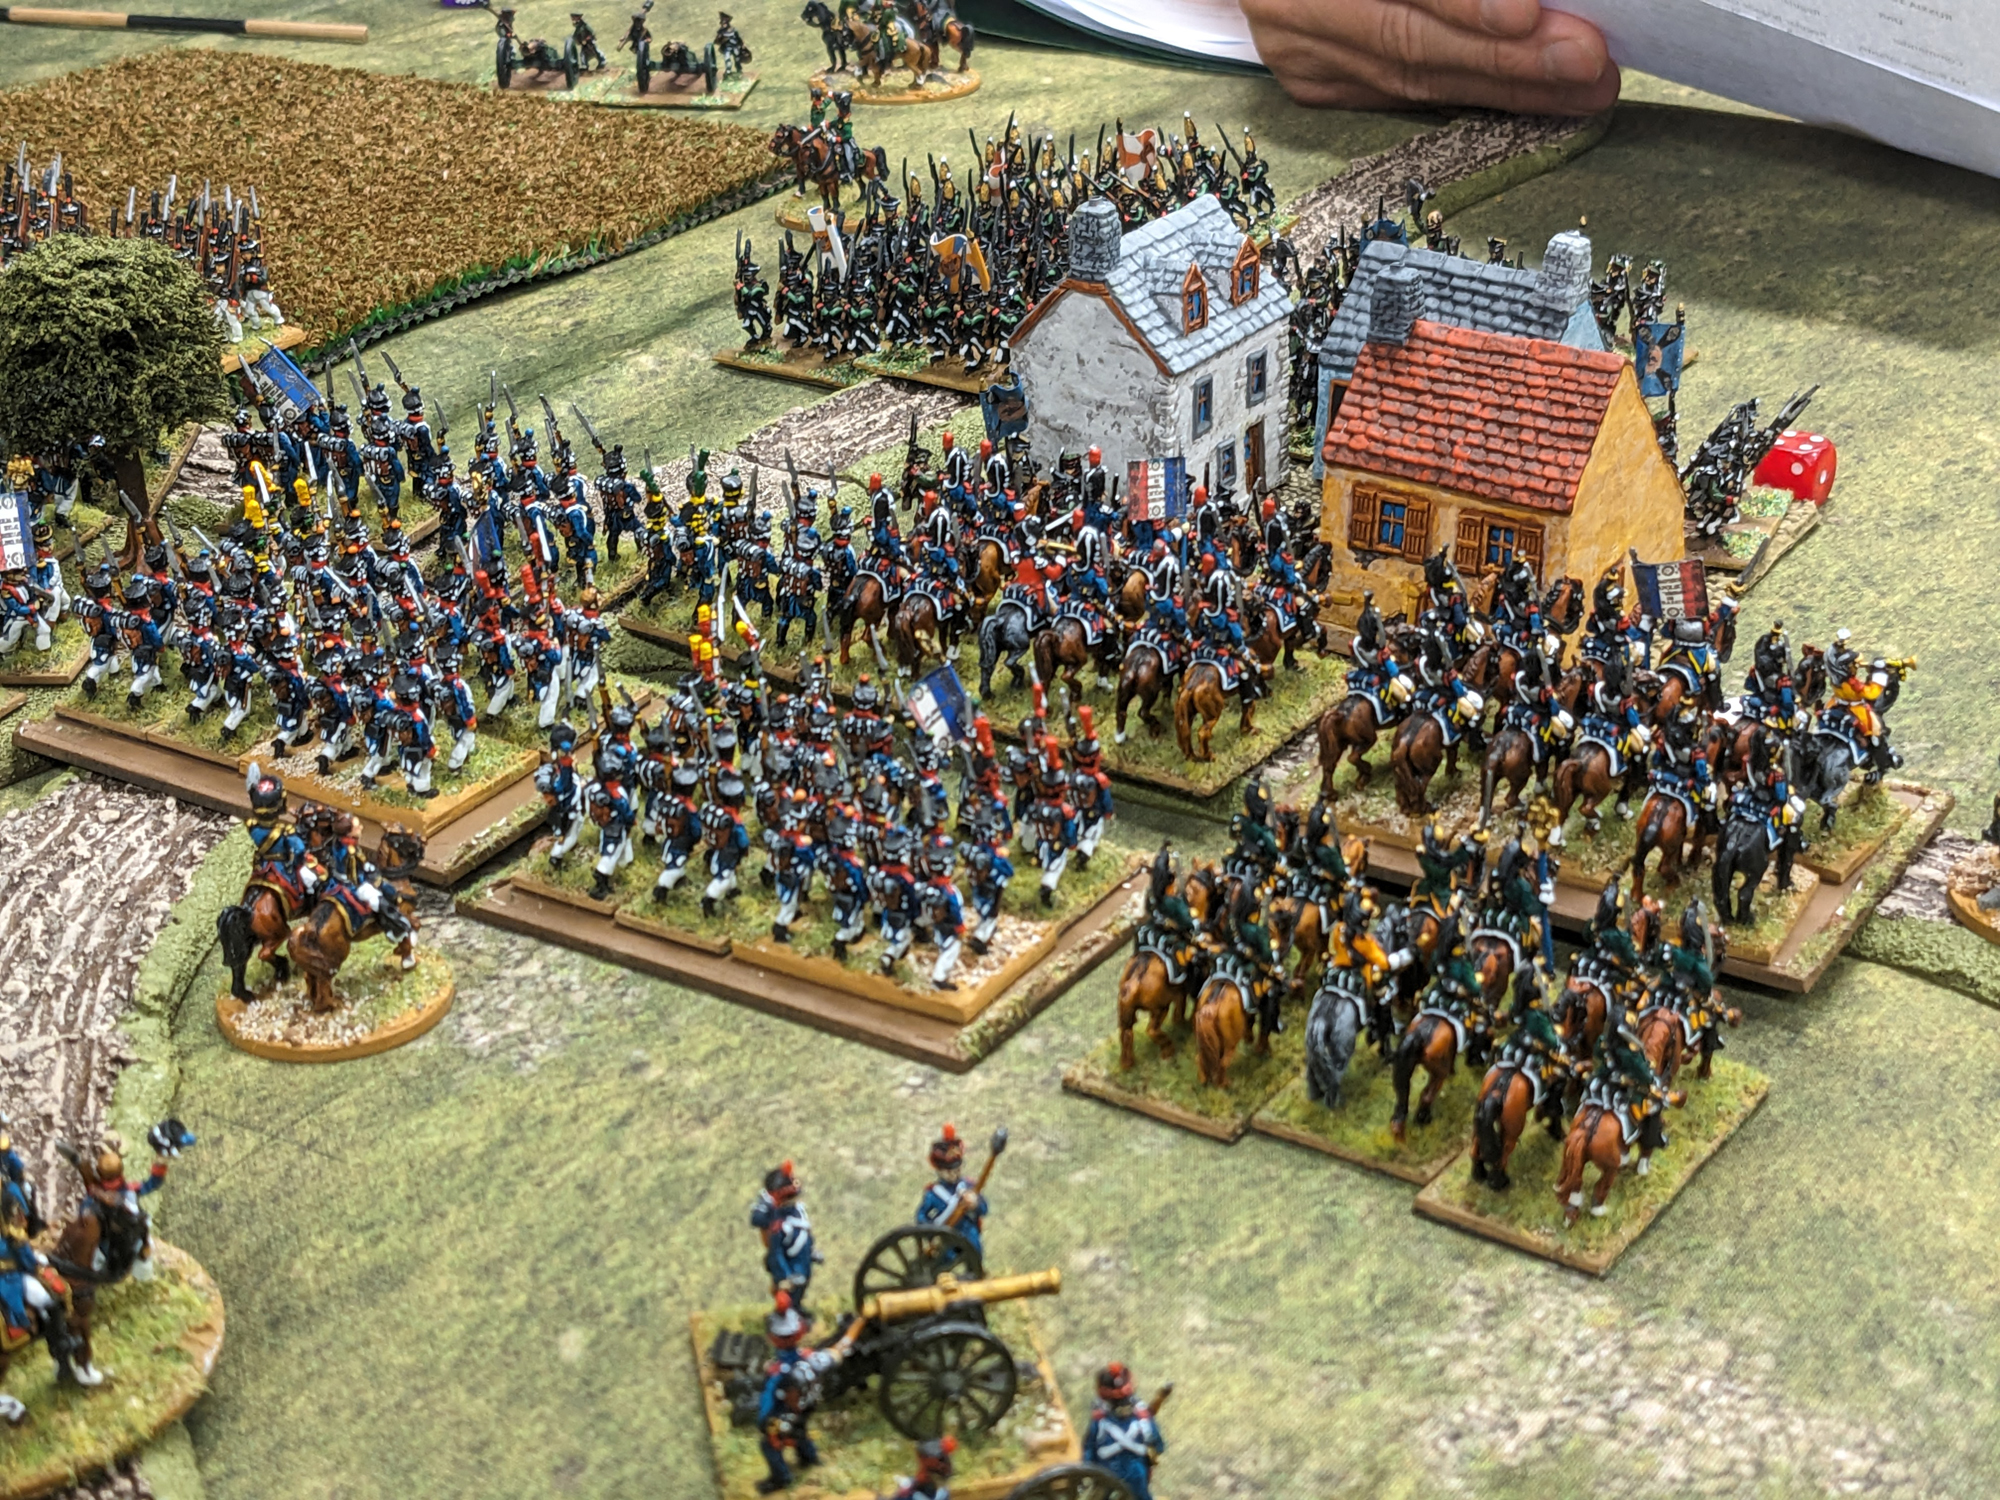
Back to the village. The French managed to maintain the attack - thanks in part to another feature of the game; event cards - and ...


... routed the Russian foot, taking the village! With cavalry. 


That said, the Russian heavies thundered past their infantry and rolled over the top of my foot on the hills. Something of a disaster, really.

Not pictured was the collapse of our light cavalry on the other flank - they were wrong-footed by the Russian lights after a bad command roll. Yes, there's a small bit of command friction built into the game. Unlike Black Powder where you roll for activations, Valour & Fortitude has a much simpler system; on a turn a side can activate one brigade for free, assuming it's in range of the army commander. Each other brigade must roll a D6 - on a '1' they don't act this turn; inertia, loss of orders or simple confusion stops them. They can shoot, but do nothing else. It's simple, effective and annoying, but does the job.

Anyway, we reached the time limit with the Russians ahead. The rules recommend simply playing until you reach a set time, and then that's the end of the game. Perfect for a club meeting.

As you can tell, I enjoyed these rules. There's a lot of combat factors to take into account but Gary, who ran the game for us, had put them all onto a useful QRS and by about halfway through we were all pretty much running our own shooting and combat, despite three of us never having read the rules prior to play.

In terms of complexity they sit nicely between Neil Thomas's 'Simplicity in Practice' and 'Black Powder'. I found them as entertaining as the latter but with much cleaner mechanisms. The rules are still being refined and updated based on player feedback, and I believe that versions are planned for other periods (although officially only ones for which Perry Miniatures do figures). I liked them.

Thanks to Gary for organising the game and to both him and Caesar for providing the figures. Also to Stuart for putting up with my insane 'Charge the village' plan and to Brian for showing me how to actually use heavy cavalry.

Wednesday, 5 July 2023

It's a (HOTT) Knockout! - Episode Five

Will this campaign ever end? We're now approaching the tenth game, and there are only two nations left, but the Inca failed to achieve a victory in their last battle after invading Prester John's Swiss holdings. What will happen next?

Season Ten

Firstly, let us remind ourselves of the current position. The Inca control three regions whilst Prester John controls two. Whoever invades the other has a stab at winning the campaign. And both nations are on an aggression of +1


Let's roll those dice!

Inca: 4+1=5
Prester John: 2+1=3

So despite their defeat in the previous season the Inca are back. This time they strike straight at Prester John's home region.


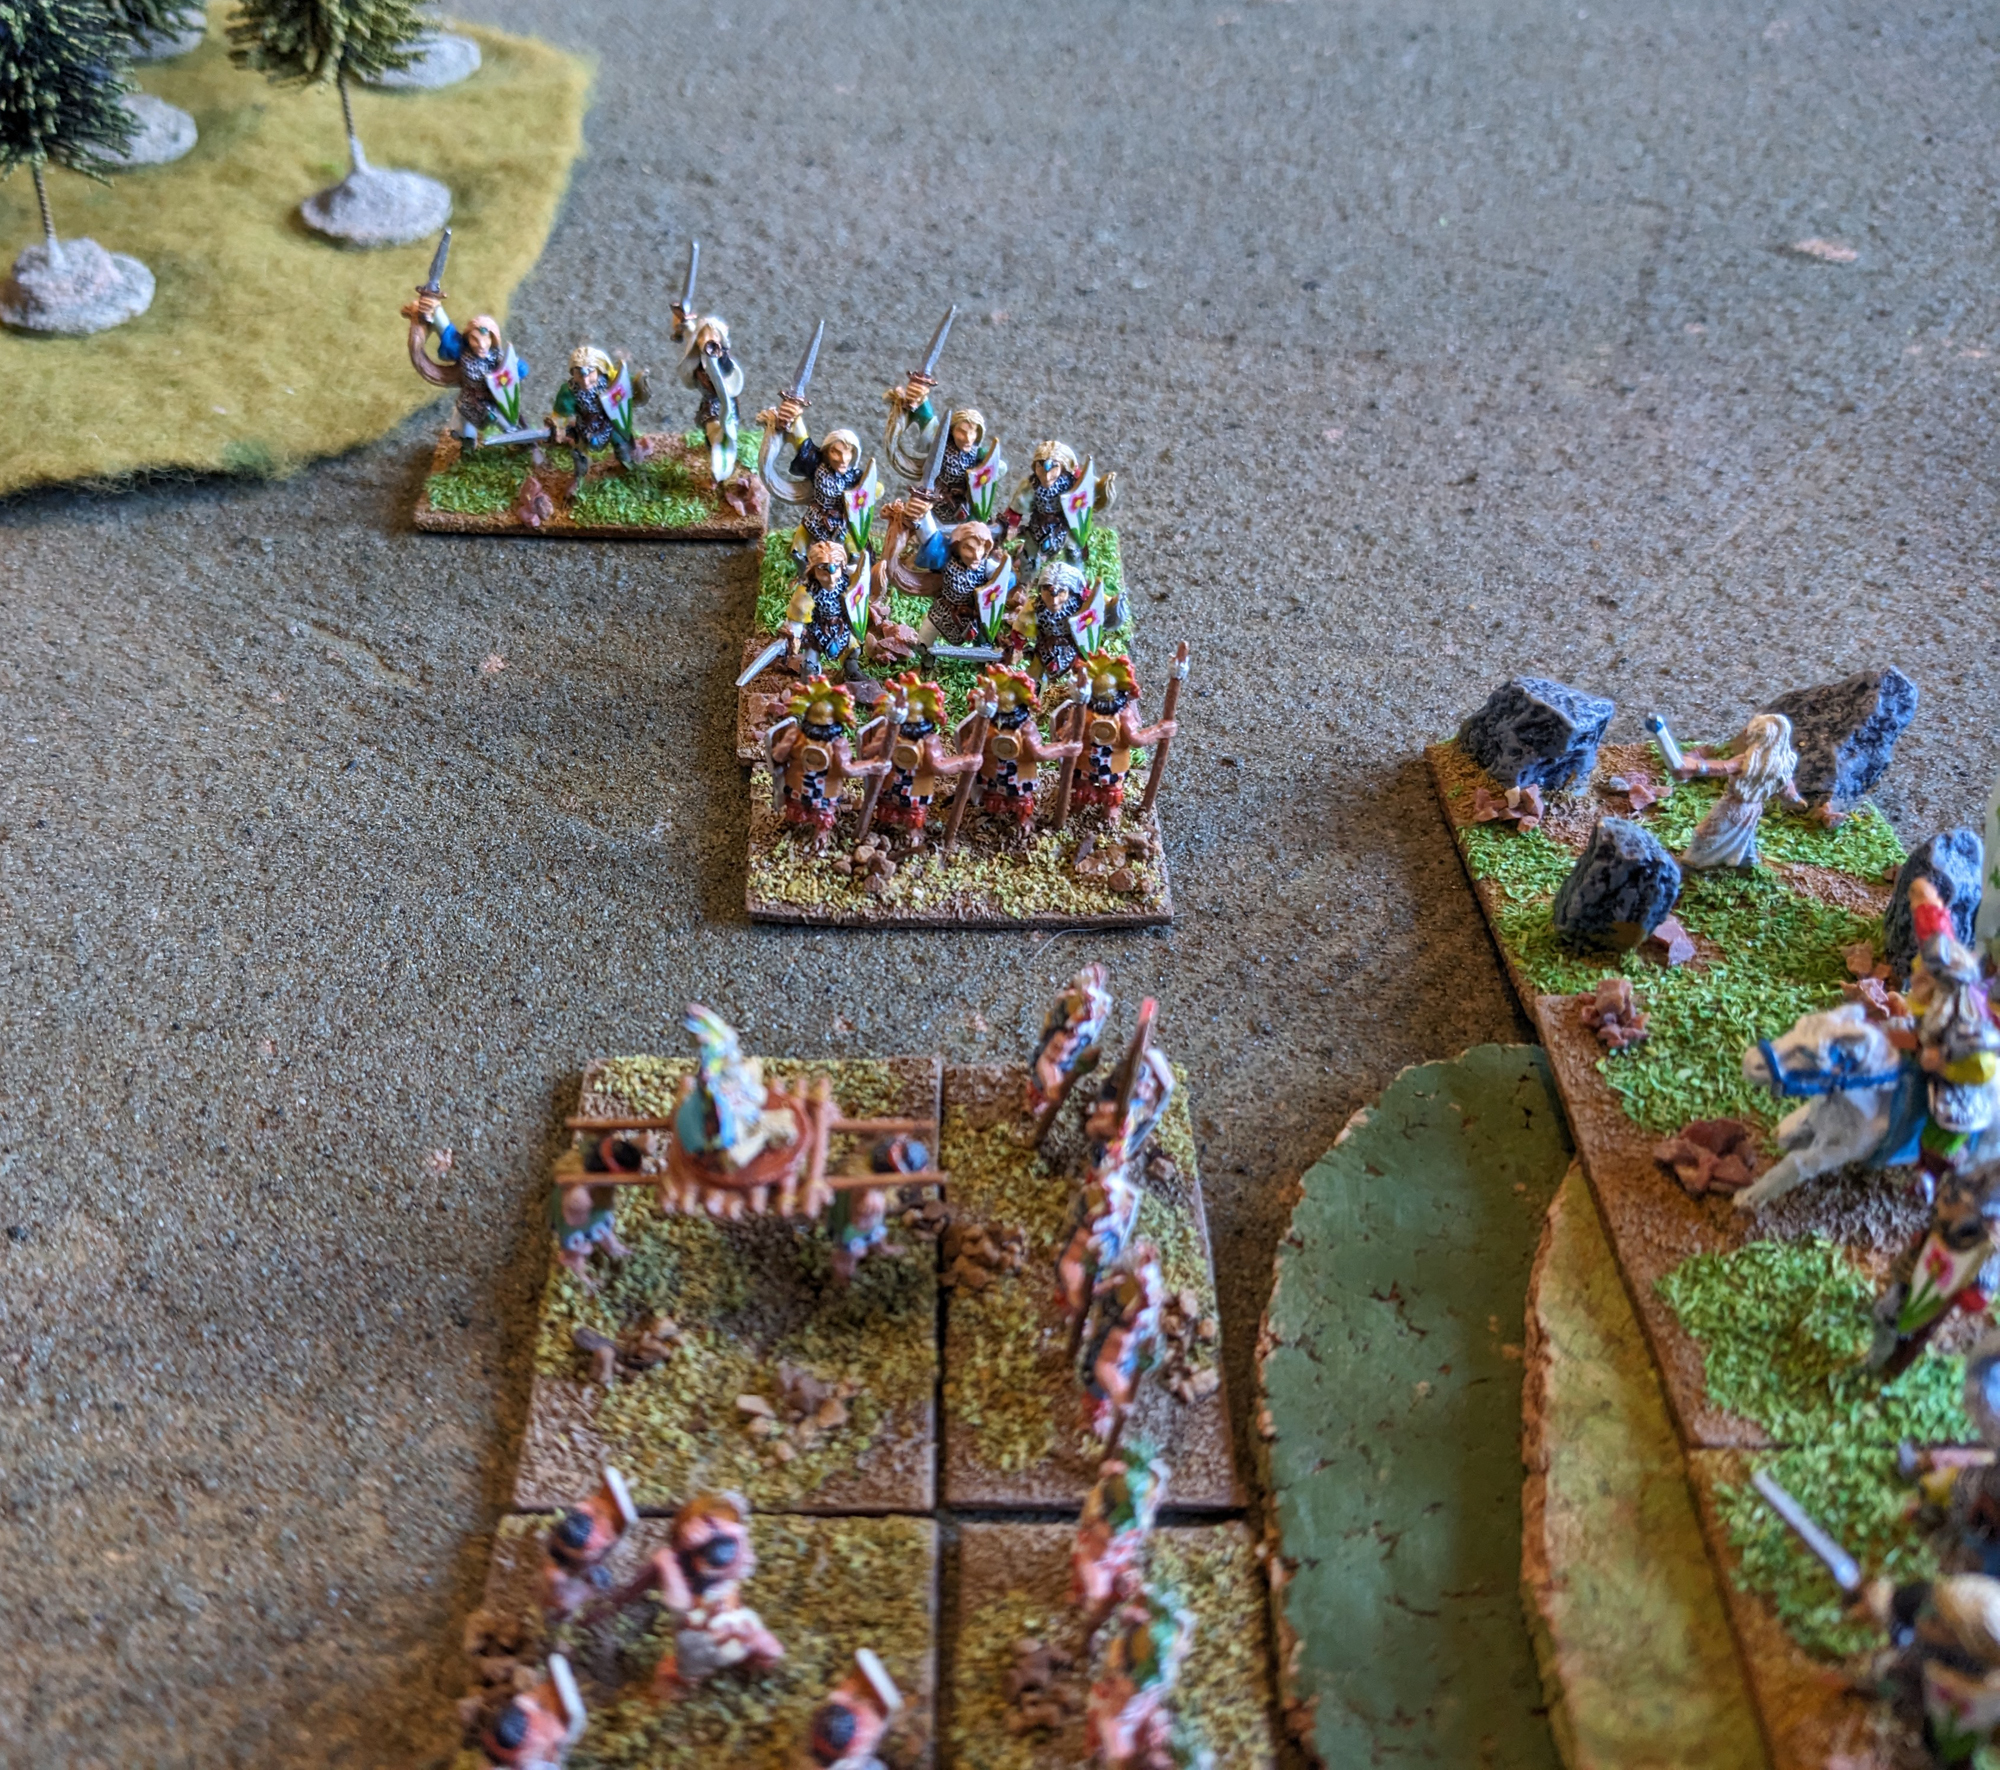
Prester John had an extended line anchored on a settlement, whilst the Inca massed themselves against the enemy right.


Amazonian lurkers attacked the archers but were driven off. However it broke up the enemy position a little and cost them a few PIPs as they reorganised in order to advance through the settlement.


Prester John advanced to keep the settlement covering his flank, whilst the Inca surged forward as fast as they could in order to catch the enemy before they could redeploy to get better matchups.


Contact! Both armies were overlapped on their right.


The Great Inca was fortunate enough to face warband, and ploughed straight through them. The knights to their right were also destroyed.


So Prester John's right had collapsed, whilst the Inca right, made up of hordes, was steadfastly resisting archers and the elephant.


The Great Inca turned on some knights, and destroyed them as well.


Both armies were now very broken up, but the Inca had the better position.


The Great Inca's rampage was stopped by some blades, whilst Prester John's elephant was being drawn away from the fight by recoiling hordes.


The blades couldn't resist the Great Inca for long, though. They were destroyed and that broke Prester John's army.


The Inca won 12-4, losing a horde, their lurker and a blade.

And as victorious attackers the Inca now took over Prester John's territories to win the campaign


A photos of the winners. They had fought four battles and won three of them.

So that's the campaign over. It went on longer than I thought it would, with the stalemate conflict between the Fishmen and Prester John dominating the middle period. The Swiss and the Elves only fought in two battles, although the Elves did manage to extend their territory.

This was a fun way to run a campaign, and might be interesting to try with even more armies. I found that giving all winners a +1 aggression and losers a -1 created a nice variation in who attacked and who didn't, so will use that again.

Sunday, 2 July 2023

It's a (HOTT) Knockout! - Episode Four

Having got the Gaslands demo game out of the way, and a very busy week at work, I picked up my ongoing HOTT knockout campaign again today.

When we left it, the Fishmen had just been knocked out by the Elves, whilst the Swiss had been eliminated by Prester John. This left just three nations in play - Prester John, the Wild Elves and the Inca.

Season Eight

The rolls were:

Elves: 1+1=2
Inca: 4+1=5
Prester John: 4

This left the Inca, not seen in action since Season Two, attacking the Elves. The only region they could reach was the Elves' starting point, so that's where they went.

The Inca managed to deprive the Elves of a wood to deploy in or near, but the Elves did end up with a useful hill to defend.


The battle started badly for the Inca. Having got into position on the hill the Elves had PIPs to spare to use magic and despite the presence of a cleric in the Inca ranks, succeeded in ensorcelling the Inca hero element.

You can also see some Elven warband working their way onto the Inca left flank.


The Inca pushed forward with a raid attack.


The Elves attacked the Inca left, sweeping away the first group of Inca warriors they encountered.


The Elves doubled up to attack the next lot of Inca warriors - and were destroyed! So whilst the Inca left was still looking unsafe, it wasn't as under as much threat as before.


The Inca charged!


They lost another element of blades to some warband on the hill, which then swept down to take out the hordes beyond, But the Great Inca broke through the enemy line.


Rather than surge forward he turned and attacked the warband that had punched a hole in his centre. And that was the end of them. The Elves were now running out of warband.


The Elves brought across their sorceress to drive off the Great Inca, but she was driven back.


On the Inca right, their hordes were having difficulty closing with the Elven archers. But they were also holding the Elven archers in place.


The Inca then rolled a '6', and used it to bring back their ensorcelled hero element, the Aucakpussak, who immediately attacked the Elven stronghold. They failed to take it though.


The Elves destroyed the Huaca sacred litter, which now left the Inca vulnerable to their army's magicians.


The sorceress had been driven back, and was now attacked by both the Great Inca and the Aucakpussak. Amazingly she drove them off.


The hordes still failed to close with the archers. In the centre you can see that the Great Inca has fled back to he main battle.


Back in the main action, the Great Inca turned on the last Elf warband, and destroyed it.


And the Aucakpussak defeated the sorceress, to win the battle for the Inca.


The Inca won 16-10, so it was a close battle. At the end it boiled down to whichever side lost an element first. The Elves were lucky to survive an assault on their stronghold as well.

The Elves were now out of the campaign, and this was now the position of the two surviving nations; The Inca controlled a great swathe of land to the north, west and east, whilst Prester John controlled the south and centre. Who would come out on top?


Season Nine

The two nations rolled, although the Inca had a huge aggression bonus of +2

Inca: 5+2=7
Prester John: 4

So the Inca were attacking Prester John's empire, with the possibility of winning the campaign if they were victorious. They opted to attack their foe in the central province, originally controlled by the Swiss.


The Inca got to deploy with their flanks covered by bad going and a hill in their centre. Prester John massed his best troops in the centre and but troops capable of acting in bad going on the flanks. 

This was a tricky action, since it was really to neither side's advantage to attack. I therefore determined a couple of likely tactical options, and diced for it. The Inca would sit tight in their position and Prester John chose to attack on the flanks.


The Inca extended their line into the bad going and fell foul of Prester John's crocodile lurkers.


Meanwhile the Inca occupied the hill, whilst Prester John's whole army advanced.


The Inca hordes held the lurker on the first round, and the Inca were able to counter-lurk with their Amazonian Indian allies. The crocodiles destroyed the hordes this time, though.


The Indians drove off the crocodiles in the next bound, and then moved to help cover the Inca right flank.


With their flanks under threat the Inca opted to attack off their hill. Any recoils would take them back onto it anyway.


Prester John's native allies once again proved their worth, sweeping away the defenders of the bad going, and falling on the flank of the Inca army.


But a mob of hordes destroyed one of the warband!


The other warband fell onto the flanks of the Inca blades, who were beset by the elephant and destroyed.


The elephant then assisted Prester John in destroying the Aucakpussak heroes.


The Inca's only substantial success was that the Great Inca had, once again, punched through the enemy line, and was engaging Prester John's knights, who had been held in reserve. The knights didn't stand a chance.


But Prester John's army was now rolling up the Inca right. There was a brief moment of possible victory in sight for the Inca when they had the possibility of backing Prester John into his own elephant (as they had done in the armies' previous encounter), but it didn't work this time.


An element of blades was totally surrounded, and easily destroyed ...


... giving Prester John the victory


The Inca lost 12-7. The battle felt closer than it seemed, with the Inca having a couple of chances to swing things their way, but never getting the PIPs or combat rolls to exploit them. 

And so the campaign map remained unchanged, and both armies were now at +1 aggression.

Who would be the attacker and therefore potential campaign victor, in the next battle? Find out in the next episode!
Related Posts Plugin for WordPress, Blogger...