Tuesday, 5 May 2020

Another Brisk ECW Action

Today is 5th May, but I didn't register it until later in the afternoon, otherwise I would have done a Portable Wargame refight of the Battle of Puebla using my Mexican Adventure troops. I could have found the figures and terrain, but I knew I had a burlesque class this evening, so didn't really have the time to devote to it.

Then my class was cancelled, but I didn't find out until it was really too late in the evening to go and get the stuff.

So I'm not doing a Portable Wargame refight of the Battle of Puebla this evening. But let's see what the weekend brings ...

I did, however, still have ECW stuff on the table from yesterday evening, so I set up another head-to-head fight. This time I used eight units a side (both sides ended up with three pike & shot, one shot and four horse). I placed a two-square hill and a village towards the centre of the table as objectives, then randomised the rest of the terrain, which ended up placing a large area of enclosures on one flank and a huge wood on the other, thus limiting sweeping cavalry moves. Each objective held would give +1 on army morale tests, so holding both would be good.

Parliament set up on the side nearest the village, whilst the Royalists were poised to sweep up onto the hill.


The battle began with a full advance by the Royalists, whilst Parliament rushed shot into the village.


Both sides' horse rushed for the hill, with the Royalists reaching it first. The obligatory cavalry melee broke out, with surprisingly few casualties on either side at first.


The Royalists concentrated their foot against the village. Parliament moved a unit of pike & shot into the woods to the right of the village in support.


The Royalist horse rode down off the hill as their second line moved up to occupy it. They started to push the Parliamentarian horse back.


The height of the battle.
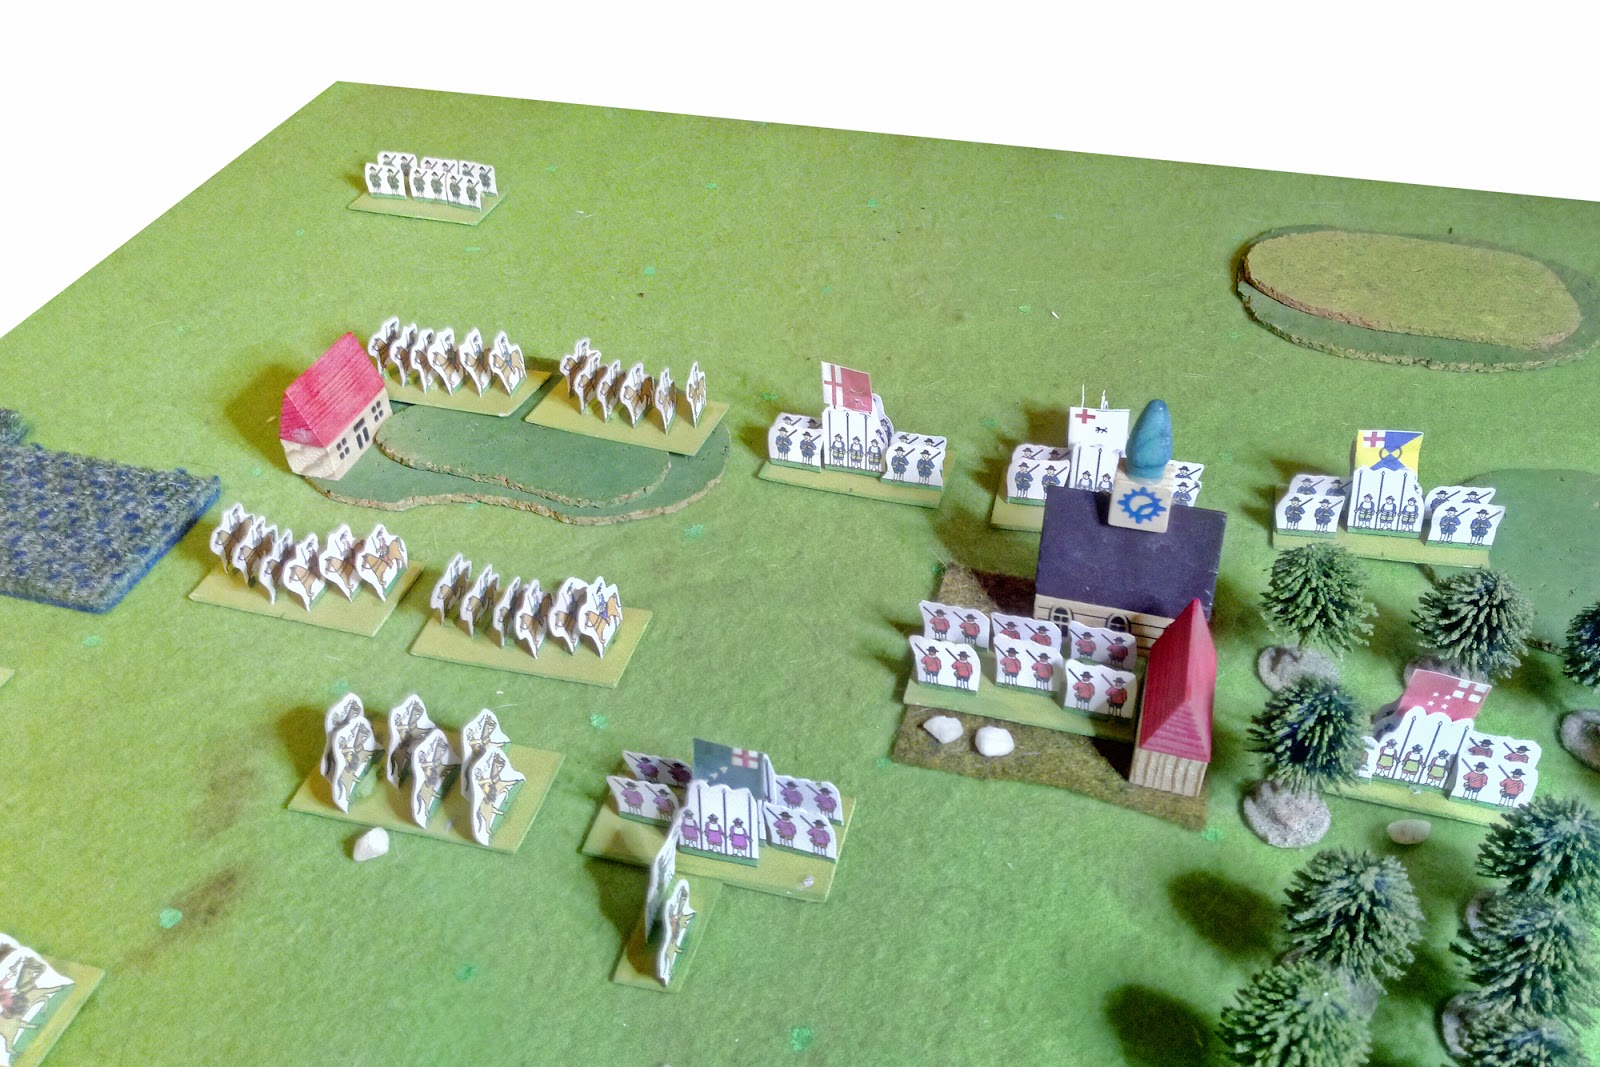

Over on Parliament's left some of their horse moved through the enclosures looking to outflank the hill. The Royalists moved up their reserve shot in response.


The Royalists tok the village ...


... but their battered foot unit was routed by the first Parliamentarian counter-attack.


In the centre the Royalist horse failed to drive off their Parliamentarian opposite numbers. Both sides were taking hits and edging towards their break-point.


The Royalists outflanked the village through the woods, but their first attack was repulsed.


Over on the other side of the battle a unit of Parliament's horse was in trouble, facing the shot alone whilst hit in the flank by Royalist cavalry. But it held.


A unit of Royalist horse in the centre was destroyed, and the victorious Parliamentarian horse galloped forward onto the criminally unoccupied hill.


The loss of their horse had pushed the Royalists over their break-point, and they managed the obligatory '1' for their morale test, breaking their army. So the fact that they held neither objective made no difference. Parliament was only about one hit off their break-point at this stage.


This was a quick game, with the confined battle making it something of a meat-grinder with little scope for the flank-attacks that help make decisive combats.

One thing I need to think about is determining conditions under which a retreat in mandatory. At the moment if a unit takes a hit then it rolls to see if it loses a strength-point or has the option of losing one or retreating instead. This is fine for most combats, but if a unit is defending a position I feel that there ought to be a chance that it's forced to retreat from it by an attack. I shall consider the options whilst trying not to break the game.

Monday, 4 May 2020

A Brisk ECW Action

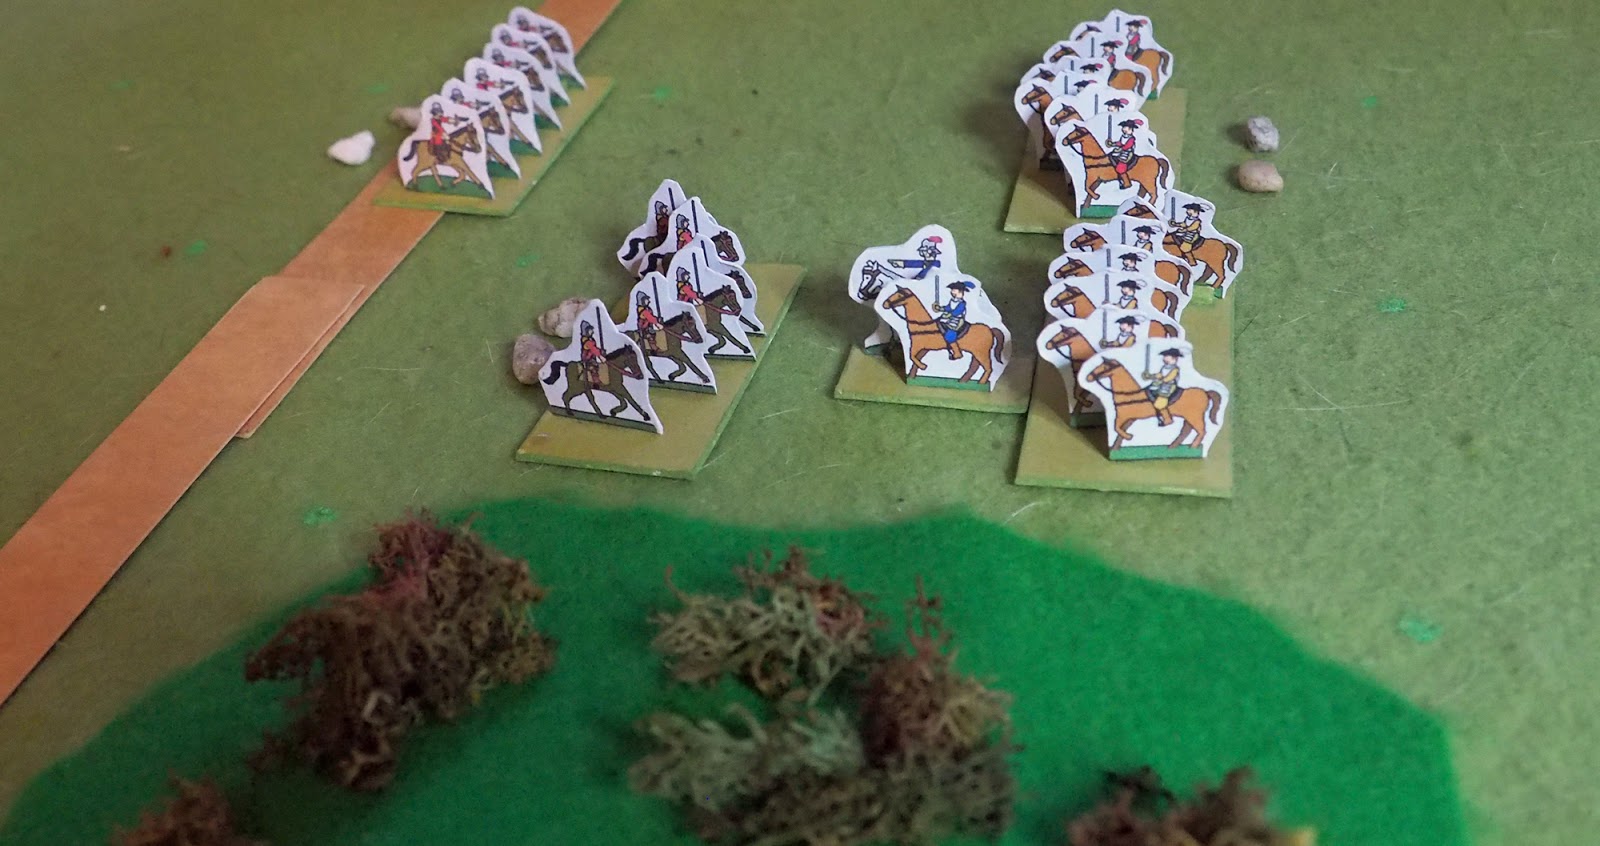
I played a quick six units per side ECW Portable Wargame action this evening. Victory was about breaking the other army, but control of four on-table objectives - the village, the large wood and the two hills - made this easier or harder to do. The Royalists (top) had control of the village and one hill, whilst Parliament had only a single hill. The large wood remained uncontrolled. I decided that for each objective controlled the side would get a +1 on its morale roll (with a 1 still being an automatic failure).


The battle opened with a cavalry skirmish on Parliament's left. This ended with both sides taking hits, the Royalist commander being seriously wounded and the horse parting and returning to their baselines.


Parliament needed to take the wood in order to balance up the held objectives, so rushed some shot into the trees, and the rest of their foot forward in support. The Royalists advanced to oppose them.


Royalist horse rushed across the front of the village to hit Parliament in the flank.


A confused melee broke out.


Parliament got the worst of it, but the Royalist horse was denied a killing blow when it rode away from the main fight in pursuit of fleeing Parliamentarians (actually a random event allowing Parliament to move a Royalist unit).


Despite controlling three objectives (the wood and both hills) Parliament's battered morale broke first, leaving the Royalists the victors.


Again this game saw several random events. The Royalist horse which raced off on its own path away from the fight also had a one-time combat bonus stored up, which it had been denied using a turn earlier after the unit's commander became confused and left the unit milling around with no orders. In addition both sides had units that suffered crises of confidence, and lost a strength point.

I probably need to come up with a better way of controlling the way objectives interact with the Break Point. And I think the game would have run better with eight units a side, rather than six.

Sunday, 3 May 2020

The Action At Midsomer Mere

The Civil War has flared up in the county of Midsomer again, and Lord Standing's Royalist forces are attempting to march on Causton. Sir Henry Nelson has been sent with a small force to delay them, and making use of local knowledge chooses to do so at the critical choke-point at Midsomer Mere. This consists of a causeway over boggy ground - impassable to the east, but with paths known to the locals in the wooded areas to the west. His force consists of two units of horse, a unit of pike and shot and some local dragoons who know the paths through the woods.

Lord Standing has a larger force with which to break through the Parliamentarian blockade; two units of pike and shot, one of commanded shot, two of horse and some artillery.


This is the 'Bottleneck' scenario from 'One Hour Wargames', adapted for the ECW Portable Wargame. Parliament start on-table, and must end the 15 turn game with at least one unit in an open square on, or adjacent to, the road. The dark green bog is impassable to all units, whilst only the Parliamentarian dragoons can move through the woods.

The Royalist advance guard arrived - two horse moved round to the west in order to flank Sir Henry's position, whilst the shot closed up to engage the dragoons in the wood. Sir Henry opted for a forward defence, bringing his horse wide out on his left.


The shot moved into action.


The first cavalry charges saw little in the way of casualties, but the Parliamentarian horse did fall back.


The remainder of the Royalist foot arrived as the Parliamentarians peppered them with musketry.


Lord Standing led his foot in an attack down the road, but was stunned by a musket-ball, and carried from the field. Command devolved to his Colonel of Horse, Sir Lawrence Lamb. Of course as the Royalists pushed down the causeway they lost the support of friendly units to the flank.


Fierce fighting along the line.


Sir Henry's horse had taken some hits, and taking advantage of some hesitation on the part of the Royalist forces, fell back towards the road.


The local dragoons saw this retreat as a general one, and slipped out of the woods, ready to head home, but Sir Henry persuaded them of the error of their ways, and they returned to the action.


Sir Lawrence, keen to impress his Royalist superiors, led his horse in a series of fierce attacks against the enemy, shattering them.


In the centre the Royalist foot broke under fire from its front and from the woods to its left, although their artillery was in action, pounding the Parliamentarian foot.


Parliament's position still looked strong, and the day was drawing on, but accumulated casualties were beginning to tell, and the force's morale was wavering.


However Sir Henry was ever one for bold action, and sensing that his Royalist opponents were close to having had enough of the fight, ordered his foot into a daring charge down the road, which overwhelmed the Royalist guns.


The Parliamentarian horse made one last attack, with some initial success, but were driven back by a desperate counter-charge.


And that was enough; Sir Henry's troops melted off into the sunset. It was late in the day, but for the Royalists the road to Causton was clear.


So a narrow Royalist win with only a couple of turns to go. I gave the Parliamentarians a bonus on their morale roll if they had units in a position to prevent a Royalist win, and they survived at least one morale roll on that basis. But eventually the odds caught up with them.

This game saw loads of random events (caused by a double on the initiative die-roll). Key events included the Parliamentarian dragoons retreating from the woods (fortunately they got initiative straight away and moved back into position), the Royalist horse getting a combat bonus (which gave the edge in their vital charge towards the end of the battle), whilst some Parliamentarian horse took a hit, and a Royalist foot unit rallying two hits early on (which kept them in the fight for a few turns before they eventually broke, but which probably prevented a Royalist morale collapse at the end). So hooray for random events.

Anyway, this was a lot of fun for a game I set up on the fly because I didn't like to see a late Sunday afternoon go to waste.

Saturday, 2 May 2020

HOTT 52 - Week 18 - Boxers vs Foreign Devils

Having showcased my Boxer Rebellion and Foreign Devil armies the other day, I thought that it would be appropriate to make them the subject of this week's HOTT 52 game. So I did.

After considering changes to the armies I decided that the Foreign Devil's Bishop Favier element, currently a paladin, could be reclassified as a hero, thus reducing the deadly paladin/cleric combination this army has where their magician is effectively neutralised. More to the point I decided to run him as a hero general; the sources I used say that "Bishop Favier ... was transformed into a "devil prince" (guiwang), two hundred years of age, who ... had gained complete ascendancy over the minds of the other 'devils'.". This 'ascendency' sounds like justification to make him a general.

Anyway, the Boxers defended, and ended up with one flank of their army anchored on some fields.


The Foreign Devils found their advance slowed by some fields on their line of march. They put the Russians and Japanese on their right in order to hold that flank, covered by the artillery. The advance in the centre, against the bulk of the Boxer troops, would be led by the Royal Navy contingent supported by shooting from the Italians and Americans.


The main attack would be on the left, with Bishop Favier and the Bengal Lancers moving rapidly to turn the Boxer's right flank.


The Boxers were deployed close to their stronghold (deep bases plus a deep stronghold will do that), so needed to advance a little to gain fighting space.


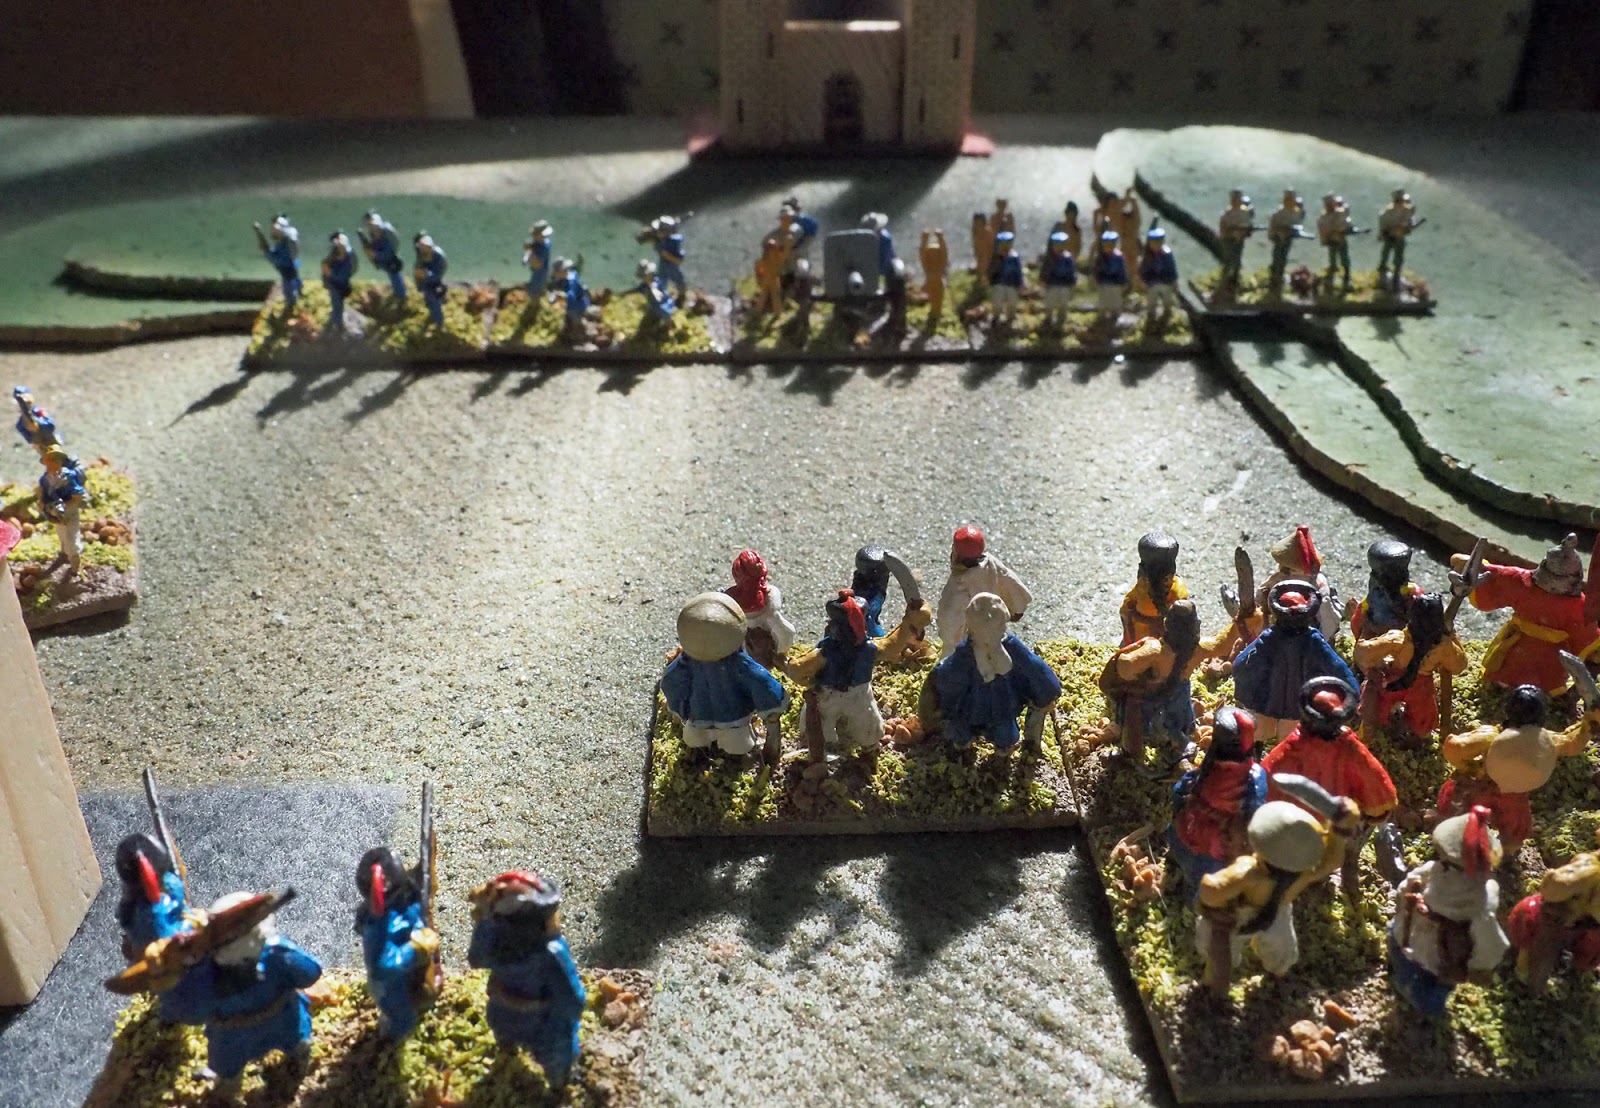
A view from the artillery position. No relevance to the game.


Early advances into bright sunlight. The field slowed the Foreign Devils' advance, but the Boxers were slowed reinforcing their right flank.


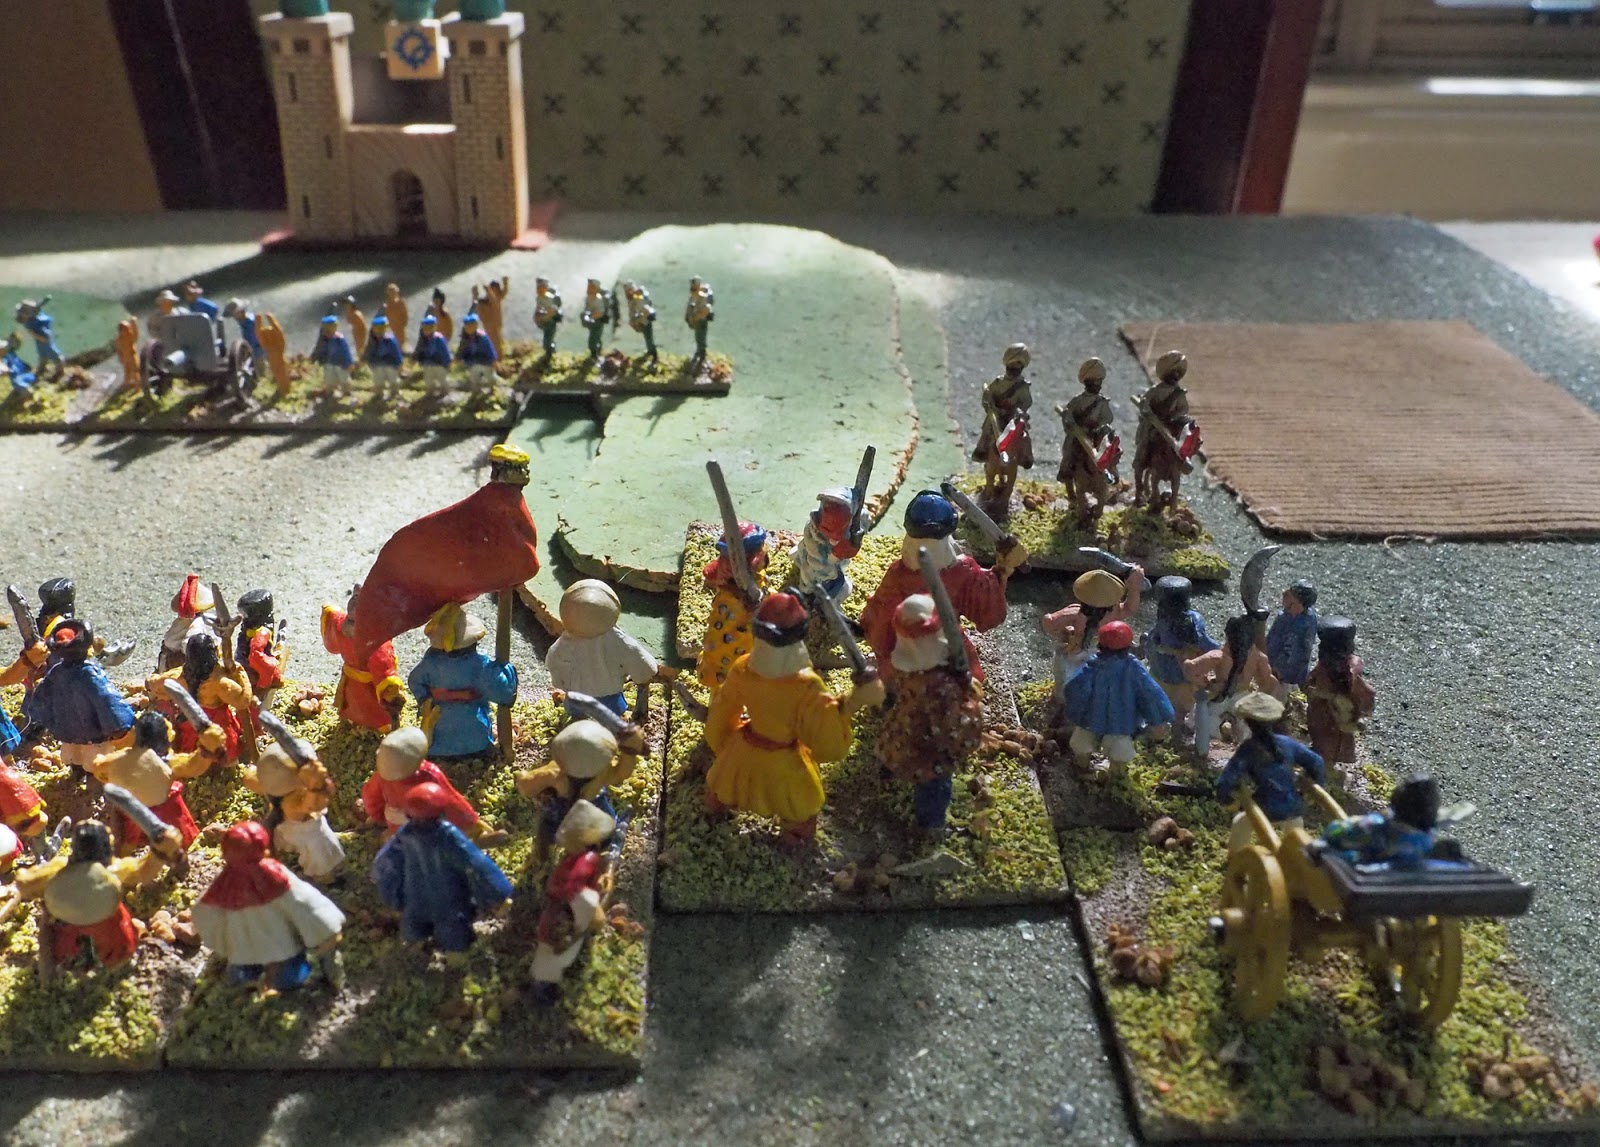
The Foreign Devils moved forward slowly, but on their left the Bishop and the lancers were making good progress.


The left flank attack halted for a turn to allow the naval contingent to move up in support.


The Boxers initiated the attack. A gap in the Foreign Devils' line was too good an opportunity to waste, offering a useful overlap, and attacking meant they controlled the order of combats (often an important consideration in HOTT).


In the centre the advance party of Royal Marines and sailors was overwhelmed and destroyed.


Bishop Favier was faced with the Boxers' Red Lantern sorcerer. The odds were in his favour ...


... and improved when the Bengal Lancers covered his flank by riding down the Boxers threatening it.

Sadly whilst the odds were in the Bishop's favour, the dice weren't, and he found himself a captive of the Red Lantern's magics.


And that was it; with their hero general and an element of warbad lost, against one element of warband of Boxer's destroyed, the Foreign Devils had lost.


It was such a short game that I set it up again, so you get a bonus report this week.

This time the Foreign Devils defended a cathedral, improvised from my toy buildings.


The Boxers aimed their attack on the enemy left. A rapid advance would reach the enemy position before they could move forward to benefit from the forward slopes of the ridge they were on. The Boxer's left was covered by a large village, and the Imperial musketeers were ordered to take position there and cover it against a Foreign Devil flank attack.


The Boxer advance was rapid indeed, and they got a toehold on the ridge before the Foreign Devils had moved forward too far.


Meanwhile the Royal Navy advanced on the village.


The artillery destroyed an element of Boxer soldiers.


The musketeers opened up on the advancing naval troops.


Bishop Favier and the lancers moved forward to seize the forward part of the ridge. The Bishop charged the mighty Peking Boxers; beating them would drive them back and break up the Boxer line, whilst losing to them and retreating (there was no chance of being destroyed) would see them pursue and become isolated from the rest of the Boxer line, forcing it to advance to cover them. It seemed like a good idea at the time.


The plan didn't allow or a tied combat; the Bishop ended up stuck in melee with the Peking Boxers.


The Boxers responded by bringing in the flying Red Lantern to hit Bishop Favier's now obvious exposed flank. This sequence of events shows that even playing solo you can outwit yourself; I really didn't see that coming when I launched Bishop Favier's attack.


And that was it for the Bishop. Again. The Foreign Devils broke, having inflicted the loss of one element of warband on their opponent.


I'm not 100% sure about the Favier as hero general option, but may explore it further. Maybe simply making him a hero is the way to go, making his loss less critical. I am rather taken with the original army's choice of an artillery general, which is delightfully risky (but which actually makes the artillery a tough proposition in close combat if well supported).
Related Posts Plugin for WordPress, Blogger...