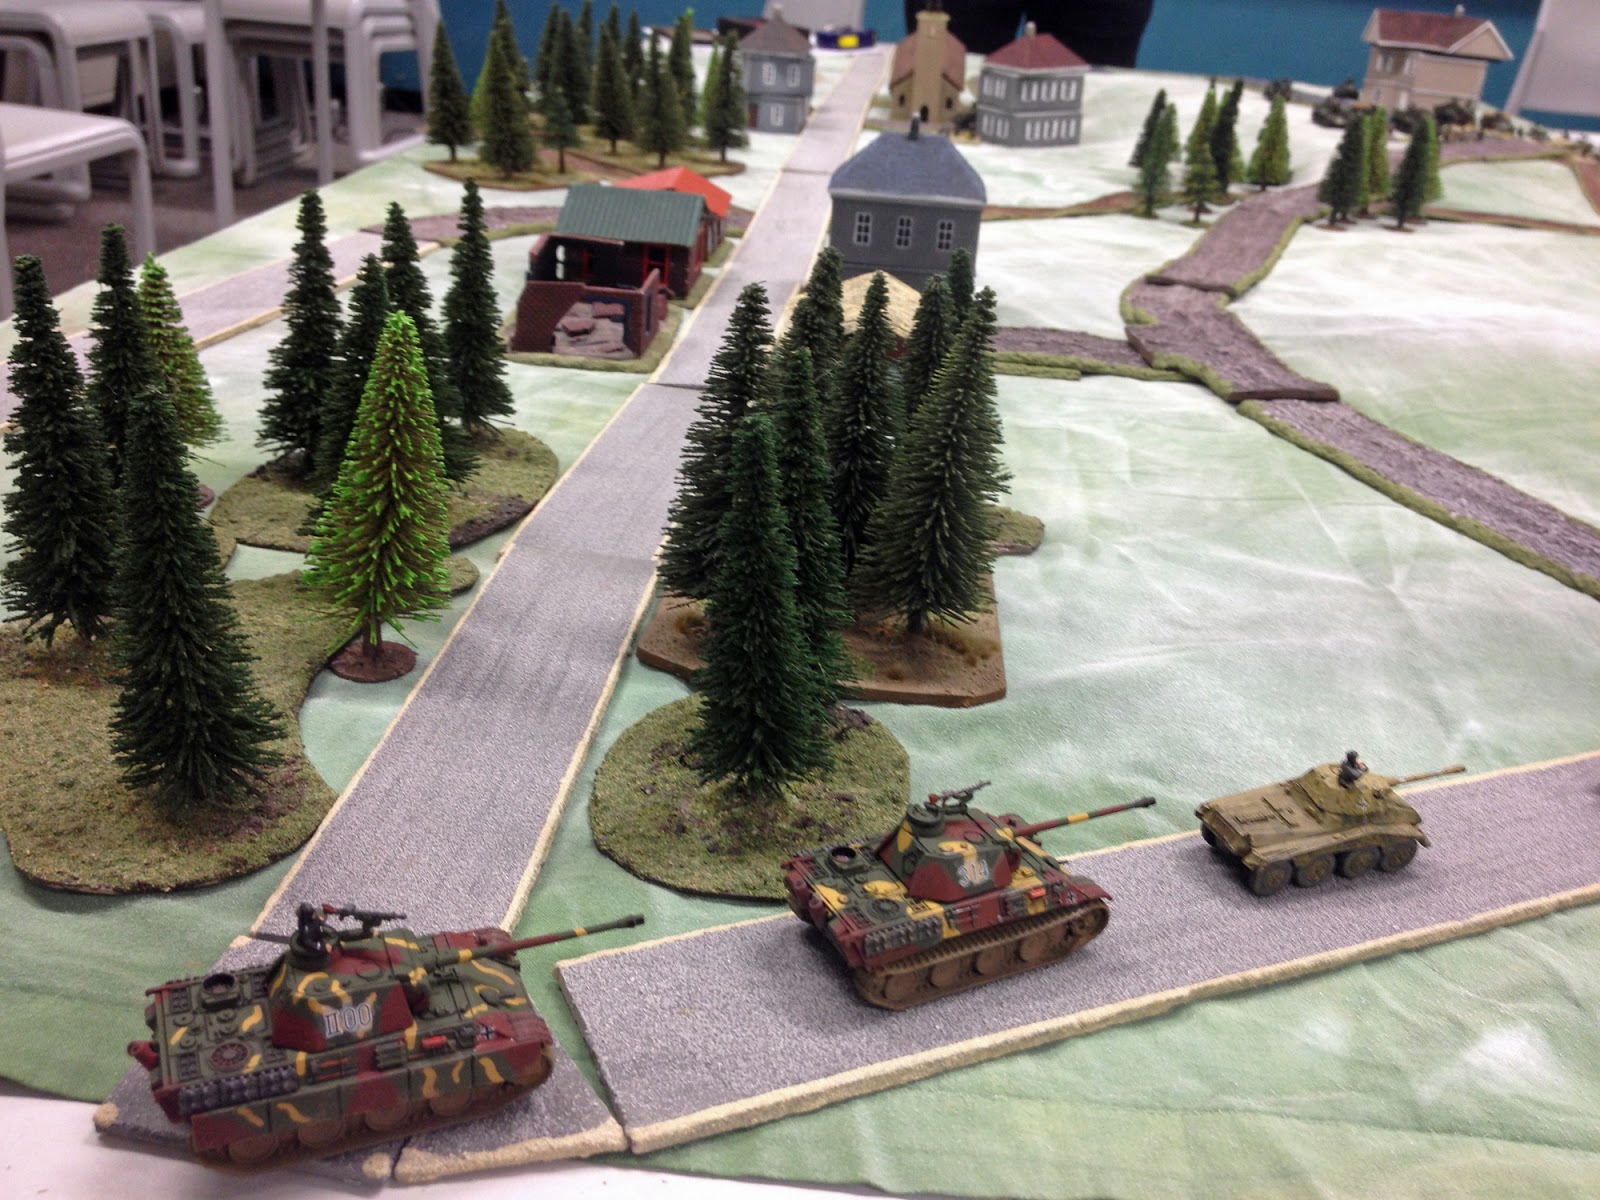
Sunday, 13 September 2015

One Hour Wargames - Scenario 14 - Static Defence

I was keen to try another game with my ECW paper figures today, so decided to move on to the next engagement in Midsomer between the Royalist forces of Lord Standing and his Parliamentarian opponent, Sir Thomas Barnaby.

Like a good gamer, I randomly rolled for a scenario in the One Hour Wargames book. And I got Number 14 which is, of course, the next scenario I need to play in my attempt to play through and report all of the scenarios in order. So I got to kill two birds with one stone.

Static Defence sees one side tasked with holding two objectives, a village and a hill. The other side must take one of them. Whilst both sides are roughly equal in strength, the defender is limited in that both objectives must be held; at least two units must be within a certain distance of each at all times. Thus they are prevented from shifting all of their strength from one objective in order to defend against an attack on the other. The attacker must decide whether to try and attack both objectives, or concentrate on one. A large wood in the centre of the playing area means that shifting the focus of the attack is not easy once the decision is made. 

The Battle of Halford Hill 

After the Royalist victory at Midsomer Barrow, both armies rested and regrouped for the winter. Causton declared for the Crown, so Sir Thomas Barnaby determined to take it under siege. To this end, in the closing weeks of January, he started to move up a siege train along the main road to the town. Lord Standing's forces were to the south of the town, and the Royalist commander determined that he could intercept and capture the siege train by a rapid move north, through the village of Halford. Parliamentary troops moved to block this advance, but Halford offered two means of threatening the road to Causton, one along the road through the village itself  and the other by taking the dominant Halford Hill. Sir Thomas could not afford to lose either position, so was forced to split his forces.

For this game I adjusted the way horse was allocated to the armies. There were still two types - gallopers and trotters - but each is now considered the primary type for one of the armies. Parliament's primary type is trotters, whilst the Royalists tend towards gallopers. All units of gallopers or trotters now rolled are considered Horse. The first Horse unit the army takes must be its primary type. The player then rolls a D6 for each of the others; on a 1-4 it is the primary type, on a 5-6 the other type. 

As you can tell from the 'historical background' above Parliament ended up as the defender, with the Royalists attacking. Sir Thomas got much the same army as before - three regiments of pike and shot, and two trotters. But instead of gallopers he got a unit of shot. Lord Standing had exactly the same army as in the previous engagement; four units of pike and shot, a unit of shot and some dashing gallopers.

Here's an overview of the battlefield, with the village of Halford on the right and Halford hill to the left. The Parliamentarian defenders are split between both. Lord Standing had made his plans, and was looking to make a rapid assault on Halford Hill, ignoring the village. 


The defenders of Halford - one regiment of pike and shot, supported by more shot, with cavalry in reserve.


On Halford Hill were two regiments of pike and shot, plus supporting cavalry.


Lord Standing had decided that the village offered too good a defence against both musketry and a simple charge, so it was worth going the extra distance and assaulting the more open hill, hoping to weaken the defenders with shooting before making the final attack. he massed his infantry in two columns, aimed straight at the hill. His shot was tasked with taking the woods so the flanks of the infantry were covered. The cavalry was ordered to cover the flanks, or try and work into the rear of the defenders if an opportunity presented itself.


The Parliamentarian shot moved into the wood as their Royalist counterparts advanced, and a firefight took place among the trees. Meanwhile the Royalist cavalry attempted a dash around the woods and past the village,  hoping to survive the fire it would take and tie up the Sir Thomas's cavalry.


It was a bold move, but they took hits.


The Royalist columns marched steadily towards the hill.


The two sides' cavalry clashed on the outskirts of Halford. Weakened my musketry the Royalist horse failed to make much impression and quickly fled.


The infantry were now within range of each other.


One regiment mover to cover the flanks of the others as casualties started to mount on both sides. The Parliamentarian shot moved through the woods to provide support to its cavalry.


A push of pike ensued on the hill.


An overview of the battle. The Royalists were attacking strongly, but their lead infantry was beginning to look weak in places. Sir Thomas had withdrawn some weakened cavalry back towards the village, allowing him to bring up a fresher unit.


As casualties mounted, units fled - one of the Parliamentarian regiments on the hill, and the Royalist regiment covering against the cavalry.


The Royalist infantry formed a line on the ridge, whilst the push of pike continued.


In an attempt to break the stalemate on the hill the Parliamentarian horse charged the flank of a Royalist infantry regiment.


It broke.


The Royalists were in a strong attacking position though. Sir Thomas's horse now atacked the Royalist shot, but became bogged down in a fight they should have easily won. A regiment of pike and shot moved up in support. Meanwhile on Halford Hill ...


... another melee ensued, and the Parliamentarian infantry broke.
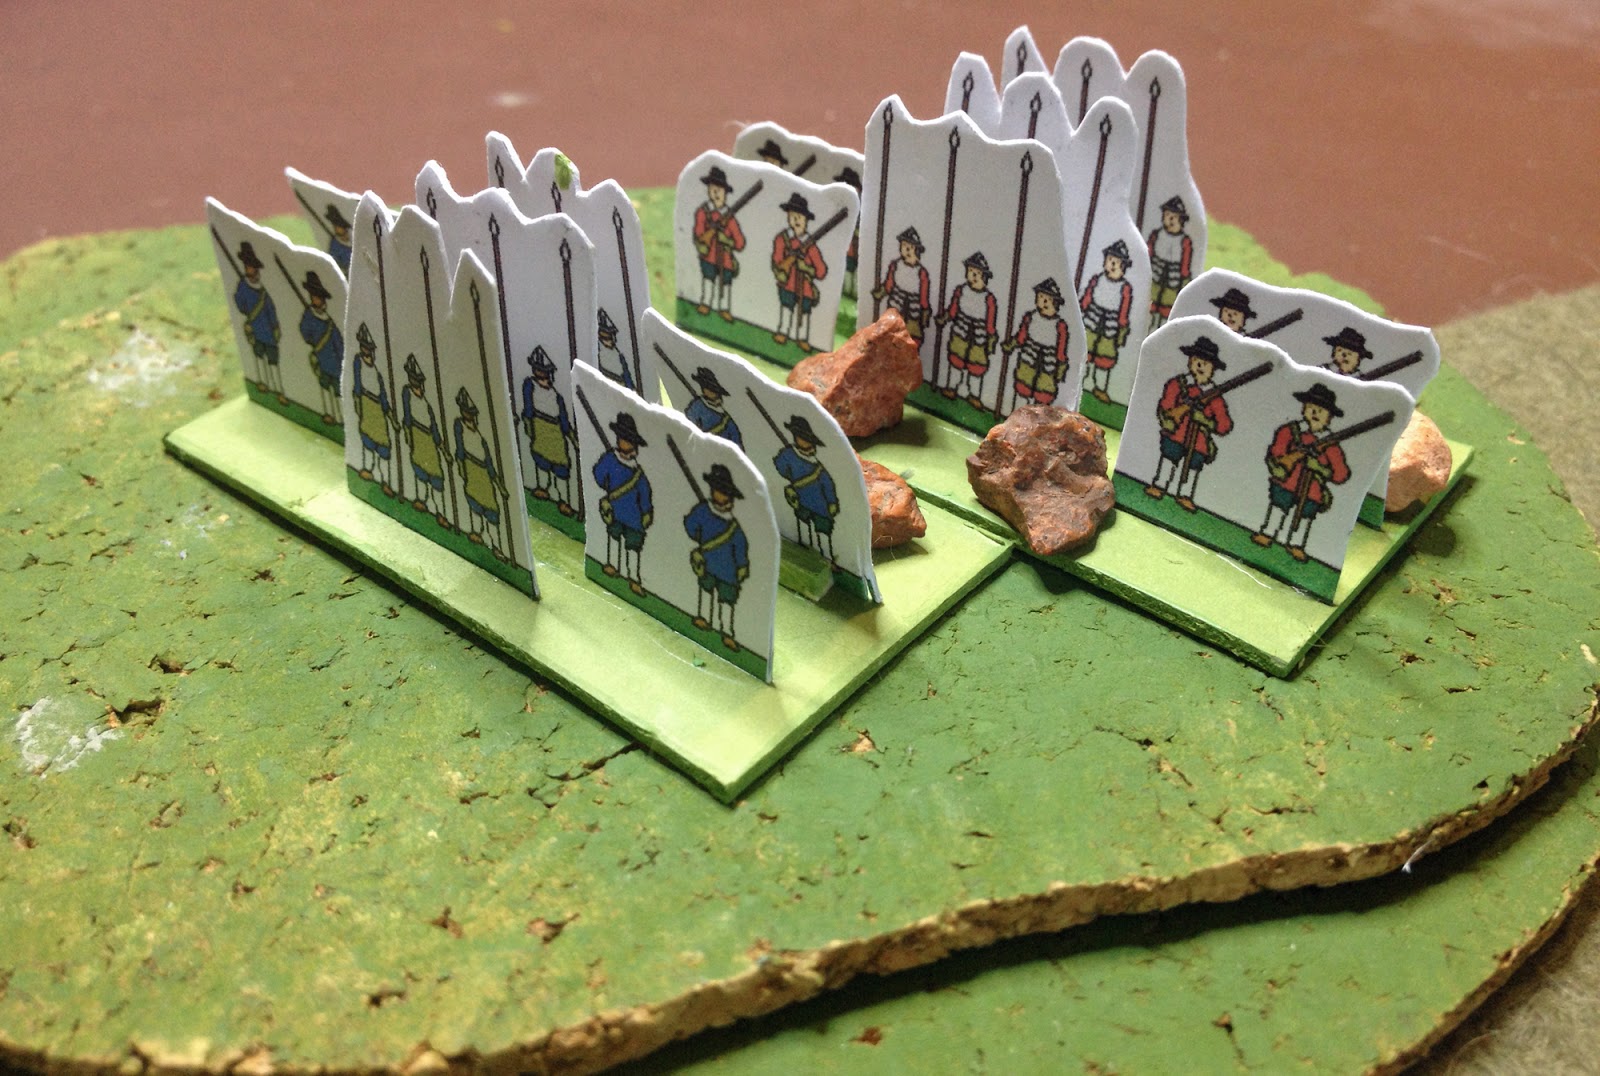

The Royalists now controlled the hill. Sir Thomas reorganised his defences, pulling back the shot from the woods to the village and bringing up both regiments of horse.


One regiment made a brave charge up the ridge into the Royalist infantry line. Against the odds it survived to attack again and again, weakening the infantry but unable to inflict the last hit needed to rout it.


The other regiment of horse routed the Royalist shot, and also attacked up the hill. But these were the last turns of the game. Night was falling and the Royalists were in a commanding position.


One more charge failed to break the Royalist line. The attacks petered out as darkness fell, and Sir Thomas withdrew his troops towards the village.


The village defenders had taken little part in the battle


Lord Standing now controlled the ridge and therefore the road to Causton, thus forcing Sir Thomas to reconsider his plans to besiege the town.

This was an exciting game, although the Royalists dominated it for most of the latter half. The final Parliamentarian cavalry charges could have left the hill contested, however, and forced a draw. But luck was not with Sir Thomas. The scenario offers an interesting challenge for the defender, as they are forced to shift troops back and forth between the objectives in order to keep both of them covered. One missed opportunity was maybe bringing the pike and shot out out of the village, whilst pulling back the shot and the weaker cavalry unit. However the slow movement of the infantry means that the need for this has to be anticipated a couple of moves in advance.

The next scenario in the book sees a fortified defence and will, I hope, feature the return of the GNW Risk figures and the debut of my redoubts.

Follow the rest of the scenario refights HERE

Saturday, 12 September 2015

The Battle of Midsomer Barrow

The English Civil War actions in the county of Midsomer have, to my knowledge, never been fully documented for a modern audience, so I thought that today I would bring one of them to the wider attention of gamers. At the outbreak of the war the county was divided in its loyalties, and forces rallied both to the Royalist standard of Lord Standing and the Parliamentarian banners of Sir Thomas Barnaby (not to be confused with his cousin John, who appeared later).

The first action took place in late November 1642, as both commanders sought to control the county's main town, Causton. On a cold, misty morning their troops met on the common at Midsomer Barrow.

I fought this battle with my newly constructed paper troops and a modified version of the Pike and Shot rules from 'One Hour Wargames'. Modifications were:

(i) I used my five hits/multiple dice to hit mechanism, as detailed in other posts.

(ii) The Swordsman troop type was replaced by Shot. Shot move like Swordsmen, but fire like Infantry. However if they run out of ammunition their firing capability is merely reduced in strength rather than lost. They can never charge and fight poorly in close combat.

(iii) Other troops were renamed, purely for aesthetic purposes - Infantry became Pike and Shot, Reiters became Trotters and Cavalry became Gallopers. Trotters rely mainly on firepower and Gallopers on a head-on charge, but in the force compositions I didn't weight the types to one side or the other - ideally the Parliamentarians would tend towards the former and the Royalists the latter.

(iv) To streamline rolls I changed the roll for running out of ammunition. This normally requires a separate roll of 1-2 after firing. However since all units which shoot roll two dice in my system, I worked out that the odds were, for practical purposes, the same if I said that a unit went out of ammunition if either of their dice showed a '1'. This factored everything into the same roll, although it does tie going out of ammunition with the level of casualties inflicted, since a '1' is also a miss.

On to the game. I used the random force compositions from One Hour Wargames, Sir Thomas Barnaby's force consisted of three bases of Pike and Shot, two of Trotters and one of Gallopers. Lord Standing had mustered a mostly infantry force; four Pike and Shot, one Shot and some Gallopers.

The battlefield was, for the purposes of the game, a featureless plain, but both armies formed up on low hills on opposite sides of the common.

Sir Thomas placed his cavalry on his left, but left his more enthusiastic horse in reserve, ready to exploit any gaps or open flanks or to block any enemy breakthroughs.


Lord Standing formed a strong infantry line, placing his shot on the hill where they would receive some defence against enemy charges. His small force of cavalry was on his right, facing the Parliamentarian horse. Supported by a regiment of pike and shot, the aim was to charge as soon as possible and negate their opponent's firepower advantage.


The armies arrayed for battle.


The Parliamentarians advanced.


The Royalists advanced their left flank, but otherwise stayed in place.


The Parliamentarians refused their right flank, hoping to gain an advantage on their right first. Their horse discharged their pistols at the Royalists opposing them.


The Royalist cavalry charged, supported by some infantry. In these rules most units can only charge once they have run out of ammunition, at which point they can no longer shoot. This means that, over time, the game shifts from one based on firepower to one based on melee. However gallopers have no firing capability; charging is their only option.


On the Royalist left the two infantry lines formed up opposite each other and an exchange of fire began.


An overview of the battle. Sir Thomas had shifted the reserve cavalry to the left, hoping to exploit a breakthrough by the trotters, should it arise.


As the fighting on both wings intensified, Lord Standing advanced his centre of the hillock, bringing up his shot to support the fight against Sir Thomas's horse.


On the left the pike and shot closed as their ammunition ran out. Whilst ranges in these rules are very generous, it pays to move in close to fire so that when the bullets run out you are in a position to move into close combat straight away, instead of having to spend a turn advancing towards an enemy who may be able to shoot at you when you have no reply available.


One regiment of Parliamentarian horse broke under fire, and the gallopers moved to replace it. The infantry facing them had taken quite a few hits from the pistol-wielding Parliamentarians, and despite their pikes looked like they might break if charged.


The melee in the centre intensified.


The Royalist horse broke the Parliamentarian trotters opposing them, but routed after a counterattack by the remaining Parliamentarian horse ...


... who then went on to drive off the Royalist infantry on that flank.


In the centre the Parliamentarian foot had driven off their Royalist opponents. Lord Standing now had a regiment of foot and his shot remaining.


Sir Thomas's forces closed in on the shot on the hill, whilst the remaining pike and shot engaged each other.


The Royalist foot won that fight, and moved to engage the other Parliamentarian regiment. However the shot on the hill was charged by the Parliamentarian horse ...


... and ran.


 The single Royalist foot regiment was now faced by two opponents. However it could still fire, whilst neither Parliamentarian unit could. A volley drove off the Parliamentarian horse ...


... but that saw the end of the unit's ammunition. The two units closed for a final fight, in which the Royalists were triumphant.


Lord Standing had won the first encounter, but Sir Thomas would soon be reorganising his forces for another battle.

The rules played out OK, with the out of ammunition rule making for some interesting decisions and changes of plan as the battle's emphasis shifted to close combat. The scenario - Pitched Battle (1) from the book - is a fight to the finish, so tends to end with the last two units n each side fighting in the middle. In a set with army morale the Royalists would probably have broken a few turns earlier. The next game will see both sides having an objective beyond that of just defeating the enemy army. I have no idea as to whether the game captured the feel of an ECW battle, as my knowledge of the era is pretty limited. But sometimes it's fun to play something, get it wrong and then refine what you're doing as you learn more.


Friday, 11 September 2015

HOTT at the Uni

It took a great effort to get to the Gong Garage Gamers' meeting yesterday; those not called in to work at the last minute found themselves with virtually nowhere to park as the University continued to find ways of filling up its car-parks in the evening. I played a couple of 24AP games of HOTT against Peter  - he used a medieval two-point terror, whilst I used the Ophidians, and army which is based around having three magician elements.

In the first game we spent as much time battling Peter's hills as we did each other. They are a bit steep for figures without velcro on the underside of their bases.


We pretty much lined up and had at each other. I scored some early success using high PIP rolls to do massed magical attacks on vulnerable elements, but the Ophidians are a small army, and the magicians are supported by warband and shooters which are somewhat brittle in an open field battle. Soon the magicians found themselves virtally alone, and the end wasn't long in coming.


I defended in the second game and placed some hills (flat ones this time) and a couple of woods for my troops to - and I'll be honest here - hide in.


I set myself up in a nice little fortress, with shooters on teh far right, warband perpendicular to the enemy approach and my magicians on a commanding hilltop position. Peter attacked my left, which as in the open, but good shooting by my archers and some judicious magic, saw his troops defeated and destroyed. I was quickly 8-0 up. Peter pulled back, declining to attack my position and forcing me to come after him for my victory.


Of course this meant advancing into the open, but I didn't have to kill many of his troops to win and decided it was worth the effort. Soon I was 10-2 up. I needed one element to win.


That's where it went wrong. Whilst I struggled to kill that last element, Peter counter-attacked. I soon found myself a couple of magicians down, including my general. On the bound I got the last element I needed to have inflicted 12AP of losses on him, he took me to the 12AP level as well. The game would continue, and the first kill would decide it.

Fortunately justice prevailed, as my last magician element destroyed an element of knights to give me a close 14-12 win.

Ralph, JohnG and Bryan played Battlegroup Something or Other. I think it was a late war game between Americans and Russians.


There was much promise of burning tanks, but sadly Ralph had to cut the game short before the flames appeared.


Wednesday, 9 September 2015

More Paper Pike And Shot

Well, I say 'More'. Really it's the same paper Pike and Shot I posted pictures of yesterday. But this evening I have trimmed the stands of figures, and glued them to bases.


Each army has four Pike and Shot bases and two each of Shot, Gallopers and Trotters.


The next stage is to paint the matchstick pieces I use to support each stand of figures green, as well as the edge of each of the bases. They should be ready to take to the field in their first game on Saturday.


Paper Pike And Shot

Having messed around with the rules in 'One Hour Wargames' and seen what other people have been doing with them, I am keen to give some of the sets I haven't played a try. I could certainly try the Dark Ages set using my DBA armies, and possibly take stab at some games with the Ancients set too. But neither of those excite me particularly at the moment. I have considered trying the WWII rules with my Epic 40K armies, but I shall save that for another day.

No, I have an urge to try the Pike and Shot rules. Or, at least, my own variant of them. They are an interesting mix of the melee-orientated sets of the first part of the book and the firepower-based sets of the latter part. They look fun. However I am let down by the small problem that I don't have any Pike and Shot armies.

Once again Junior General came to the rescue, providing a range of English Civil War and similar forces for me to download, rescale and print off. I mostly used Ben Harvey's Complete Renaissance Set, which isn't strictly the ECW look I was aiming for, but is close enough and comes in scenario-friendly Red and Blue factions. I added in some pistol-armed cavalry from one of the ECW sets.

Here they are, printed off and with the fronts and backs glued.


With hindsight I should have merged the pikemen and musketeers into one strip before printing, as this would save time and effort. But it's not worth doing it now.


The next stage is to trim them and base them. I am putting them on bases with a 60mm frontage and 30mm depth, although I may put the pike and shot units on 20mm deep bases if it looks better. I'm hoping to have them ready for play on Saturday.

In terms of the rules I am keeping three of the four basic troop types of the OHW Pike and Shot rules, although for aesthetic purposes Infantry will be renamed Pike and Shot, Reiters renamed Trotters and Cavalry renamed Gallopers. I have dropped Swordsmen for now, and replaced them with Shot, representing dismounted dragoons, commanded shot or maybe infantry with such a low proportion of pike that for practical purposes their sole defence lies in firepower. I may make some Swordsmen bases if I like the rules enough. There are plenty of figure options available on Junior General.

Related Posts Plugin for WordPress, Blogger...