Wednesday, 6 June 2012

Army Showcase - The Sororitas Puella Armatura Mobilis

The first in an occasional series in which I will feature some of my HOTT armies or matched pairs.

(Strictly not the first, as I have already featured some armies. This is the first time I'm doing it 'officially'. You can read about my armies for 'Walker' HERE and Barsoom HERE)

Those that know me will know that, when it comes to HOTT, I'm a committed 15mm man. In any competitions or tournaments I played when I lived in the UK I used 15mm armies, borrowing larger scale ones if I needed to.

Moving to Australia was a bit of a shock, as the only local HOTT tournament, at MOAB, is firmly set as a 25/28mm tournament. If I was to take part, and there was no way I wan't going to, I would either have to borrow an army or bite the bullet and make one of my own.

I opted for the latter.

Many years ago I had, in a fit of insanity, purchased some 25mm sci-fi figures from GZG. These were the Spice Marines, based on a popular all-girl group of the day that you may have heard of, and some of their Mobile Suit Girls, which are anime-style women in power-armour. I decided to use these as the basis of my first 25mm HOTT army, using the Epic 40K Sisters Of Battle army I had made for HOTT as a guide.

And thus was born the Sororitas Puella Armatura Mobilis, or Sisterhood Of Mobile-Suit Girls.

Limited by the figures I had, it's a simple list:

1 x Hero General - Sister Elaine, accompanied by Sister Pandora
1 x Hero - Sisters Letitia and Kirstie
1 x Paladin - Saint Rachel
4 x Warband - Other Sisters, armed with swords and flame-guns
2 x Flyers - Sisters with jetpacks

Aside from having an anime Sisters Of Battle vibe, the army has a secondary theme, one of personal importance to me. All of the Hero characters are named for members of the worldwide transgender community - some wargamers, some not, some transsexual, some crossdressers - all of whom have been good friends to me in my personal journey over the last five years or so. The army is, in its way, a tribute to those people and a way of saying thank you. Saint Rachel is a conceit; she is my personal figure, although the real Rachel doesn't go armed, has red hair (mostly) and wears a different kind of armour. The standard is a combination of the Transgender Pride flag and a suitable transgender symbol.

Anyway, here they are. Click on any picture to make it bigger.

First up, the Hero general's element - Sisters Elaine and Pandora:


Sister Pandora carries the army standard:


The face at the top is a 10mm shield from Pendraken. The rest of the back-banner is scratchbuilt:


Sister Elaine is in charge. She has a big gun. It really is a big gun; she's not just pleased to see you:


The other Hero element consists of Sisters Letitia and Kirstie:


Sister Letitia likes her guns:


Cross her, and this is probably the last thing you will see:


  Sister Kirstie prefers a more direct approach:


Together they are pretty potent:


Saint Rachel is the army's Paladin. Her cloak is from a Grenadier superhero figure:


Guns are not her style; we all know that guns are really a mechanism for compensating for deficiencies elsewhere ...


Mind you, those hefty great swords are probably grist to the psychological mill as well.


All of the character figures aside from sister Elaine are from GZG's Spice Marine pack; you should be able to recognise the individual girls if your're that way inclined. Sister Elaine is the top half of a Spice Marine on the bottom half of an aerial Mobile Suit Girl; I think at one stage I was going to have an Aerial Hero in the army.

Most of the other Sisters are Warband - they have a mixture of guns and swords:


Ah, so that's where Sister Elaine's original legs went to ...


The base armour colour is a hot pink, with a darker pink/red wash over the top. I did look at putting more areas of colour on, to show ranks and just add variety, but found that the army looked better with the uniform pink. the blue hair just seemed to go with it.


The shields are GW Scorpion Green, with a yellow highlight. They glow nicely.


The bases are mounting board covered in a mixture of PVA glue and fine sand. The smaller pieces of rubble are clipped plastic sprue, whilst the larger pieces, and the walls, are broken off pieces of cork tile. The whole lot was painted dark grey, and then dry-brushed in a lighter grey:


Some Sisters take to the air thanks to the magic of jetpacks or anti-gravity or ... pieces of wire:


And here they all are:


Here is their stronghold - the dropship 'Priscilla'. This is a Star Wars plastic toy I picked up at a charity shop, repainted to match the rest of the army. 'Priscilla' is sabot-based; she can act not only as a stronghold but, if you take her off the main base, as a legal HOTT Airboat element. However since I don't have anything else to cover the 1AP she leaves hanging around, I haven't used her in that role yet:


And here's the whole army with 'Priscilla':


This is a fast army, but it suffers from being small; it's easily outflanked and can't take too many casualties. As such its optimal strategy is to win fast with a surgical strike at either the enemy general or their stronghold. The two Heroes and the Paladin are good for this, able to blast through the enemy centre. The Warband provide flank support, whilst the Flyers can be used to pin enemy reserves or provide an extra overlap in a critical combat. It suffers if caught in a sustained fight, however.

Monday, 4 June 2012

Fog Of War

You'd have trouble charging with cavalry here.
It's the Thames.
I have been idly flicking through Donald Featherstone's 'War Games Through The Ages - Volume 2: 1420-1783' (published in 1974) over the last day or so. One chapter which caught my eye is entitled 'The Fog Of War'.

In it he examines the effect of powder-smoke and dust on the battlefields of what he calls the 'Horse and Musket Period'. He says:

"The wargamer should view every action of the period as being fought, after the opening rounds had been fired, in a November fog with swirling, eddying clouds of smoke and dust blinding and choking friend and foe alike so that they intermingled, unable to distinguish ally from enemy, whilst targets disappeared in a cloud of smoke after each volley."

He then looks at ways in which the effects of this can be simulated in wargames and comes up with a mechanism involving infantry units acquiring a smokescreen of cotton-wool balls as they shoot and cavalry being able to charge longer distances to contact units hidden by such, with a risk of deviation. It even involves a special measuring stick, cut from dowel and painted in different zones. Very retro.

After reading the chapter I got to thinking - should the wargamer view every action of the period as Don describes it above? Is he correct in his assertion? And, if he is, do any games allow for this fog of war? Do the various rules for PIPs or initiative rolls or card-based activation cover it in an abstract, but sufficient way?

As my wife would say, what do you think?

Friday, 1 June 2012

HOTT And Cambrai

Back from another evening of wargaming.

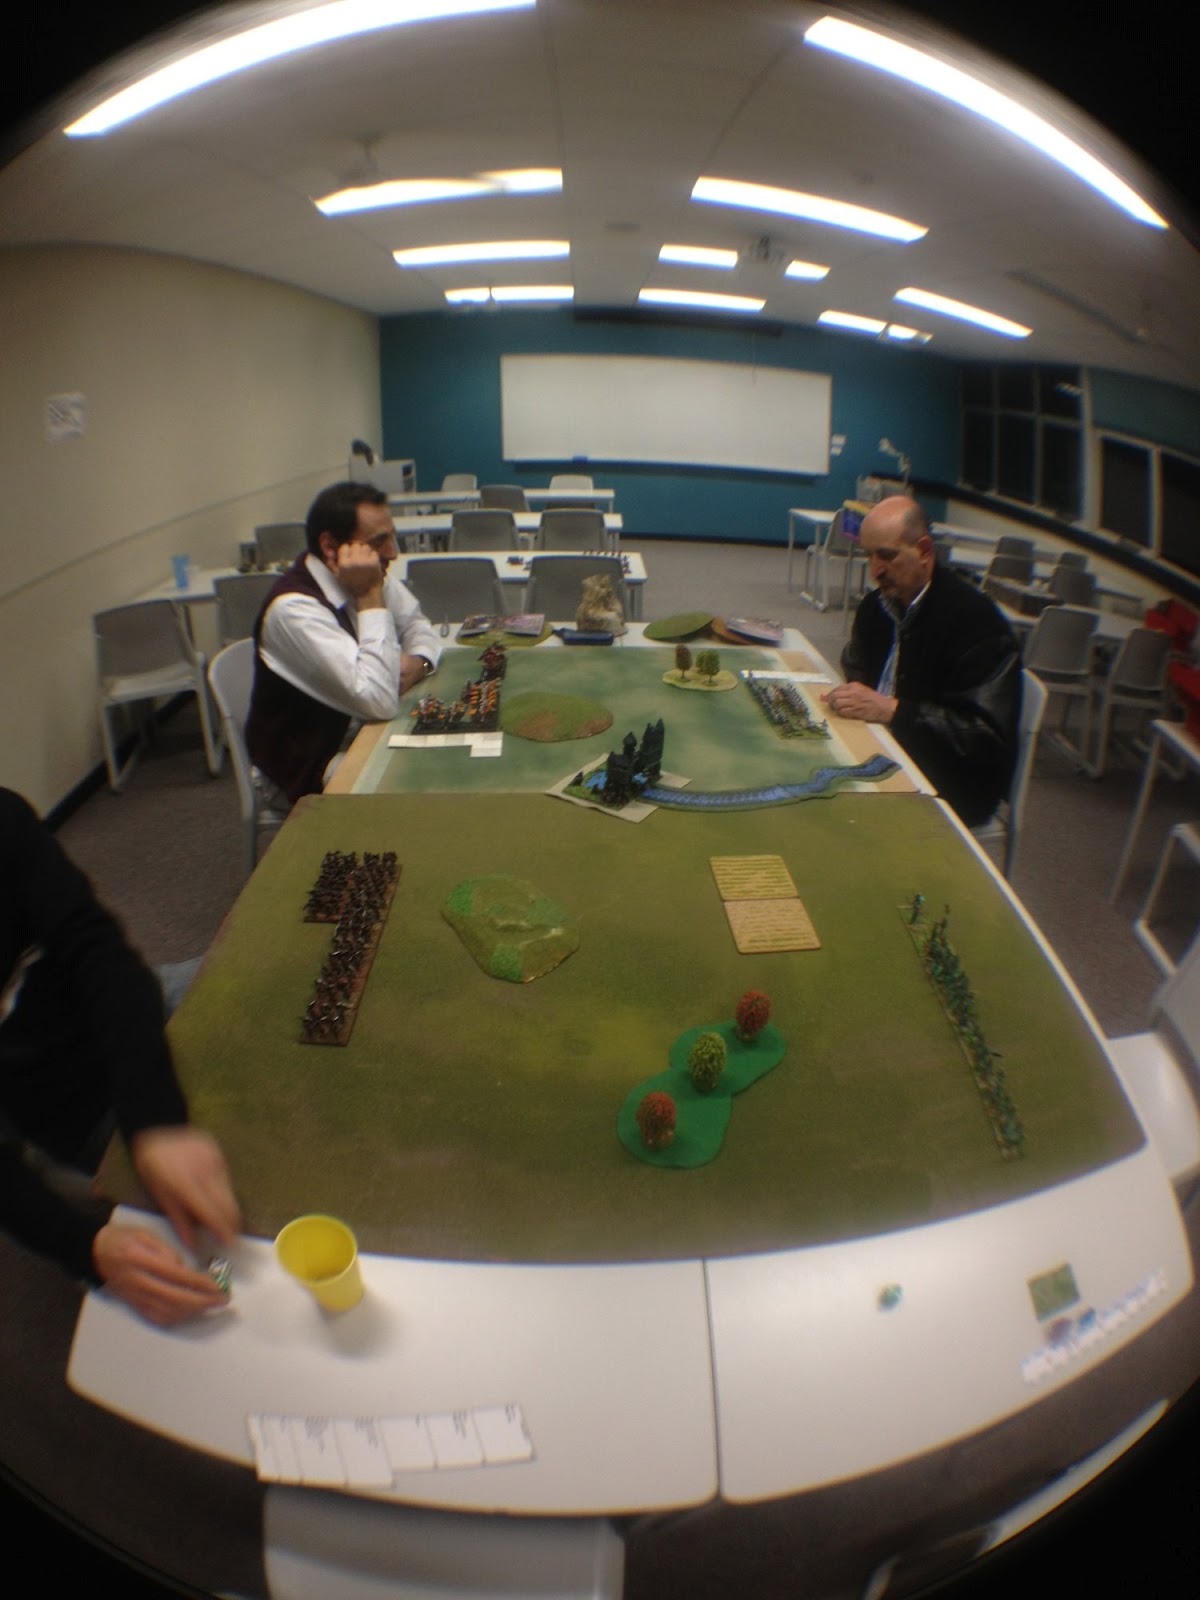
I played two games this evening. The first was a 48AP game of HOTT, with two players a side and the allied armies starting in opposite corners of a big board. The other was a game of Pz8's divisional level WW1 rules, with a few changes that I wanted to try out.

On to the HOTT game. The board was roughly 6' x 3'. Here's the terrain; the piece in the centre was just treated as a built-up area. There was no stronghold in this game. The river did dictate that the main axis of the battle was to the other side of the building:


A distorted closer view of the built-up area; actually it's the stronghold of my Mantic Elves (my only true fantasy 25mm army):


The armies set up, and players ready to go - Caesar's arms to the left, then Geoff, then Dave:


My army - The Morally Ambiguous Elves Of Mantic:


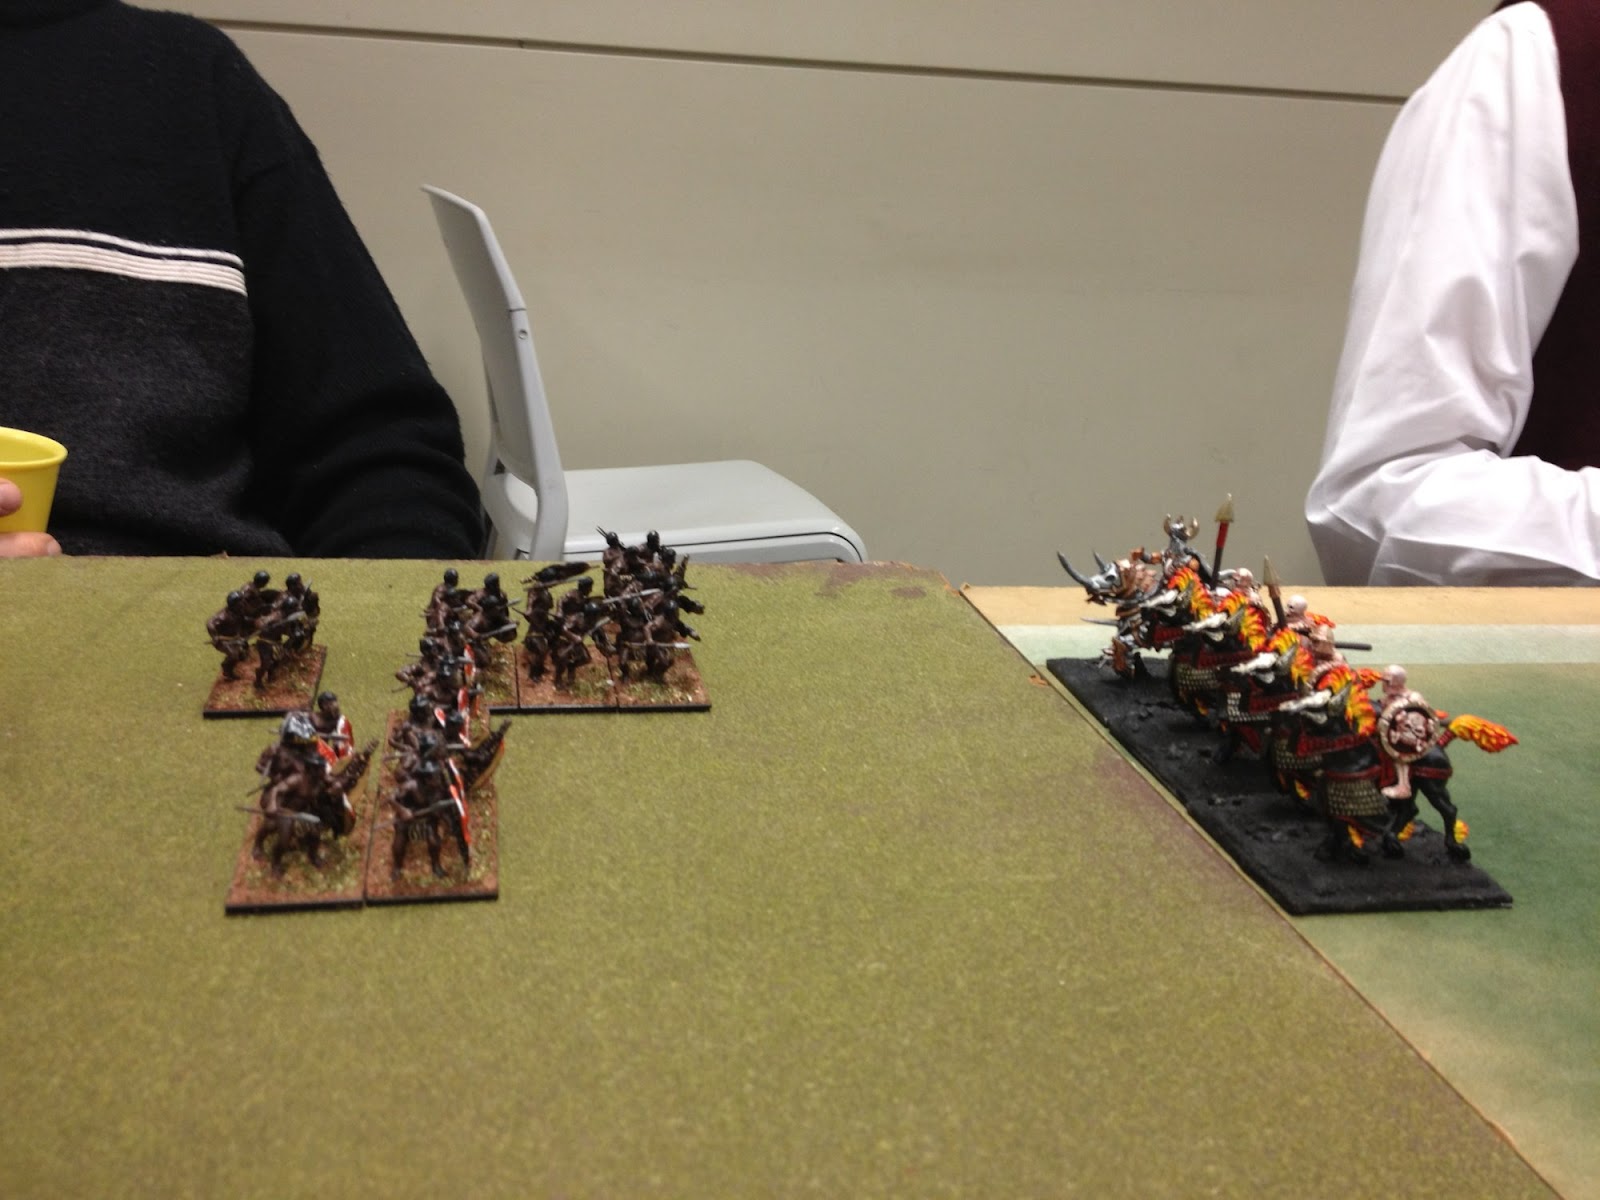
Opposite them, Caesar's Zulus:


Diagonally opposite Caesar were his allies - Napoleonic Austrians under Dave:


And diagonally opposite me were my allies - Undead, under Geoff:


Some Undead close on the Zulus:


Whilst others prepare to defend a hill against an attack by the Austrians:


The Undead outflank the Zulus who, oddly enough, form square:


The Austrians launch a futile assault against the Undead. At one stage I became worried about an Austrian column marching on my right flank, but it turned out to be their rapidly growing casualty pile:


The assault on the Zulus stalemated:


The Elven Hero finally links up with their Undead allies:


Death rides a pale horse, but he still struggles to inflict any casualties on the Zulus:

Death!


The Elven Spear line marches slowly across the table:


A bad turn - the Elven Hero dies to a Horde:


Elven Shooters, who skulked behind a wood for the whole game and didn't even see the battle, let alone take part in it:


The Undead begin to mop up the now demoralised Austrians:


The Elven Warband charge into action:


For someone who is winning, Geoff looks distraught:


The Elven Spears finally get into action as well, sweeping away a Zulu Horde:


There are no more Austrians left ...


And that was the end of the battle; with the Austrian Army wiped out or fled, the Zulu/Austrian Alliance was broken. The Zulus took minimal losses; a couple of easily replaced Hordes. Most of the caualties on the winning side were on the Undead, who actually did the bulk of the fighting; the Elves spent most of the game marching into battle.

Caesar and I then set up a game of Pz8's WW1 divisional rules. We played the Cambrai scenario, with Caesar taking the attacking British and me taking the Germans.

Caesar went for an ambition preliminary bombardment, but it paid off, smashing the German front-line trenches, and giving him a clear avenue of attack in the centre:


The first British assault; both sides have lots of artillery to spare, and weren't afraid to use it:


Mid-game the British were pushing all of the way through the German defences at some points. But isolated strong-points were holding out, and would need to be taken before nightfall. Three out of four of the British tank units had broken down, leaving the infantry do do all of the work, although the large amount of rough terrain on the battlefield limited how useful the tanks were anyway:


The game ended on Turn 6, with the front-line bunker still in German hands. So, despite the British successes elsewhere on the battlefield, the Germans won:


The reality was that Caesar had misunderstood the victory conditions, and didn't realise that he had to control every square in a row for it to count towards victory. He basically ignored the bunker thinking that he didn't have to capture it.

In terms of changes we tried Preliminary Bombardments only costing 2AP, along with a limit on the placement of bunkers and allowing assaults from different squares to be combined. In the more open terrain created by the effective preliminary bombardment the combined assaults were very powerful, even with the caveat that additional squares only contributed half value. However I shall try them again on a board with more defences and see how that works. A nice feature they created was that the British could adopt the tactic of assaulting just one or two squares each turn, hitting them with overwhelming force. But such a tactic takes time, and the clock is always ticking in this game; the British lost because they took too long to achieve their objectives (although, as already stated, Caesar misunderstood exactly what those objectives were).

Both sides pretty much ran out of artillery at the same time, which to me was a sign of a certain level of balance in operation. However as the defender I was cautious with my expenditure, as I was saving AP to defend against an attack on the front-line bunker which never came.

The Cambrai scenario strikes me as a good test-bed for these rules; I will run it through a few more times and see which changes work and which don't.
Related Posts Plugin for WordPress, Blogger...