

The rules were apparently designed to fight the Charles S Grant 'Tabletop Teasers', and as I found one I'd printed off a couple of years ago in a pie of paper the other day, I decided to fight that. The battlefield consists of two objectives in opposite corners, a bridge (or ford in my case) and a village. The two opposing armies have rushed advanced forces to the area, aiming to grab the village (in one case) or the bridge (in the other). Both armies are convinced that the other side already holds the other objective, Of course they both arrive and discover that this is not the case, and can therefore choose to try and take both.
Victory goes the side which holds their assigned objective at the end of the gaming day, with a bonus if you can take the opposing objective as well.
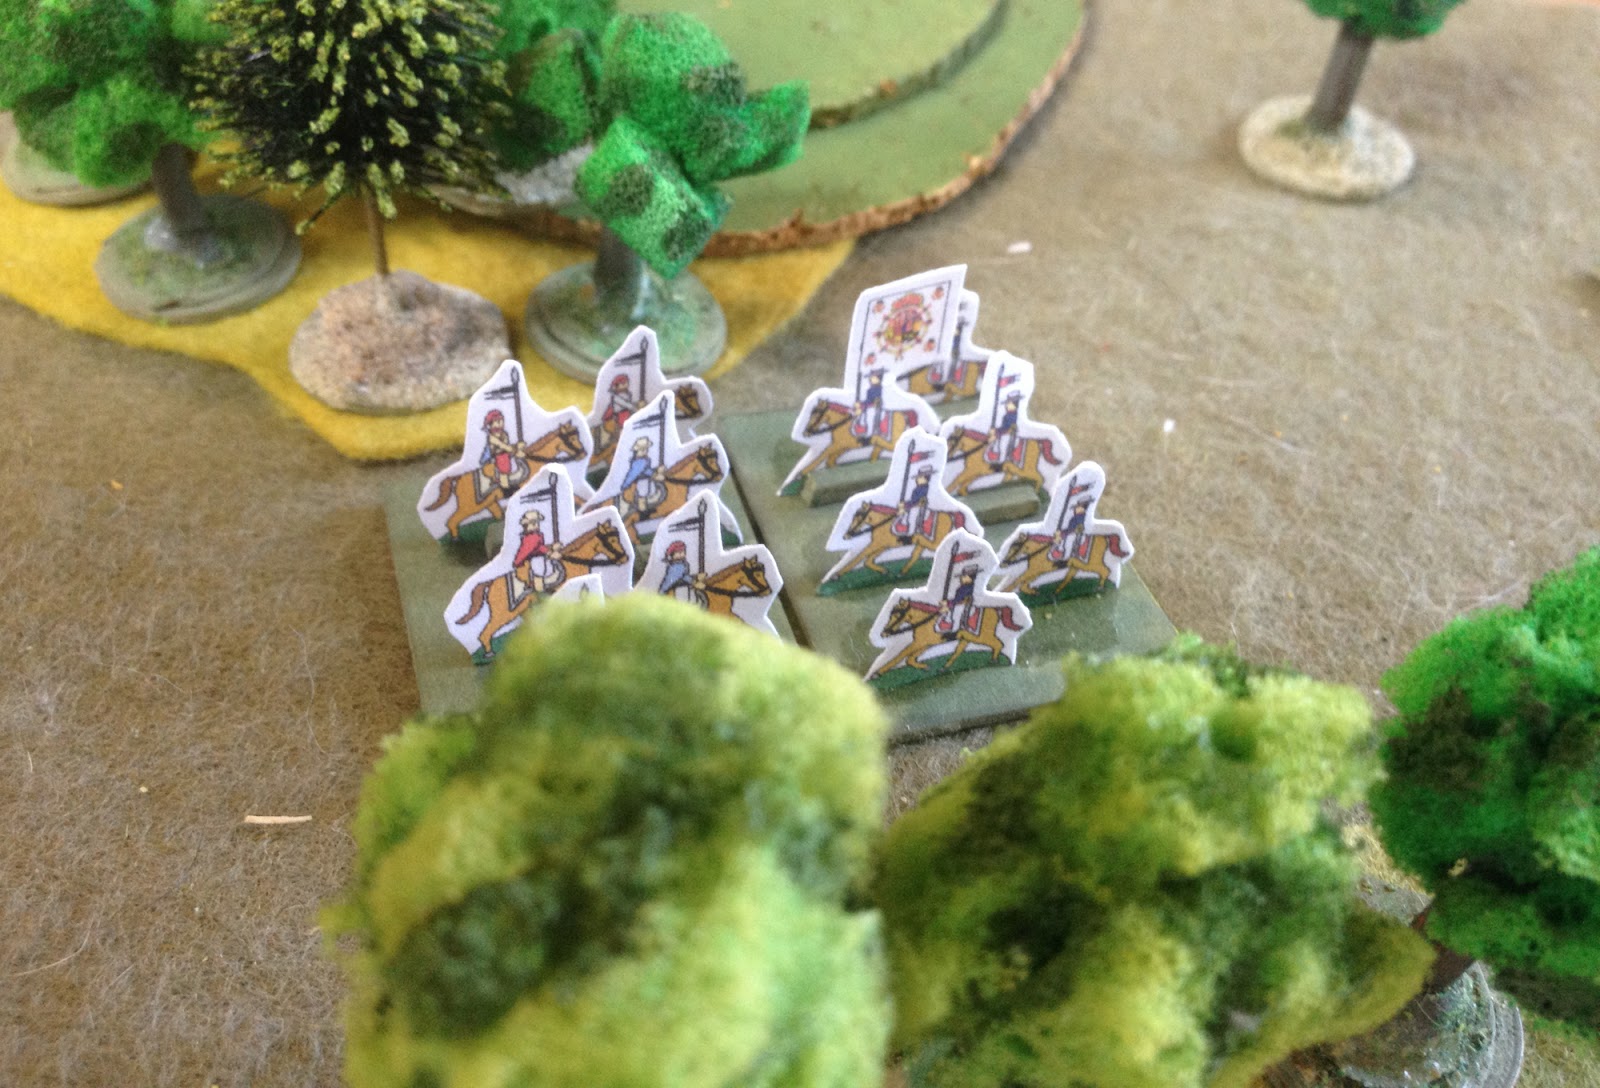
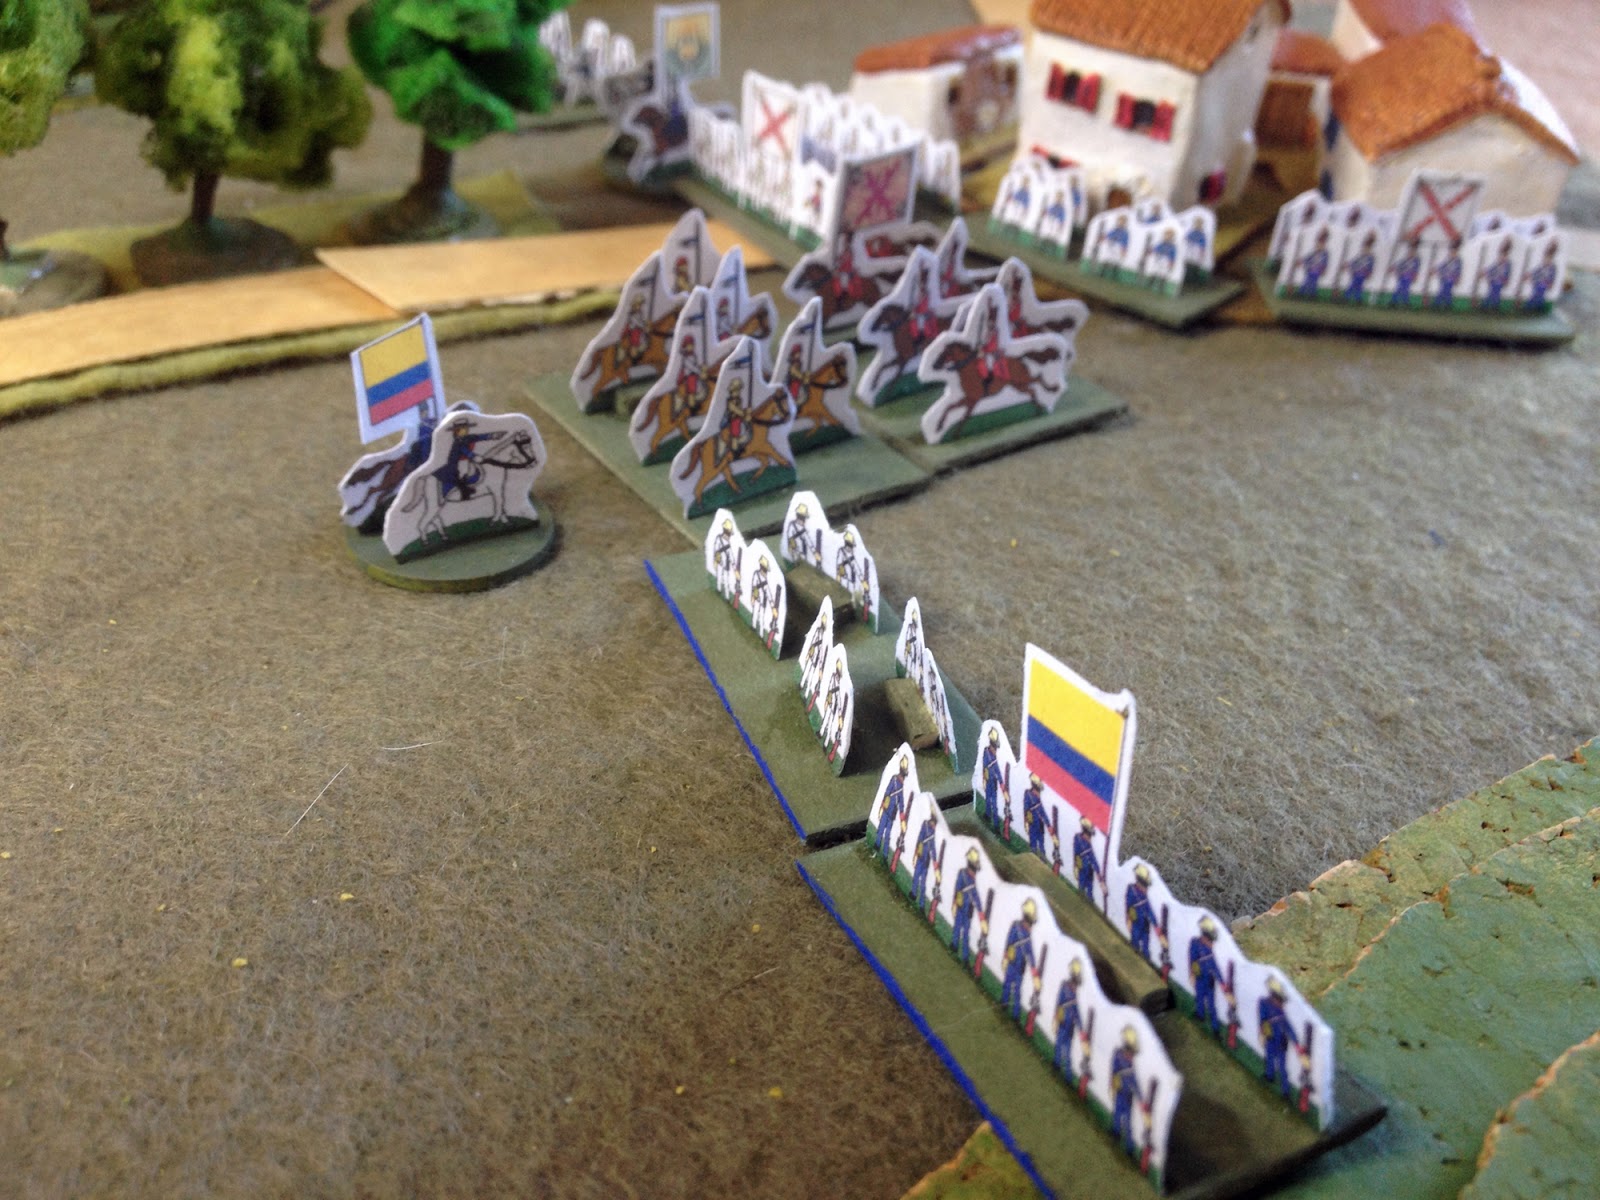
Apparently the rules are designed for units on a 6cm to 8cm frontage, and for tables about 3' x 2' up to 3' x 4'. I decided to use my South American Liberation paper figures on their 4cm frontages and on a 16" square board. I halved all distances and ranges. Here's the setup. The Royalist column is approaching the village from the north, whilst the Patriots are after the ford to the south.

The scenario wasn't clear if units entered along a particular area on the board edge, or specifically along the road, so I went for the latter.
Both sides had the following troops: two units of cavalry, three infantry, one light infantry and one artillery. The cavalry were specified as being one light and one heavy; I just made them both heavy for the purposes of this game in order to keep things simple.
The Royalists led with their cavalry. I made a die roll for each army to determine their basic plan. The Royalists decided to occupy the village with a small force and make a bold attack on the ford.

The Patriots also led with their cavalry. They had decided to attack less aggressively, and put a little more effort into defending their objective.

As the Royalists organised themselves in the village, the Patriot cavalry pushed ahead. Some of their infantry, and the light troops, moved out from the main column.

The Royalist cavalry also raced away from their main force, one unit moving to cover each approach to the village.

The Patriots were looking very organised at this stage.

The first clash happened to the north of the battlefield, as the advanced cavalry units charged each other.
The Patriots lost. Melee in these rules is very decisive; the losing unit suffers two 'hits', with a unit only being able to sustain four and no rallying of hits possible.

The Royalists now had a couple of units defending the village, and were moving the rest out, ready to organise a thrust towards the ford.

The Patriot cavalry charged its Royalist opposite numbers. Melee factors cover such things as support and proximity of generals, so there was some jostling for position before the charge went in. As it was the factors ended up about even.
Again the Patriot cavalry retreated, and the Royalists followed up by charging the Patriot light infantry. In the distance their other cavalry were attacking the Patriot infantry defending the ford, having now dispatched the retreating Patriot horse in that part of the field.

The light infantry fell back too. The Patriots now had serious hits on three of their seven units, and had lost one.

Hits don't affect firing, though, so the Patriot infantry poured musketry into the Royalist horse. In the rules I have, units that have taken hits must take a test in order to move or charge. The Royalist horse milled around in confusion under fire, unable to extricate themselves and, more importantly, blocking their supporting infantry from moving up.

Eventually they escaped, and the Royalist infantry moved up. A firefight began. Firing seems very random, and a single unit can only ever inflict one hit per turn on an opposing one. To get decisive results with firing you need to concentrate your efforts and be prepared for it to take a few turns.

On the other flank the defender of the ford had been destroyed, but another infantry unit had moved up to cover the objective, inflicting a hit on the Royalist cavalry in the process. With no melee advantages, the Royalist horse pulled back. However the Royalist artillery was there to cover the retreat.

In the centre the Patriot light infantry had fled the field, leaving their infantry to face two enemy infantry units. However long-range fire from the Patriot artillery also added to the casualties.

At the ford the Patriot infantry and Royalist artillery exchanged fire, whilst their cavalry waited in support.

A Royalist infantry unit broke.
At this stage both sides got to roll for reinforcements. Both got unlucky, however, and none turned up.

With hits accumulating on the Patriot infantry at the ford, a bold attack was called for. The Royalist cavalry charged them, and they were swept away.

They ploughed into the supporting horse behind, destroying them as well.

At the same time, the sole surviving Patriot infantry unit broke under fire.

This left the Patriots with just a single artillery unit, and the Royalists with troops on both objectives. The game was a decisive Royalist victory.

I quite liked these rules. They are incredibly simple, but there's some interesting detail in the close combat factors which make planning your attacks essential. Firing is simply attritional. Aside from the benefits of concentrating it there's little you can do to influence its effect aside from just getting into range.
Close combat, whilst having a number of interesting factors in play, is not as random as it first appears. Both units roll four D6 and total the scores. Each tactical factor adds two more D6. You can see that a single advantage adds a fair amount to your total, making victory very likely. More than one advantage pretty much assures victory. As other players and reviewers have noted, there is no gradation in the advantages either; the differing weights of cavalry have the same effect as hitting a unit in the flank. I think if I played this again I'd try a different melee system, making the result less of a foregone conclusion and perhaps the results a little more variable. One that came to mind is as follows:
Both units roll 2D6. Add 1D6 for each tactical advantage on the list, except flank/rear attack, which adds 2D6. Both sides compare the highest score they have rolled on any of their D6. If one side's is greater than the other, compare the difference. The loser falls back 10cm, and takes 1DP for each point of difference between the scores. If the dice are tied, compare the next highest, and so on. If once side runs out of dice to compare against their opponent, then they are assumed to have a dice score of '0' for comparison purposes against the highest remaining dice of their opponent. If both sides roll the same number of dice and no result is achieved (equal scores all the way), then roll a D6 each until one player scores more than the other; the loser falls back 10cm, but does not take a DP.
We'e played a few games of SIP (using the original rules from the magazine) and really like them. Somewhere between OHW and the more complex Pike & Shot/Napoleonic/Nineteenth Century Rules. Not tried the period variants yet.
ReplyDeleteThey do seem to be pretty well thought out for such a simple set. Of course they suffer from the standard Neil Thomas issue of certain key assumptions still being in his head, but I'll eventually get a handle on those :)
DeleteI rather like the look of the P&S variant, but wonder if they need to have a less decisive close combat result than the H&M set.
Interesting. One stand = one unit? Can infantry assume different formations or is that assumed to occur at a level beneath the player's control?
ReplyDeleteIt is one stand to one unit. And there are no formations; in the designer's notes (of which there are two pages, for a one page set of rules) he says that since units end up in line most of the time he doesn't bother with them. Remember that these are a very generic old-school set of horse & musket rules specifically for fighting the teasers and scenarios produced by three generations of the Grant family over the past 40 years or so.
DeleteMarch column is kind of covered - units can gain a road bonus, but not if they are within a certain distance of the enemy. And I have worked out how to represent squares as well; I will have to do a short post on that :)
Simplicity in Practice can be obtained pretty easily, and cheaply $3.75 USD), by buying the PDF of Battlegames #23. http://www.wargamevault.com/product/87664/Battlegames-magazine-issue-23
ReplyDeleteIn the original rules units are between 6 and 12 cm frontage, with artillery being between 4 and 6 cm. Boards are between 60 by 90 cm and 90 by 120 cm.
Great write-up. Love your stuff.
I did buy the magazine in the end. Not only worth it for the basic rules (the one I used has house-rules in them), but also for NT's two pages of design notes. I'm always willing to live with a way of doig something if I know why it's being done that way.
Delete