
The aim was to refight the whole battle using Blucher - I think we've done a portion of it before, but this was the megalomaniac's version.
The availability of our usual venue at the University was in doubt, owing to rooms being randomly locked during exam season even if previously booked, but fortunately Peter was able to arrange for us to use the function room at a local surf lifesaving club.

So it was that we gamed with this as the view from the window.

Waterloo obviously needs a decent-sized table. We played with one long table covering the ridge on which the Allied army was deployed, plus a separate smaller table for the area around Plancenoit. It was assumed that units wouldn't move between tables. The space between them represented the French rear area, and a lot of their Corps started here, moving onto the appropriate table as they were activated.
Here's a view of the tables from the west, with Hougoumont in the foreground.

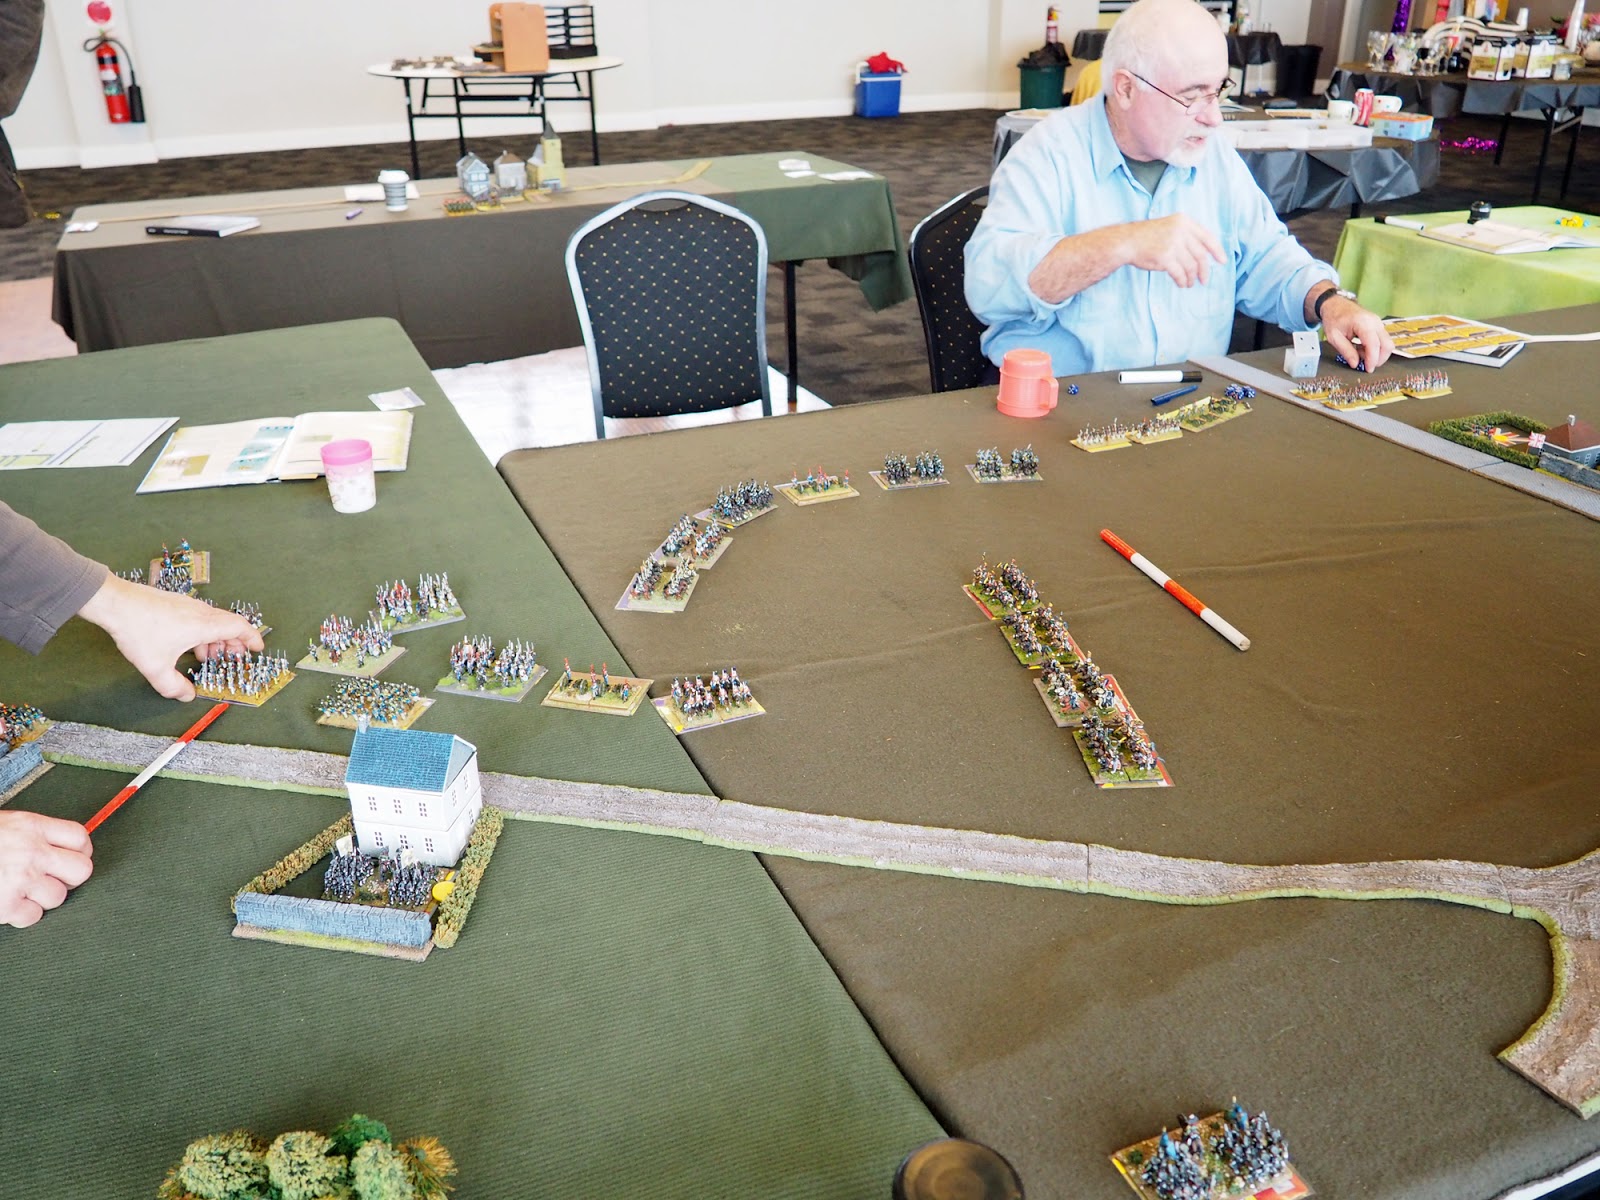
The Allied commanders confer. Victory was about securing a number of objectives - Hougoumont, La Haye Sainte, Plancenoit and the two hamlets of Papelotte and La Haie to the east. Destroyed units would act as a tie-break. The Allies held all of the objectives at the start of the game, bar Plancenoit.

My command; Reille's Corps, with Hougoumont as its target. My orders were to seize the chateau with a bold, direct attack, then form up beyond it and pin the Allied in in that sector, whilst Kellerman's cavalry came up to turn the Allied right.

Caesar took D'Erlons Corps, with orders to capture Papelotte and La Haie.

The attack on Hougoumont. Gary was commanding the Allies in that sector, and decided that the position was untenable after the first attack went in. Rather than reinforce he chose to concede the objective to the French, and withdrew the defenders.

In the centre the Guard were deployed to assault La Haye Sainte

The British cavalry came off the ridge and threatened the flank of D'Erlon's Corps. The French reserve cavalry moved to counter it.
Caesar launched a brisk assault on the hamlets, and took them.

Allied light cavalry had come down off the ridge between La Haye Sainte and Hougoumont. The remaining French Reserve cavalry was deployed to that area in order to drive them off and then cover the flanks of both the Guard and Reille's Corps. Observant readers will see that this was a change from the original flank-move plan, brought about mostly because Reille was suffering from inertia and wasn't moving from his position around Hougoumont.
In the centre the Guard took La Haye Sainte. All objectives were in the hands of the French now.

A view along the battlefield from the west.

Caesar's attack on Papelotte.

Meanwhile Lobau had been assigned the defence of Plancenoit.

And now things got exciting! It turned out that that cloud of dust to the east wasn't Grouchy's troops arriving to assist the French but was, in fact, a ton of Prussians under the very man after whom the rules were named. Much to Caesar's consternation it turned out that the Prussians weren't in fact allies of the French, and that we couldn't (as on of his pre-battle plans had required) use them to garrison Plancenoit.
Anyway, lots of Prussians appeared.

Lots.

Caesar formed a thin blue line in order to resist them

The British cavalry formed up behind the French line, ready to make a tasty D'Erlon sandwich.

The French cavalry under Kellerman formed up closer to La Haye Sainte in order to cover against an Allied recapture. With all objectives under French control, all we had to do was hold them until nightfall.

More Prussians! These attacked Plancenoit, but Lobau held them off for the whole of the rest of the game.

The focus of interest was this one small corner of the filed, as the Prussians moved towards La Haie.

But the view out of the window is worth seeing too.

John gives his Prussians a Hard Stare.

Napoleon himself steps in to organise the French right and prevent the recapture of the hamlets.

Another overview of the battlefield, showing Reille's troops still milling around Hougoumont.

In the centre the Allies had come off the ridge and were advancing towards the Guard around La Haye Sainte. Kellerman's cavalry was ordered to support the Guard by threatening the advancing infantry.

The British cavalry charged Caesar's cavalry.

A spectacular cavalry melee ensued ...

... in which the French came off worse.

Plancenoit. Still in French hands.

Kellerman's cavalry forced the advancing Allied infantry in the centre into square.

Formation commanding from Wellington and his aides.

Reille. His progress past Hougoumont was glacial.

The end of the Allied line in the centre was made up of conscript troops, Even in square they were vulnerable, so The Guard cavalry was ordered to charge. The fight was inconclusive.

The French right was now a mess, with dispersed units battling Prussians on one side and British cavalry on the other.

La Haie fell to the Prussians.

However in the centre a stalemate saw La Haye Sainte still in French hands.

And at that point night fell. Most of the objectives were in French hands still, and whilst the Allies and Prussians now had the upper hand in the battle, current casualties were about even. The French had won a victory, although how long their hold on their gains would remain was a matter of some discussion.
This is a scenario we need to try again, as it was felt that there were a few flaws with how victory points were gained, and with the deployments. A slight change to the way initiative was rolled was deemed a success, however, giving each Corps a single dice which could be merged for multiple formations under one player. This sped up play greatly, as there was not MO allocation by committee to deal with.
Thanks to Ralph for organising the scenario and Peter for organising the venue. Many people provided figures. I just turned up and played.
Thanks to all (especially Ralph) for a terrific day's gaming spent in great company. Lots of nice pics there Kaptain, really tells the story well. Heavy British cavalry and Prussian mixed brigades are a painful combination to be up against!
ReplyDeleteOutstanding batrep again Alan, thank you!
ReplyDeleteHi all, thanks for the batrep!
ReplyDeletewe (Aquile di Gaeta) would like to refight Wateloo as well. Do you have the Waterloo scenario and the OOB to "lend" us?
Thanks in advance
Francesco
I'll see if someone has it.
Delete