
There's little in the way of gameable actions in it (I think a variant of 'Four Against Darkness' would be the best option, strangely enough), but it inspired me to get Trench Hammer and my paper WW1 squads out again. I was pondering what to play, and fishing around on the 'net for scenarios, when in some of the early Trench Hammer reports I noted that the rules were tested using variants of scenarios from a Two Fat Lardies book, Stout Hearts and Iron Troopers. So I ought it. And what great bok it is. It has 14 historical actions in it, all designed for their Mud and Blood rules, but easily translated to Trench Hammer. There are also six scenarios based on contemporary training exercises, four from Allied manuals and two from German. In fact the basic scenarios in Trench Hammer itself are based on these. Finally there is a short but excellent essay on small unit tactics on the Western Front, with the issues covered being explained in more detail as 'solutions' to the training scenarios.
Although I've identified a couple of scenarios I'd like to try, I thought I'd reacquaint myself with the game using the basic attack on a strongpoint scenario from Trench Hammer (which is also the first training scenario in the TFL book anyway).
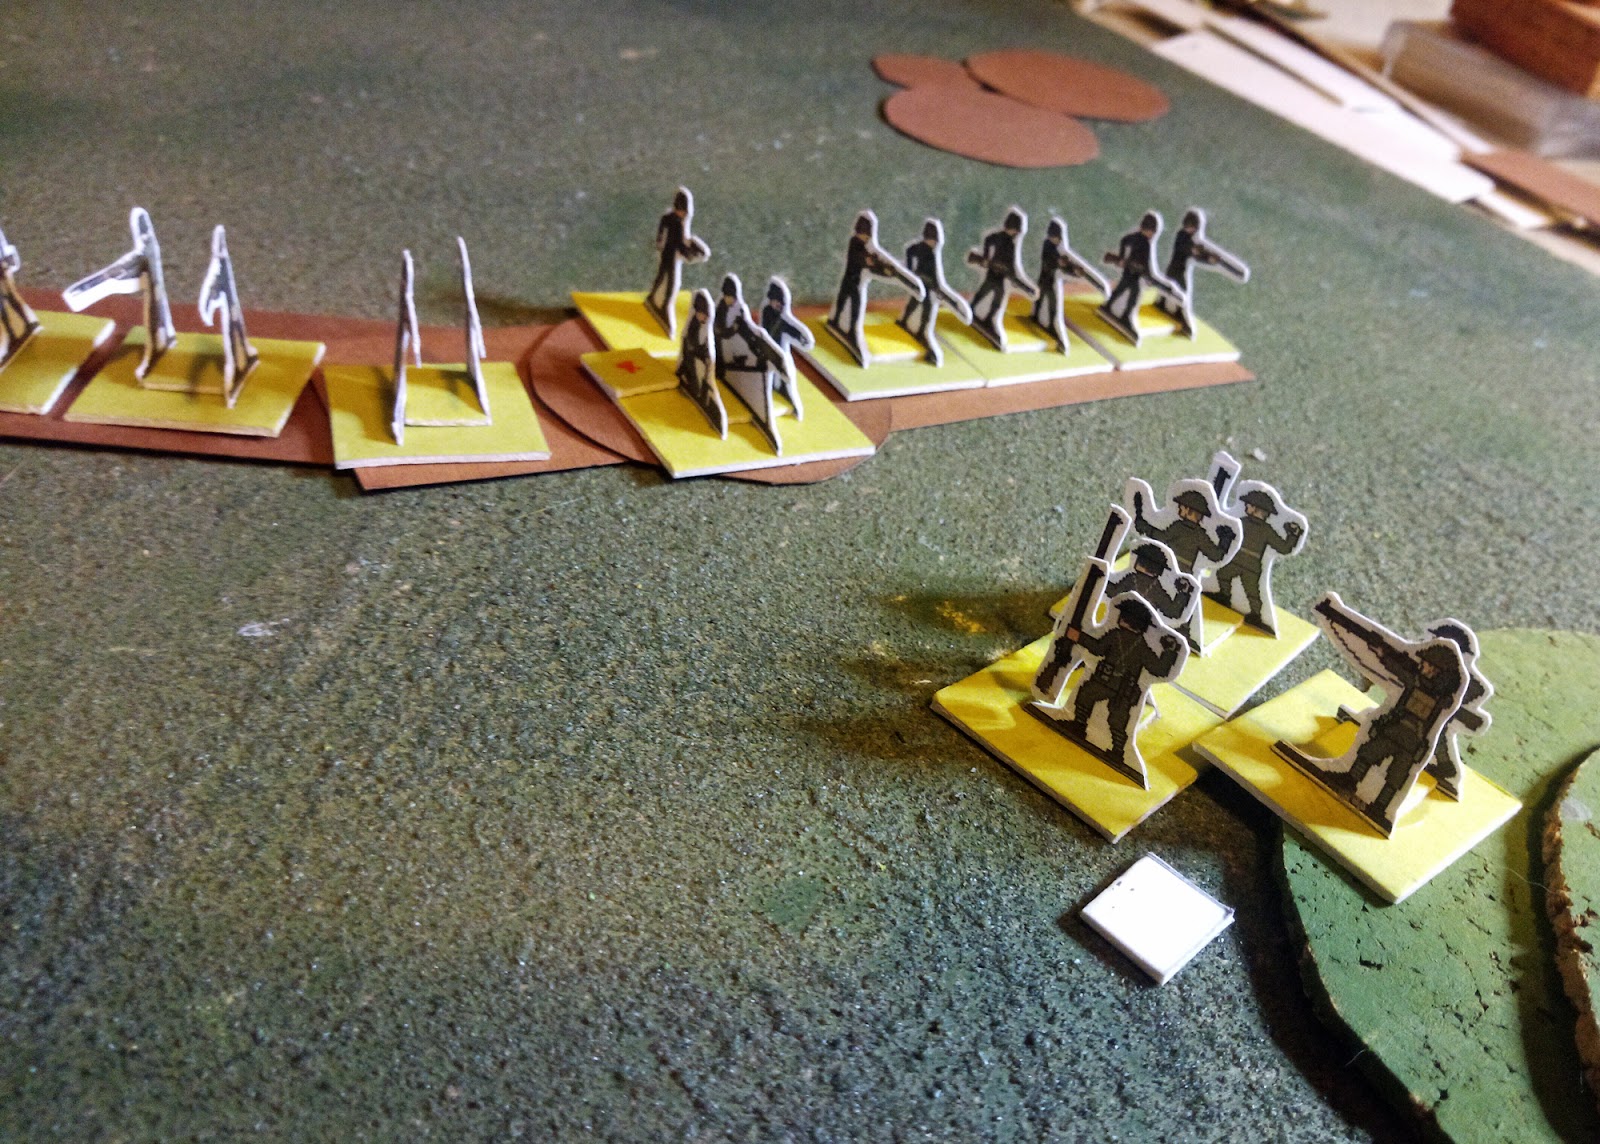
I set up two German rifle squads plus an HMG in some trenches. The British were assaulting with a standard platoon: one each of a rifle squad, LMG squad, bomber squad and grenade launcher squad. Both sides had one leader. I randomised the terrain. A low rise covered the British approach on the right, and a few shell-holes offered cover near their baseline, but the Germans had chosen a good position with clear fields of fire otherwise.

I based my attack on the 'solution' in the book. The bombers would come in from behind the hill, and assault the trench, supported by the rifle grenadiers. The LMG squad would lay down covering fire from cover. And the rifle squad would work around the flank to make a final bayonet attack.
The LMG squad got into immediate trouble, losing the exchange of fire with the German HMG. With the dead and wounded mounting, the squad took cover in some shellholes and was quickly out of the fight.

The bomber squad rushed over the hill, and assaulted the HMG. In a fierce fight both sides took damage, but the HMG was forced to fall back and the British entered the trench between the two rifle squads.
A poor activation roll saw the Germans wrong-footed, and only a rifle-squad responded to the British infiltration of their position. Their platoon commander led them in a counter-attack, but was immediately cut down. Another fierce close-quarters battle ensued ...

... and the battered bombers were forced to retreat.

The British rifle squad shot down the survivors of the German HMG team as they struggled to bring their weapon back into the fight. The German rifle squad was also damaged, and the British squad took it under fire to try and capitalise on their misfortune. But the Germans were in good cover, and casualties were light.

Sheltering behind the crest of the hill the bombers tried to regroup, with the British platoon commander assisting. But sustained fire from the German trench saw them scattered.

The Germans got the measure of the British rifle squad, and forced that out of the fight as well.

This left the British with just their rifle grenadiers, firing from the cover of some shell-holes. They kept up a steady fire as the Germans fired back, encouraged by the platoon commander, and eliminated one enemy rifle squad. This left the Germans with one squad as well. But it had rallied and recovered, and the British didn't have a line of fire on it. I decided that they'd withdraw, having knocked out the HMG. With most of their platoon lost this was a very sensible option.

When I've played this before I've had the defenders in just shell craters, which makes them a less difficult target. Against trenches I think the attackers need at least one more squad.
In addition to playing the game, I started making some basic barbed wire sections, using thin brown card and a silver pen.


Interesting! There is a trench raid scenario in Donald Featherstone's Skirmish Wargaming, recently reprinted by John Curry History of Wargames Project (reprint including an unpublished Featherstone sci-fi scenario and a fantasy scenario).
ReplyDeleteGood game and glad to see you getting trench Hammer back out, I need to as well. Maybe add an Assault Squad? Keep up the good work!
ReplyDeleteCertainly a chance to revisit the various changes I was considering last year. The Assault rules seem to be working OK, and adding an Assault Squad would allow me to try out the changes we discussed for them as well.
DeleteThe latest thing I'm pondering is the difference between grenade launchers and trench mortars. At only 1D3 damage, the latter seem to be at a disadvantage compared to the former when it comes to the dropping explosives on an enemy at range. What are the advantages of having a nice trench mortar attached to your force?
You've just inspired me to buy Trench Hammer for my 54mm WWI collection. They look very nice and simple.
ReplyDelete