
The battle followed history fairly closely. Sigel's two unit flanking force did OK at first, but the Confederates got lucky with their camps waking up, and soon had plenty of troops facing him. The Union cavalry was quickly routed, but the infantry fought well for a while, routing a Confederate mounted unit. Eventually Sigel's force was driven off, though. In the meantime the main Union force had come upon the Confederates, who were frantically organising sleepy units into a firing line. Musketry was exchanged, some Confederates ran away and the Union prepared to advance to victory. However ...
Plummer's US regulars attacked a Confederate camp. Somehow they lost and were routed. This pushed the Union past their tiny Exhaustion Level, and their attack faltered.

The end of the battle. The Union had fallen back onto the main hill, and if I'd had more time the Confederates would have pressed them whilst they still had fight left in them (they had taken lost three units towards their Exhaustion Level of five).
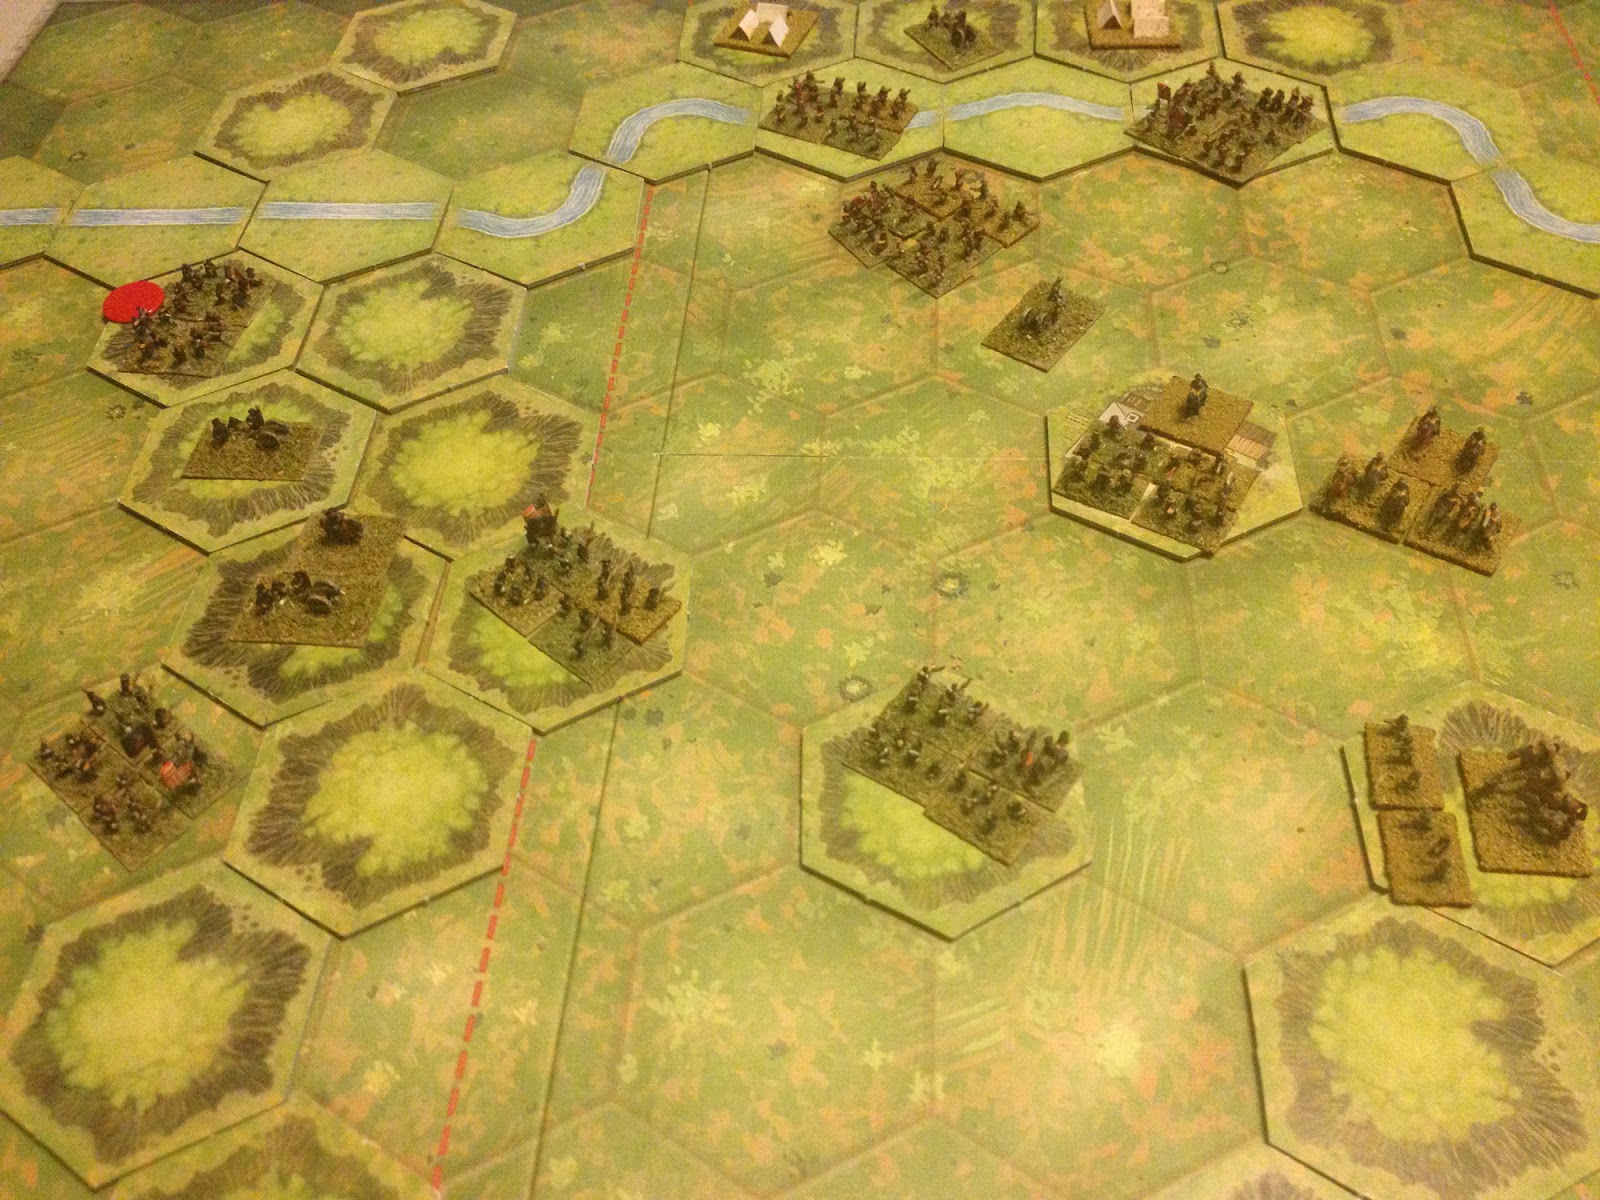
The Union right flank. Dismounted Confederate horsemen fire from a hill to encourage a more rapid withdrawal:

I treated camps as a unit type in their own right; they would only activate on a die roll, and would otherwise fight as a static unit until then. This seemed to work OK. If a camp was destroyed I randomly determined which unit had actually been in it. Camps couldn't shoot or initiate close combat, but could obviously win a combat initiated against them (and did so in one case).
I scrapped the Portable Wargame close combat system, and went for a more intuitive approach, giving each unit a close combat value of 1, 2 or 3. Both sides rolled a dice, added their factor and applied modifiers. The highest score inflicted a hit on the loser. I made up cases for multiple melees on the fly. I may be onto something here, but I need to play with the numbers. Effectively only one side in a close combat can take hits, and in a given combat one side is assured of taking hits. This seems a better way of doing things, making close combat more decisive, albeit risky.
The two step disorder process worked OK as well. A unit that is hit rolls against its morale, and is either disordered or retreats. If it is disordered you immediately roll again; if another disordered result is achieved the unit routs and is removed, otherwise it stays where it is. A disordered unit that is disordered again also routs. Disordered units get a roll to rally when they activate, with a positive modifier for a friendly commander, and a negative one if they are adjacent to an enemy.
Oh, and given the cramped battlefield I allowed units to retreat through friendly units so long as there is space beyond them. Even so I found that the artillery had little to do, being constantly blocked in by friendly troops.
Anyway, I have now refought Wilson's Creek. I'll try and do it again at the weekend if I get chance, possibly with rules I've written down.
The hex board looks surprisingly good with miniatures. Tempting to make up some 3-D terrain tiles to give a real wargame feel and set off those nice figures. Certainly worth using these troops with Battle Cry.
ReplyDeleteI'm rebasing them at the moment, with Battle Cry in mind (amongst other things). And terrain tiles are tempting, yes.
Delete