
In this game I pitted a Chaos and Imperial Guard force against each other, using the Bridgehead scenario from One Hour Wargames. The grid was 6 x 6 - 4" squares on a 2' square board.
Chaos had the brideghead, whilst the Imperials were rushing troops to prevent them from exploiting it.
I came up with twelve units, and then selected nine, because that's kind of how the guy at Grid-Based Wargames does it and I like his style. Chaos got a Chaos Marine Commander, some Marines, some Assault Marines and some Terminators, supported by two units of Juggernauts, one of Beastmen, some Bloodletters and a mighty Tower of Skulls.

The Imperial force had a Commander, two units of Guard Infantry, a Gorgon, some Rough Riders, some Sentinels, a Manticore, a Basilisk and a Shadowsword super-heavy tank.
(At the end of the post I'll show you the game stats for them)

The bridgehead consisted of the Chaos Marines and the Assault Marines. I scattered a few areas of rubble randomly around the board. The one to the left of this picture would prove to be a key feature of the game.

The first Imperial troops arrived along the road, their vanguard being a unit of Rough Riders. The Assault Marines took the initiative and rushed straight into combat, chainsaw a-buzzing.

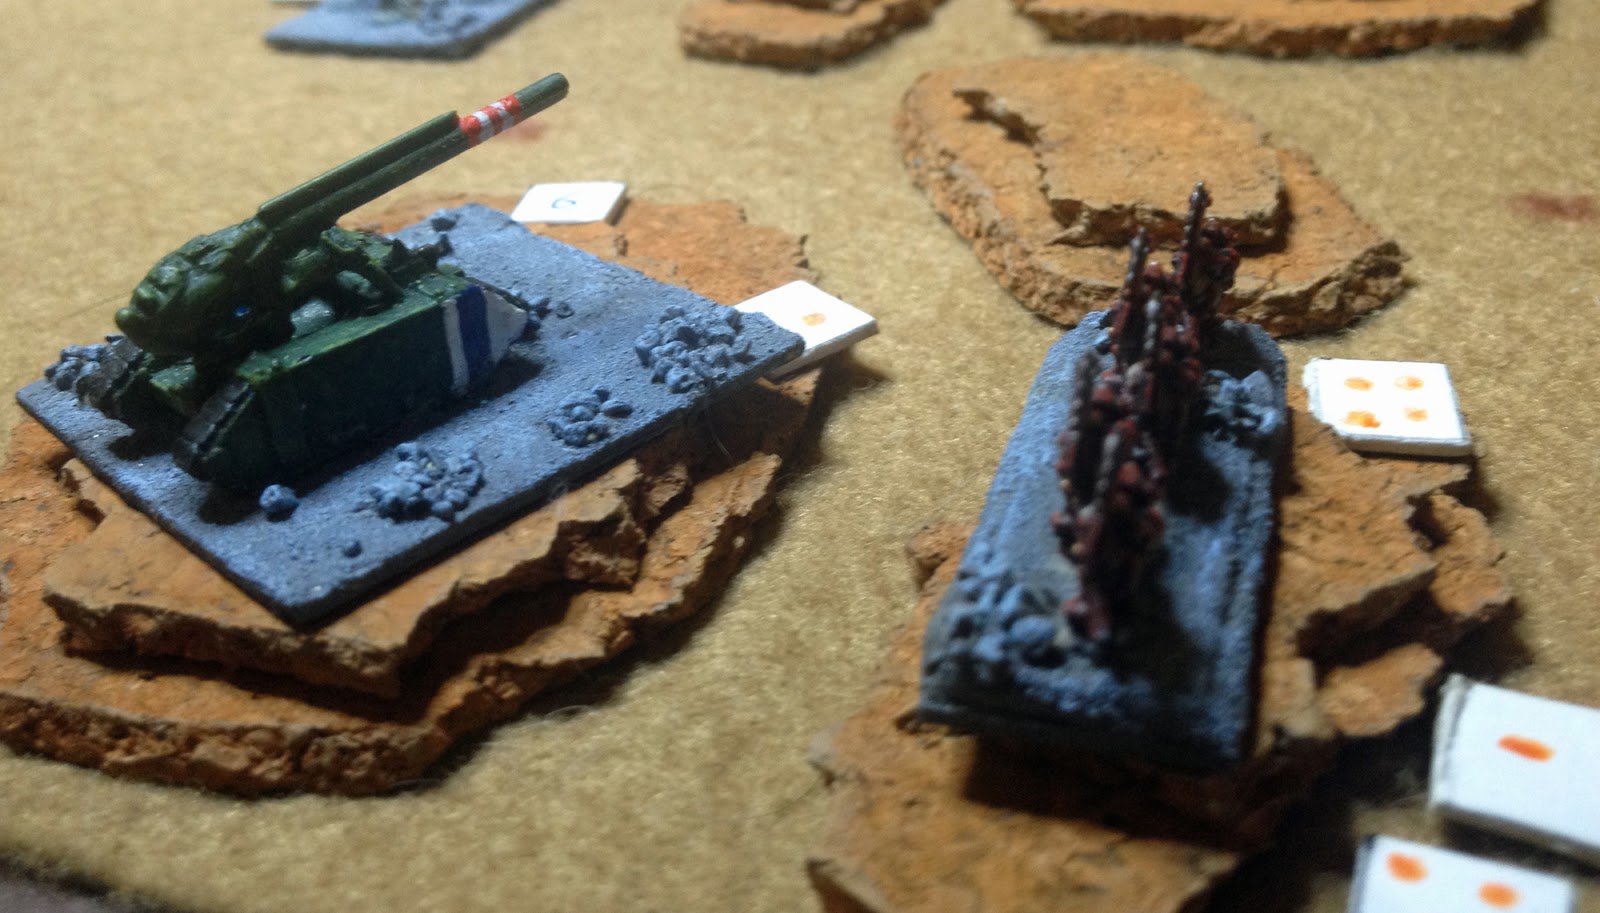
The Chaos Marines moved to the cover of some rubble as a Basilisk and the super-heavy tank arrived.

The Rough-Riders were outclassed from the start, and were cut to ribbons.

A second group of Imperial reinforcements arrived, as a Gorgon disgorged some infantry into the cover of the woods.

The Rough-Riders gone, the Assault Marines launched themselves at the Imperial artillery, surviving a hail of fire from the tank.

Meanwhile Chaos Terminators dropped out of the sky in front of the Imperial troops in the woods.

Juggernauts lumbered down the road towards the bridge.

The Assault Marines kept up a ferocious attack on the artillery, whilst avoiding fire from the tank, which just didn't seem to be able to hit anything.

The Terminators assaulted the woods. The Imperial infantry was horribly outclassed, but the Guard always has plenty of support, in this case from the Gorgon and some Sentinels.

The Juggernauts widened the bridgehead.

An overview a few turns in. One unit of Juggernauts was moving to support the Terminators in the woods, whilst the Chaos Marine's Commander had crossed the river and was considering his options. To the left of the picture a new force of Imperial reinforcements had arrived ...

... in the form of some Veteran Guardsmen and the Imperial Commander. They immediately came under accurate and heavy fire from the Marines in the rubble, and the infantry were cut to pieces.

The Juggernauts moved up ...

... as the Terminators came under heavy fire, which would soon wipe them out, but not before they had inflicted grievous losses on the Guard infantry.

The Imperial Commander through caution to the winds, and decided to forestall the deadly Juggernaut charge by ordering the Sentinels into the attack.

Meanwhile the Chaos Marine Commander attacked the Shadowsword.

The Basilisk fled to the hills, but the Assault Marines were close behind and soon destroyed it.

With one hit left they returned to support the Commander against the Shadowsword, but the crew of the mighty tank finally got their act together and mowed the remaining Chaos marines down.

Both units of Juggernauts now engaged the Sentinels, as the imposing Tower of Skulls took up a position at the bridge.

Another overview. To the left the surviving Guardsmen had fled into the hills, whilst their Commander continued to engage the Chaos marines in the rubble, supported by a Manticore rocket battery. The Marines were holding out, but were steadily taking casualties. To the right the Sentinels had shot down one unit of Juggernauts as they charged, but they were heavily engaged by the other. The Gorgon was already moving up in support. The Tower of Skulls had been joied by some Bloodletters.

Imperial infantry continued to fire on the Marines, but both units were down to their last hit.

The Gorgon moving into action.

The Chaos Commander led his retinue in an assault of the Shadowsword, and it was ripped open and destroyed by a burst of Chaos magic.

The Imperial Commander led his bodyguard into an attack on the surviving Chaos Marines.

The Bloodletters attacked the weakened Guard in the woods, with fire-support from the Tower of Skulls.

The Chaos Marines were swept away.

The Veteran Guard were able to turn their attention to a unit of Beastmen who had been foolish enough to get caught in the open. Their deadly fire decimated their ranks.

The Beastmen rushed into the rubble to engage the Imperial Commander, whilst the Chaos Commander assaulted the Veteran Guard.

The Juggernauts destroyed the Sentinels, and swept onwards into the Gorgon. The Gorgon fired a volley of rockets and destroyed the Juggernauts. However the Bloodletters overwhelmed the Guard infantry in the woods.

(At this point my camera ran out of power, so I had to recharge it for a bit. Pictures of a few moves are therefore missing.)
The Bloodletters swept out of the woods and attacked the Gorgon, whilst the Tower of Skulls moved up in support. The Gorgon fended off the assault, eliminating the Bloodletters with ease. the Tower and the Gorgon engaged in a close-range firefight, with the Gorgon's heavy frontal armour saving it from destruction as it held off the Chaos attack. This pinned the Gorgon in place, however, preventing it from compromising the bridgehead.

In the meantime the Chaos Commander made the mistake of going after the Manticore battery. Stuck in a fight with the Imperial artillery he was therefore powerless to prevent his Imperial opposite number from seizing the bridge!

Despite their casualties, the Imperials held the bridgehead at the end of the game.
I have played this scenario before, and the have found it tough for the defenders of the bridgehead. I opted for an aggressive defence, which appears to be the correct approach according to others. The Assault Marines were true stars of the game, destroying two Imperial units, and keeping the Shadowsword out of the battle for long enough that other Chaos units could engage and destroy it before it could be properly deployed. The rubble proved a key feature, allowing a single unit of Chaos marines to hold up a third of the Imperial force and eliminate most of it, Only on their right did the Imperials enjoy any real success, driving off the Terminators and Juggernauts, albeit with heavy losses of their own.
Here are the game stats for each force. I will outline changes I made to the game and the rules for the abilities afterwards:
Chaos (Khorne)
1 x Chaos Marine Commander - 4 Hits, Troops (Character), Ground, Power Assault Weapons, Chaos Blessings
1 x Chaos Marines - 10 Hits, Troops, Armoured, Ground, Tactical Weapons, Heavy Bolters
1 x Assault Marines - 10 Hits, Troops, Armoured, Fast Skimmer, Assault Weapons, Berserk
1 x Terminators - 5 Hits, Troops, Heavy Armour, Ground, Power Assault Weapons, Chaos Blessings
2 x Juggernauts of Khorne - 5 Hits, Troops, Heavy Armour, Ground, Assault Weapons, Charge
1 x Bloodletters - 10 Hits, Troops, Armoured, Ground, Assault Weapons, Berserk
1 x Beastmen - 10 Hits, Troops, Light Armour, Ground, Assault Weapons, Charge
1 x Tower of Skulls - 5 Hits, Non-Troops, Support Weapons, Heavy Bolters
Khorne could give one Troop unit Drop Pods (Deep Strike). The Terminators had those.
Imperial Guard
1 x Imperial Commander - 4 Hits, Troops (Character), Ground, Support Weapons, Commander
2 x Guard Infantry - 10 Hits, Troops, Light Armour, Tactical Weapons, Heavy Bolters
1 x Gorgon - 4 Hits, Non-Troop, Ground, Support Weapons, Shield (May transport one Troop unit)
1 x Basilisk - 3 Hits, Non-Troop, Ground, Ordnance, Armour Piercing
1 x Manticore - 3 Hits, Non-Troop, Ground, Ordnance, Barrage
1 x Rough Riders - 10 Hits, Troops, Fast Ground, Light Armour, Assault Weapons, Charge
1 x Sentinels - 2 Hits, Non-Troops, Fast Ground, Support Weapons, Overrun
1 x Shadowsword - 5 Hits, Non-Troops, Ground, High-Force Weapons, Armour Piercing.
The Imperials could upgrade a unit to Veteran, which they did for one of the Guard Infantry units
The basic rules can be found on the blog I linked to above. Or here. The abilities I used were:
Armour Piercing - When attacking non-troops at 1 square range, or with ordnance, may reroll a number of dice up to the original armour value of the target.
Barrage - Apply to a square hit by an ordinance attack. For the remainder of this turn, no unit, friendly or enemy, may enter or leave the square unless activated with a 5 or more.
Berserk - In assault combat any scores of ‘6’ count as a hit, and are rerolled with the same chance of hit as before to see if additional hits are scored. Any scores of ‘6’ from the rerolls are rerolled and so on until no more sixes are scored.
Chaos Blessings - At the start of the game place two Chaos Dice per unit in the force with this ability at the side of the table. Before any unit with this ability makes a combat roll, you may choose to add up to 2 dice from this pool to the roll. They roll hits normally. After the combat return the Chaos Dice to the pool, unless they rolled a ‘1’ in which case they are discarded for the rest of the game. Each Chaos Dice may only be used once per turn.
Charge - When unit moves into a square with an enemy unit, place a charge marker on it. The next time that unit engages in Assault combat (as an attack or counterattack) it gets +2D6.
Commander - If you have a commander then you can decide which player wins initiative on a tie, the player acting as if they had that roll. If both sides have a Commander on the field then ties are rerolled as normal.
Heavy Bolters - +2D6 vs Troops in ranged combat.
Shield - Once per game may ignore ALL hits from one attack.
Overrun - +2D6 in Assault combat vs Troops
In addition I changed the rules or Roads:
Roads - If activated with a 5 or more, a ground unit may move two squares instead of one, so long as all movement is along the road.
I didn't allow Ordnance to fire into its own square, which leaves it defenceless against an assault (whilst also being unable to do indirect fire anywhere else). This turned out to be pretty hard on them, so in future games I will assume that all Ordnance has 2D6 of Light Tactical Weapons it can use in combat in its own square. I used my own rules for observers which I think I've outlined in a previous post.
All of the abilities seemed to work OK, Heavy Bolters are deadly against infantry in the open, requiring the user to be close-assaulted to avoid their fire. The Chaos Blessings worked very nicely, giving the Chaos Commander a series of deadly attacks, but with the dice pool slowly dwindling as ones were rolled. Finally Commander proved very useful for the Imperials, allowing them to take the initiative on a couple of turns and stave off disaster.
I am really enjoying these rules and the possibilities they offer. As much as I love my own Epic 40K HOTT (for which the units are based), it doesn't do a good job of reflecting some aspects of the source material. These rules do not, it has to be said, have the same elegance as HOTT, but they do boil down the source concepts into an easily gamed format.
Excellent report and pictures! Thanks for sharing!
ReplyDeleteGreetings
Peter
Thanks. I've really enjoyed putting together the various special abilities and fiddling with these rules.
ReplyDeleteI really like the additional abilities and the 40K flavour they add. Particularly the Barrage, Berserk and Commander abilities. Nice! Thanks, Peter
ReplyDelete