
Once again I chose to use Liberated Hordes to play the scenario, but this time I used the full version. Instead of each side having six units/elements I used twelve on each side; it's easy enough to just double the initial deployment and reinforcements. In addition, whilst control of the hill after 15 turns was the victory condition, I implemented the normal HOTT conditions as well, so loss of half of its elements would cause an army to be defeated as well.
I classed all elements as Regular and both generals as Average.
A force of Chilean Patriots, with artillery support, were defending a strategic hill on the road to Santiago.

As dawn breaks, a large Royalist army marched into view. The infantry in the centre marched on the hill, whilst cavalry moved to outflank the Patriot position.

Hope for the Chileans arrived in the form of Argentinian reinforcements.

The Royalists attacked the hill. The Patriot general had ridden ahead to rally the defenders whilst the reinforcements moved into position.

The Patriots engaged the Royalist right flank. The Royalists would take most of their losses here.

The Chileans fought bravely, but had lost half of their force already.

The Royalists charged, and the outnumbered defenders fell back.

The Royalist cavalry had been slow working around the flank; an initial attempt had been driven back by musketry and they were shy about trying again. However with the hill defenders now pretty well broken the cavalry tried again. By this time, though, the Patriot cavalry that had arrived with the reinforcements was riding across to engage them.
On the Royalist right the Patriot infantry was slowly turning their flank.

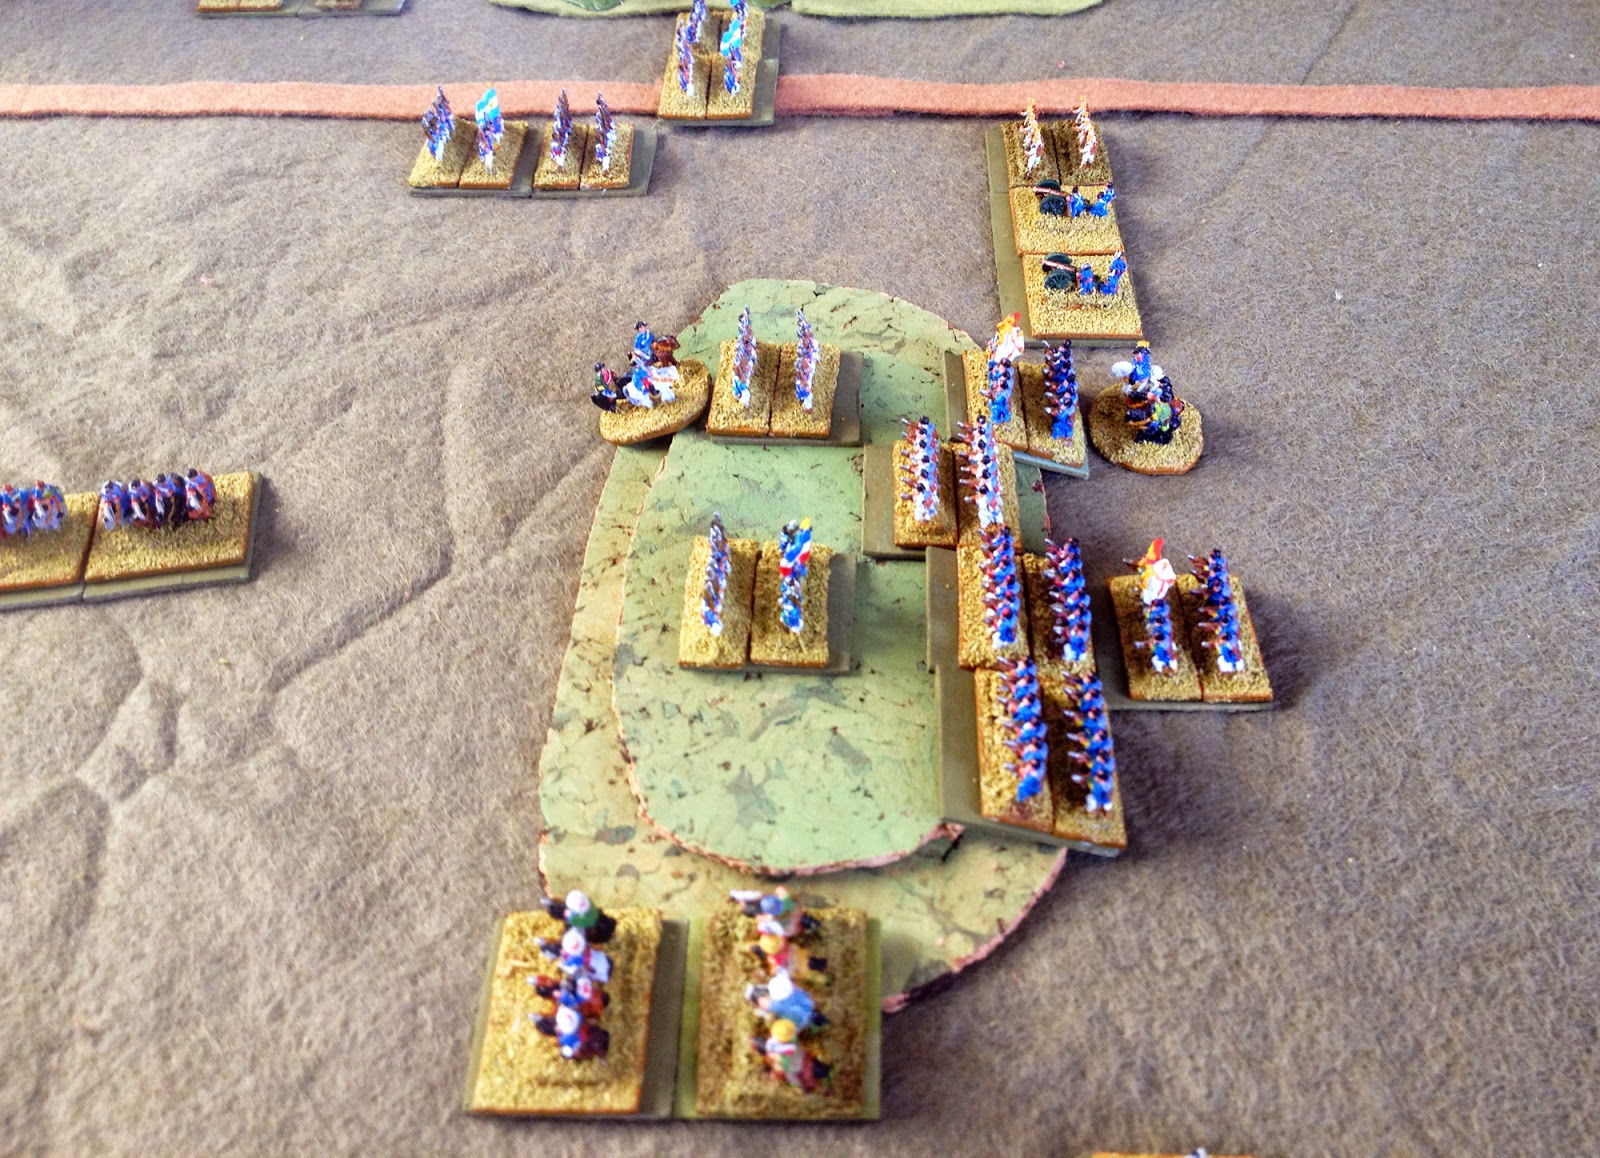
An overview of the battle. In the foreground the cavalry engaged each other, whilst on the hill the Chileans were being driven off. In the background the Patriot reinforcements consolidated their position.

As more Chileans routed, the Royalist infantry formed up to meet the threat of the Argentinian reinforcements. The Royalist general was on fire this bound; with six PIPs he pretty much rearranged his whole army in response to the enemy advance.

The final Chilean unit was routed, and the Patriot general was killed trying to rally it.

The cavalry continued to fight. The Royalist cavalry had infantry support, however, so had an edge despite having lost one of their elements earlier in the fight.

The two infantry lines formed up. With no general, though, the Patriots were sluggish in their actions.

Despite this, the Argentinians formed up and managed a slow advance, eliminating the last of the Royalist right flank units on the way.

The cavalry fight had become more dispersed, and some Royalist elements were in danger through blocked recoils. But the Patriots couldn't get the winning combat scores they needed to exploit the advantage.

A Patriot cavalry unit was surrounded and destroyed. This actually left both armies one element away from defeat.

The infantry firefight continued, and it was a Patriot unit which routed to give the Royalists the victory.

A view of the final position from behind the Patriot line. Both sides played 11 of the 15 bounds available to them.

The victorious Royalist general. pretty much stood at the point where his counterpart fell.

One rule change I did try in this game was to disallow the 'free' shooting HOTT elements have, which allows easy ganging up on enemy elements (plus support shooting ganging up in return). Instead elements with an enemy directly in front of them had to shoot at one of them. This allowed a certain amount of ganging up, especially if one side had a firing line longer than the other, but actually simplified combat resolution which otherwise gets quite complicated. This has the effect of making firefights somewhat less decisive than getting stuck in with the bayonet, where overlaps can be used to give combat advantage, which very much fits in with battle accounts of the period.
I quite like this scenario, although I think it's slightly weighted towards the attacker, as they can generally take the hill with minimal casualties from its small force of defenders before the reinforcements have chance to get into position. The reinforcements are then stuck attacking the hill whilst outnumbered. However this game was close, and could have been a Patriot victory had their moves in the latter part of the game not been restricted by the loss of their general.
Follow the rest of the scenario refights HERE
Nice report with great looking armies, very colored...
ReplyDeleteI had a similar experience with this scenario when I played it last month
ReplyDeleteA really tense battle with dramatic end!
ReplyDeleteYou showed me one of the big differences between this rule set and those of OHW:
In HOTT (and all DBA related rules) combat results are more dramatic. In OHW as hits are cumulative the destruction of units is more predictable.
I think throwing combat or distant shooting dice is far more exciting in HOTT-DBA.
Thanks for sharing.