
 |
| Tanks! |
For this scenario I decided to firstly move away from South America and, secondly, try one of the other sets of rules in the book, albeit with some of the modifications I've been applying to the Horse and Musket rules.
I went for the Machine Age rules, which cover 1900 to 1939, with a focus on WW1. And I decided to use my hair-roller WW1 armies. I wanted to field tanks, so I decided to set the game during the German offensive of March 1918. This allowed me to just about justify the use of German tanks.
As with all of the One-Hour Wargames rules, there are four unit types. In this case they are Infantry, Heavy Infantry, Cavalry and Artillery. The first is obvious. The second represents infantry with extra assets - the author says machine-guns, but it could be elite troops or those that are well-supported with any additional equipment. Cavalry just shoot, and are obviously a bit weak in this era, whilst Artillery represents direct-fire field-guns. Tanks are mentioned as an option, so for this game I decided to have them replace the Cavalry. However the Germans could still only have one unit of Tanks; a second would be Heavy Infantry instead.
I chose to depict Heavy Infantry with an aircraft model, to show their extra support.
Rules changes were as follows:
- I used the multiple dice system for hits - 1D6-2 gives 1 dice, 1D6 gives 2 dice and 1D6+2 gives 3 dice. Roll them, and inflict a hit for each 4,5, or 6. Cover allows a save on a 4,5 or 6 against each hit.
- Units are removed when they take 5 hits.
- Units can pivot at the start or the end of the move. If they do both then they can only move half distance.
- For Tanks I had them move 6", fight with 1D6+2 and automatically get a cover save. However each time they moved they rolled 1D6-2 against themselves, with no save (potential mechanical breakdown).
- Tanks and Heavy Infantry were considered support troops, which meant that their loss could adversely affect other troops around them When a unit of Tanks or heavy Infantry is destroyed, any friendly unit within 6" takes 1D-2 hits. Units with the Support trait get armour/cover saves against this to represent the fact that their morale is a little better.
The latter change is to cover the fact that Tanks are quite good and that heavy Infantry are better than regular Infantry with no real penalty. I like to have a little balance in my games ...
I played on a 16" square board, with units on a 40mm frontage. One inch became 1cm.
The Germans were attacking, and started with stormtroopers having just made the crossing of a strategic canal.

British troops rush to block them; infantry and field-guns appeared on he hill commanding the crossing. The British were lucky with these opening troops and their position, as it put their field guns in a commanding position early on.

The Germans took cover in the woods, whilst more supported infantry came up to reinforce them.

The second batch of British reinforcements appeared - infantry in the rear of the German troops in the wood.

More Germans were pushing along the road, including some A7V tanks.

The Germans consolidated their bridgehead, under fire from the field-guns.

The Germans in the wood turned to face the threat in their rear. They were outnumbered, but had cover and greater firepower. Would it be enough?

British tanks appeared.

The intial force of British infantry took a right pasting from the Germans, and routed.

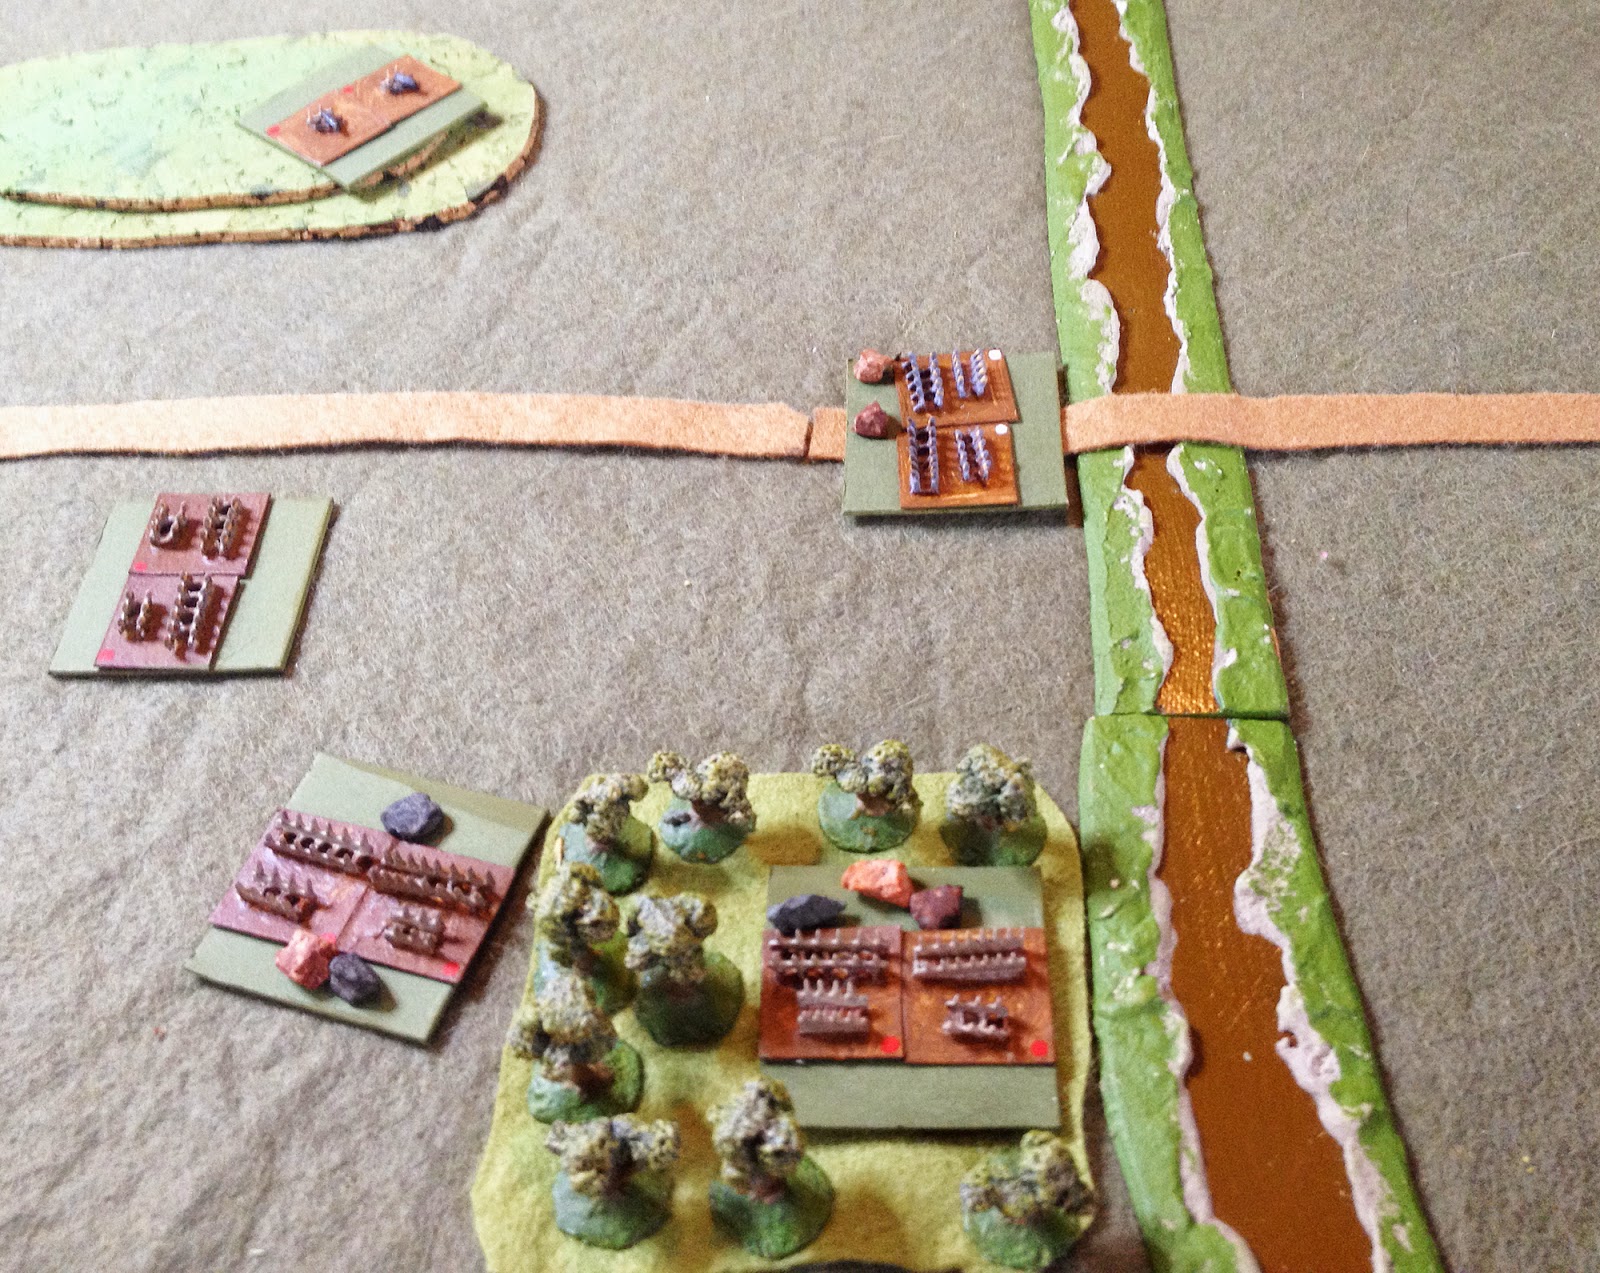
The position about six moves into the game. In the foreground the Germans were defending the wood, whilst one of their infantry units moved up in support on the other side of the canal. Meanwhile the tanks engaged each other, those of the British supported by their field-guns whilst the Germans still laid down heavy fire from their supported infantry.

Tank vs Tank!

The field-guns did their job, and the German infantry routed.

The British attack on the woods was successful as well, and the Germans retreated there.

The British now controlled the wood. This gave them troops in cover within range of the crossing, which would prevent a German victory. At the same time another German infantry unit was lost defending the bridge.

Both sides continued to trade fire. The British tanks were all destroyed or immobilised.

Heavy fire from the British infantry, however, made the position of the German infantry near the bridge untenable, and another unit was lost ...

... whilst the field-guns finished off the German tanks.

The British were now in a strong position, with a ring of fire surrounding the bridgehead, and the Germans only having one unit to push into it.

However night was falling - this was the last turn of the game. Even a single German unit on the British side of the river would contest the crossing and force a draw. The Germans crossed.
So the fight ended in a draw, although the Germans had taken far more casualties. The tanks proved very resilient, but stars of the show were the British field-guns, which steadily dished out casualties throughout the game, and the British infantry assaulting the woods, who achieved their aim more quickly than expected and therefore prevented the Germans from consolidating their bridgehead.
Follow the rest of the scenario refights HERE
I love the scratch-built armies!
ReplyDeleteThis makes an interesting comparison with the battle that I fought using this scenario.
ReplyDeleteAll the best,
Bob