
I thought that I'd try and use a variety of figures and rules; probably whatever was interesting me at the time, it has to be said. And, if in doubt, there would always be the rules in the book itself.
Scenario 1 is called 'Pitched Battle'. In a book which contains scenarios which the author claims are designed to avoid featureless billiard-table encounters the battlefield is basically a featureless billiard-table, with tow small hills on each baseline. The premise is simple - the two armies line up and the winner is the one which inflicts the most damage on the other within the time limit.
I decided to use my 6mm Liberation armies, and try out the Horse and Musket rules in the book. This was partially because a few games I'd read about on other blogs suggested there was more depth to them than was first apparent, and mostly because they were convenient.
My Liberation armies are 6mm figure strips on 1" bases. When playing square-grid games I use two infantry bases to each unit, one behind the other, so I decided to see how that looked and played without the grid. Which brings us to the terrain-making project of the other night; I was putting together a board and terrain so I could play out games using the One-Hour Wargames rules with units on a 1" frontage. I won't bore you with the arithmetic, but it translates to an area 9" square. That's small. In terms of ground-scale I translated distances from inches into centimeters and then dropped them by a third. This gave an infantry move of 4cm and a cavalry move and musketry range of 8cm.
Here are the potential armies for a Horse and Musket game, on the terrain for Scenario One and the book for scale. To produce any army in the random lists you need four infantry, two cavalry, two skirmishers and two artillery.

For the Republicans I had all of the figures I needed - infantry, cavalry and artillery were easy enough, and I have a couple of rifle units I could use as skirmishers. I don't have skirmishers for the Royalists, so co-opted some guerrillas from my Maximilian in Mexico armies.

I rolled on the lists and got these armies. Bolivar's Republicans, on the left, got four infantry one artillery and a cavalry, whilst the Royalists on the right got four infantry, one skirmisher and one cavalry.

In this setup the skirmisher unit is pretty useless. It moves faster than the other infantry, but in a straight head-to-head fight like this one that isn't much of a bonus. This already left the Royalists at a disadvantage. In addition the Republicans had artillery, the range of which pretty much covers the whole battlefield. The Republicans could afford to sit tight and wait for the Royalists to come to them, shooting at them as they did.
The Royalists advanced. The two cavalry units were matched against each other, as in these rules and on this battlefield, cavalry dominates. I suspected that the battle would go to whichever side could achieve cavalry superiority by eliminating the opposing cavalry unit.

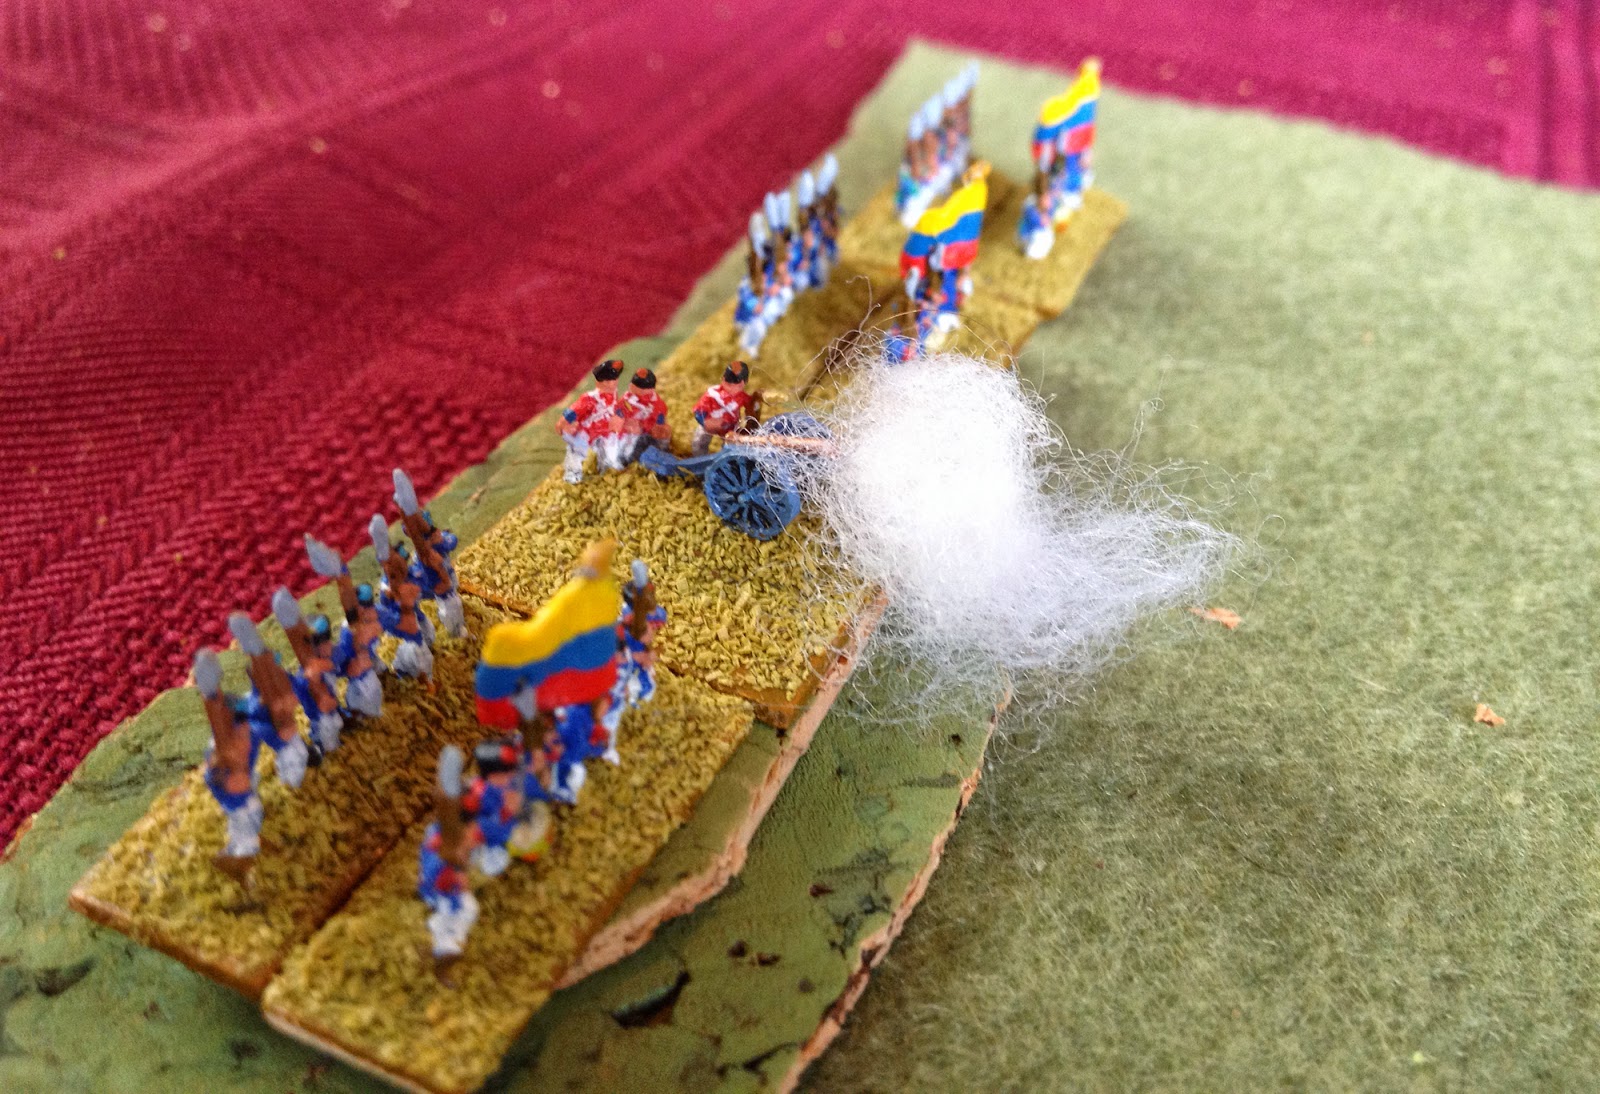
Units in the OHW Horse and Musket rules can either move or fire. This means that an advancing army will take first fire from its enemy as it moves into range. As the Royalists entered musketry range the Republican line erupted.

The cavalry melee began.

The Royalists formed up and returned fire. At the top of the picture is a Republican unit which was out of range, being on the extreme left of the line, and was moving into a better firing position.

Units generally take 1D6 hits per turn from each unit firing at them, and rout when they've taken 15, so within a couple of turns the lines were thinning out. The Royalists had lost an infantry unit on their right from the combined fire of two Republican units, whilst on the Republican right the British Legion had routed after taking fire from an opposing infantry unit and the skirmishers. The Republicans had also lost their artillery. In the foreground the cavalry battle continued.

Already a unit down the Republicans switched to a new strategy, and switched their cavalry attack to the Royalist skirmishers, routing them.

The Royalist cavalry swung around the Republican flank and attacked some infantry on the hill, also routing it despite its terrain advantage. meanwhile the Republican left was swinging around to engage the Royalist centre.

Both armies were now down to three units - two infantry and the cavalry each. The Royalists took the opposing cavalry under fire.

It responded by swinging across the Royalist front and routing the other infantry unit. However it was now on its last hit.

The Royalist cavalry charged the advancing Republican infantry, whilst the surviving Royalist infantry had to decide between taking another shot at the enemy horse, or turning to face the advancing enemy foot. It chose the latter.

One Republican infantry unit formed square in order to cover the flank of the other. Units in square cannot shoot though. Meanwhile the Republican cavalry had made itself scarce, out of the picture to the right.

The infantry lines fires at each other. The Royalists concentrated their fire on the square, whilst their cavalry moved into position to charge the other infantry unit once the square broke. On the right of the picture the Republican cavalry hovered menacingly.

The square routed as the Republican cavalry charged, routing the last Royalist infantry unit.

The Royalists were now down to their cavalry, which charged.

If cavalry fail to destroy an enemy unit in close combat then they back off. This left them open to fire from the infantry.

Pinned by infantry fire they were an easy target for the Republican cavalry, which hit them in the flank and finished them off.

The Republicans had won, destroying all six Royalist units for the loss of four of their own. This seems to be a fairly standard casualty rate for the OHW rules. The game lasted 12 of the 15 turns allowed, and took 40 minutes to set up and play, including a coffee and biscuit break.
For a scenario that is basically a head-to-head fight on an empty field there was a lot more maneuver than I expected. The rules are not perfect by any means, but are more subtle than you might expect, especially if you use squares. I'm interested in seeing how they play out on a more complex battlefield and scenario.
So, one scenario down - twenty-nine to go.
Follow the rest of the scenario refights HERE
Interesting post KK. That game has a DBA look and feel to it, but it seems appropriate in the spirit of a one-hour war-game. I've been thinking of ordering this title myself, now I'm a little more inclined in that direction.
ReplyDeleteI really like the minimalist look of your game and how it looks with your 6mm figures.
Nice.
Cheers, MP
The rules are very minimalist, and certainly have a DBA feel. The main issue I have with them is the high casualty rate; armies lose by basically being wiped out. You could introduce a morale system, but most of the scenarios wouldn't work if armies break after losing, say, three of their six units.
DeleteI'd considered that as a possibilty. But given my track record with projects I don't like to make promises :)
ReplyDeleteNice report, thank you very much for sharing it!
ReplyDeleteYou have encouraged me and I have just finished my first OHW game: Scenario 2 with Horse and Musket rules.
I have played solo and in Battle Chronicler (is good to because you can see the replay). I think I will play more escenarios.
I have one doubt: What do you think about firing into melee? The rules says nothing about it!
I didn't allow firing into melee - if cavalry are in contact with a unit, you can't shoot at it.
ReplyDeleteAlthough not relevant for all H&M games the optional rules for square are a useful antidote to the rather deadly cavalry in the rules, especially if there's an objective to be held.
Thank you very much for your answer Alan.
DeleteI will try the square rule, but first, I have to figure how to denote in Battle Chronicler that a unit is in that formation.
Cheers!
This looks great and is inspiring me along similar 6mm, ACW lines, perhaps...
ReplyDelete