

Whilst the American Civil War raged west of the Mississippi, a side-conflict was going on on the other side of the great river. This included an obscure three-day battle called Gettysburg which, whilst of little interest to people who recognise that Wilson's Creek and Westport are where the real action is, does seem to interest one or two wargamers. Indeed I've heard the battle described as the Westport of the East - in this house, anyway.
Anyway, Culp's Hill was a bit of it. Stuff happened there on the second day but the Back Powder scenario Ralph put together for us this evening covered the third day. Here's a map upon which the scenario was based.

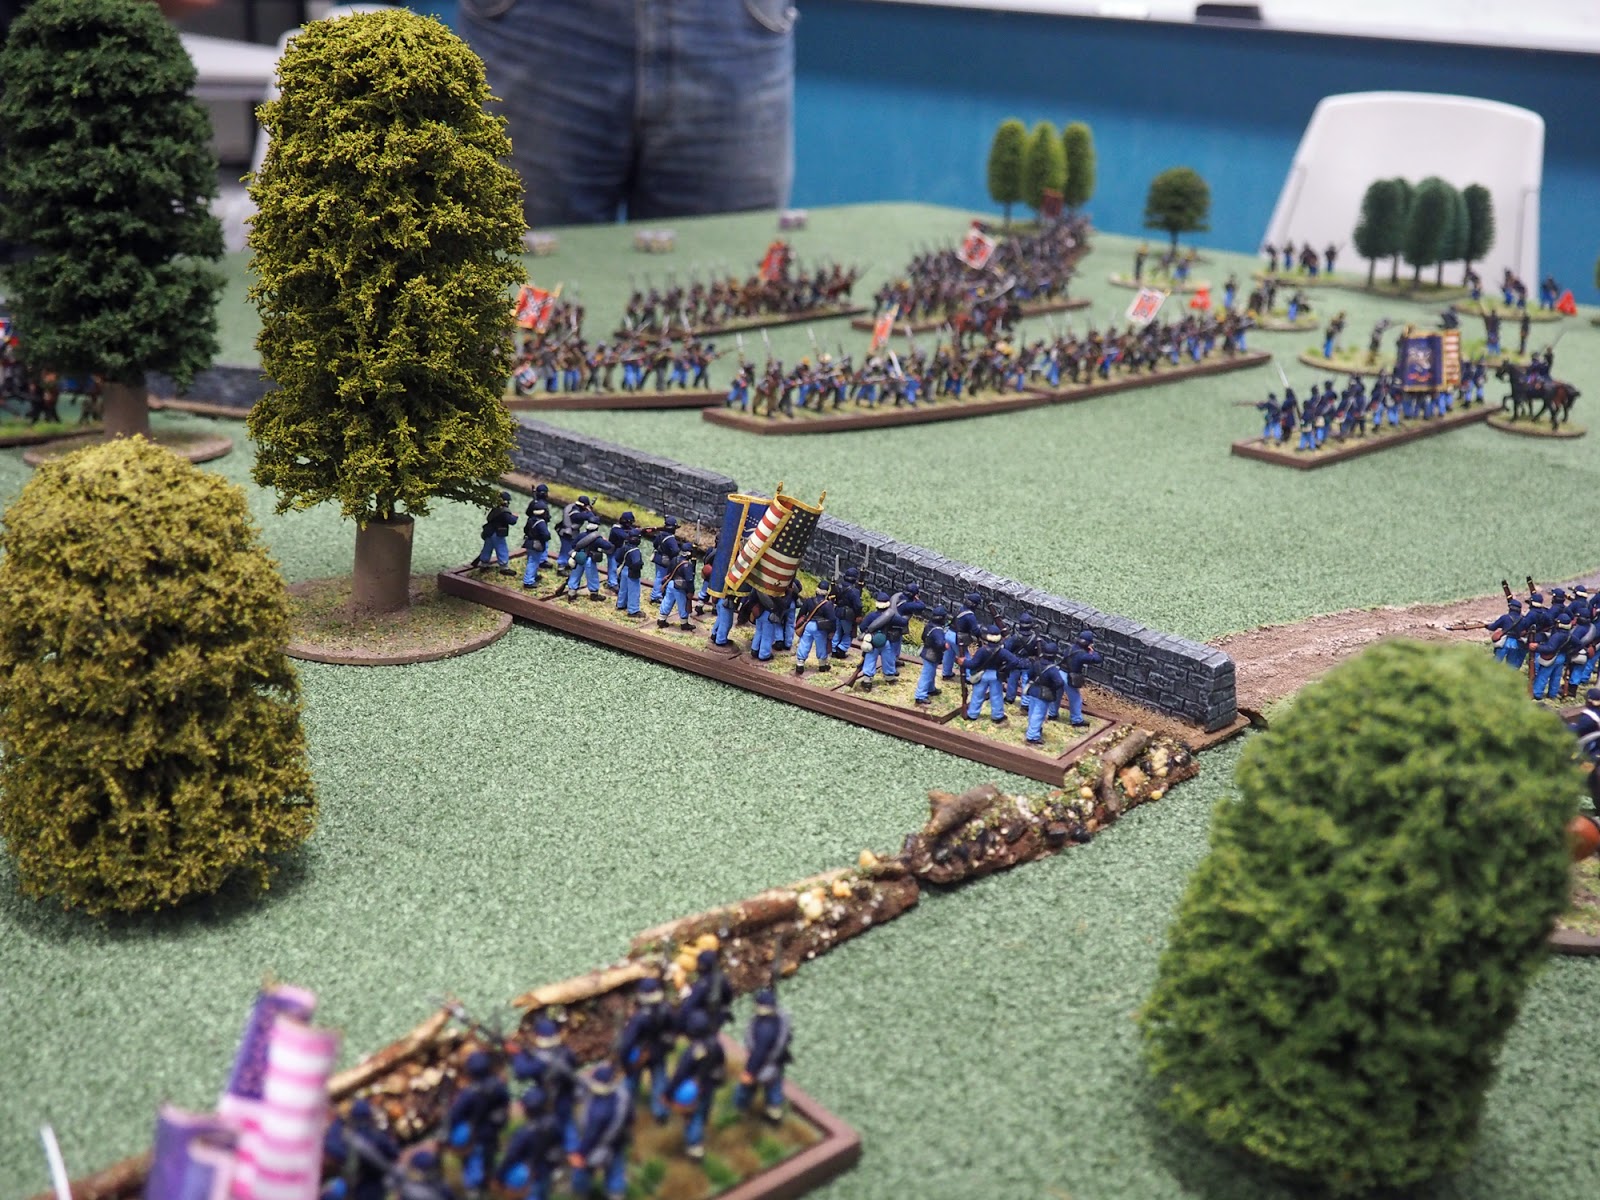
And the terrain for the game. Ralph simplified it so that we had half the table covered in woods and the other an open field flanked by woods. A stone wall divided the two halves for most of the width of the table, whilst the Union had a line of breastworks in the wood itself. Two Union brigades defended the position, one on each side of the wall.

Here's the Union troops in position.

A Rebel brigade. Looks big. Is big.
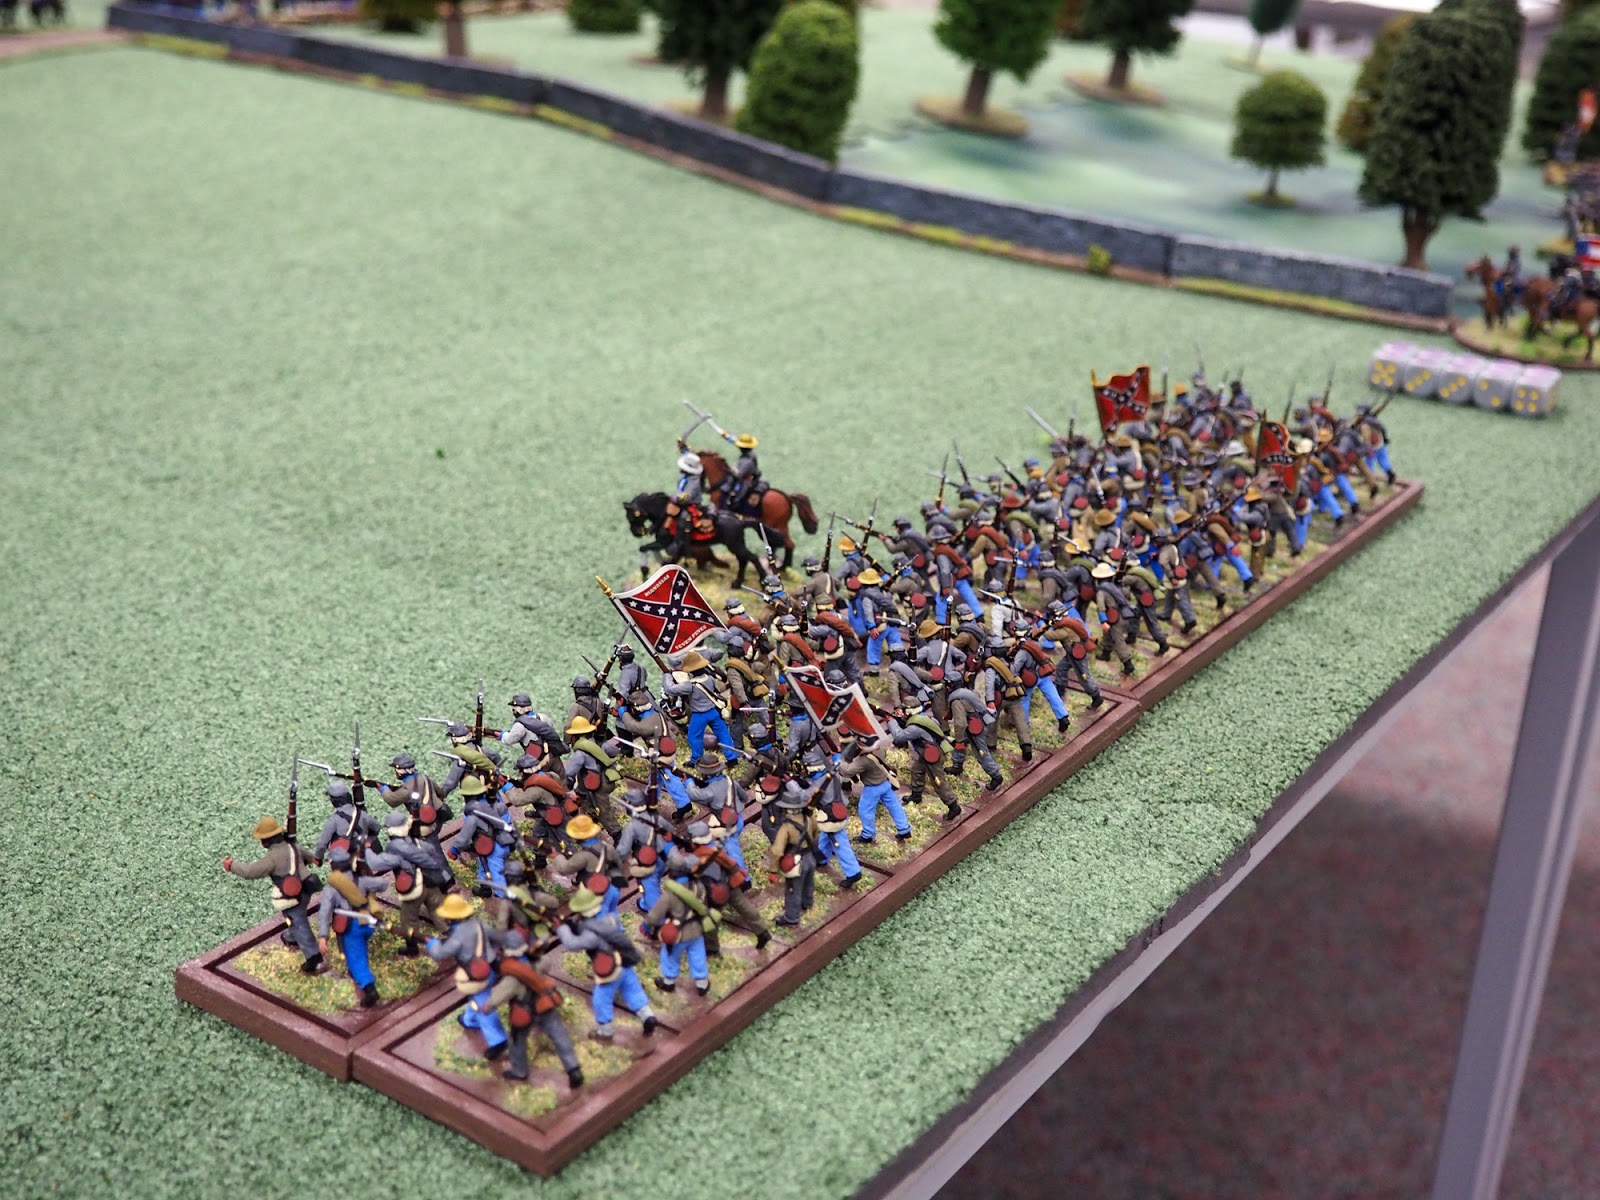
More Rebels coming up through the woods.

The Three Wise Men of the Confederacy - Bryan (Rebs in the Wood), Caesar (Rebs in the Open) and Dave (Rebs in Reserve).

The Union right flank was commanded by Mathew Brady. Or maybe Ralph.

I had the Breastwork Brigade. I got to hide behind breastworks. In a wood.

Rebel skirmishers out on their left.

The Union had skirmishers too, shooting from the cover of some woods. Personally I think the Rebels at the bottom of the picture may be offside, but, as ever, the ref was blind.

An out-of-focus close-up of some advancing Rebels.

Confederates confer. Aside from Bryan who had slipped off for a nap with his troops, in lieu of advancing through the woods.
In the meantime Ralph has decided that the best response to two-to-one odds against him was to advance rapidly to meet the foe.

Note each army's differing policy with regard to supporting their troops.

"There's only a million or so of them, boys! Nothing can go wrong!"

The lines close and the shootin' starts.

Since Bryan seemed to be having an extended nap, I moved one of my units out of the breastworks and lined them up along the wall, perpendicular to the Rebel advance.
Skirmishers skirmishing.

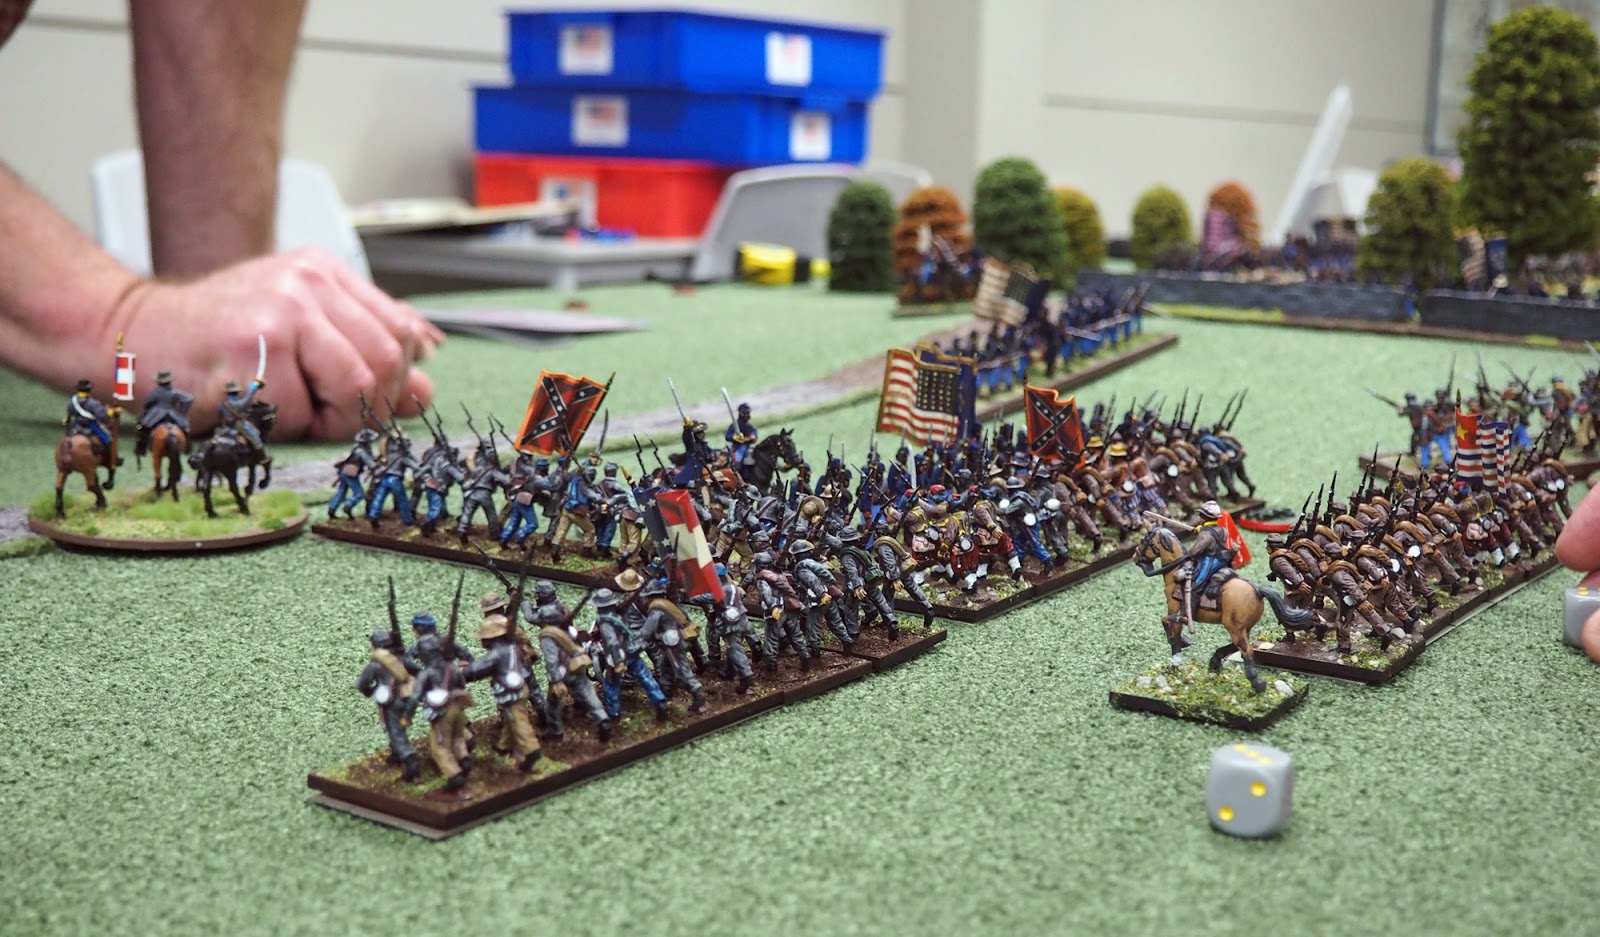
The Rebels charge ...

... and the fighting begins in earnest.

Meanwhile Bryan's troops had begun a slow advance through the woods.


The Confederate commander committed his trained ferret to the attack.

Disaster! Ralph's ridiculous plan is somehow vindicated when the lead Confederate unit fails a morale test, routs and takes two of the supporting units with it. Pretty much an entire Confederate brigade runs away! Fortunately the Stonewall Brigade is on hand to provide a second wave.

Bryan (seen here in miniature form) leads an advance through the woods.

"Hurrah!"

Rebels in a woodland glade

The Stonewall Brigade piles into Ralph's troops

Meanwhile Bryan's troops get close enough to mine that we can shoot at each other, and I discover just how useful breastworks are when it comes to saving rolls.

Things begin to look very, very nasty indeed for Ralph's boys.
They aren't looking too good for me. By moving one unit out of the breastworks I left my line far too stretched out, and Bryan was happy to exploit the gap.

Ralph's unit routed, and Caesar and Dave carefully plotted their follow-up.

In a last gamble for the Union, Ralph consults the rules:
"Those skirmisher's were offside!"
But it's too late.

The Rebels are everywhere.

My line was outflanked. To my credit I held the attack and was able to turn to face it, the attack to my front having fizzled out in disorder.

The Stonewall Brigade advanced on the stone wall.

Blam! Grr! Bang! Aargh!

And the boys in blue flee!

And that was it really. Both Union brigades broke, and the Confederates had taken Culp's Hill.
I bet they wouldn't have kept it, though.
Thanks to Ralph for organising a game which, on the surface, seemed pretty simple and yet which provided a great evening's entertainment for five people.
Here's Ralph's slightly more sober report.
Very enjoyable, thanks.
ReplyDeleteThanks, Kaptain. A terrific and amusing photo journal of events. Well fought by the staunch Yankee defenders, and thanks to Ralph for an engaging and fun scenario.
ReplyDeleteI had a good read on this one! Great battle report and pictures! Thanks for sharing!
ReplyDeleteGreetings
Peter
Yup a hilarious report of a fun game - really enjoyed it and thanks Kaptain Kobold for saving my A**E - at least for a few more moves!
ReplyDeleteGreat looking game, and report...Love your splendid vignettes!
ReplyDelete