

 Back from another evening of wargaming.
I played two games this evening. The first was a 48AP game of HOTT, with two players a side and the allied armies starting in opposite corners of a big board. The other was a game of Pz8's divisional level WW1 rules, with a few changes that I wanted to try out.
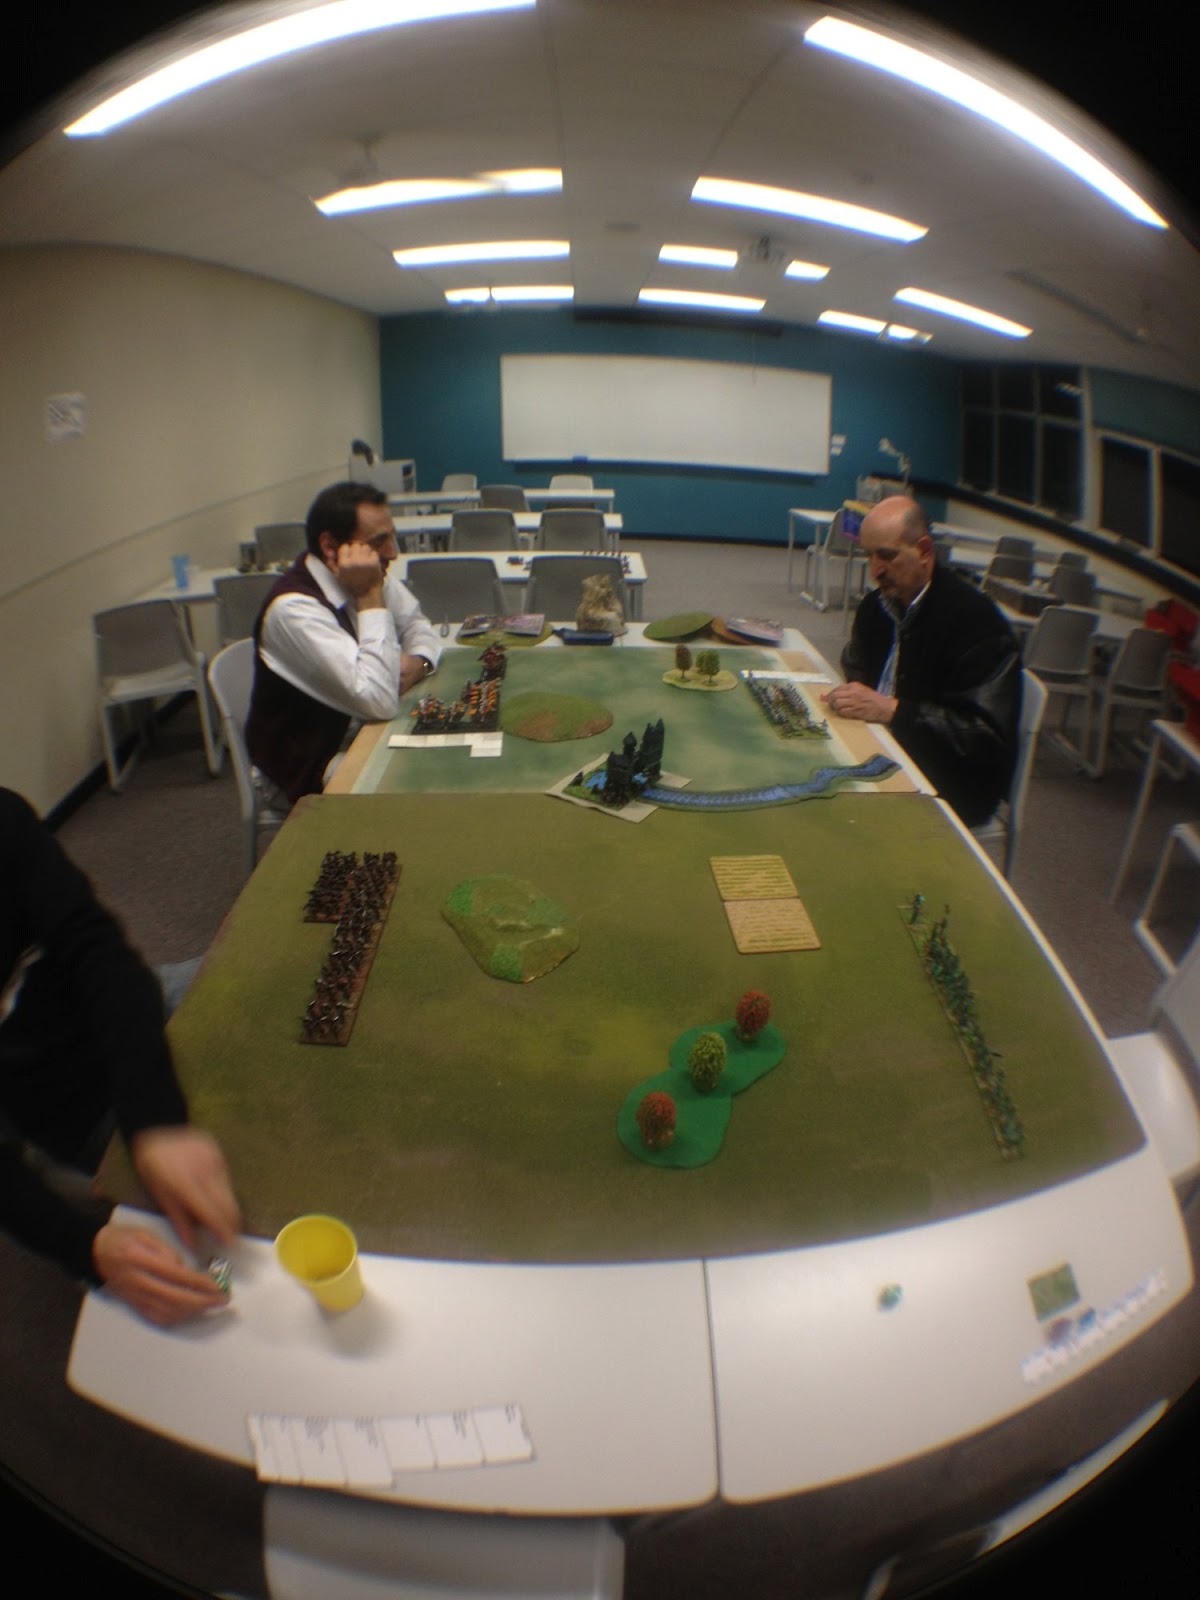
On to the HOTT game. The board was roughly 6' x 3'. Here's the terrain; the piece in the centre was just treated as a built-up area. There was no stronghold in this game. The river did dictate that the main axis of the battle was to the other side of the building:

A distorted closer view of the built-up area; actually it's the stronghold of my Mantic Elves (my only true fantasy 25mm army):

The armies set up, and players ready to go - Caesar's arms to the left, then Geoff, then Dave:
My army - The Morally Ambiguous Elves Of Mantic:

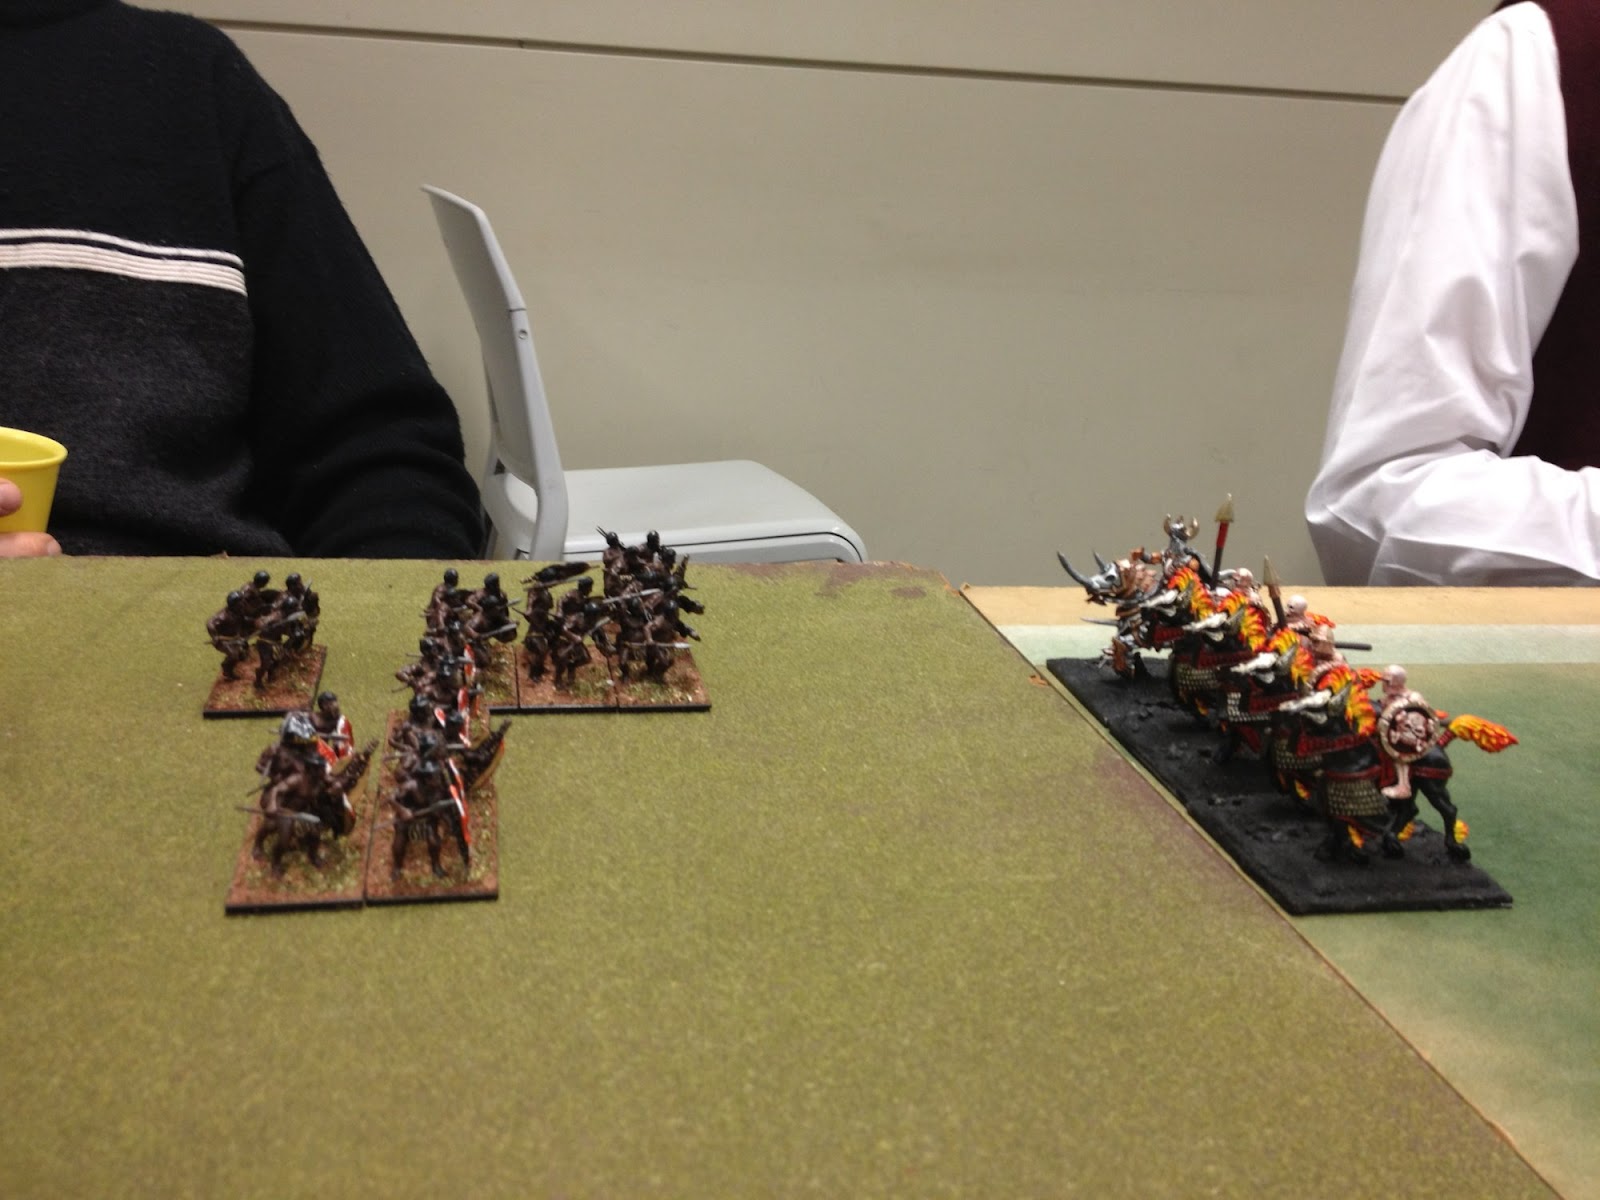
Opposite them, Caesar's Zulus:

Diagonally opposite Caesar were his allies - Napoleonic Austrians under Dave:

And diagonally opposite me were my allies - Undead, under Geoff:

Some Undead close on the Zulus:
Whilst others prepare to defend a hill against an attack by the Austrians:

The Undead outflank the Zulus who, oddly enough, form square:

The Austrians launch a futile assault against the Undead. At one stage I became worried about an Austrian column marching on my right flank, but it turned out to be their rapidly growing casualty pile:

The assault on the Zulus stalemated:

The Elven Hero finally links up with their Undead allies:

Death rides a pale horse, but he still struggles to inflict any casualties on the Zulus:


The Elven Spear line marches slowly across the table:

A bad turn - the Elven Hero dies to a Horde:

Elven Shooters, who skulked behind a wood for the whole game and didn't even see the battle, let alone take part in it:

The Undead begin to mop up the now demoralised Austrians:

The Elven Warband charge into action:

For someone who is winning, Geoff looks distraught:

The Elven Spears finally get into action as well, sweeping away a Zulu Horde:

There are no more Austrians left ...

And that was the end of the battle; with the Austrian Army wiped out or fled, the Zulu/Austrian Alliance was broken. The Zulus took minimal losses; a couple of easily replaced Hordes. Most of the caualties on the winning side were on the Undead, who actually did the bulk of the fighting; the Elves spent most of the game marching into battle.
Caesar and I then set up a game of Pz8's WW1 divisional rules. We played the Cambrai scenario, with Caesar taking the attacking British and me taking the Germans.
Caesar went for an ambition preliminary bombardment, but it paid off, smashing the German front-line trenches, and giving him a clear avenue of attack in the centre:

The first British assault; both sides have lots of artillery to spare, and weren't afraid to use it:

Mid-game the British were pushing all of the way through the German defences at some points. But isolated strong-points were holding out, and would need to be taken before nightfall. Three out of four of the British tank units had broken down, leaving the infantry do do all of the work, although the large amount of rough terrain on the battlefield limited how useful the tanks were anyway:

The game ended on Turn 6, with the front-line bunker still in German hands. So, despite the British successes elsewhere on the battlefield, the Germans won:

The reality was that Caesar had misunderstood the victory conditions, and didn't realise that he had to control every square in a row for it to count towards victory. He basically ignored the bunker thinking that he didn't have to capture it.
In terms of changes we tried Preliminary Bombardments only costing 2AP, along with a limit on the placement of bunkers and allowing assaults from different squares to be combined. In the more open terrain created by the effective preliminary bombardment the combined assaults were very powerful, even with the caveat that additional squares only contributed half value. However I shall try them again on a board with more defences and see how that works. A nice feature they created was that the British could adopt the tactic of assaulting just one or two squares each turn, hitting them with overwhelming force. But such a tactic takes time, and the clock is always ticking in this game; the British lost because they took too long to achieve their objectives (although, as already stated, Caesar misunderstood exactly what those objectives were).
Both sides pretty much ran out of artillery at the same time, which to me was a sign of a certain level of balance in operation. However as the defender I was cautious with my expenditure, as I was saving AP to defend against an attack on the front-line bunker which never came.
The Cambrai scenario strikes me as a good test-bed for these rules; I will run it through a few more times and see which changes work and which don't.
Great battle reports, especially the HotT game. I need to play that game again; it's been too long ...
ReplyDeleteNeed more pictures of the elves. They look good.
ReplyDeleteThe line about the Austrian column/ dead pile made me laugh.
More pictures of the Elves are scheduled; I've written the post and just need to take the pictures.
DeleteWho makes the undead cavalry with the flaming manes?
ReplyDeleteI think they're GW, but I've dropped Caesar a note (they're his figures) and he'll confirm or deny that.
DeleteApparently they're standard GW Elf steeds with a flaming mane paint job. No special conversion, aside from acquiring a skeletal rider.
DeleteExcellent. Probably GW skeleton infantry as riders? They often cast the legs wide enough.
Delete