Monday, 10 April 2017

Budget Fraustadt

In my first 'Scum of the Earth' game for the Six by Six Challenge I tried and ECW game. For my second I decided to make use of the figures I had handy from out Fraustadt refight last Thursday (which we're doing again this week, if you fancy knowing what's coming up here) and play a GNW game. And, I thought, why not refight Fraustadt?

Now, one of the design philosophies of 'Scum of the Earth' is that its supposed to give a game which looks like a low-budget black-powder battle from a 70s/80s TV series, where they only had 200 extras to fight Waterloo with. So I scaled the game right back in terms of units. Here's the setup:


This is the defending Saxon/Russian army (all looking suspiciously Russian, as before. We know they're behind everything at the moment, so it's only appropriate.)

Right Wing
1 x Cavalry (Stalwart)

Centre
1 x Infantry (Stalwart)
1 x Infantry
1 x Infantry (Riffraff)
1 x Gun

Left Centre (Russians)
2 x Infantry (Riffraff, Pikes)

Left Wing
2 x Cavalry


The attacking Swedish force was smaller, but I stacked on some extra traits to try and offset this.

Right Wing
1 x Cavalry (Stalwart, Knee-to-Knee)
1 x Cavalry (Knee-to-Knee)

Centre
1 x Infantry (Stalwart, Pikes, Veteran)
1 x Infantry (Pikes, Veteran)

Left Wing
2 x Cavalry (Knee-to-Knee)


Most of the traits can be found in the rules. 'Knee-to-Knee' gives Cavalry a +1 when in melee with other Cavalry. 'Pikes' gives the unit a +1 in melee, but their firing is capped at 4.

I gave units a 6" musketry range, as for the ECW, but had them roll a DAV as normal.

The Swedes moves forward aggressively, with their cavalry sweeping forward to attack their Saxon opposite numbers. The brown area on the Saxon right is a frozen marsh (the battle was fought in Poland in February, so it was a bit chilly).


The Saxon left came out to meet the Swedes. No point in standing around really.


The Swedes charged, and cut through the first Saxon unit, which fell back.


On the other flank the Swedes worked their way through the marsh with no difficulty.


The Saxon artillery started up a deadly fire on the Swedish infantry in the centre, who advanced to just outside of canister/musketry range, ready to charge once their cavalry had made a breakthrough.


The Saxon cavalry on the left was now fairly well smashed up, but they had put up a magnificent defence, forcing one Swedish unit to rout and the other to fall back.


On the other flank, however, the Saxon cavalry pretty much fled the field after the first Swedish attack.


This put Swedish cavalry well into the Saxon rear.


Ga Pa! The Swedish infantry marched forward.


An overview of the battle.


One of their infantry units faltered in the attack, already shaken from the earlier artillery fire. The other, though, pressed home its attack on the Saxon defences.


It was repulsed, but now the Swedish cavalry was coming up in support.


An attack from both sides!


And still the Saxons triumphed.


On the other flank the shattered Saxon cavalry was sheltering behind some wavering but fresh Russian infantry.


 The Swedes charged again ...


... and the Russians broke, although they rallied rather than flee the field.


The Saxon cavalry counterattacked, and broke the Swedes, who fled.


In the centre a Saxon unit fell back from the defences as the Swedish infantry pushed forward. However other infantry drove off more Swedish cavalry with some brisk musketry.


At that point I called a Saxon win. The Swedes still had a little bit of fight left in them, but really there wasn't any momentum left in their attack, and much of the Saxon line was still fresh.


This is a difficult battle to balance, with the outnumbered Swedes on the offensive and, historically, pulling off a win. Twilight of the Sun-King seems to manage it OK without it looking too much like the Saxons have been hamstrung and the Swedes turned into supermen. With these rules I suspect it's the best approach; add more bonuses to the Swedes, and dump some more disadvantages on the Saxons. It was true that the Saxon cavalry on the left was lucky early on; they managed two Courage tests where they rolled a '1', allowing them to keep fighting, but really they were a tough nut to crack for the Swedes.

6x6 - Game 3.2

Friday, 7 April 2017

Fraustadt with Twilight of the Sun-King

My copy of the newest edition of the Twilight of the Sun-King rules came a few weeks ago, but it too us until yesterday evening to get ourselves organised for a game. The rules cover the period from roughly 1680 to 1720, with two game scales  of either 1000/500 or 2000/1000 infantry and cavalry respectively per unit. They allow big battle to be fought fairly quickly with a simple mechanism in which all firing and close combat are absorbed into a single morale test per unit per turn.

Caesar and I had played one game of an earlier edition a couple of years ago, and I had played some other games at home, so we weren't totally unfamiliar with the system. Gary joined us, but hadn't played before at all. The new edition expands on the previous version in part by including various special traits which can be added to units, including variations in size, unit quality and enthusiasm, and adding differences in weaponry such as matchlocks and pikes.

There is a scenario booklet available, covering some of the campaigns of Louis XIV, but the introductory scenario in the book could have been written for me - the 1706 battle of Fraustadt, from the Great Northern War. This features a Swedish army outnumbered two-to-one attacking an entrenched Saxon army with Russian allies. This rash action was prompted by the presence of a Polish force in the area, forcing the Swedes to deal with one army before the two joined up and outnumbered it any further. On the day the Swedes swept to victory. How would it play out on the table?

This is the setup, with the Swedes on the left and the Saxons on the right. We played at the brigade scale, so units represent 1000 cavalry or 2000 infantry if normal-sized. Support, especially rear-support is essential in the game, so even with the small number of units, both armies were deployed in double lines where possible. The Saxon/Russian line was anchored on two villages, and their right flank was covered, in part, by a frozen marsh.

Since Caesar and Gary were less experiences they split the Swedes between them, whilst I played the more static Saxons, which allowed me to look up rules and explain the game as we played.


The Saxon/Russian line. In fact the figures were all Russians from my Risk-figure GNW collection. In fact one of the cavalry units was Swedish as well.


The Swedes. They are heavily outnumbered in this battle, but the enthusiasm of their troops is outstanding, giving them quite an edge in the meat-grinder morale test combat that is a feature of the game.


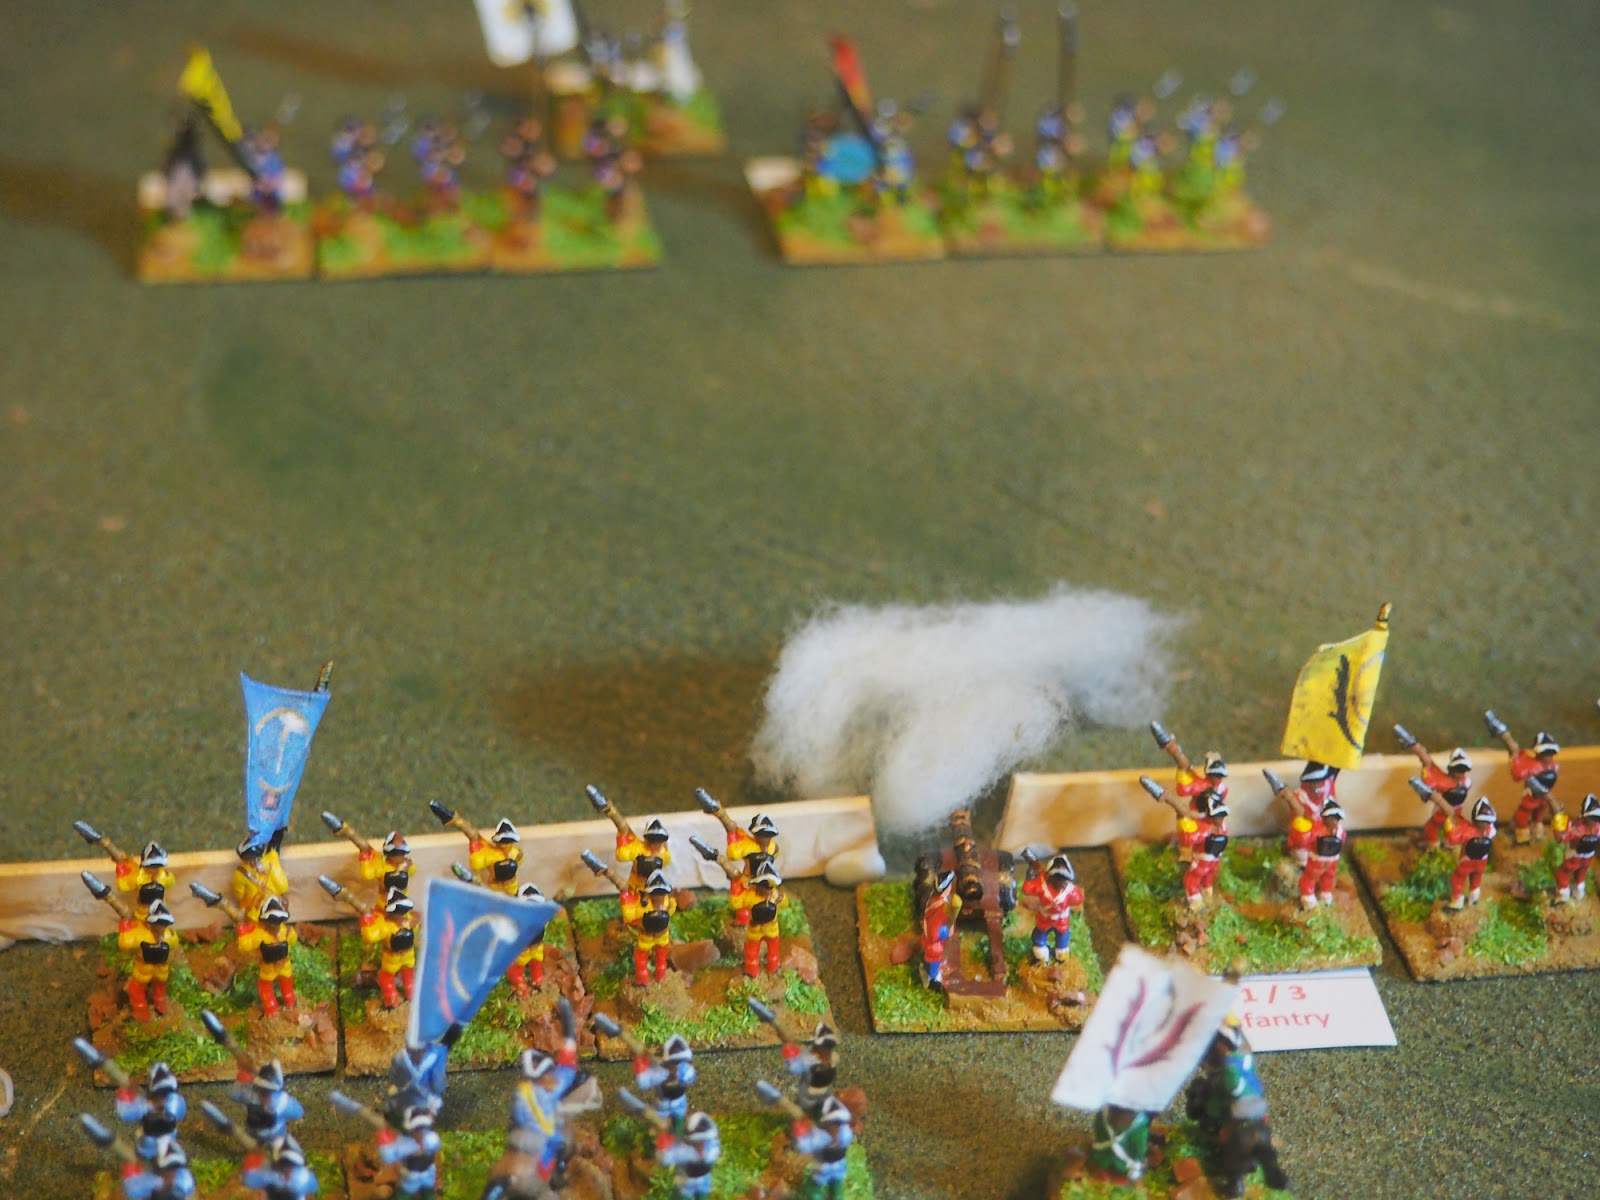
The Swedes had a small amount of artillery which could arrive as reinforcements, but the Saxons had a couple of units deployed as part of their line. In Twilight, artillery can fire through friendly units; an abstraction which assumes that the units are, in fact, numerous regiments with gaps and firing lanes between them, and that the artillery could be sited on low rises not shown on the table.


The artillery started to bombard the Swedish infantry. This puts the pressure on the Swedes to attack. Their infantry, whilst good, cannot easily take the Saxon position, but neither can they afford to stand and take fire. In order to turn the battle in their favour they need to deploy their other arm ...


... the cavalry.

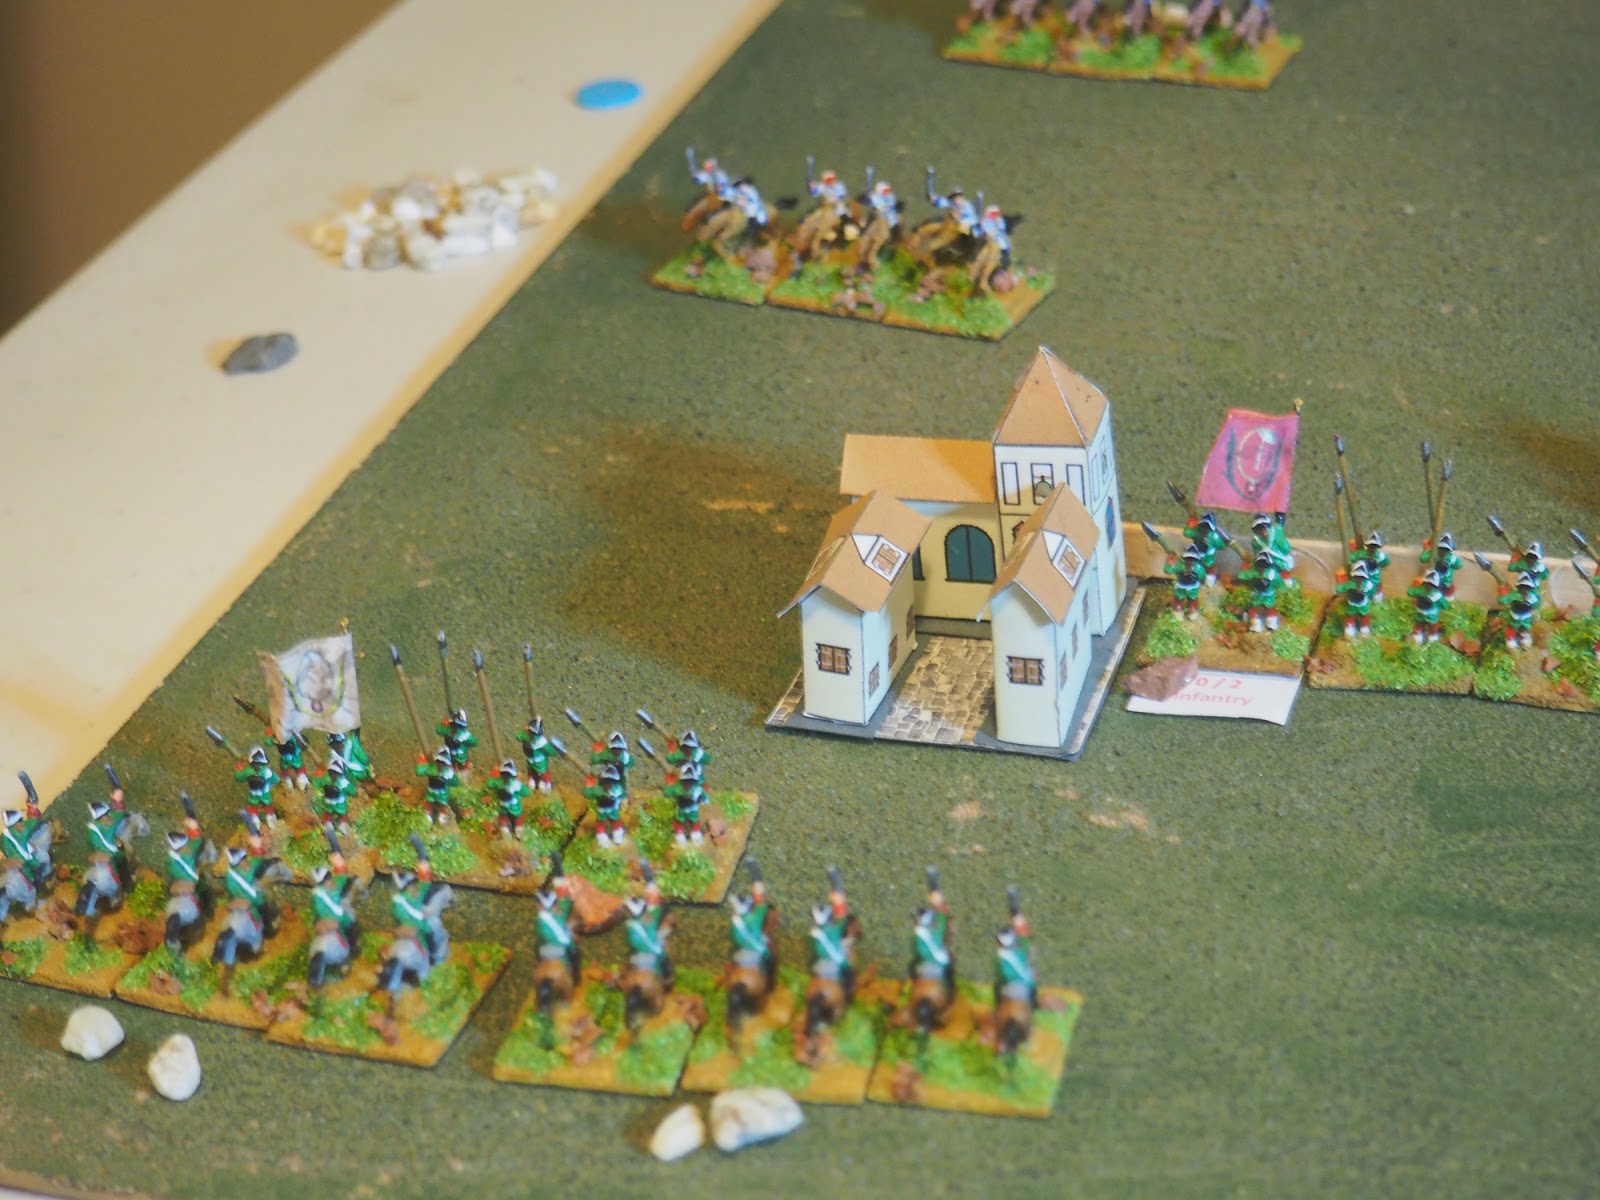
In this battle the Swedish cavalry have the edge in both numbers and quality. They attacked on both flanks, looking to cutting in on the Saxon flank and rear as quickly as possible, either breaking their army from that, or allowing the infantry to make a final, battle--winning, push.

This is Gary's force, attacking the Saxon right.


This is Caesar's force, attacking the Saxon left.


There was no point in holding back. In order to force morale tests on the Swedes, I counter-attacked with my horse. On my left this cost the Swedes a unit straight away.


It also held Gary's attack in check as well.


A view of the battle.


On the Saxon right, things went badly for Gary. His cavalry were pushed back and then botched a couple of activation rolls; in Twilight, any movement by a unit that is not just a simple move straight-ahead, is subject to a test to see if it takes place. Gary failed two rolls in succession, leaving his two units of cavalry disorganised and unsupported as the Saxons pressed their attack.


On the other flank the melee settled into a series of charges and countercharges, but the quality of the Swedish cavalry enabled them to overcome their initial reverse, and the Saxons were methodically eliminated.


In the centre the Saxon artillery forced some of the Swedish infantry to rout, after a sustained bombardment lasting several turns.


Russian allied infantry were redeployed to try and delay the victorious Swedish cavalry on the left.


Both armies were actually on a morale knife-edge. The Saxons had taken a few casualties and were close to breaking, but the handful of Swedish casualties were enough to put them in jeopardy as well. Looking to achieve a decisive finish I went on the attack, with my infantry surging forward from their defences, five units to the Swedish two.


Another view of the whole battle. On the right Gary's cavalry have been pushed well back and were trying to regroup. On the left Caesar's cavalry was also reorganising. In the centre the infantry prepared to engage.


Swedish infantry are at a disadvantage in a firefight, so Gary counter-attacked. Or tried to; one unit refused to advance, but the other hit the Saxon infantry opposite it hard. The Swedes are better in close combat, and all the needed to do was break one Saxon unit to force an army morale check and break them all.


As it was, the lost of a final Saxon cavalry unit on the left was the clincher. This forced that flank to test morale, and it failed, routing the whole wing. This , in turn, forced an army check, which they also failed. The Swedes had won.

The game was closer than it looked; because their army is so small in terms of number of units, Swedish cavalry losses had put both of their wings close to their breakpoint as well. Had the Saxons survived into their own turn, it could well have been the Swedes taking the army morale test. A close result is always good for any scenario.

So how was the game? Well, there's no denying that the basic mechanisms of Twilight of the Sun-king are excellent. They give a quick game which seems to encourage historical tactics and deployments with, theoretically, the minimum of mental effort. We had an enjoyable evening, really we did.

But ...

The rules themselves are a problem. Gary put it best when he said that he felt that the rules book we were working from was only part of the game, and that the rest of it was still in the authors' heads. We certainly have a list of questions (which I will try and put together and send to the helpful Yahoo Group this weekend), but they weren't on obscure or unlikely situations; they were issues with what you would call basic game-play and which should have been covered at the playtesting or editing stage. A lot of gamers talk about how the spirit of a game means that two sensible players should be able to fill in the gaps in a ladylike or gentlemanly way but, really, if you've paid for a game you shouldn't be having to do this for issues like 'What happens if I'm forced to retreat and there's an enemy unit in the area behind me?' or 'Can I wheel as part of a charge?'. We found having to look up such basics frustrating.

And, on a pedantic note, if misuse of apostrophes grates on you like fingernails on a blackboard, this isn't a set of rules you'll want to be reading.

In terms of what it sets out to do, Twilight scores 5/5 from me. In terms of how it's implemented, especially since it's essentially the third iteration of this set, I can't give it more than a 3/5.

Update: One useful thing I did do was give each unit a label. This obviously had things like whether it was pike-armed, Ga Pa or galloping horse on it, but it also included two number - the Morale Test modifier and the number of Morale fails required to break the unit. Traits such as Elite, Determined, Small, Wavering and Raw all affect these numbers, so having them factored together and attached to the unit saved a certain amount of factor checking and looking up information.

Tuesday, 4 April 2017

Aztec vs Conquistador HOTT

I've been sorting some stuff out for another game over the past couple of days, but the HOTT armies I took to the club on Thursday were still about, so I squeezed in a quick game last night. I decided to use my Aztec/Conquistador matched pair.

The Conquistadors defended.


Hordes of Aztecs swarmed towards them ...


... and their feathered serpent put in a dangerously early appearance.


The Conquistadors counterattacked, with their horsemen supported by St James and an angel.


Battle was joined ...


... but the Spanish were thrown back.


Aztecs continued to advance on the main Spanish line, despite artillery fire and musketry.


The feathered serpent joined the fight, sweeping the angel from the sky.


It then helped Aztec warriors destroy the Spanish horse.


St James fought on alone, but soon fell.


The Aztec line was broken up, but still advancing, and the Conquistadors had little response left.


The serpent destroyed their artillery.


A final push by the Aztecs saw the Spanish foot routed.


The end. The Conquistadors had been decimated.


The bold counterattack by the Conquistadors made a certain amount of sense, but it did leave the one real element they had capable of fighting the feathered serpent - St James - locked in combat and unable to engage it. The feathered serpent ran rampant, accounting, directly or indirectly, for most of the Aztec kills.

Sunday, 2 April 2017

Six By Six - March

Well, I can tell you now that my Six By Six progress for March has been truly abysmal. I have, at the time of writing, played precisely two games on my list although, to be fair, for various reasons I have only managed a handful of games of any kind all month.

But it seems to have been that way for a lot of people. Actual plays are well down on last month. But, at the end of the day, games are still being played. And I know that there are still some people who have unreported games.

As I say, game have been played. Here are a few personal highlights from March

I have the Mad max-esque Machinas on my game list, but it's great to see another car mayhem game being played as part of the challenge; Ski's Rubber and Lead


This month saw Peter play the sixth game in his HYW campaign. The campaign continues - at the time of writing Game 7 is already on his blog - but its role in the Challenge is ended. Will the Engish escape? Follow his posts and find out.

My favourite part of the campaign is his beautiful map.


Dan continues to treat us to retro-gaming with A Gentleman's War and 42mm figures. This post has ladies on bicycles fighting the French.


Finally, here's the state of play at the end of March. A few people are well ahead of schedule; at this point you should have nine games under your belt to be on track to complete the challenge; a few people have far more than that. Some don't. But keep playing. And if I've missed anything let me know; I'm only human after all.

The observant will see that I've changed one of the games in my list, dropping Black Powder for the new Scum of the Earth.

Kaptain Kobold - The Stronghold Rebuilt

1 - HOTT
 Game 1 - Game 2 - Game 3
2 - Neil Thomas Pike and Shot
3 - Scum of the Earth
 Game 1
4 - Machinas
5 - DBA 3.0
6 - Galleys & Galleons
 Game 1 - Game 2 - Game 3 - Game 4 - Game 5  - Game 6

Pat G - Irr Wb (F)

1 - Ace of Aces Handy Rotaries
2 - B17 - Queen of the Skies
3 - Chain of Command
4 - D&D OSR
5 - Gruntz
6 - Space 1889: Soldier's Companion

Shaun Travers - Shaun's Wargaming With Miniatures

1 - Ancient Battlelines Clash
2 - Advance to Cover
 Game 1 - Game 2 - Game 3 - Game 4
3 - Field Commander: Alexander
4 - Full Thrust
5 - Fall of Rome
6 - Triumph
 Games 1 and 2 - Game 3


1 - X-Wing
 Games 1 + 2
2 - Dystopian Wars
 Game 1
3 - Rubber and Lead or other homegrown rules
 Game 1 - Game 2 - Game 3 - Game 4 - Game 5
4 - Starfleet Battles
 Game 1
5 - Miscellaneous
6 - MLB Showdown
 Game 1

Brian Hamilton - By Brush and Sword

1 - Blucher
2 - Saga
3 - Blood Bowl
 Games 1, 2 and 3 - Game 4 - Game 5 - Game 6
4 - Arena Rex
 Game 1
5 - Strange Aeons
6 - Fistful of Lead
 Game 1 - Game 2


1 - Cold War Commander
 Game 1 - Game 2
2 - Conflict of Heroes: Awakening the Bear
3 - The Walking Dead: All Out War
4 - Kings of War
 Game 1 - Game 2
5 - Imperial Skies
6 - Memoir '44
 Game 1

Michael S - ChicagoWiz's Games

1 - Dungeons & Dragons (1974 edition and 1st edition AD&D)
2 - Ral Partha's Chaos Wars
3 - HOTT
4 - Book of War (D&D Skirmish game)
5 - One Hour Wargames
6 - DBA or Neil Thomas's Ancients/Medieval Wargaming

Martin Sheppard - Sheppard's Crook

1 - Squad Leader
2 - Ancient / Medieval Warfare
3 - Memoir 44
4 - Four Against Darkness
  Game 1 - Game 2 - Game 3 - Game 4
5 - One Hour Wargames
 Game 1 - Game 2 -  Game 3
6 - DBR

Natholeon - Natholeon's Empires

1 - DBA 3.0
 Game 1 - Game 2 
2 - Honours of War
 Game 1
3 - Clobberin' Time
 Game 1 - Game 2 - Game 3 - Game 4 - Game 5 - Game 6
4 - Lord of the Rings for Star Wars
5 - Crimean War Rules
 Game 1
6 - Broken Legions
 Game 1

Kevin Kearney - Warwell's Wargames

1 - Anarendor (WISER Fantasy Rules)
 Game 1 - Game 2 - Game 3 - Game 4
2 - Zirconia and Beyond (WISER Sci-Fi Rules)
 Game 1
3 - Lumbago (WISER Horse and Musket)
4 - Four Against Darkness
 Game 1 - Game 2 - Game 3 - Game 4 - Game 5 - Game 6
5 - DC Rivals
 Game 1 - Game 2
6 - Ticket To Ride
 Game 1

Phil Saunders - A Game of Bones

1 - Black Powder
2 - Team Yankee (6mm edition)
3 - Blood Bowl
4 - Deadzone
5 - Rogue Stars
 Game 1 - Game 2
6 - TBA

Peter - Grid-based Wargaming

1 - One Hour Wargames (OHW) and Others - SciFi Variant
 Game 1 - Game 2 - Game 3 - Game 4 - Games 5 + 6
2 - Galleys and Galleons
3 - Hundred Years War - Lion Rampant
 Game 1 - Game 2 - Game 3 - Game 4 - Game 5 - Game 6
4 - Dark Ages with Dux Bellorum
 Game 1 - Game 2 - Game 3 - Games 4, 5 and 6
5 - WW2 Naval (Pz8 rules)
6 - WW1 OHW

Sun of York - One Sided Miniature Wargames Discourse

1 - Impetus
 Game 1 - Game 2 - Game 3 - Game 4 - Game 5 - Game 6
2 - Saga
 Games 1 + 2
3 - Napoleon's Battles
4 - DBA
5 - Wings of Glory
 Game 1 - Game 2 - Game 3 - Game 4
6 - Songs of Drums and Shakos (will also count Songs of Blades and Heroes).
 Game 1 - Game 2 - Game 3

Ricardo Nakamura - Fantalonia

1 - And a Bottle of Rum
2 - Clash on the Fringe
3 - Mercenary Air Squadron
4 - Morale Napoleon
5 - MOTH - The Ion Age
 Game 1 - Game 2 - Game 3 - Game 4 - Game 5 - Game 6
6 - Star Trader

Kenneth van Pelt - The Penny Whistle

1 - DBA
 Game 1
2 - Blue Max
 Game 1
3 - The Great War
 Game 1 - Game 2
4 - 54mm Collection
5 - Carrera GO Formula 1
6 - Rogue Stars
 Games 1 and 2

Dan Foley - Last Stand at Cairngorm

1 - Chain of Command.
 Game 1 - Game 2 - Game 3 - Game 4 - Game 5
2 - A Gentleman's War
 Game 1 - Game 2 - Game 3  - Game 4
3 - Sharpe Practice 2
4 - Saga
5 - Mad Dogs with Guns
 Game 1 - Game 2
6 - Lion Rampant (and variants)


1 - 1914 Opening Moves (Minden Games)
2 - Remagen Bridge (Minden Games)
3 - Flying Eagles (High Flying Dice Games)
4 - Courage under Fire (HFDG)
5 - Manoeuvre (GMT)
6 - Poltava

Saturday, 1 April 2017

Popular Posts

No-one will have noticed, I suspect, but I have removed the Popular Posts gadget from my blog's sidebar.

I had it set to show the most popular posts, in terms of hits, from the past 30 Days. It's quite a good way of keeping relatively recent posts on view. But over the past month or so, older posts have started to creep in there. I have been monitoring their stats, and they were picking up regular hits; the same number of hits at roughly the same time each day. Basically it was obviously some kind of remote process at work.

Now if you've been really observant you will have noticed that in the past week the sidebar gadget has changed what it was tracking a few times. This was me fiddling with it so that I could see what effect it had on the stats. What seems to be happening is that posts that show in the gadget were picking up regular hits from some kind of automated process. This meant, to some extent, that if a post was being featured it would keep being featured because it would keep getting automated hits.

This kind of makes the gadget a bit pointless. So I have removed it.

I'll keep monitoring my stats and see what effect the gadget's removal has, and maybe reinstate it when I think things have settled down.

Anyway, what I'm now hoping is that most of the hits I get are actually real people looking at the posts because they actually want to.

Yeah. Right.

Update; I've put it back, maybe on a temporary basis, as the stats now seem to have settled down a bit.
Related Posts Plugin for WordPress, Blogger...