Saturday, 9 April 2016

Chain of Command

On Thursday evening Gary put together a game of Chain of Command for us. This was always going to be an interesting experience, with only he and Caesar having read the rules beforehand, and none of us having played.

This was the table. We played a Russian vs German encounter, with both sides just trying to take the other side out. Nice and simple. Each side had a platoon of three squads, plus appropriate supports.


The beginning of the game involes moving patrol markers -essentially blinds - around the board. As opposing markers interact they lock into position, and this determines the jumping-off points for each sides' troops. The gane then uses activation dice to deploy to move things or perform actions, but your troops can appear at any available jumping off point when first activated, allowing them to appear halfway across the table if you've managed to get your positioning right.

The Germans took the initiative, setting up a squad in a strong position in the village in the centre, then a second one in a wood covering its flank. We (for I was Russian this evening), responded by deploying two squads, one after the other, on a point which had a line of fire to the wood. Since we could fire upon deployment, this gave us a positively 19th century double-rank volley fire effect on the defenders. It wasn't pretty.


The Germans spent the next part of the game on the back-foot. They had to deploy their senior commander and some supporting teams just to bolster the morale of their troops in the wood, and spent a lot of thei activations repairing the damage our firing was causing. We kept one unit firing, whilst our other squad worked its way through some woods ready to set up a second firing position, or assault the already wobbly Germans and take their jumping-off point.

Eventually the Germans got it together, and moved the troops in the village across to support the ones in the wood (not pictured), whilst deploying their third squad wide on the other flank in a bold move to take a couple of our jumping-off points. Since these points represent a side's route onto the table, they kind of act like supply lines and their loss causes a negative morale effect.
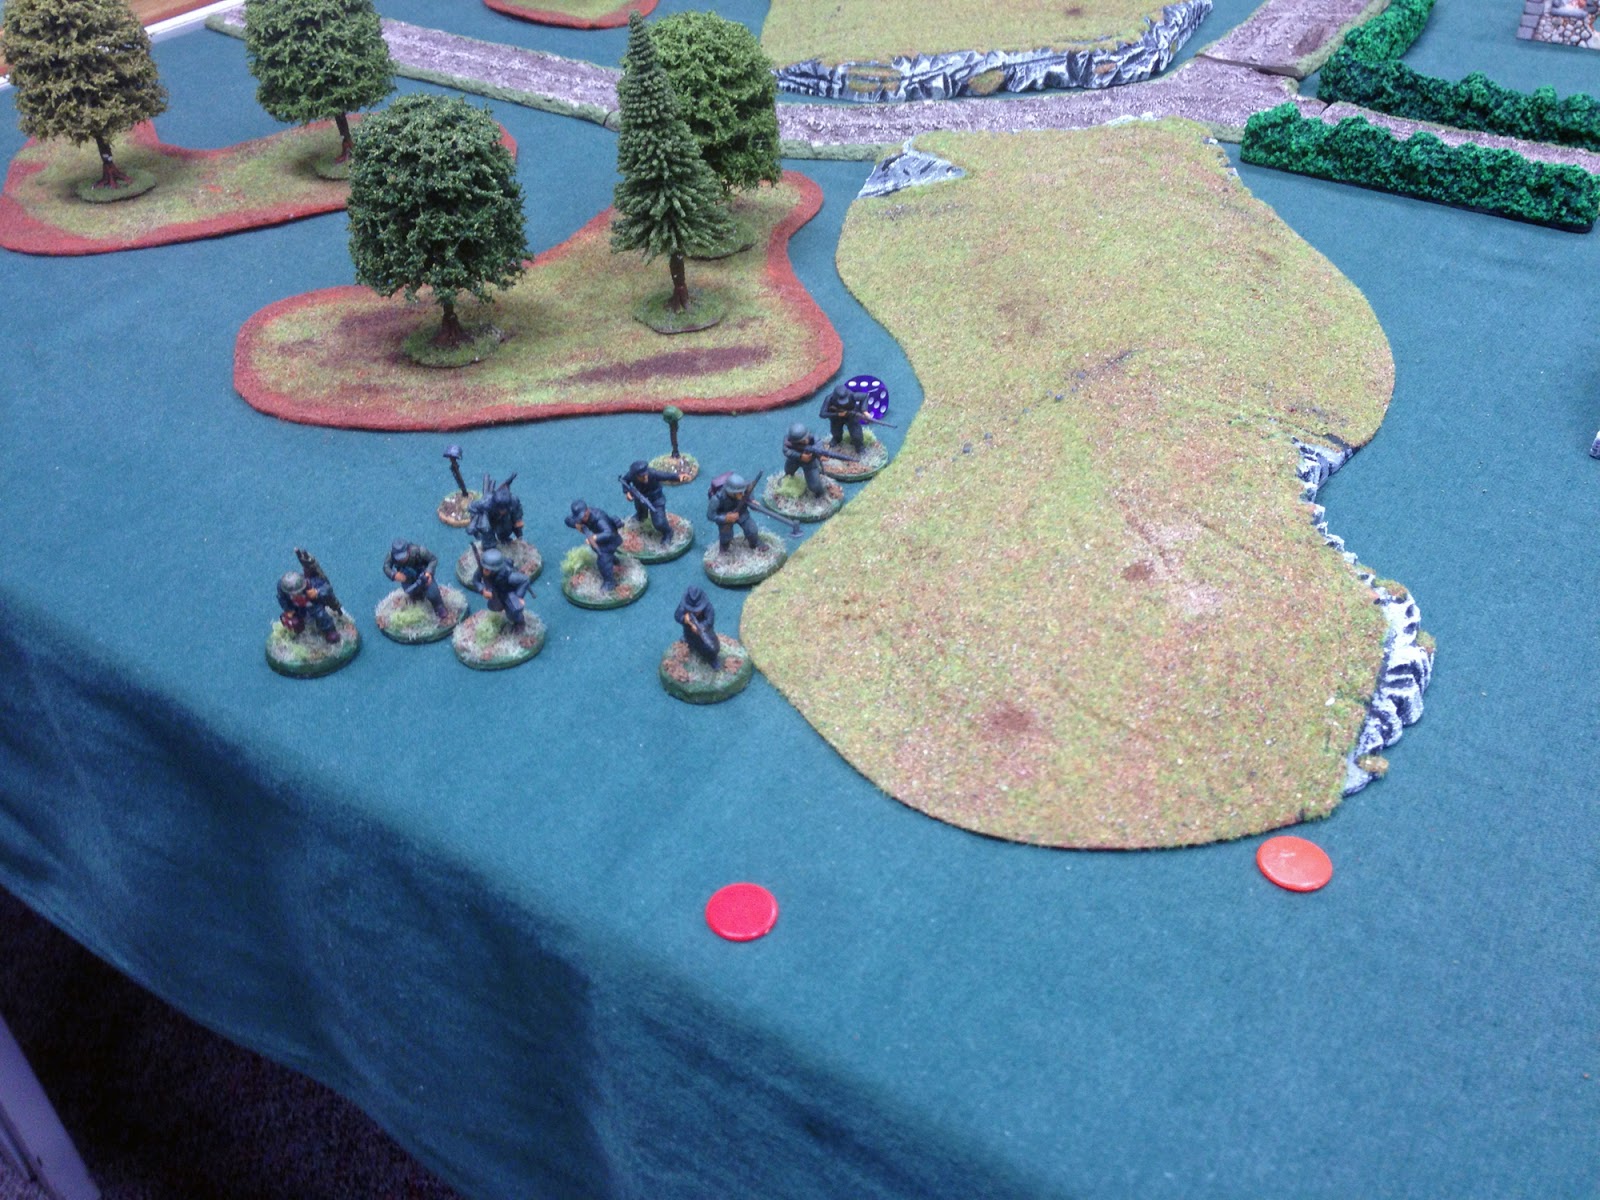

We had one squad left to deploy. We deployed it close to our baseline, with an initial view of defending our jumping-off points. But it really wasn't a very good defensive position;we decided something bolder was required, and rushed up the middle of the table, behind the main German position, aiming for their jumping-off points.


In the meantime our flanking squad was moving into position against the Germans in the wood. In the background to the left you can see our firing squad, pinning the Germans in place, in the centre you can see the Germans from the village basically hiding in a wood and doing nothing and to the right you can see our third squad moving into what is essentially the German rear.

Chain of Command uses random movement, so when I say that our troops 'moved into position' what I mean was that they advanced so quickly that they hurled themselves into a close assault against the Germans in the wood, without preparing for it first, as we had planned.

There was a bloody fight. The Germans were outnumbered, but were defending a wood, had an LMG in position and had more automatic weapons. The Russians got slaughtered, but kept pressing home the attack and forced a draw which pressed home more attacks. Essentially we traded casualties on a one for one basis, until the Germans simply ran out of men. It was a massacre all round; the Russians retreated as the last German died, even. But the Germans then did badly on the mass of morale checks they had to take in the wake of the combat. Their force's morale collapsed, and their rest of their troops fled, giving the Russians the victory.


The Russians did what you rarely see in a wargame; came up with a simple plan, and basically stuck to it. That said it was because we got very, very lucky. Our initial firing was devastating, plus the Germans made the mistake of not deploying in tactical mode (which would have given them a better cover advantage) but in overwatch (which, it appears, doesn't allow them to react to our troops merely deploying). The Germans had the better of the command and control, with a senior commander directing their troops and a couple of points where they got two activations in a row. The Russian command was plodding and unimaginative and simply allowed us to move a couple of units each turn. We had a sniper and a mortar, but they saw little of no action because basically massed shooting, marching and close-assault were the best we could come up with. And it worked.

We spent a lot of time checking things in the rules, and we're sure that we made a lot of mistakes, especially with regard to how shock and casualties are applied to, and affect, groups made up of more than one squad/team. But the game moved along quickly, and was certainly not boring, with plenty of decisions to be made each turn. We are all keen to give it another go.

Wednesday, 6 April 2016

It Wasn't Beauty ...

It Was The Baron Killed The Beast!


I had a go with the Battlesworn solo rules in 'Knight and Knaves' last night, pitting the SAVE Envoys against the Politically Incorrect Pygmies. The bidding tables took a little getting used to, but eventually I got the hang of them, and found myself up against a foe which gave the impression of trying to outwit me, even if it was a series of weighted random rolls.The priority lists for actions helped drive the Pygmies' actions rather nicely - I had them on the defensive, with SAVE trying to rescue Miss Faversham from their base edge, so there actions didn't have to be too sophisticated. Early on their blowgun-armed Shooters inflicted a few wounds on my characters as they crossed a river, but I pushed forward steadily and the game settled into a series of attritional melees in which the Pygmies came off worse, despite really having all of the advantages. SAVE lost a Fighter, a Shooter and Miss Carfax, whilst the Pygmies lost their Brute, a Shooter/Rogue, two Fighters and Kong himself to push them over the 'half dead' limit.

As the rules say, always allow common sense to over-rule the priority charts. If you do that, then the solo rules work very well.

I should report that The Baron finally used his Chaos Warrior ability, rerolling his melee bid a couple of times when the odds favoured a slight increase. His actual striking power was curtailed through most of the game because the Pygmy witchdoctor kept putting him under a Curse. He killed Kong with a spectacular four-hit blow, which included three sixes - two sixes lift the curse immediately, so I assume the whole attack counts at that stage. This was enough to take down the lightly-wounded great ape, and win the game for SAVE.

Finding Miss Faversham

With a long walk behind us and a lazy sunny Sunday afternoon stretching out before us, Catherine and I had a second game of Battlesworn the day after the first.


This time I set an objective. In a ruined hut in the centre of the board Miss Faversham was hiding. The Yokai were looking to capture her. SAVE were looking to rescue her. Or the other way around, according to Catherine, who opted for what she termed the heroic Yokai in this game. Miss Faversham had to be escorted to a side's base edge for victory to be achieved.

The hut could only be entered from one side, and counted as a terrain change. Flyers could not just fly into it (it has a roof, even if you can't see it). There were rules for moving Miss Faversham once she was captured/rescued. Again, these were designed to limit Flyers, who couldn't use their flying ability whilst she was in their grasp.


Catherine seized the initiative, using the Tengu to fly to the door of the hut. I moved Josephine Carfax up in response hoping her Sniper ability would enable her to engage the Tengu even if his retreat was covered by other characters.


The Jorogumo cursed Miss Carfax, so I moved one of my hired guns up as well. Meanwhile the Tengu emerged from the hut, with the struggling Miss Faversham. Catherine denied that she was struggling.


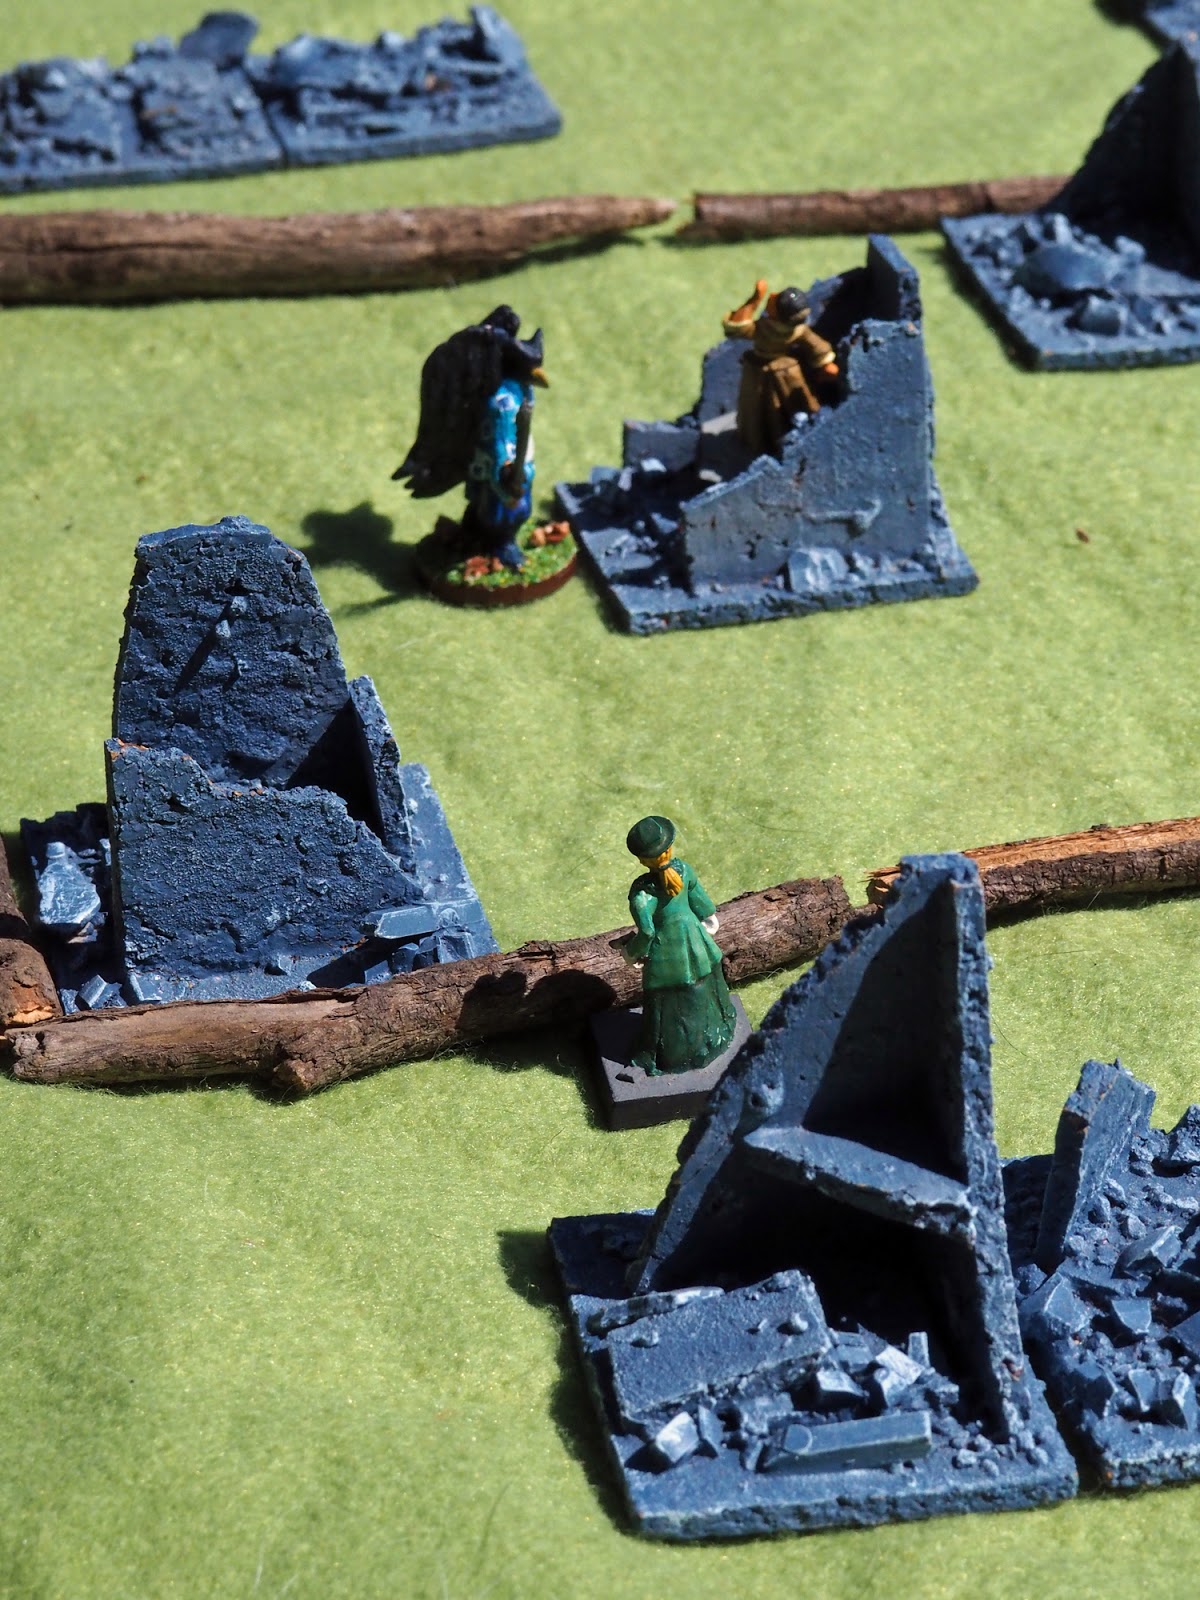
Note the blobby pink Nuppeppo familiar has moved up in the background. This is important.

I rushed the Tengu with one of my hired muscle, which pinned him in combat. The Tengu, being a Brute, had a real edge here.


I moved in one of the Shooters as well, and between them they took down the Japanese demon, but at the cost of them both being at status red, one hit from dead. In the meantime Catherine had moved up the Dorotabo, and it had taken control of Miss Faversham. But The Baron was also in position to intervene.


The Baron engaged the Dorotabo.


Miss Carfax came up in support, striking a mighty blow which lifted her curse. Meanwhile, however, Miss Faversham was now in the hands of the Witch's familiar, the Nuppeppo. This is a mere Rabble, killed by one hit, so I charged in a wounded Fighter ...


... who was thwarted when the Nuppeppo used a reaction move to break off from combat. The Fighter was on red, and break-off is allowed if all of your opponents are red.

Meanwhile The Baron fell to the Dorotabo.


As the Nuppeppo fled with Miss Faversham, Josephine Carfax finished off the Dorotabo, and drew her pistol to try and shoot the little monster down.


It was not to be. A series of tied bids saw Catherine gain a single action whilst I had no reaction, allowing her to move to her base edge. I got one shot, just as the figures left the table, but missed.


So Catherine picked up a win. You'll notice that a lot of figures didn't take part in the game. This was because we were both bidding low in order to try and keep the initiative in the fight in the centre, so neither of us got spare actions or reactions to move anything else into position. I think if I ran this scenario again I would make it harder to take control of Miss Faversham by having her 'passed on' by another character; I allowed it to happen automatically, but really it should require an action. Only if she is uncontrolled should grabbing her be a freebie. This would have slowed down Catherine's run for her baseline and probably opened up the game a little, encouraging more supporting moves.

It was good fun though; having an objective is always helpful for games like this, and learning what does and doesn't work in terms of such objectives for a particular set of rules is useful.

I can see both of these warbands getting future outings.

Tuesday, 5 April 2016

SAVE vs The Yokai

There was a very strong possibility that I would have to work for some, if not all, of the Easter long-weekend. I wasn't impressed by this idea at all, as I rather like my four-day weekend. So I decided that, since I didn't really care when I had an Easter long-weekend (since to me it's just simply a few days off work), I'd book the Friday and Monday after Easter as leave for my own personal pseudo-Easter.

As it was I didn't end up working over Easter at all, and, as you will have seen in this blog, managed to fit in an epic game of History of the World, plus a visit to Canberra to see the only surviving A7V. I also had lunch bought for me in Sydney by my wage-earning son, which was a first. However I digress ...

The best thing about having your own personal Easter long-weekend is that no-one else has it. So Mrs Kobold and I thought that it would be a great chance to go camping, with little chance of there being too many other people around - they would have had their camping trips over the real Easter weekend. With four days to play with we felt we weren't limited to somewhere local, since we could spend a good chunk of the Friday getting there, and as much of the Monday as we needed to get back. So we went to the Weddin Mountain National Park in West Central NSW, about 350km west of Sydney and about five hours drive from where we live. It's kind of in the middle of the area we drove around on our two-week roadtrip last year, so was unexplored territory for us.

And thus it was that this was the backdrop for the debut Battlesworn game of both the Envoys of SAVE and The Night Parade of the Yokai:


You didn't think I'd go camping without packing a game of some sort did you? Shame on you!

I played Catherine, of course. She took the Envoys of SAVE and I took the Yokai. It would be an epic fight between 1980s Citadel miniatures and 21st century 3D printing technology!

This was the board. With hindsight that terrain was a little dense even for Battlesworn, with lots of impassable rocks. The rocks in the corners were there to stop the cloth blowing away in the breeze. A welcome breeze, it has to be said, given that we were playing in temperatures of about 28-30 degrees C. The bright sunlight also explains the poor quality of the photos.

We played a straight head-to-head fight with no turn or time-limit aside from 'we really must finish so that I can light the fire so we can cook our tea'. First side to lose half of its characters would lose the fight.


We set up, then I took the initiative, as my Tengu flew over to engage Josephine Carfax. The Yokai are weak in ranged abilities, with only their Witch having anything of the sort, whereas SAVE have two Shooters and a Sniper, plus whatever spell the Reverend Philips chooses. I thought that by taking out Miss Carfax I could get rid of their most dangerous shooter (she's not limited to shooting at the closest target, so is more useful).

Anyway, the Tengu seriously wounded her.


However as my Jorogumo moved into position to cast a paralysis spell on Josephine Carfax in order to prevent her fighting back, one of the SAVE hired guns got in a shot which seriously injured her. And broke the spell.


The Tengu took a hit and backed off, only to fly back in again. The Reverend Philips moved up and healed Josephine Carfax ...


... but the Tengu's next blow was so mighty that he slew he with a single stroke of his sword. He backed off from engaging the Reverend Philips as he had cast a psychic armour spell, thus making him, for game purposes, a Tank.


On another part of the field the giant Oni engaged The Baron.


Meanwhile the one of the SAVE hired muscle found himself fighting the ghostly Dorotabo. Another eyed the sneaky Kappa warily across a fence.


The Baron fell to the Oni after the Tengu dropped in behind him to stop the Reverend Philips moving close enough to use his healing ability.


The fighting intensified across the field as the Kappa moved to support the Dorotabo, killing one of the hired muscle, and a small Oni fought another.


This was the end. The Dorotabo and Kappa teamed up again, to take out another Fighter, whilst two Oni killed a third. With over half of their characters dead, SAVE was defeated. The Yokai had two characters on red, but had lost nothing.


Catherine managed to lose pretty much every initiative bid, leaving her stuck with reaction moves only. This allowed me to control when and where the fighting took place and gang up on her characters to pick them off one at a time. The game was slow to start, though, because the terrain severely restricted movement, meaning that it took ages for either of us to move characters into a useful position. To some extent this favoured her Shooters, but they were stuck with a nearest target (the Tengu) which wasn't moving, meaning that she couldn't use reaction shots against it and, because she rarely got initiative, she couldn't engage by choice.

The next day saw a refight, of sorts. But that's for another post.

Monday, 4 April 2016

Envoys of S.A.V.E.

S.A.V.E. - The Societas Albae Viae Eternitata (Eternal Society of the White Way) - were the secret organisation which the characters in the wonderful 1980s role-playing game 'Chill' worked for. Chill was a game of supernatural monster-hunting, with the characters being people from all walks of life united in their desire to seek out and destroy evil supernatural beasties. It was an early game to use a task resolution system which gave degrees of success instead of just 'suceed/fail' or 'hit/miss', and it had creatures with class; many of the monsters could only be thwarted, destroyed or dispelled in very specific ways, and often a mission was about researching those methods after, of course, discovering the nature of your adversary. There's a nice short overview of the game HERE.

I had a great deal of fun with Chill, both as a player and as a GM. As a player I was part of groups which confronted a shape-changing monster from the mythology of Ancient Egypt, zombies in the Louisiana swamps, French werewolves and a descendent of Baron Frankenstein. As a GM I can remember pitting the players against a vampire (of course), a vengeful Saxon ghost in an Essex village, a vampiric plant and a Djinn brought to London from India by an ex-soldier on a mission of vengeance.

SAVE (I'll drop the full-stops) was founded in 1844, which gave scope for setting games in a number of historical periods. Because of my love of Sherlock Holmes, we ended up setting all of our games in the Victorian era. Let's face it, as an era for gaming it has class. And, because the action sometimes demanded it, we used figures. Which explains why I have a few small boxes with various Victorian horror figures in them, none of which have seen the light of day for decades.

Until the other day ...

Having put together my Japanese goblin warband for Battlesworn, it came to me that SAVE would make a wonderfully different opponent for them, and I had the figures ready to hand.

So here they are. This is a a portion of my collection; I can swap other characters in and out as needed. Indeed I am only a couple of policemen away from being able to put together a Scotland Yard force led by Sherlock Holmes. But for a basic game they would do.


The figures are all from Citadel's Gothic Horror range, with a few head-swaps and conversions to make them look less 1920s and more 1880s.

Every warband in Battlesworn need four Fighters, and here they are - hired muscle. They look pretty dubious, but regardless of background SAVE envoys are devoted to the cause of opposing Evil.


As well as hired muscle there are two hired guns - Shooters.


The remaining slots are taken up by characters. Firstly, here's the Reverend Philips. Actually I can't recall if he was actually called the Reverend Philips, but I remember a player running a vicar as a character, and this was the figure. I just made up a suitable name. The original was killed by a vampire.

The Reverend Philips is a Healer/Warmage. In Chill every character has a low-level psychic/magical ability. I didn't try to represent this for every character in my warband, but it seemed to suit the good Reverend. I know I could run him as a Priest from 'Knights and Knaves', but at this stage I didn't want to complicate my life with too many classes from the supplement, especially as the Priest has a bit of a shopping list of abilities.


Baron Adler never appeared as a player character. As The Baron he did appear as the villain in a steampunk/Victorian superhero game I ran solo using the Mythic GM Emulator (the results of which are buried deep in the archives of RPG.net), but he was never a SAVE envoy. However I love the figure, and wanted to use him.

Baron Adler is a master swordsman, so is classed as a Brute/Chaos Warrior. The latter classification (taken from 'Knights and Knaves') may seem a bit odd, but it does give him the ability to be unpredictable in a fight, which suits him well. I did consider making him a Brute/Leader. You may agree.


And finally ... Josephine Carfax. I couldn't put together a warband without her, as she was my first, and favourite, Chill character. A respectable lady of independent means to all who knew her, she had a secret life as a burglar, specialising in unique or very rare objects. She had an uncanny ability to size up the value and provenance of antiques and curiosities; think Lovejoy in a frock, with a great big dollop of A.J.Raffles and you have her. In addition she was an expert shot with a pistol. She was a great character to play, although I recall she got into a certain amount of trouble with SAVE for using the missions to feather her own nest with 'liberated' valuables.

Miss Carfax is a Sniper/Rogue. The original figure was a lot more 1920s. I lengthened her skirt (of course, and made her a hat, thus adding a much-needed level of modesty and respectability.


In the next post you will see this gallant band of heroes in action against the sinister Yokai!
Related Posts Plugin for WordPress, Blogger...