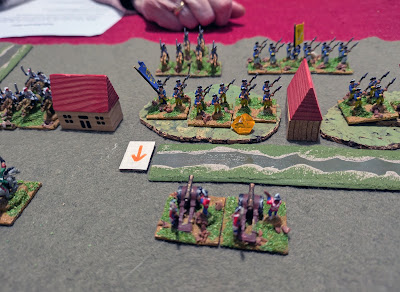
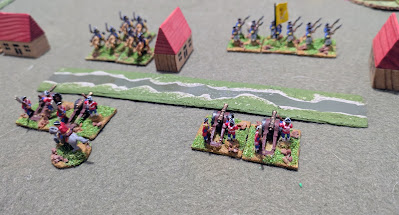
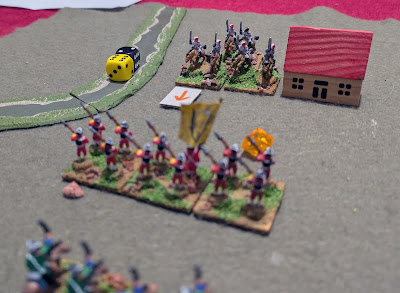
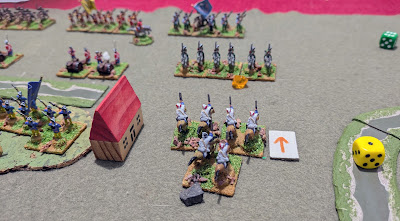
Whilst painting my Green Martians I found a pack of Black Hat's Martian Wolves. Whilst not entirely book-accurate in terms of looks they are are obviously designed to be the equivalent of the Barsoomian Calot. Green Martians domesticated these beasts as guard-dogs, and it's not unreasonable that they could accompany an army. So today I painted them up as two elements of beasts, giving both of my Green Martian armies the option of some extra bad going capability.
Wednesday, 30 July 2025
Calots
Monday, 28 July 2025
Warhoon
One of the very first armies I painted for HOTT was Peter Pig's Green Martians. That was back in about 1995 or 1996. Since then I have put together six other Barsoomian armies. In fact one of the earliest posts on this blog showcased them.
Anyway, the Green Men of Barsoom are found across the planet in various tribes (or hordes) who fight everyone, including (and especially) other Green Martian hordes. So, whilst I have four Red Martian armies who can fight each other, my Green Martians have, up until now, been starved of an opponent of their own ilk.
I bought a second Peter Pig army back in late 2013. At the time I joked that I'd probably have the painted in 2024. I was wrong. I finished them this morning - over halfway through 2025. They sat in the packaging they arrived in until two years ago, when I got them out and actually put a couple of coats of paint on them. Then they sat for nearly two years mocking me until last week when I finally bit the radium bullet and got on with finishing them
So here we are - my second Green Martian army for HOTT:
For head-canon purposes they are the hordes of Warhoon, who are pretty unpleasant even for Green Martians and crop up a couple of times in the books. The army is pretty simple - eight knights (including the general) and four shooters.
*Until I find some figures to do Yellow Martians ...
Friday, 25 July 2025
Gold Beach
I had a game of Memoir 44 with new member Paul last night. Just the one game, though, as he had to leave early.
Anyway, we played the semi-official D-Day Gold Beach scenario. I was the attacking Allies, whilst Paul took the Germans. He's printed off some terrain pieces for the game, which look very nice.
Here's the setup, minus one German unit I forgot to put on at the start and three figures from an Allied unit on the beach. Both issues were sorted before they became an issue.
Anyway, the main attack went in in the centre. A Royal Navy barrage drove the artillery out of the bunker there, leaving me able to push forward fairly effectively. I pushed into Le Hamel (the two-hex village on the join between the left flank and centre, but was thrown out. I pushed in a second attack though. However a few turns of duff combat rolls on my part allowed Paul to come back, and we ended a turn with both of us on five of the six medals required for victory.
Thursday, 24 July 2025
Great Victories - Part 2
At the start of this month I thought it would be fun to work through Marlborough's Great Victories, using 'Dominion of Marlborough and Peter The Great'. I'd play against Mrs Kobold and we'd swap sides, so we'd each get a go at being Marlborough in each battle.
What with one thing and another it's taken three weeks to get around to playing teh second battle. I'm betting that it will take three weeks to get around to the next one as well.
Still, last night we set up Ramillies.
I had the first go at being Marlborough. The Allies start with unreliable artillery in their front-line, and sabres on their left. They have elite infantry in reserve. The French position is a strong one, with infantry behind difficult terrain in the centre and on their left, and massed horse on their right in the open country beyond Ramillies itself. The French right flank is covered by a river.
Anyway, that committed the French reserves to the centre and left.
The French won this one 3-1.
Wednesday, 23 July 2025
Nottoman Commanders
Having finished my Nottoman army last week I realised that I needed to do a few commander for it, in case I used them with rules that require commander figures.
So here they are - one splendid C-in-C and a couple of underlings.
I actually did some for my Swedes and Russians years ago, but I'm mot sure I ever did a post abut them. But they crop up in photos from time to time if you're observant.
Tuesday, 22 July 2025
Random Armies For The War Of Spanish Succession
Anyway, I am working through the mechanics of the campaign itself, and if it seems workable I will post it here. But what the campaign also needs is a way of generating armies for battles similar to the system I used for my English Civil War campaign.
I have looked at the armies in the various scenarios in 'Dominion of Marlborough and Peter The Great' and come up with the following, which I think reflects those armies plus what little I do know about the conflict.
The two sides are Bourbons (France and Allies) and the Grand Alliance (Austrian, British, Dutch etc). Precisely which nations or combination of nations are fighting is irrelevant. That's up to the players to decide.
Roll for how many units, upgrades and downgrades the army has. Determine which army is the attacker in the battle.
1 - 6 units
2 - 6 units, 1 upgrade, 1 unreliable
3 - 6 units, 2 upgrades, 2 unreliable
4 - 5 units, 2 upgrades
5 - 5 units, 3 upgrades, 1 unreliable
6 - 4 units, 4 upgrades
Roll for the type of each unit.
1-2 - Line Infantry
3 - Horse (Dice for which type below)
4-5 - Line Infantry or Horse (Balance existing numbers if possible, or dice for it if even)
6 - Dragoons/Artillery (Dice for which below)
Only count the first two rolls of 6. Treat any other rolls of 6 a roll of 5
Roll for each Horse unit:
0-3 - Sabres
4+ - Pistoliers
+2 if Bourbon, -1 if Alliance
Roll for each Dragoons/Artillery result:
0-4 - Artillery
5+ - Dragoons
-1 if Alliance
Roll for each Upgrade the army has:
0-3 - Elite
4-6 - Disciplined/Defences
-1 if Attacker +1 if Defender
Randomly assign the upgrades to units. Artillery cannot be Elite.
Finally allocate the Unreliable statuses to units. The first Unreliable must be assigned to either an Artillery or Dragoons unit if the army has one. Otherwise it, and any others are assigned to random units.
The defender sets up first, followed by the attacker.
Notes
Bourbon forces seem to generally have Pistoliers as their main cavalry type. Their +2 on the Horse table will ensure this. Drop it to a +1 if you feel it's too much. Alliance armies seem to have fewer troops classed as Dragoons, however, so I've made it less likely they will be present. Artillery and Dragoons are often Unreliable in the scenarios. In terms of upgrades, I have assumed that attacking armies are more likely to have troops with a strong offensive spirit, whereas the defending army is more likely to have field defences or a terrain advantage. Elite and Defended/Discipline can represent a range of things, however, and it's up to the players to decide what. In the same way, Unreliable troops can simply be those on flank marches or late-arriving reinforcements.
In terms of individual theatres of the war - Spain, the Low Countries, Germany or Italy - feel free to tweak modifiers to better reflect armies there if you have a better understanding of the era than I do. I won't know unless you tell me.
Monday, 21 July 2025
Duna And Klisow
I spent Sunday morning mowing the lawn (which still needs to be done, even in the winter), and measuring up the garage for some much-needed shelving. And then part of the afternoon was spent helping my daughter put up a curtain rail. So a fairly busy day. But I found some time in the afternoon to set up, play and record a couple of games of 'Dominion of Marlborough and Peter The Great'. Great rules but, my god that title is cumbersome!
Up until now I've fiddled around with the WSS scenarios, but this afternoon I switched my attention to some battles from the Great Northern War. Rather than dive into the classic ones with the Swedes fighting the Russians, I played the two scenarios in the book which pitted Charles XII against Augustus II, Elector of Saxony and self-proclaimed King of Poland. This conflict would drag on for nearly six years, during which time Russia, who had been decisively defeated by the Swedes at Narva in 1700, rebuilt their army. That led, in time, to the Swedish defeat at Poltava and the effective end of their empire.
However that's a way off. For the first battle we find Charles XII facing a strong Saxon-Russian army entrenched on the opposite side of the wide River Duna, near Riga on 19th July 1701. Being Charles XII, he attacked.
The Swedes slipped part of their army across the river during the night, exploiting the fact that the Saxons defences were a couple of hundred metres back from the shore. By the time the defenders realised what was happening the Swedes had a toehold on the Saxon side of the river.
The battle starts there.
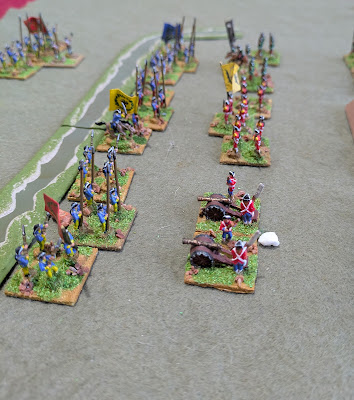
The Swedes (left) have three unit of Elite Ga Pa Infantry in their front line. Their reserves consist of two more units of Ga Pa Infantry and one of Sabres, all of which are Unreliable, reflecting that they have to force a crossing of the river by either boat or pontoon bridge. I used my new pioneer bases to mark the unreliable units.
The Saxon front line consists of some Unreliable Artillery (a lot of Artillery is classed as Unreliable in these rules, since its battlefield capabilities are a bit hot or miss), plus some Saxon line.
You'll notice that the infantry have their centre base advanced a little. This is because defending foot that starts the game in the front line enjoys an advantage against certain troop types, representing them being in good initial positions.
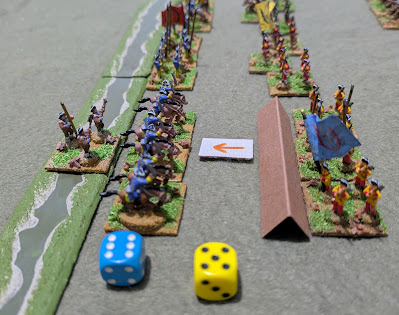
The Swedes attacked on their right flank against the Unreliable Artillery here. It proved to be ... unreliable, and was removed. The Saxons moved up some Russian pike-armed infantry from the reserve.
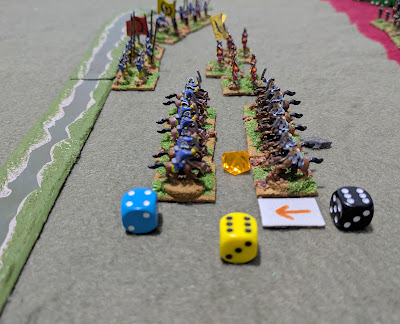
(If you are wondering about the paraphernalia, the yellow die shows the turn number, the arrow shows which side is 'attacking', the blue dice shows the Swedish combat roll and the black die that of the Saxons. I roll both dice simultaneously even if one side gets to roll first. In this example that black 6 for the Saxons destroys he Swedish GaPa foot before their 6 - also a kill - takes effect. The orange blob shows which unit is destroyed.)
Turn 2 - Swedish
(They didn't rally. In game terms the unit was lost. But the reserve unit that replaced them was the rallied Ga Pa Infantry and is exactly the same type of unit, so we'll assume the original unit rallied because it makes for a better narrative).
The second scenario in the rules is Klisow, fought on 9th July 1702. Charles XII had spent a year advancing into Poland in pursuits of Augustus II. At Klisow he faced a Saxon army awaiting reinforcements from their Polish allies. Hoping to attack before the allies arrived they found their left flank being attacked by Polish cavalry.
At this point the Swedes tried to rally their lost infantry, but failed.
To be fair I've played both of these scenarios a few times now and the honours have been about even. With small numbers of elite troops the Swedes can be prone to death by randomness (an elite unit is expensive but no harder to kill by an enemy who rolls first than one that isn't), but if it all comes together their troops steam-roller the opposition. Historically they did that in most of their battles. In Dominion the other side gets more of a look-in.


