Monday, 20 September 2021

Stora Kronan vs Sophia Amalia

Last week I was looking at an AAR on the League of Augsburg blog featuring a hypothetical battle set in 1676, during the Scanian War, between two of the largest warships in the world at the time - the 124 gun Swedish ship Stora Kronan and the 108 gun Dane Sophia Amalia.

I thought that it would be fun to set up the action for 'Galleys and Galleons'. I did try to represent the ships exactly as they were in the original game report, but in the end I decided to make both forces the same - I reasoned that the lower quality crew of the Stora Kronan would even out its extra size. I could have increased its C value and lowered its Quality, then piled on more abilities, but I decided it wasn't worth it. I gave both sides their respective monster-ship, plus two ships of the line and a frigate.

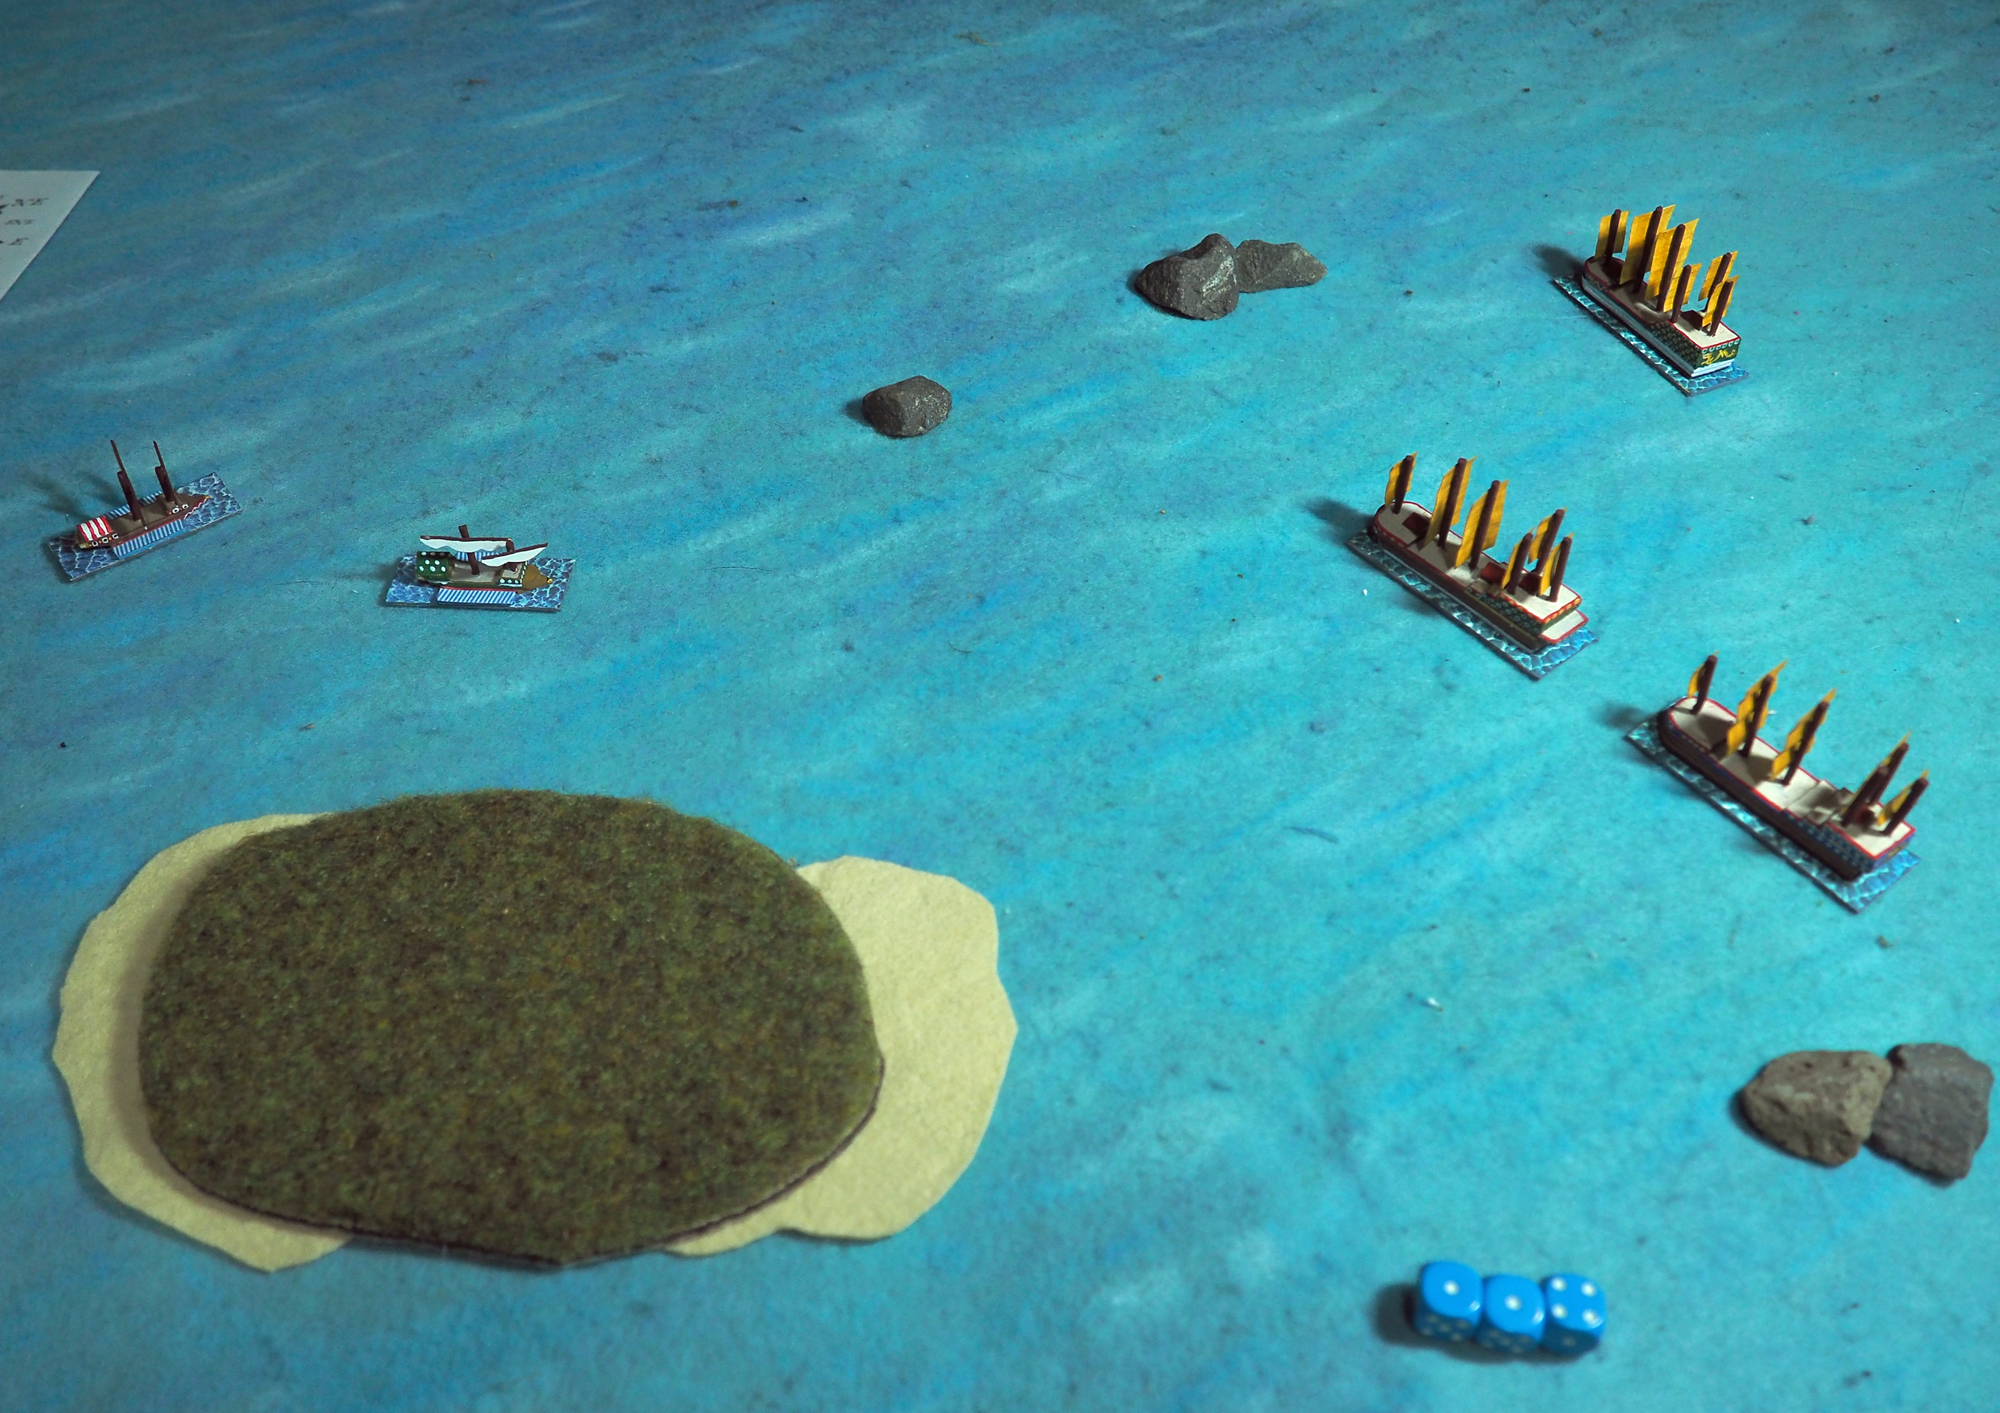
And here they are set up and ready to go. On the left are the Swedes. In the least is the Draken, followed by the Stora Kronan and the Hieronymus bringing up the rear. The frigate Fenix is off the beam of the Stora Kronan. On the right the Danish squadron, led by the Christianus V, followed by the Sophia Amalia and the Dannebroge. The frigate Hommeren ran alongside the line.


The squadrons were heading almost north, with a wind from the south. True to the original scenario there were some shallows downwind of the two squadrons. They both turned towards each other attempting to gain a positional advantage. A shift of wind favoured the Danes (right).


Christianus V opened the battle, its chasers firing at Draken.


Draken replied with a devastating raking broadside, massively damaging the Danish ship and tearing away its rigging.


Despite their wind advantage the Danes struggled to get into action as the Swedes formed a solid line before them.


Christianus V turned to engage Draken, scoring some damage back. But disaster struck the Danes when the Dannebroge collided with the Sophia Amalia, both ships taking significant damage. 


Draken added to the pain, crippling Christianus V with another rake. The Danes had barely fired a shot and their squadron was already heavily damaged.


Stora Kronan fired its mighty broadside, holing the Christianus V. 


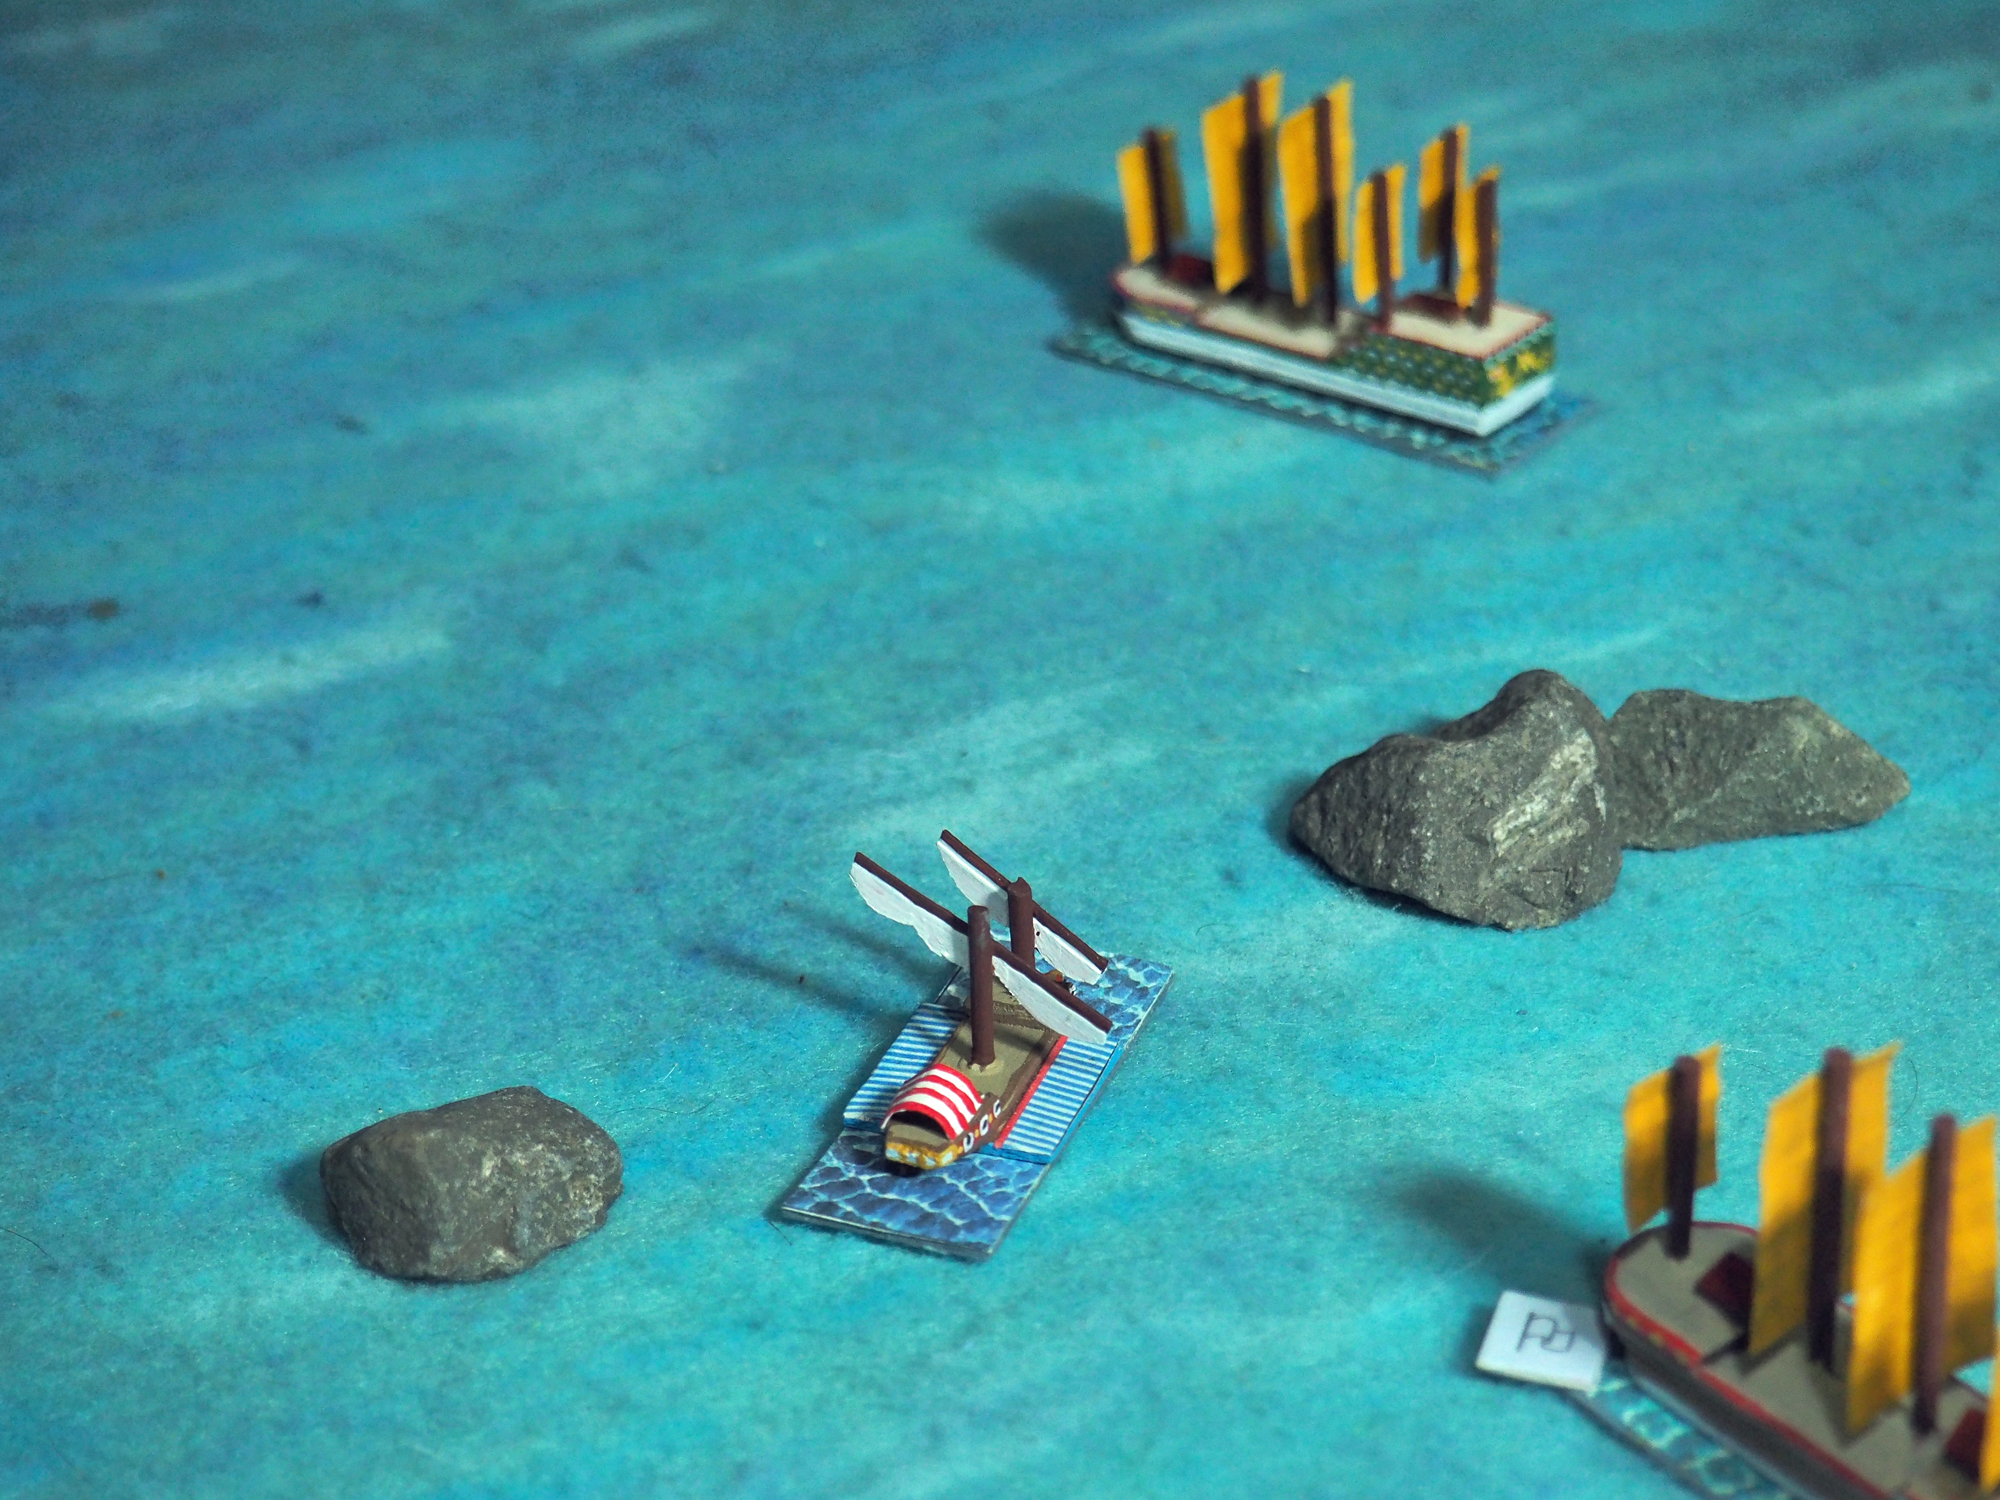
The Danish frigate Hommeren crossed the bows of the Draken, and against the odds its rake scored heavy damage on the mighty warship.


With little option, Christianus V ran aboard the Draken, and boarded it. In a brief action the Danes prevailed and the Swedes suffered the first loss of the action as the Draken struck.


The focus of the action was now becoming congested, and the Dannebroge broke away to the west to try and cut across the rear of the Swedish squadron. It fired a long-range broadside at the Hieronymous.


The height of the action. at the top of the picture the two frigates, Fenix and Hommeren were hotly engaged, suffering both hull and rigging damage. The Swedish Stora Kronan was trying to work past the struck Draken, followed by the Hieronymus. The Christianus V was still grappled to the Draken, whilst the Sophia Amalia worked past it to the east. Finally the Dannebroge was engaging the Swedes at long range from the south. By this stage the wind had shifted more to the south, favouring neither side.


This was not a good day for the Danes. In the confusion of the action the Sophia Amalia fired a broadside into the Christianus V. Already heavily damaged the Danish battleship heeled over and sank.


But misfortune didn't just hover over the Danes. Sailing too close to its flagship, the Hieronymus collided with the Stora Kronan. The Hieronymus escaped undamaged, but the Stora Kronan was slightly battered by the encounter.


The Stora Kronan and the Sophia Amalia had now both cleared the struck Draken, and engaged. The Sophia Amalia fired first, damaging the mighty Swede.


The Stora Kronan fired back, heavily damaging the Danish flag.


And the Hieronymous, following close behind added its fire. It was too much for the already heavily damaged Danish flagship, which was shattered and sank.


The frigates had almost destroyed each other, but the Stora Kronan added its fire to the action, and the hapless Hommeren simply disintegrated under its close-range fire.


At this point I ended the action. The only operational Danish ship, the Dannebroge, was too far from the Swedes to be a viable threat, and it would take several turns for either side to get to grips with the other. I reasoned that the Dannebroge would flee, and the Swedes consolidate and repair.


The Danes had suffered a crushing defeat, with their flagship and a ship of the line sunk, as well as a frigate. The Swedes had been damaged, but all of their ships were still afloat, even their single loss.

As promised, here are the stats:

Stora Kronan / Sophia Amalia
Q4 C5 - 72 pts
Square rigged, Carronades, Chasers, Drilled Soldiers, Flagship, High Castles, Sluggish

Draken / Hieronymus / Christianus V / Dannebroge
Q3 C4 - 52 pts
Square Rigged, Chaser Guns, Drilled Soldiers

Hommeren / Fenix
Q3 C2 - 40pts
Square Rigged, Chaser Guns, Razee, Relay

The Flagships really made for easy activations, but true to any game of  'Galleys & Galleons' both sides suffered turns where they failed ridiculously easy ones. This was the cause of both of the collisions. And it was the Danes' collision that really cost them the action, leaving two of their key ships badly damaged before the firing had really started.

Sinking from excess damage, caused by extra hull criticals, seems rather too common, and I may look at tweaking this slightly; perhaps excess hull hits only cause a ship to sink if they are holes or the vessel is already holed from an earlier critical.

Anyway, thanks to Barry at the League of Augsburg for inspiring a fun little scenario.


Junk Names

A comment on my Treasure Junks post asked about names, and I remembered that many years ago I created a table for randomly generating junk names. I dug around on my hard-drive and there it was, in it's 20 year old glory. So I thought I'd share it. 

It should be obvious how you use it - roll a D20 on Column A and one on Column B and combine the results to create a suitable name. Enjoy. 

Roll

Column A

Column B

1

Celestial, Heavenly

Dragon

2

Western

Wind

3

Eastern

Maiden, Princess

4

Northern

Leopard,Tiger

5

Southern

Mountain, Island

6

Fortunate

Son

7

Harmonious

Cloud

8

Jade

River

9

Golden

Castle, Fortress

10

Mighty, Powerful

Warrior

11

Virtuous

Lotus

12

Winter

Wind

13

Autumn

Pilgrim

14

Summer, Fire

River

15

Spring, Reborn

Willow

16

Hidden, Secret

Fist

17

Righteous

Spirit, Ghost

18

Iron

Fish

19

Bronze

Valley

20

Cunning, Swift

Fox,Wolf


Sunday, 19 September 2021

Lockdown HOTT

Some of our lockdown restrictions have been eased, and we can now meet up with people outside of our household so long as it's outdoors, in a public space and you're both double-vaccinated. So Caesar and I got together in a picnic shelter in one of our local parks this morning to play a couple of games of HOTT.


After a catch-up chat and exchange of news, we settled down to our first game. I used my Knights of Simba lion-centaurs - six knights and six warband - whilst Caesar used a Greek army consisting of a couple of knights, four spears, a god, a hero and two warband.


Caesar initially decided to hold his spears on a hill in order to prevent the massed knights opposing him riding them down. He pushed forward warband on one flank and the knights and hero on the other. I had covered my flanks with the warband and massed my knights in the centre.


The Greek knights (including their general) were after the vulnerable warband on my right flank, so I moved a group of my knights out to intercept them. This shaped the action on that flank.


The first combat - knights vs knights.


Caesar got the better of it, his chariots driving deep into Simba's line. He tried to organise Agamemnon, (his knight general), and Achilles (his hero) to exploit his advantage. But I was organising a line with my army as well.


There followed a series of to and fro combats. I had the advantage of numbers, but couldn't win the key fights to make use of it. Caesar's troops kept driving forward and then were pushed back.


However eventually my Knights of Simba managed to destroy one of the Greek chariots.


At this point Hermes turned up to assist the Greeks. However he took one look at the situation, decided that they were doing OK, and left.


More fighting as the spears joined the fray ...


... saw Agamemnon drive forward almost to the gates of the enemy stronghold.


However  Achilles was mobbed by warband and killed, breaking the Greek army.


We set up a second game. I used Simba again, whilst Caesar switched to the Army of Rama - a mix of heroes, warband, knights and beasts.


Caesar pushed his beasts forward and they engaged the warband on my right.


The action was concentrated on the flanks.


Rama's beasts suffered badly and were soon both destroyed.


On the other flank a confused fight broke out as Rama's chariot knights tried to engage Simba's warband allies, and the Knights of Simba fought to hold them off and drive them back.


In the centre Caesar had committed the heroes, but knights are actually OK against these. Rama was holding his own, but Hanuman the monkey-king was driven back onto the hill.


The Knights of Simba won the battle on their left, when Rama's chariots finally engaged the warband there. And lost badly. Accumulated casualties were too much and the army broke.


So we had two great games in the sunshine! It was nice to play face-to-face again, and simply get out of the house for something other than a walk as well. I think this is something we might do again.

Tuesday, 14 September 2021

Junks In Action

With some new treasure junks based and ready to use it would have been rude not to have played a game with them as soon as possible. So yesterday I did just that.

I set a simple pursuit scenario, with three junks attempting to cross the table and a couple of pirate galleys trying to capture them.


I ran one junk straight out of the book, with the flagship trait. The other two dropped this trait.


The galleys used the Barbary Galley stats from the book. The junks outgunned them, but with their intimidating swashbuckler traits the galleys actually had a slight edge in boarding, despite the size disparity.


The galleys closed up whilst the junks tried to extend their line to bring their guns to bear. 


The initial exchanges of fire were ineffective.


There was an island towards the centre of the board, so the junks would have to turn to avoid it. This was the perfect place for the pirates to launch their attack, when their opponents had their attentions divided.


The red galley swept in and grappled the flagship.


The other junks kept turning as a melee broke out across the decks of the galley and the junk. The green galley was closing in now as well. The middle junk's gunnery did not dissuade it.


The green galley boarded the lead junk, but the pirates were thrown back.


And what was worse was the red galley striking to the junk flagship as it lost the boarding action it was fighting.


The green galley now found itself being attacked and boarded by the middle junk. With no hope of support it too struck.


But the junks still had to escape the board, and their formation had been broken up by the galleys' attacks. The island was no making things difficult and disaster struck when the flagship ran aground and was wrecked.


One junk was now on a course for safety, but the third junk was having navigational difficulties and left the board well away from the designated safe zone. Maybe it made it to safety eventually. Maybe not. We'll never know.


So this first game was something of a draw; both pirate galleys had given up the fight, but the junks hadn't really escaped to safety.

I set up a second game later. There were fewer islands, but there were some rocks. Fortunately the junks' route across the board went straight between them, so long as they held their course.


The pirates adopted a similar plan to the previous game, aiming to intercept the junks whilst they were negotiating terrain. 


The galleys fired as they approached, and holed the flagship below the waterline.


The flagship returned fire, but it was ineffective.


And then the green galley boarded.


The action was over quickly - the flagship failed an activation test and struck almost immediately.


The green galley ungrappled and went after the next junk in line, boarding it as well


Meanwhile the red galley steered through the rocks and chased after the third junk.


However the gunners on this junk were more efficient than those on the flagship. A single broadside shattered the red galley, leaving it limping.


The green galley won the day again, capturing a second junk.


The third junk had an easy wind to escape with, however, and the red galley had no hope of catching it. It fired a few shots hoping to score a lucky critical, but had no effect.


However this was a win for the pirates, with two junks captured for only some damage on one of their vessels.


The junks are quite ponderous and tricky to use, but interesting. And I loved how they looked on the table.

Related Posts Plugin for WordPress, Blogger...