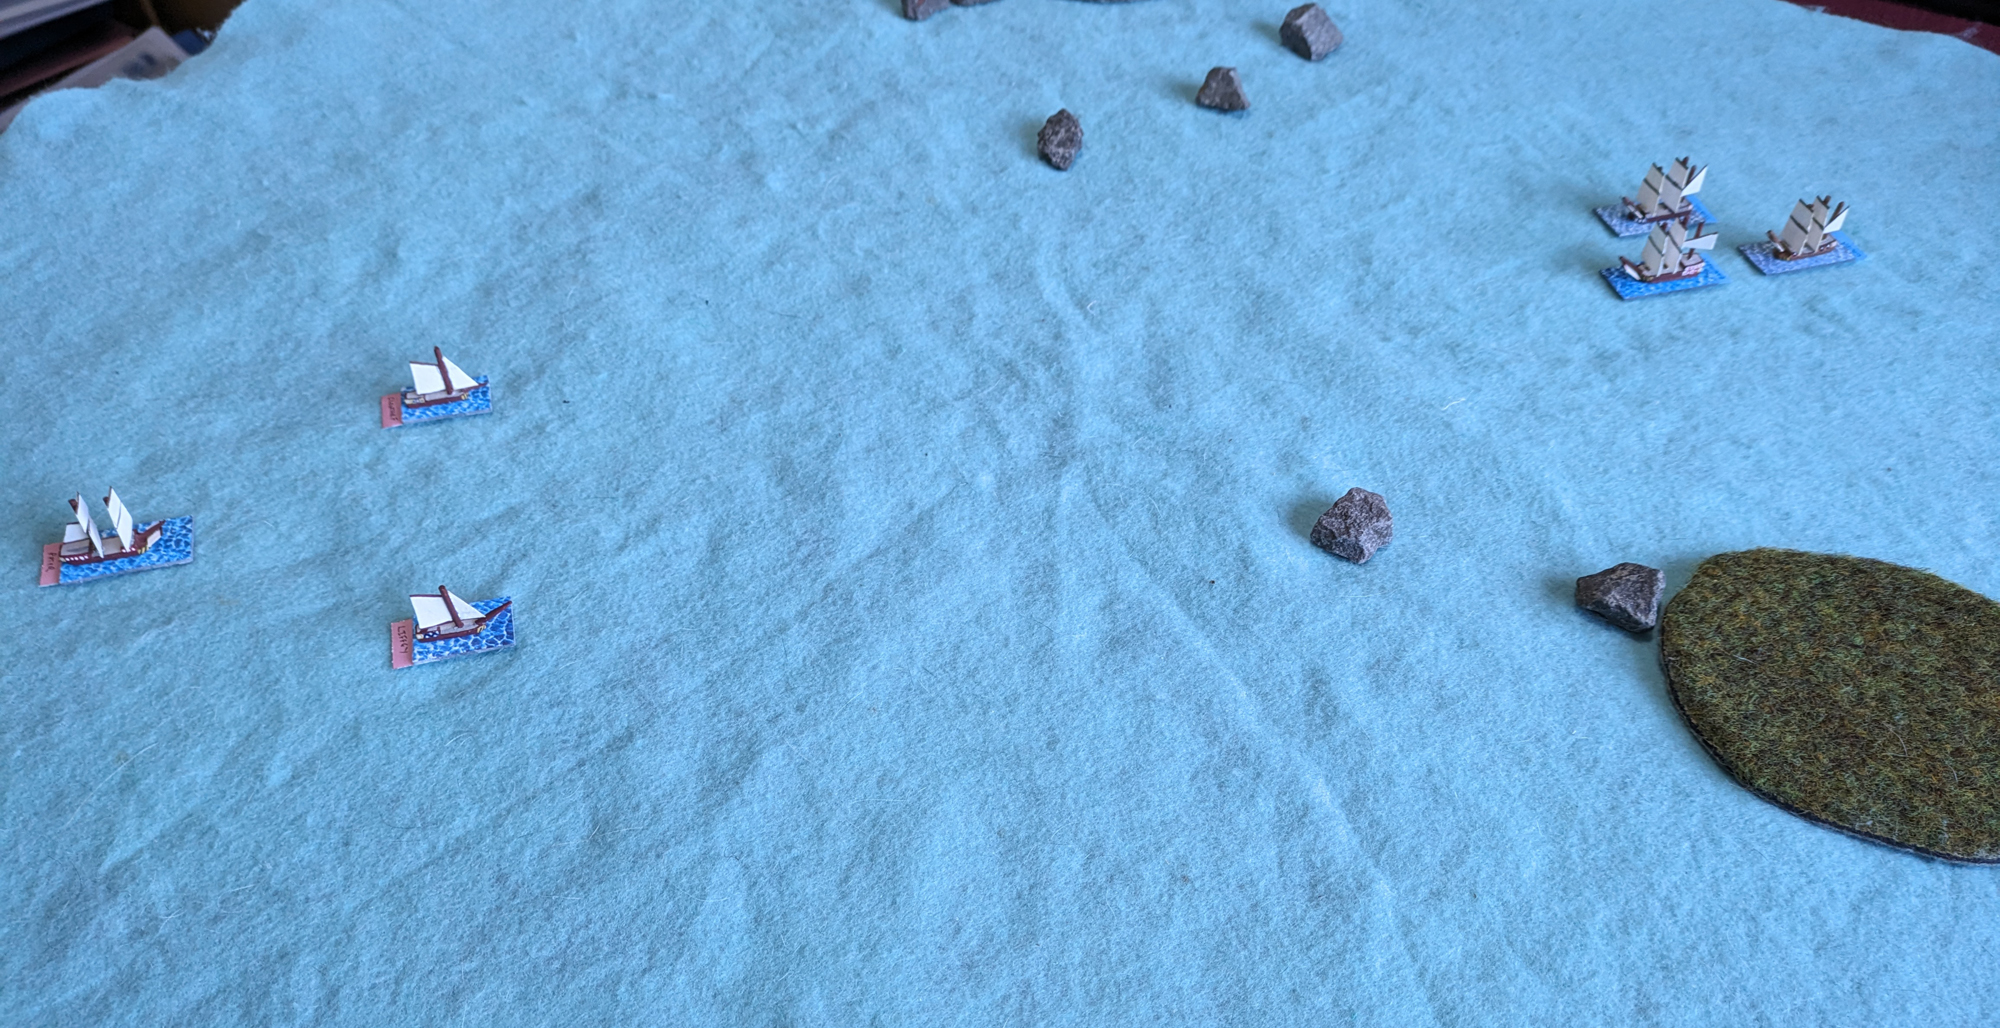
Five years ago I posted the various house rules I use in my games of Galleys & Galleons (for, as you know I do love to tinker with a game). When playing games recently I realised that my rules had a lot of pencil scribbles on them adjusting the rules and adding in a few new ideas, so I thought it would be a good idea to write them all up properly and share the update version.
They are in three main sections. The first is a change to the Weather Change rules. In G&G, a change in the wind is based on failed activation rolls which means that, to some extent, a player can influence it by their choice of dice. I felt it was easier to have it as a separate roll, even if it adds an additional roll into the turn. Elements of it are based on the weather change rules in the classic 'Hearts of Oak' game. The second section covers Criticals, basing them on a single D6 roll, and clarifying (for my purposes at least) how they are applied to various different vessel types. They also add in the possibility of a crew abandoning or surrendering a vessel if it becomes immobilised. Finally there are a few random changes to Traits, which are purely personal or which I felt helped clarify things, plus some clarification on Sinking, an adjustment to Collisions and two brand new Rules.
I have added a few comments in italics to clarify why I have made some of the changes.
Weather Change
At the beginning of each player’s turn they throw a dice. If there are more than two players (or groups of ships) in a game only the first two to activate that turn throw a wind change dice. On a score of 6 the wind may change direction.
Throw a dice for how much:
1-3 – Wind changes by one point
4-6 – Wind changes by two points
Roll another dice for wind direction:
1 - The wind changes anticlockwise and is backing. -1 to the next wind direction dice throw (down to a minimum score of 1).
2 - The wind changes anticlockwise.
3 - The wind changes anticlockwise and is steady. Ignore the next weather change roll.
4 - The wind changes clockwise and is steady. Ignore the next weather change roll.
5 - The wind changes clockwise.
6 - The wind changes clockwise and is veering. +1 to the next wind direction dice throw (up to a maximum score of 6).
“Veer +1”, “Back -1” and “Steady” markers can be used as reminders by placing them on the wind gauge and removing them after they have affected the next wind direction dice throw.
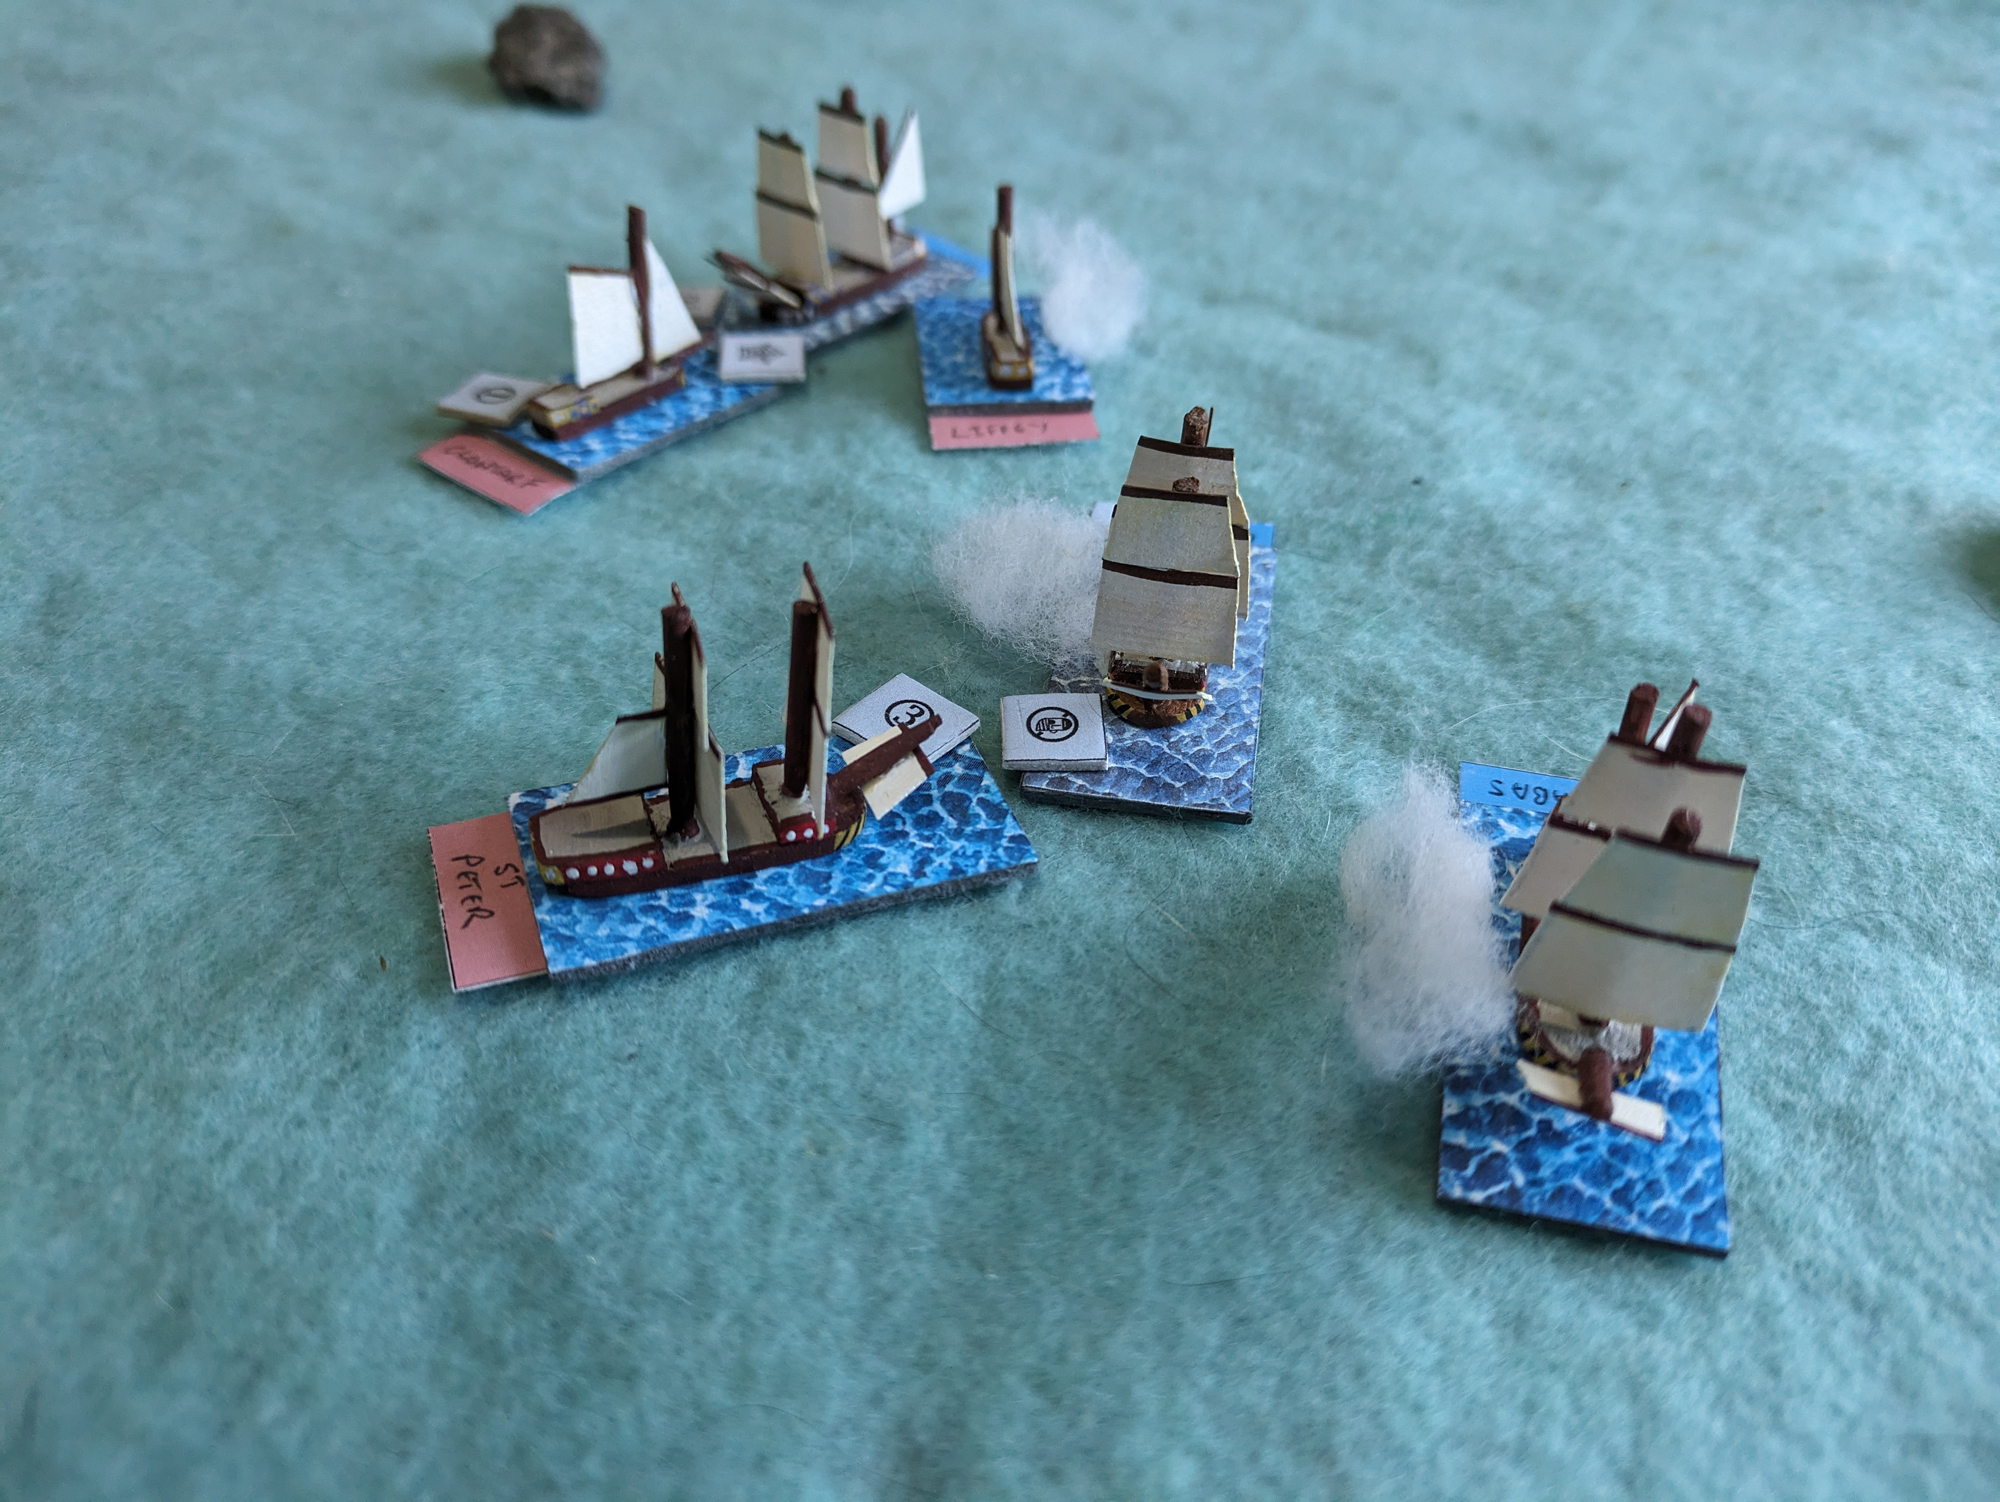
Critical Hits
Weather Change
At the beginning of each player’s turn they throw a dice. If there are more than two players (or groups of ships) in a game only the first two to activate that turn throw a wind change dice. On a score of 6 the wind may change direction.
Throw a dice for how much:
1-3 – Wind changes by one point
4-6 – Wind changes by two points
Roll another dice for wind direction:
1 - The wind changes anticlockwise and is backing. -1 to the next wind direction dice throw (down to a minimum score of 1).
2 - The wind changes anticlockwise.
3 - The wind changes anticlockwise and is steady. Ignore the next weather change roll.
4 - The wind changes clockwise and is steady. Ignore the next weather change roll.
5 - The wind changes clockwise.
6 - The wind changes clockwise and is veering. +1 to the next wind direction dice throw (up to a maximum score of 6).
“Veer +1”, “Back -1” and “Steady” markers can be used as reminders by placing them on the wind gauge and removing them after they have affected the next wind direction dice throw.
Critical Hits
Roll a red dice for the effect, and a white dice in case of secondary rolls.
1 – Quarterdeck (1-3: Captain killed, 4-6: Rudder hit)
2 – Hull (Surface, Submersible or Airship only: 5-6 Holed)
3 – Hull (Surface, Submersible or Airship only: 5-6 Holed)
4 – Rigging
5 – Rigging
6 – Fire (6: Explodes)
Captain killed – The first time this happens the vessel operates at +1Q for the rest of the game. If the vessel had Flagship or Dread Pirate then these abilities are lost. Any subsequent rolls are treated as 1 Hit, but if this is excess damage then the crew strike.
Rudder hit – The vessel must expend two actions in order to turn. The second time this critical occurs the vessel must expend three actions to turn. If it occurs a third time the vessel can no longer turn. Any subsequent occurrences are treated as a Hull hit.
Hull – The vessel takes a point of damage. If this is excess damage then the vessel sinks if it has a hole or the ship’s modified roll was doubled. Otherwise the ship strikes..
Holed – This replaces a Hull critical if it occurs. A surface vessel or submersible is holed, and is treated as if it has the Sluggish special ability for the rest of the game. If the vessel is already Sluggish then it is treated as a Hull critical but the hole is still recorded. A submersible which receives this critical can no longer submerge. An airship which receives this critical can no longer ascend to high altitude. If it is at high altitude it immediately drops to sea-level. Any further occurrences of this critical are treated as a Hull critical. Ornithopters and Gyrocopters never test for this critical; they always take a Hull critical.
Rigging – Sail: The first occurrence of this critical causes the vessel to reduce all movement in all directions by one step – Long becomes Medium, Medium becomes Short and Short becomes 0. The second occurrence reduces all movement by two steps. Any after the second means the vessel cannot move at all, and the crew will strike if it is excess damage. A vessel which has taken two or more rigging hits may no longer use Razee or Sweeps. Razee may be used in a direction which is not In Irons but which has been reduced to zero.
Rigging - Galley: The first occurrence of this critical causes the vessel to reduce all movement from Medium to Short. The second occurrence means that the vessel cannot move. Third and subsequent hits have no effect unless they are excess damage in which case the crew strike.
Rigging - Steam Engine: The first occurrence of this hit causes the vessel’s speed to remain fixed at the current setting. The second means that the vessel may no longer move. Third and subsequent hits have no effect unless they are excess damage in which case the crew strike.
Rigging - Unorthodox: The first occurrence means that a -2 is applied to all movement die rolls. A second means that a -4 modifier is applied. Third and subsequent hits mean that the vessel cannot move, and the crew will strike if it is excess damage.
Rigging - Ornithopter: The first occurrence means that the vessel cannot go to high altitude, and drops one level if it is at that altitude. A second occurrence means that the vessel crashes.
Rigging - Gyrocopter: The first occurrence means that the vessel can only move once per turn. A second occurrence means that the vessel crashes.
Fire – If the vessel does not immediately explode, then it catches fire, or receives another fire if it already has at least one. At the start of the player’s turn, before any ships activate, roll a dice for each fire on the vessel. If any of them score a 6, the vessel explodes. If the vessel does not explode, then roll for a critical hit, with a +1 to the roll do not test for holes or (work with me here) immediate explosions from a fire. Only one critical is rolled for, regardless of how many fires are on the ship. The vessel rolls activations as normal, but all actions for that turn must be expended fighting one fire. Extinguish one fire on a 1-2 if the ship rolled one action, 1-4 if it rolled two actions and automatically if it rolled three actions. When a ship fights a fire, it may also automatically cut grapples to one opposing ship if it rolls 2 actions or more. This is a free action, and does not reduce the ability to fight the fire.
At the start of a player’s turn, test for any ship not currently on fire which is in contact with a ship which is on fire. If it is simply in contact, then it catches fire on a 1-3. If it is grappled to the ship then it catches fire automatically.
Explode – The vessel is removed. Roll for each vessel within Short distance of the explosion; on a 6 the vessel receives a Fire critical. (Any vessels grappled to the exploding vessel receive 1 hull hit if they roll equal to or less than the exploding vessel’s C value on a D6).
Note: Excess damage scores one critical regardless of how many hits should be applied.
Sinking
Ships may either sink or strike when they take excess Hull hits depending on the following chart:
Gunnery: Strike unless ship is holed or their total was Doubled in which case it Sinks
Small Arms: Strike
Ramming: Sink
Collision: Roll a D6. On a 2 or less the ship sinks (-1 if C value is lower than that of the ship collided with), otherwise Strike.
Run Aground: Sink
Boarding: Strike
(As the rules stand it's too easy to sink ships. These rules make a simple surrender more likely)
Collisions
Collisions
Adjust the table as follows:
1 - Significant (2) damage
2-4 - Hull (1) damage
5+ - Superficial (no) damage
Subject Vessel …
… has Reinforced Hull +1
… collided with Boats +2
… collided with non-Boats with lower C value +1
(Collisions really are quite dangerous in the rules as written and a viable, if unscrupulous, tactic is to hit a large ship with deliberate collisions from smaller vessels as they were more likely to score damage than any gunnery might. This reduces the effects of collisions, especially from smaller ships against larger.)
Traits
Chasers - Cost is only 2 points if they fire to just one of bow or stern
Razee - A ship with this ability loses it if it has taken at least two rigging criticals.
Sweeps - A ship with this ability loses it if it has taken at least two rigging criticals.
Ornithopter - Allowed to use Reduce Sails move to move Medium instead of Long.
Lucky - When rolling two dice for which critical applies, if both dice score the same, then the critical is ignored.
Unorthodox - A ship can use Reduce Sails to move one step slower than that rolled.
Marksmen - I do not have the target ship lose traits on a critical. This trait simply allows you a free Small Arms shot; nothing more.
Mutiny - If a ship takes hits from a Mutiny then roll a D6. On a 1-2 they take a Captain Hit critical instead (unless they have already done so in which case they take normal damage)
New Rules
Knot and Splice (Action) - For 1 action a vessel with any method of propulsion may make temporary repairs, allowing it to ignore the effects of one Rigging critical for the rest of the vessel’s activation. It may only ignore one critical in this way.
New Rules
Knot and Splice (Action) - For 1 action a vessel with any method of propulsion may make temporary repairs, allowing it to ignore the effects of one Rigging critical for the rest of the vessel’s activation. It may only ignore one critical in this way.
(Rigging criticals are easy to score but can be a total show-stopper. This rule allows a ship to manage the hits without being able to repair them. I tried the latter but it made getting rid of rigging criticals far too easy.)
Superficial Damage - The second change deals with a small niggle I have with the gunnery rules. If a ship fires and beats the opposing vessel's roll, but their dice score was odd, then they score no damage. Whilst I can see the purpose behind this - if it scored damage then it actually makes gunnery overly effective - it does feel like the player is being cheated out of a winning score. They ought to get something for it. So if you beat the target's score, but your die roll is an odd number, then you place a superficial damage marker on the target. The next time any ship fires at a ship with a superficial damage marker, the marker is removed, but the firing ship gets a +1 to their roll.
(Basically an odd roll doesn't score any damage, but makes it slightly easier for the next shot to score damage. Note that this could still result in a superficial damage marker being placed, but that's the fortune of war for you. A ship can never have more than one superficial damage marker, because each time it is shot at the marker it has is removed to give the +1.)