Sunday 30 August 2015

In Which I Make A Redoubt - Part 4

The two redoubts are perfect for my Great Northern War infantry. However if I want to use them for the artillery I have the problem that the guns really sit a little too low to look right. As you can see:


So today I made some platforms, two roughly 1" square and two 1" x 2". They are two matchsticks high, which is just enough to rise the guns to a sensible height.


On the left is a wide platform, allowing me to deploy two guns in an artillery redoubt. The smaller platforms allow a single gun to support a three base infantry unit.


And here they are in use.


Saturday 29 August 2015

In Which I Make A Redoubt - Part 3

The redoubts are now painted.


The matchsticks got very little painting - a couple of brown washes, and some dry-brushing in grey.


Here they are with figures, so you can get an idea of their relative sizes.


Friday 28 August 2015

Towton With DBA

Last night we played the 1461 Battle of Towton using big-battle DBA. And it was a big DBA game, with about 75 elements on the Lancastrian side and 50 or so on the Yorkist. In the actual battle the numerically superior Lancastrians attacked a smaller Yorkist force, but into the teeth of a howling snow-storm. The wind negated their superior number of archers. They eventually lost what is believed to be the largest, and bloodiest, battle fought on English soil.

We had a few scenario specific rules in place to cover the effects of the weather on archery, as well as reduced command distances and rules for the Lancastrian ambush from the woods on the Yorkist left and the arrival of a force under the Duke of Norfolk in support of the Yorkists.

Deployment was kept deliberately tight in order to force us into multiple lines.


Ralph and I, playing the Yorkists, deployed in three lines, two of archers and then one of dismounted mean-at-arms.


The Lancastrians, under Caesar and John, decided to hold their archers in reserve, recognising that they would be outclassed in an exchange of archery, and opted for a direct assault with their men-at-arms.


It all looked very impressive. The Yorkists were deployed on a ridge, so we decided to stay put and make the most of our terrain advantage. As the Lancastrians advanced our archery broke up their lines, but they kept coming.


The game was smaller than you might think, as you can see.


Yorkist archers, confident in their position.


Too confident. We're new to DBA 3.0 still, and had forgotten that recoiling troops don't push back troops behind them as easily. Once the Lancastrian men-at-arms hit us our tight triple-line became a deathtrap for the front rank of archers and I forgot that, in DBA commands break when they have lost a third of their strength, not half as in HOTT. So the destruction of its front rank also saw Warwick's command in the centre break and eventually run.


The Duke of Norfolk turned up at this point.


But he was too late. The Yorkist right wing was under pressure now, as was the left.


The Lancastrians exploited the gap they had made in the centre of the Yorkist line.


The Yorkist left win broke first, and with it the army.


The Lancastrians held their archers back for the whole game, winning the battle with a steady advance by their men-at-arms.


This was a lovely looking game with some nice scenario-specific rules to give it flavour. It probably needs some tweaking and fine-tuning, but it's certainly one we'd do again.

Wednesday 26 August 2015

In Which I Make A Redoubt - Part 2

Flushed with the success of my first redoubt I started another one today, cutting out the pieces and doing the first bit of assembly before I headed off to work this morning.

This one has the proportions I was aiming for with the first. It's still a 10cm square with a 6cm square interior. Here's the base, with the interior walls stuck together. The interior walls are 12mm high, and I'm aiming for the log walls to be 15mm high from the base. I cut out the slope pieces as well, but they get stuck on after I have done the interior.


Fast forward to me getting home from work. Thirty minutes later I have this. I chopped lots of matchsticks up into roughly (very roughly) 15mm lengths and glued them around the interior walls. I then glued a floor of 5cm matchsticks on the inside. I use the cheapest, nastiest craft matchsticks, as they give a nice rough-hewn effect.


And finally I glued on the slopes. The big gaps are a testament to my inability to measure stuff accurately, but will be covered by loo roll and glue in the next stage.


Total time spent on this, excepting the design stage, is about 45 minutes. They really are quick to make. If you skip the accurate measurement anyway.

Meanwhile, here's some more shots of the first redoubt, now with a sand covering.

In this picture you can see the floor section removed. It will be glued in to the finished model, but not until after the interior is painted.


The interior with the floor inserted.


The underside of the floor. I have used a lot of matchsticks making these redoubts.


Tuesday 25 August 2015

In Which I Make A Redoubt

Inspired by Natholeon's 'Relief of Marienberg' battle report from the other day I decided I needed some redoubts to go with my Great Northern War armies. So this evening I put together a simple design, based on something I sketched out over lunchtime at work


Its made of card and loads of matchsticks, plus some PVA glue to hold it together and loo roll to hide the shonky joins. It took a couple of hours to cut out the bits and assemble them

Yes, I know it's not painted; it'll get more PVA and some sand and gravel first.

It's designed to hold a four-stand Maurice unit on 1" square bases. It sits on a footprint 4" square, and is about an inch high.


To be honest it's probably a bit high. But it'll do.


I'm going to make another, if only because I need two of them for the One Hour Wargames 'Fortified Defence'  scenario, which is coming up soon.

Sunday 23 August 2015

One Hour Wargames - Scenario 12 - An Unfortunate Oversight

This is one of my favourite scenarios in the One Hour Wargames book. I've played it several times and it always gives an exciting and close game. One force is defending a strategic river crossing at a town. Their opponents are advancing to cross but, unknown to the defenders, there is a ford further down the river of which they were unaware. The objective is a hill in the attacker's rear area; the defenders must rush to defend the hill as the attackers cross the river at a point which is not covered.

Once again I used my Great Northern War Swedes and Russians. And, once again, the Swedes were the attackers. They had four infantry regiments, some cavalry and some artillery.


The defending Russians also had four infantry regiments, as well as one each of dragoons and cavalry.


Here's the battlefield. The Russians had to set up in or close to the town, and the Swedes on the side of the river at the bottom of the picture. The Russians put most of their troops in a position to take the hill or contest the ford which the swedes were already approaching. However some Swedes were covering the town, so the dragoons were put into it as a defensive measure, and another infantry regiment deployed in support. A final infantry regiment was deployed as a reserve.


The Swedes covered the town with one infantry regiment and the artillery.


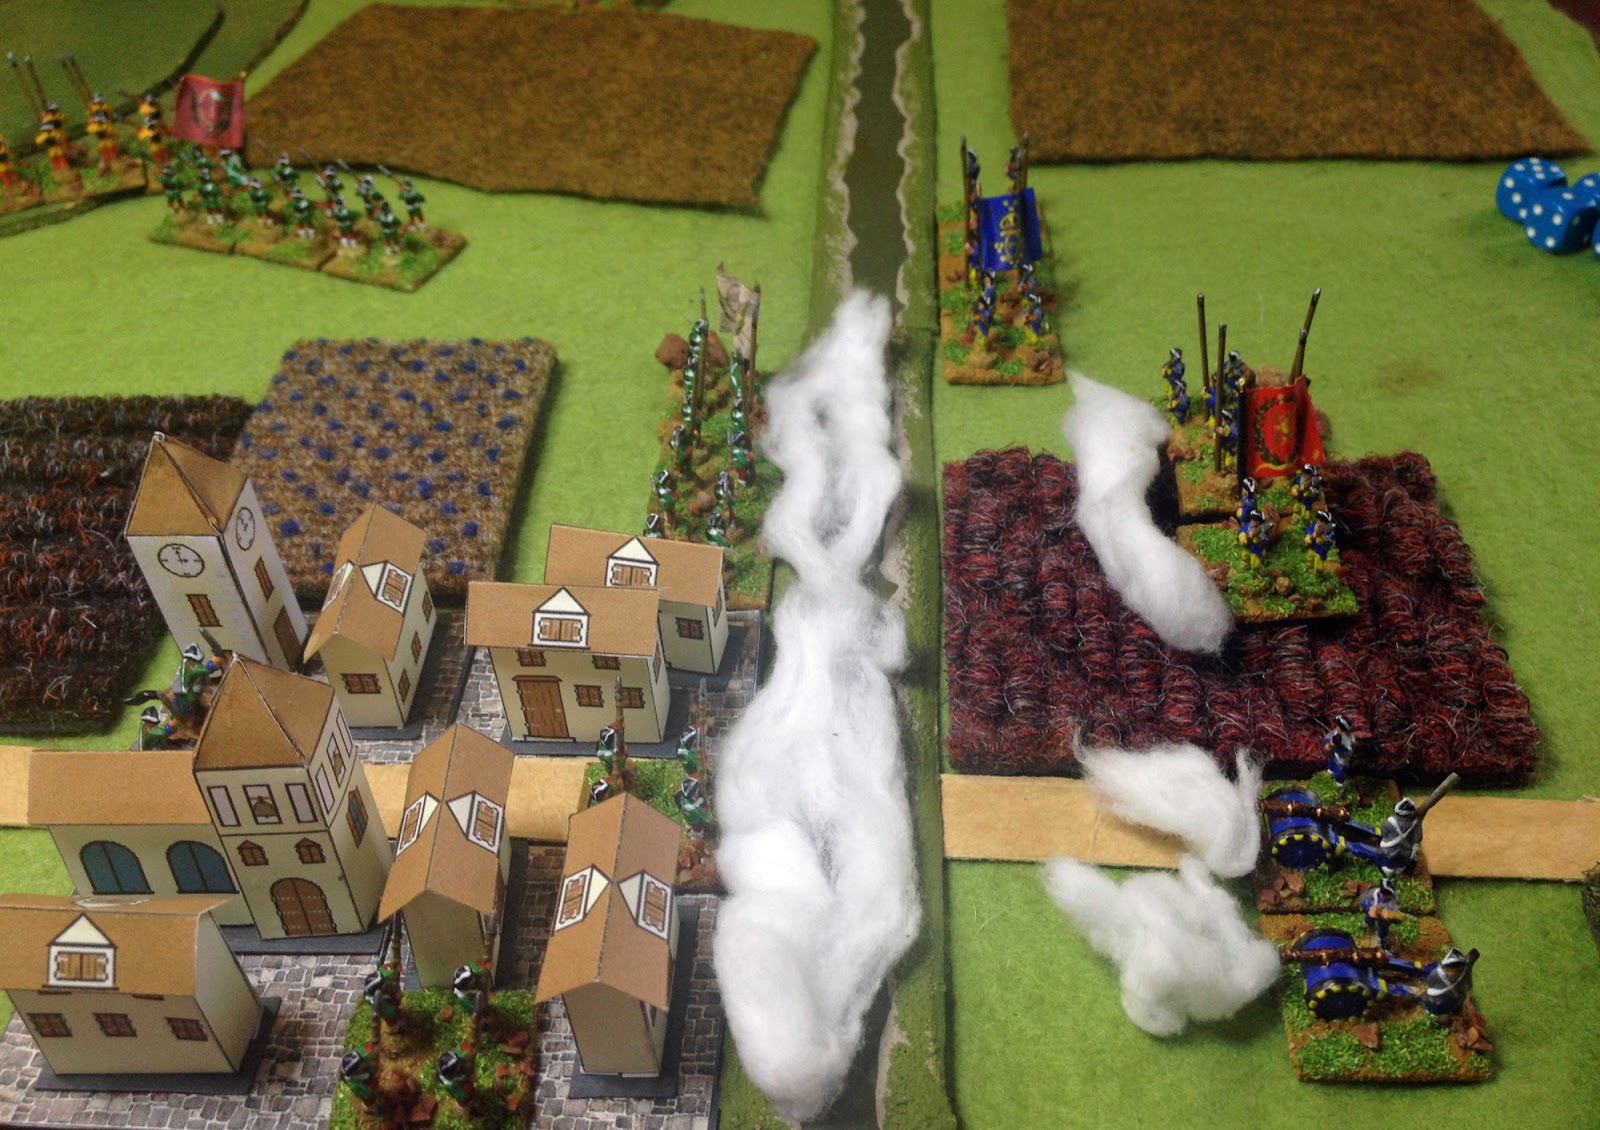
Their cavalry and two infantry regiments rushed towards the ford.


They crossed, and were engaged by the Russian cavalry.


Meanwhile Russian infantry moved to occupy the hill.


The fighting before the town was intense, with both sides taking heavy casualties. However a scenario specific rule which prevented the Swedes from firing on their first turn left them at a slight disadvantage in the firefight.


As the cavalry duel continued on the Swedish right, both sides formed into lines for the inevitable battle for the hill.


A Swedish regiment broke before the town. But they had committed their reserve to take its place.


The Swedish cavalry also broke.


The Russians supporting the town now fled.


As did their cavalry, under fire from the Swedish main line. Both sides had lost a couple of units.


The two infantry lines exchanged musketry.


Leaving the artillery to bombard the town, the Swedes switched their reserve regiment to the centre, where it could use long-range fire to support the attack on the hill.


Another Swedish regiment broke.


Then a Russian regiment. However the Swedes now only had one unit on the Russian side of the river, and the Russians still had two, one completely fresh.


The Swedish reserve regiment rushed to cross the ford and support the other unit directly.


The Russians sent a damaged regiment to oppose and delay the crossing, leaving their fresh reserve unit to hold the hill.


The Swedes formed up at the ford ...


... then surged across, breaking the defending Russian regiment in their first attack.


The dragoons fell back from the town and reformed. I don't have any specific dragoon figures, so for these games I use cavalry and infantry mixed together. Two infantry stands and a cavalry stand denote dismounted dragoons and two cavalry stands and an infantry stand denote mounted.


The defenders on the hill took heavy casualties from the Swedish attack.


Another Swedish regiment broke, but their reserve was moving up.


Another attack on the hill ...


... supported by artillery ...


... and the Russians broke.


Only the dragoons could save the day for the Russians. They mounted up and rushed towards the hill.


With no time to dismount, they charged the Swedish infantry, but the infantry pikes and their hilltop position blunted the attack.


The dragoons withdrew.


The game was now into its last turn. The dragoons dismounted and, although they were still fighting at nightfall, their musketry was insufficient to dislodge the Swedes from the objective.


So, another victory for the Swedes, although a close one. Early in the game it looked like their attack had no steam and that the Russian defences were too strong. But a timely committal of the reserve unit in the right paces at the right times swung the battle in their favour. The Russian defence was good, although the dragoons could have probably withdrawn from the town a turn or so earlier. It's easy in this scenario to regard the town as an objective when really it's just a means for defending one of the river crossings. The main reason for the defenders holding it is to prevent them having to fight in two places. And once the Swedes were only attacking it with artillery there was little point in insisting on holding it.

Again the rules held up well, although I am beginning to think that the advantage the Swedes get in their ability to move and fire at full effect at close range does give them an edge which is not entirely offset by their weakness at longer ranges. However I need to play more games in order to see if this is true and to decide on how to fix it if it is. After all, we can't have the Swedes winning every battle.

Follow the rest of the scenario refights HERE
Related Posts Plugin for WordPress, Blogger...