

Monday 30 September 2013
Sunday 29 September 2013
Preparing For MOAB - Part 1
Whilst I am a lean, mean, HOTT-playing machine, my family are currently a little rusty when it comes to the rules. So today I started the process of reminding them how to play. Catherine, having chosen her matched-pair, was first.
We used two armies based on Brian Jacques' Redwall books - the Defenders of Redwall Abbey against Cluny the Scourge's Rat Horde.
A cheesy grin - very apt for a person playing an army of rats.

Redwall's army is small, but has some powerful elements - here they advance rapidly in the centre.

On the flank, otter slingers skirmish with a lurking rat.

Rat hordes ...
The heroes of Redwall hit the rat line.

Constance the Badger wipes out Cluny's lieutenants, but Cluny kills the hero Matthias.

Now it's Constance vs Cluny. This fight swung back and forth for several bounds ...

... but a flanking attack by the Sparras helped Constance to victory, and Cluny's horde fled.

Not photographed was a Rat Sneaker that was making good progress towards both the Redwall stronghold and their Horde general; another turn could have seen the battle turned in Cluny's favour.
Next up - well, after an afternoon out, and then a late afternoon nap - it was my daughter Maya's turn. Some UK HOTT players will remember her army of choice - The Pumpkin King's Halloween Hordes. She has chosen to match them with some Elves, mostly because it's her only other army.
I took the Elves (with which I've had some success in the past) and she took The Pumpkin King. She defended and I ended up with my army trapped between some areas of bad going.
A flanking move by some Riders failed, so I ended up in a meat-grinder with her Hordes. My flanks were covered by the bad going, but it also prevented me from expanding my army and exploiting her flanks.

Some nifty combat rolls saw her destroy element after element in my army. I killed Hordes but she kept bringing them back.

Finally she piled a Hero into one of my Shooters to give her the last 2AP she needed to win.

The Pumpkin King was triumphant!

She spared us her victory dance, and we made her get supper ready as a punishment for thrashing her poor old dad at HOTT.
We used two armies based on Brian Jacques' Redwall books - the Defenders of Redwall Abbey against Cluny the Scourge's Rat Horde.
A cheesy grin - very apt for a person playing an army of rats.

Redwall's army is small, but has some powerful elements - here they advance rapidly in the centre.

On the flank, otter slingers skirmish with a lurking rat.

Rat hordes ...

The heroes of Redwall hit the rat line.

Constance the Badger wipes out Cluny's lieutenants, but Cluny kills the hero Matthias.

Now it's Constance vs Cluny. This fight swung back and forth for several bounds ...

... but a flanking attack by the Sparras helped Constance to victory, and Cluny's horde fled.

Not photographed was a Rat Sneaker that was making good progress towards both the Redwall stronghold and their Horde general; another turn could have seen the battle turned in Cluny's favour.
Next up - well, after an afternoon out, and then a late afternoon nap - it was my daughter Maya's turn. Some UK HOTT players will remember her army of choice - The Pumpkin King's Halloween Hordes. She has chosen to match them with some Elves, mostly because it's her only other army.
I took the Elves (with which I've had some success in the past) and she took The Pumpkin King. She defended and I ended up with my army trapped between some areas of bad going.

A flanking move by some Riders failed, so I ended up in a meat-grinder with her Hordes. My flanks were covered by the bad going, but it also prevented me from expanding my army and exploiting her flanks.

Some nifty combat rolls saw her destroy element after element in my army. I killed Hordes but she kept bringing them back.

Finally she piled a Hero into one of my Shooters to give her the last 2AP she needed to win.

The Pumpkin King was triumphant!

She spared us her victory dance, and we made her get supper ready as a punishment for thrashing her poor old dad at HOTT.
Saturday 28 September 2013
Best Laid Plans ...
I had hoped to spend some more time of rewriting 'Mighty Mean-Fowt Fights' this weekend. But events have conspired against me. Not necessarily in a bad way, though. We have won a free feed tomorrow, which means that we will be out and about for some of it. Since tomorrow is the fifth anniversary of our arrival in Australia it's come at a perfect time - our free feed will also be a celebration. And today I met up with my cousin - the only member of my family that actually lives out here. We had lunch at the local Buddhist temple, because that's what you do here. I've also had to actually work for some of this weekend as well, something I don't plan to make a habit of.
Now those that know me will know that I can still squeeze gaming time into my life, despite all that. That's been spoken for this weekend as well. Next week is MOAB 2013, and the only HOTT tournament in Australia. Obviously I am taking part, and my armies are all sorted. But now, for reasons too involved to go into, my wife and children have decided to take part as well. So, suddenly, I have had to rummage out three more HOTT army matched-pairs, suitable for use by my family who, whilst they have played HOTT before are more than a little rusty. Anyway, what gaming time I have had today has been spent in my part of the man-cave sifting through my HOTT army collection.
I bet you think that's an organised affair. You'd be wrong. Each of these boxes contains one or more HOTT armies. Or unpainted figures. Unsorted, unpainted figures. Only some of the boxes are labelled.

Still, I think I've found most of what I was looking for.
I also found an unfinished - indeed barely started - HOTT project. But I mustn't get waylaid.

The first pair of armies is now organised, with a couple of elements needing minor repairs. Here's part of one of them.

Tomorrow I hope to organise the other two army pairs (in consultation with my lovely offspring), and then we need to schedule some practice games.
Friday 27 September 2013
Dennewitz 200
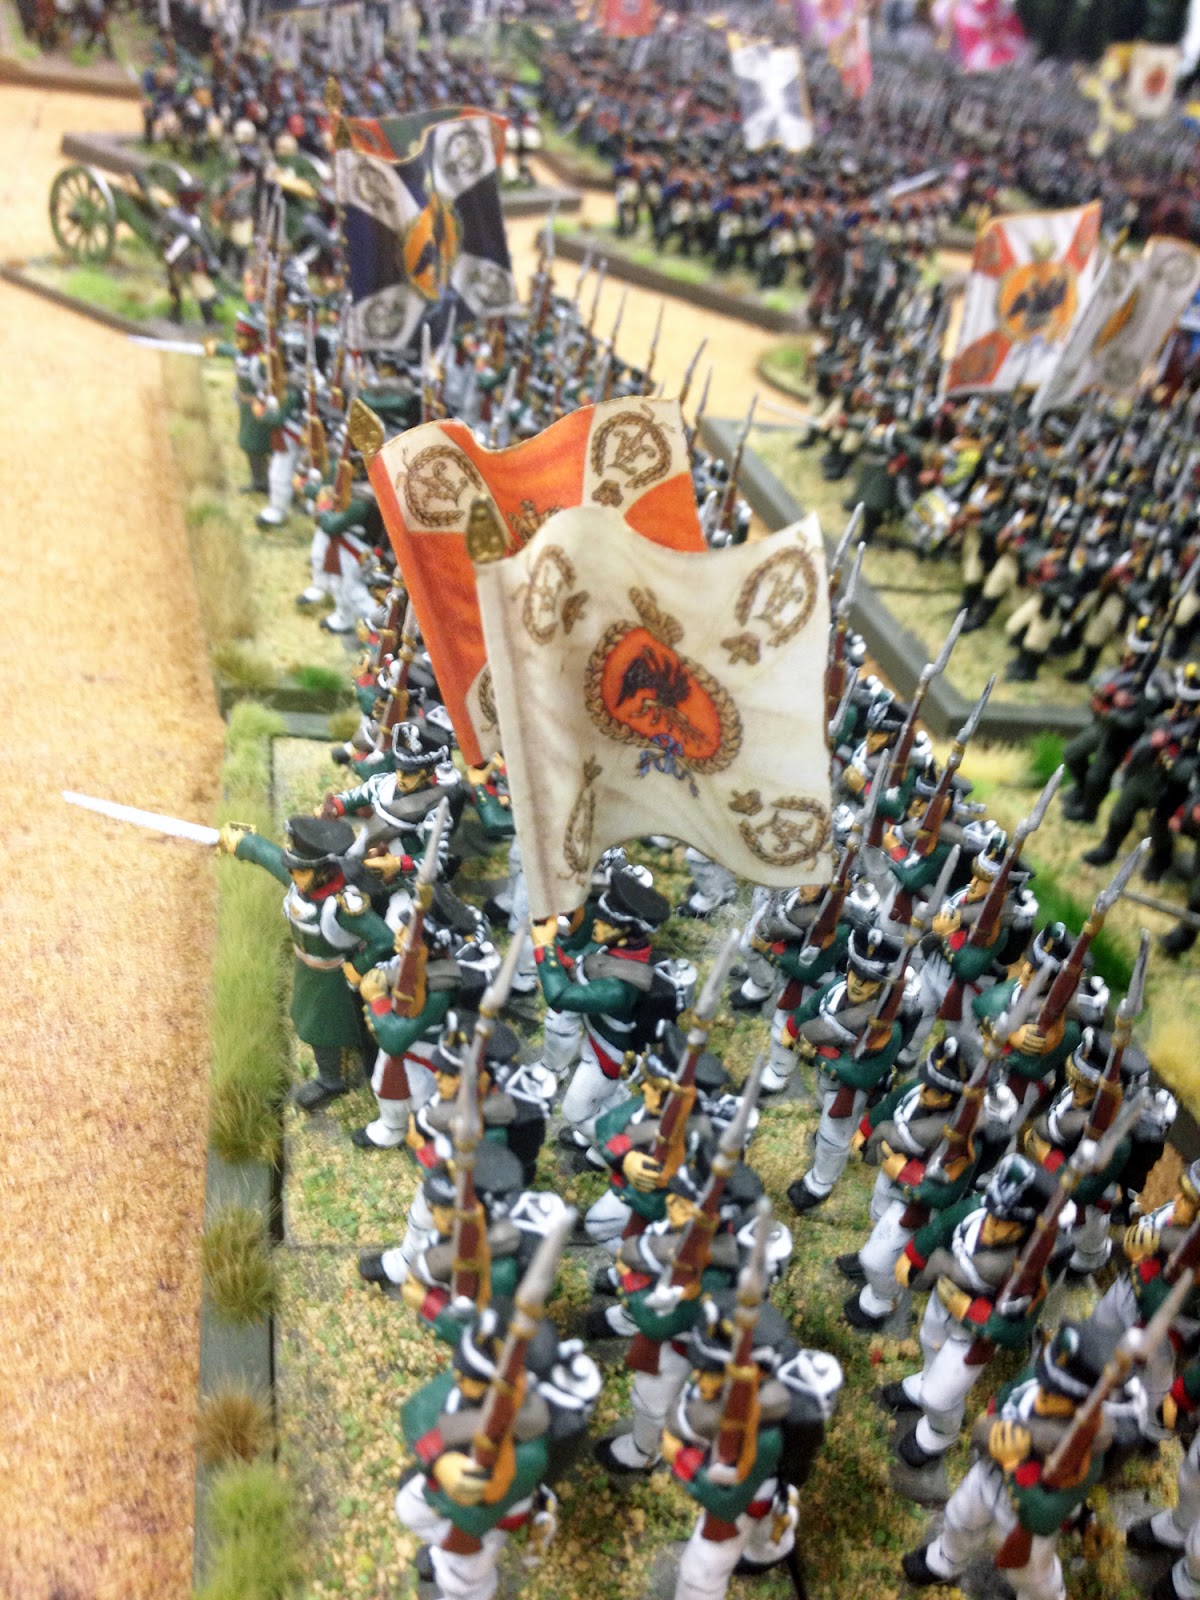
We used 'Black Powder', and a vast array of 28mm figures, mostly provided by Ralph, but with Bryan and Austin chipping in as well.
The situation had both armies advancing along a fairly open road, with a brigade arriving each turn. The battle would develop as the two armies bumped into each other. I was one of the French players, and we were hampered by two things; firstly we didn't read the scenario objectives and, secondly, we didn't read the OOBs and realise that we were outnumbered ...
When I arrived I was greeted by Russians and Prussians already advancing up the table. At the other end Caesar was deploying some of our infantry.

The view from the French end of the table. In the distance can be seen my command. Cavalry. Oh yes!
(In fact you'll notice that this report is written very much from the perspective of the French cavalry.)

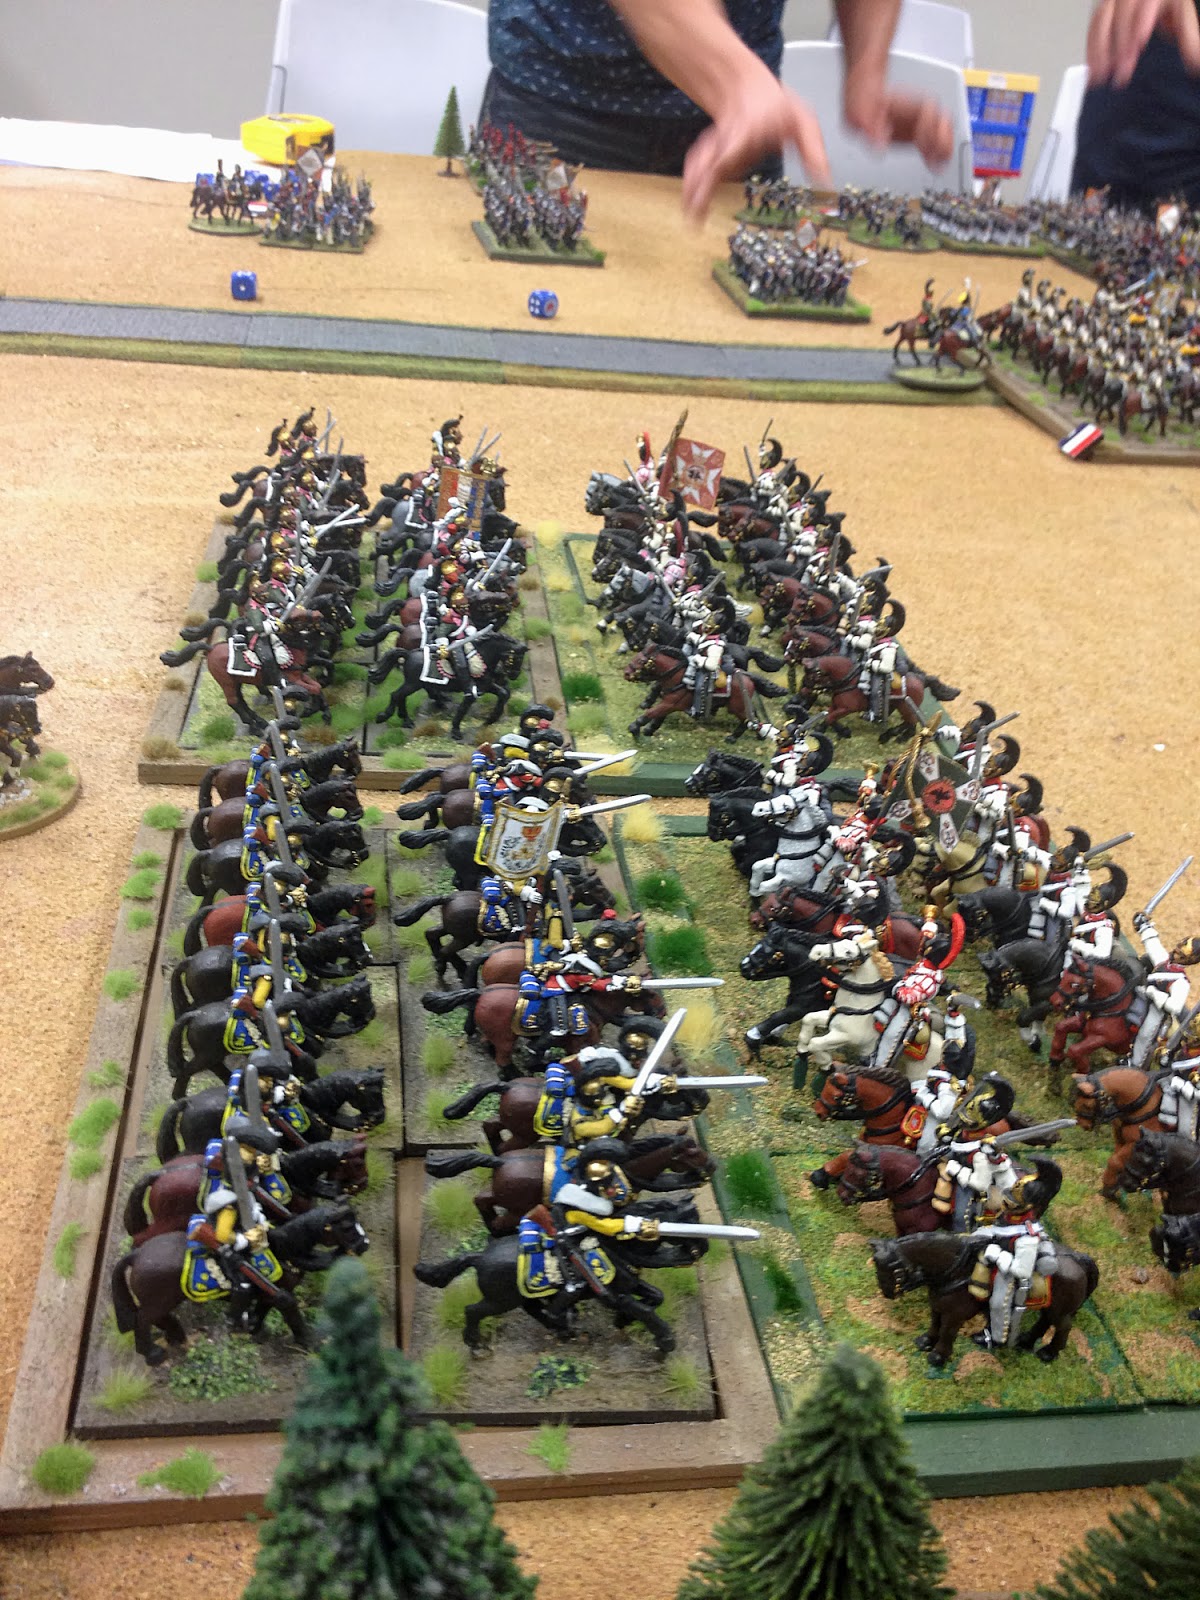
For once my rather aggressive style of cavalry command, admired and respected by the glue and pet-food factories of Europe, paid off, as attacking the Coalition troops before they could properly formed up was deemed a Good Plan. So I attacked.

I think these were some Guard light cavalry. They had pretty uniforms, but couldn't fight to save their lives, and immediately routed.

My other units did better, with my lancers driving back their coalition opposite numbers ...

... and hussars easily routing some Cossacks.

The lancers drove their opponents right into the Coalition formation, threatening the flanks of the arriving infantry.

I wasn't to be tempted, though, and with the enemy light cavalry neutralised on one flank at least, and the Coalition advance slowed, I retired to allow the infantry to come up in support.

The battle slowly developed.

As our infantry formed up at the other end of the table, my second command arrived - the heavy cavalry. Unfortunately it wasn't that enthusiastic, and plodded slowly up the table.


As a massive wall of Russians and Prussians formed up, Ralph explained that perhaps we should have read the scenario. The victory conditions were such that we only had to inflict a certain casualty level on them, not defeat the whole army (which was twice the size of ours).

It really was a solid wall, though. Our infantry commanders decided to concentrate on their right, whilst my cavalry screened the left flank and looked for openings.

Ralph resorted to directing traffic as the masses of Coalition troops, trapped in a small space as the result of my initial attack, had trouble forming up.

Peter watched as things went from bad ...

... to worse.

It was suggested that I push my rallying light cavalry into a more forward position to threaten the Coalition guns. A turn later, this is what remained of my light cavalry ...

Undeterred the brigade commander attached himself to a heavy cavalry unit, and attacked the guns. Somehow (owing to a house-rule of some kind) the guns held the charge. No, I don't understand it either.

With nothing to lose, and the clock ticking towards the end of the game, the French attacked.

Even the heavy cavalry finally got stuck in.
At the end of the game the casualties were much more even, and although the Coalition had won on points we weren't whitewashed. My heavy cavalry looked set to pretty much even the score for us; if only it been a little quicker in coming up we might have won the day after all.
Thanks to Ralph for organising the scenario (even if some of us didn't read it) and providing the lion's share of the figures.
Thanks to Ralph for organising the scenario (even if some of us didn't read it) and providing the lion's share of the figures.
Monday 23 September 2013
Mighty Mean-Fowt Fights - Changes

Turn Sequence
I am switching to a simple Side A Goes - Side B Goes system with no initiative roll, as this created too many situations where the double move a side could get could be devastating. In addition I have scrapped the artillery fire phase and just have artillery firing with everything else. Ideally I would like some kind of activation system, but I haven't decided what that will be yet.
I am considering allowing a unit to either fire or initiate close combat, but not both. Firing is 'safe', in that there's no risk to the unit doing it, but close combat offers a greater 'reward' in that you can force an enemy unit from its current position.
Combat
The combat bonus from leaders has gone, but all units hit on a 4+ rather than a 5+. In addition they score two hits on a 7+.
Firing
There are no specific changes here, but it is now possible to score two hits (see above).
Close Combat
Both sides now roll simultaneously, with the side scoring the most hits being the winner and actually being able to apply those hits to the enemy. Ties are broken by the lowest roll, which seems odd, but favours the side with the most positive modifiers - the one with the advantage in other words.
I have scrapped flank attacks, although facing still affects some combat factors. There is still a bonus for attacking with more than one unit. There are more factors relating to the interaction between different troop types. I still need to come up with some rules for cavalry fighting in bad terrain, however.
A victorious phasing player can pursue.
Disorder Markers
One of the biggest changes. One of the design goals of the game was that there were to be no markers. I then compromised on one - disorder. A unit was either steady, disordered, or routed, and disordering a unit with a marker was fatal. This lead to very quick, bloody fights, but sometimes excessively so. I have now opted for units being allowed multiple markers, up to a limit based on their troop type. If they exceed that limit, they are destroyed.
Rally
Retreat in the rally phase means that the unit cannot move later in the turn. Rally is the only thing affected by leaders and the unit's quality. However I am considering removing the troop quality modifiers from the rally roll and factoring them into the firing and close combat to-hit rolls instead. so that poor troops are easier to disorder and good troops harder.
Leaders
Their only effect is to boost rally rolls. If lost an army does without them for one rally phase, then they may be replaced.
So far the changes are holding up fairly well, but I need to play a few more test games before starting to write them into the rules properly and releasing them onto the Free Stuff page. Part of the problem is that I keep changing ideas around from day to day; I need to discipline myself, stick to a particular set of changes and concentrate on them.
Sunday 22 September 2013
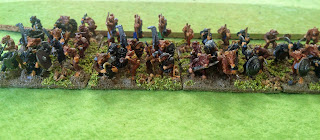
6mm Mexican Adventure Figures
I found these pictures on my Flickr stream (and with over 9000 pictures on it, going back eight years, I really do find lost things sometimes). They were taken back at the beginning of 2006, and show a game of 'Principles of War' using my 6mm Mexican Adventure figures. I thought I'd post them here to show the figures being used en masse.
All of the figures are from Irregular Miniatures, mostly from their dedicated Maximilian Adventure range, but with odds and ends from the US-Mexican War and Franco-Prussian War ranges as well.
 |
| Mexican Imperial Infantry |
 |
| More Imperials, with some Austrians |
 |
| A Republican attack |
 |
| Republican Infantry are outflanked. |
 |
| Imperial Lancers |
 |
| Mexican and Austrian Cavalry attack Republican Infantry |
Saturday 21 September 2013
Puebla 1862 - A Mighty Mean-Fowt Fight
 |
| Vive La France! |
This morning I had the time to set up a full game to try out the changes. I'll probably write up what I'm changing in another post, so this will just be a report of the game.
Although the rules were written with the ACW in mind, I have used them for the South American Wars of Liberation and, as last week, the Mexican Adventure of 1862-67. I decided to play another game of the latter, because I had enjoyed having the figures out last week so much.
I decided on a refight of the First Battle of Puebla, when a French army launched a head-on assault against the forts defending that city, and were repulsed, an event still celebrated in some parts of Mexico as Cinco De Mayo. For inspiration I used a scenario in Tim Tilson's 'Colonial Campaigns - Maximilian In Mexico' booklet. This is designed for use with 'The Sword and the Flame', but the scenarios are adaptable, especially for a more abstract set of rules like 'Mighty Mean-Fowt Fights'.
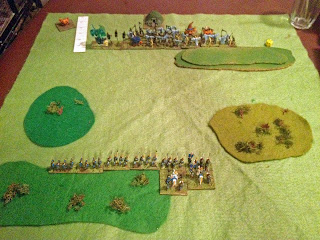
Here's the set-up, looking from the French side of the battlefield. In the distance is the city of Puebla and in front of it a ridge-line. On the ridge are two forts, Guadelupe (left) and Loreto (right). Between them is a simple entrenchment. In the foreground is a building (which I think might be a brickworks, according to one map I've seen).

The French army. I have an OOB for this force somewhere, but couldn't find it, so I may have made a few things up. Specifically I added in some Mexican allies. The French had four regular infantry units, one elite, one regular cavalry and two regular artillery. Their Mexican allies consisted of three militia infantry, and two militia cavalry. At the back can be a seen the force's commander.

The Republicans had the following troops: two regular infantry, four militia infantry, two militia cavalry and a militia artillery. So a very fragile force, but with solid defensive positions.

Here's the Republicans deployed. The regular infantry were in the forts, with the artillery entrenched between them. The militia infantry and cavalry was held in reserve, aside from one unit which was in the brickworks and tasked with delaying any advance on that flank.

The French objective was to either capture both forts, in which case they immediately won, or break the Republican army by routing more than half of their units. There were nine Republican units, but I counted each fort as a unit too, so the French needed to rout/capture six units to win. They had ten turns in which to do this.
Here are the defenders of Fort Guadelupe.

And the troops in the brickworks.

The initial French deployment. A second wave of attackers is off-table. The plan was to assault the ridge with the better quality French troops, and use the Mexican allies to work around the Republican flank.

The Mexican allies approach the brickworks.

The French advance towards the ridge. On the right this would be a straight assault, but in the centre they would use their artillery to try and soften up the defenders first.

The Mexican allies attack the brickworks ...

... a close assault supported by cavalry.

The defenders retreat, then fail their morale roll and rout.

There was an exchange of artillery fire ...

... but with no real effect.

The French advanced to within musketry range of the fort.

Meanwhile the Mexican allies were engaging the Republican right.


French infantry formed up for the attack behind their artillery.

The first assault on Fort Loreto stalls.

On he other flank there was an inconclusive cavalry battle.

French and Mexican troops took the northern end of the ridge, but Republican infantry were formed up to counter-attack.

Another attack on Fort Loreto fails ...


... whilst fire from Fort Guadelupe drives the French off that end of the ridge.

Another attack on Fort Loreto just fails to drive out the defenders. Melee is simultaneous, with both sides rolling to hit the other. The side which scores the most hits wins, but in the event of a tie the lowest die roll which still hit does. In the event of a tie on that, the defender wins. So here the French have hit with a '6', but the fort defenders have hit as well. With the scores the same the defenders win. Had the fort rolled a 3 or less (a miss), then it would have been captured.

The Republican cavalry started to drive the Mexican allies back.

It was now halfway through the battle. The French abandoned the artillery duel, and advanced the infantry in their centre, including their elite unit (depicted as French Foreign Legion, but actually Chasseurs a Pied).

Meanwhile a Republican infantry unit failed a rally roll and slipped quietly from the battle.

The Republican cavalry attack continued.


The French start their first full assault on the ridge and the forts ...

... whilst a counter-attack by their Mexican allies routed a Republican cavalry unit.

Republican musketry drove the French back once again ...

... but they rallied and came back for another assault.


Once again the French failed to take a fort by a narrow margin; this time it was Fort Guadelupe which barely held on.

The French withdraw again.

On the Republican right their last infantry unit routed. They had now lost four units, and only a single cavalry unit remained to cover the flank.

Fort Guadelupe survived another attack.


The French cavalry withdrew to 'defend the camp from enemy guerillas'. In reality they badly failed a rally test.

The last Republican cavalry unit was routed by the Mexican allies.

This was it - the Republicans had now lost five units and one more loss would give the French a victory. But it was also the last turn of the game; they had to kill something, or capture a fort. Once more they assaulted Fort Guadelupe.

And once again they failed to capture it on a tie ...

As the afternoon rains began to fall, ending the battle, the French withdrew for the last time. They had come close to victory, but not close enough.

Their Mexican allies were virtually in the outer suburbs of Puebla, but it wasn't enough; the forts and their defenders were still fighting.

Fort Guadelupe.

Fort Loreto. To the right can be seen a militia unit which held that hilltop position for much of the game and secured the flank of the fort. The artillery between the two forts did an excellent job as well, fending off a couple of assaults by the French elite infantry.

The Republican losses - two cavalry and three infantry.

The only actual French losses were this unit of cavalry.

The French were very unlucky in this battle; they had some bad rally rolls which delayed some of their later attacks, and their firing was universally abysmal. Saying that, though, they had three near-misses when it came to capturing forts - any one of them being a success would have swung the battle their way, and the last would have given them a victory. So all in all this was a very close game. The Republican tactics were obvious - delay, delay, delay. Anything that could hold up attacks on the forts helped them, even as their losses mounted (also due, in part, to awful rally rolls).
On the whole the changes held up well. The main thing I need to look at it cavalry close combat in rough terrain which, ironically, is less of an issue for the ACW battles the rules are really written for because the cavalry tend to dismount. I shall document the changes in a later post, however.
Subscribe to:
Posts (Atom)